Portrait sessions can vary in many ways, one being the size of the group you are photographing. Don’t be afraid, these tips for posing large families and groups will help you to create the perfect large group portrait no matter the location or the number of people.

What is considered a large group?
Large group portraits typically begin with six or more people. Large groups can include children or be made up of adults, it all depends on the type of session you are photographing.
It can also reach up to 20 people, especially if you are photographing a bridal party or a family with smaller family units all mixed together.

Posing rule for any type of grouping
The most useful posing rule for large groups is to use the triangle method.
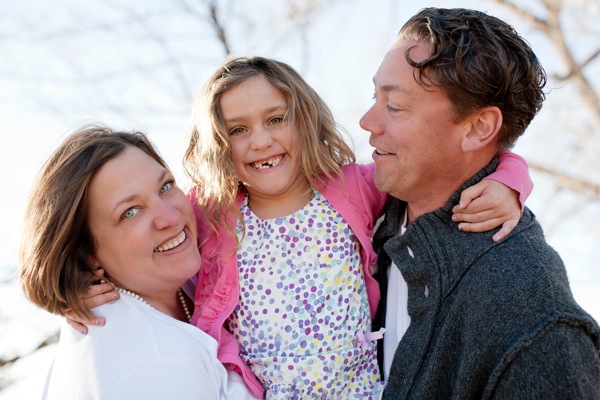
This is where you pose people, either standing or sitting, or a mixture of both, and if you draw imaginary lines connecting their heads, they would create triangles. This method is the best so that you don’t pose people’s heads one on top of another (totem pole-like), creating an awkward photograph.

Use the triangle method to pose large groups.
This method works for any type of grouping with three or more people. However, for large groups of 10 or more, this posing rule is perfect so that everyone in the photo can be seen. It ensures nobody’s head is directly behind another person’s.
Large Families
Large families can range from nuclear families where there are more than five people or extended portraits where more than one nuclear family is going to be in the portrait.

The key is to pose the families in different combinations in the same spot so that you can offer your client more poses without having to move them too much.
Always pose the parents in the middle and then pose the rest of the family out from there. The parents are a great focal point in any portrait and from there, you can lead the eyes to the children or other families.

For example, for a portrait of a family of five, begin by placing the parents in the center of your photo first. Then, pose the taller children next to each parent. Smaller children can be put between the taller child and parent, creating the triangle.
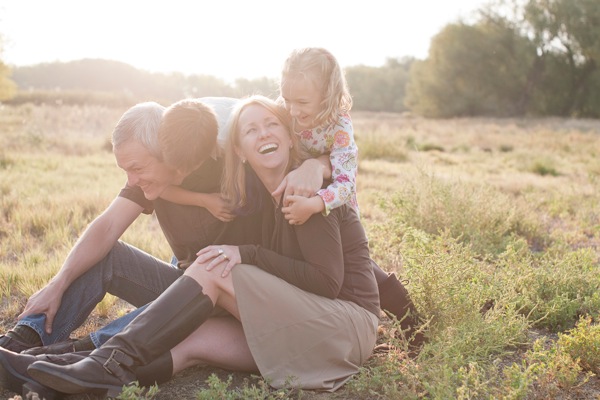
Afterward, you can seat the family in the same order as when they were standing. If there are really small children, they can stand and hug another family member from behind. Be mindful of where their heads are positioned so that you create triangles and can see each family member in the portrait.

Pose the family sitting or standing.
In the same spot, you can then have the family stand up and separate a little. This gives them a little more space but still keeps them at arm’s length. Ask them to interact with each other in between posing for the camera.
Don’t forget the triangles in this pose as well! It can look a little off if you pose two family members who are the same height together. Try and move the family members from one side to the other to create more variety.

Give the family some space while posing them standing.
For larger families, walking is a good way to get more natural photos of everyone. Pose nuclear families together.
For example, if you have a family of 16 with grandparents, pose the grandparents in the center, then group the families on either side keeping the children with their parents.

Keep in mind that if it looks a little awkward, it probably will look that way in the photo as well. Taking more time and moving people around will ensure that you get the right posing even before taking the photograph.
Lastly, try posing some people away from the center to give the photo more depth. Facing everyone toward the center is a good starting point. However, with large groups, it’s best to try different poses so that you can offer your clients an assortment of different options.
Connect People
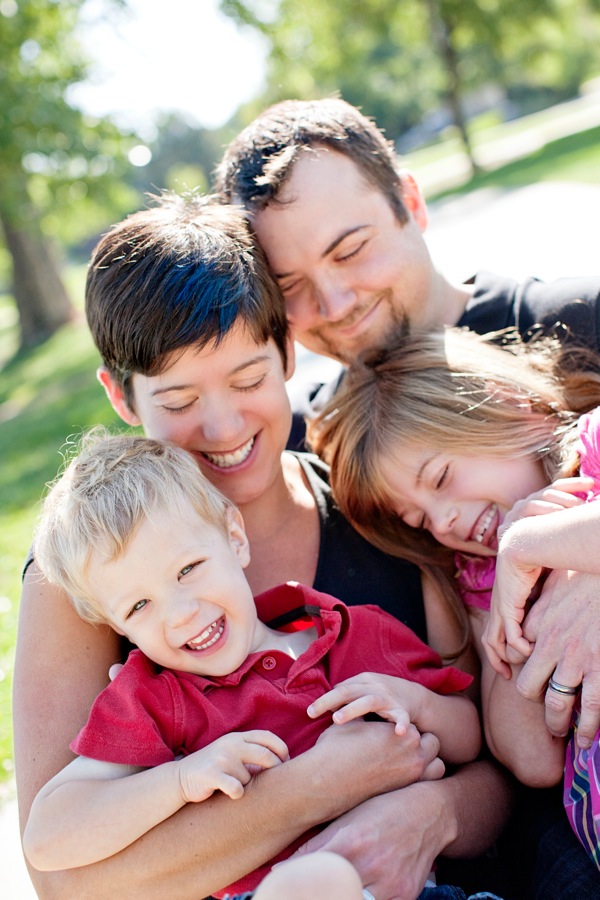
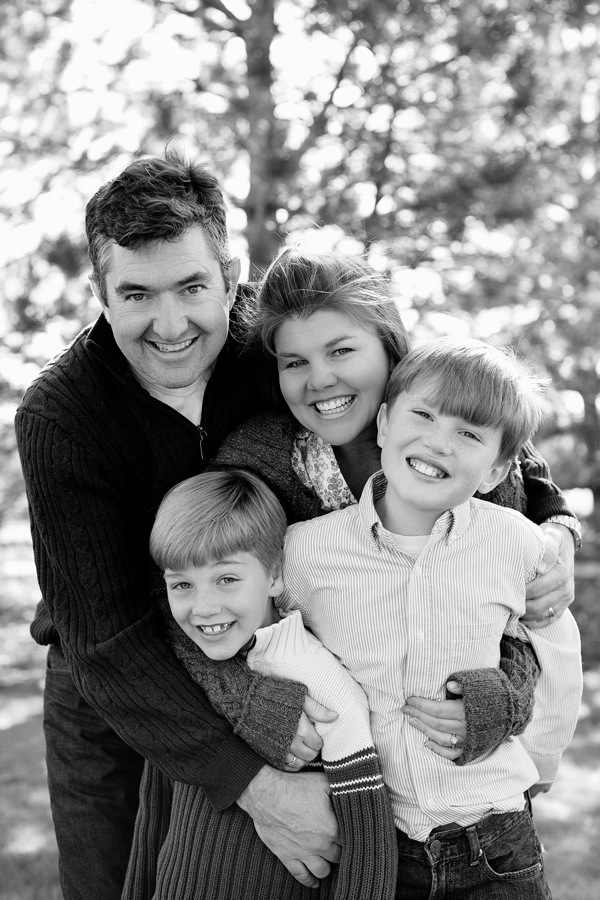
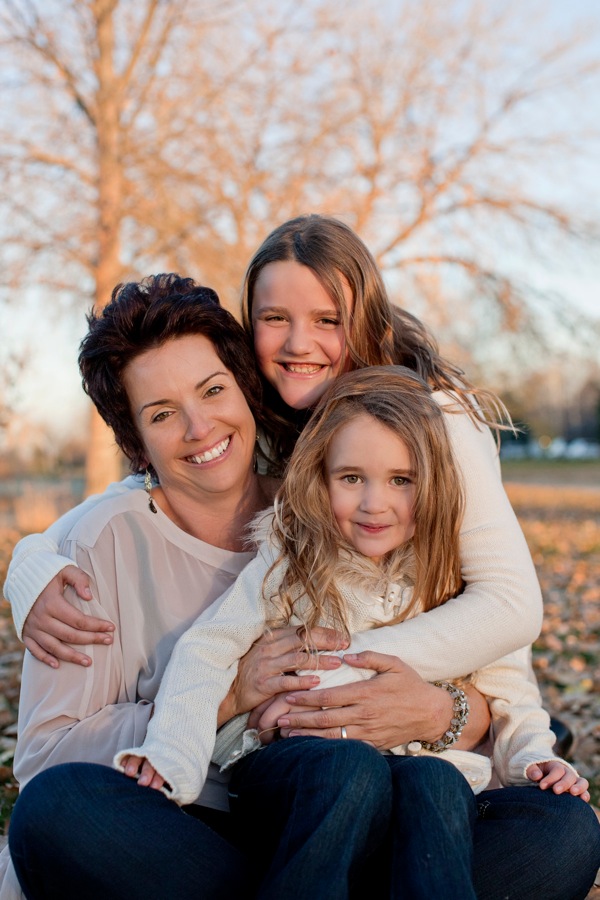
There is nothing more awkward than people standing together with their arms at their sides. With families, especially large groups, try and have your clients connect with each other.
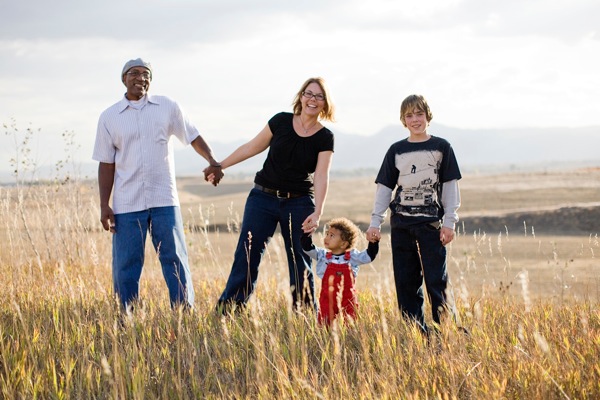
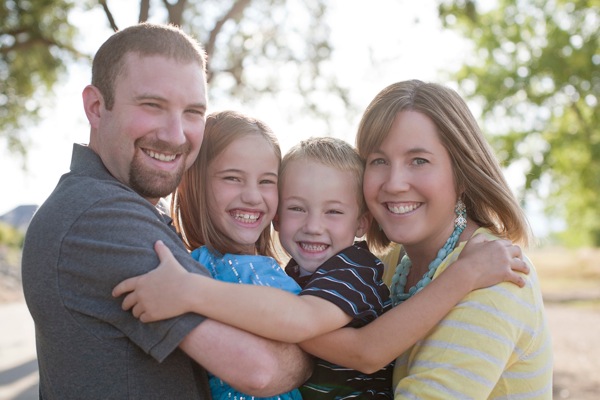
You can do this by grouping the main people (the parents or grandparents) in the center facing each other hugging, and then group smaller families where each family member is touching another person. This shows connection within small family units in the large family photo and shows warmth.

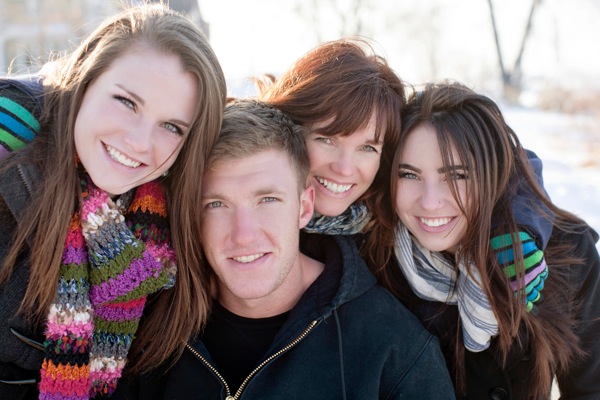
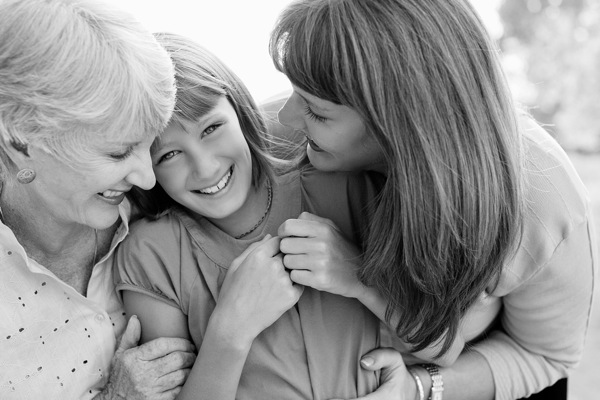
Resting hands on shoulders, holding hands, hugging and tucking fingers behind, resting a hand on someone’s arm, or having someone lean on another’s shoulders are all good examples of connection.
Connecting people in a photo also gets rid of this most often heard question, “What do I do with my hands?”

For the people that you pose on the edges of the family portrait, be mindful that they look in toward the center so that they don’t seem out of place. If they are male and there are no children present, have them put one hand in their pocket. If they are female, make sure they aren’t standing too short or they will look out of place.
Chairs and Stools
If you are photographing at a venue, say a wedding reception, you may have the chance to use chairs or stools for posing.
In this case, try and place them throughout the photo so that they don’t line up perfectly. You’ll want to space them out according to the number of people in the portrait, always keeping in mind the triangle rule.

Chairs tend to work better than stools because the stool height can create really big valleys in your triangle posing if the person is too tall or too short in relation to those around them in the portrait.
Natural Posing
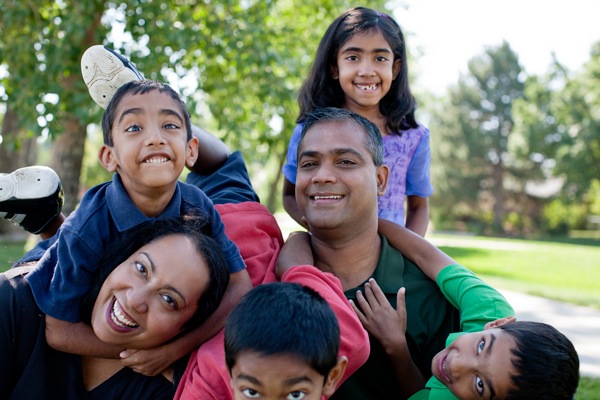
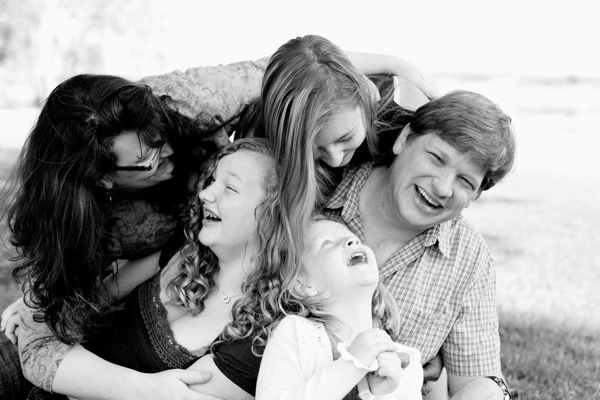
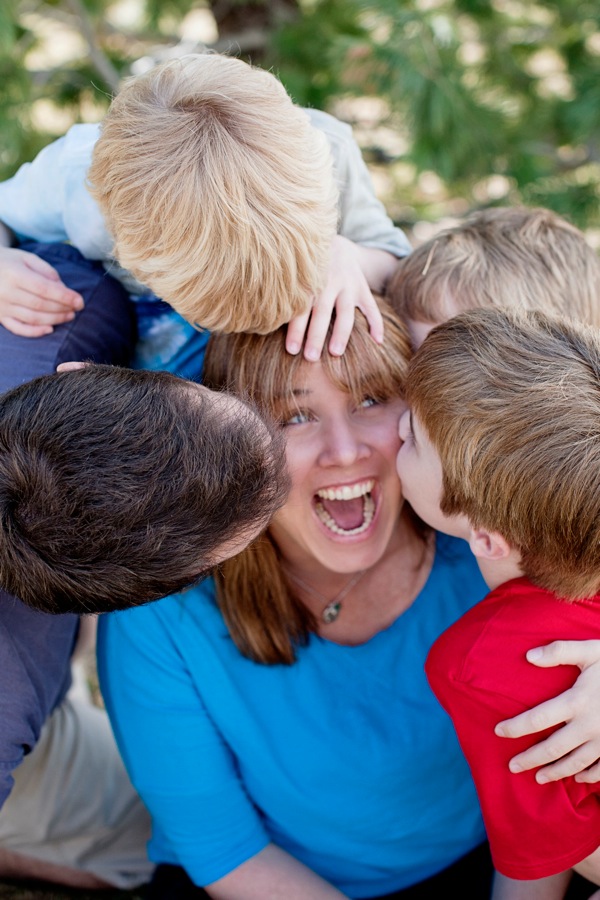
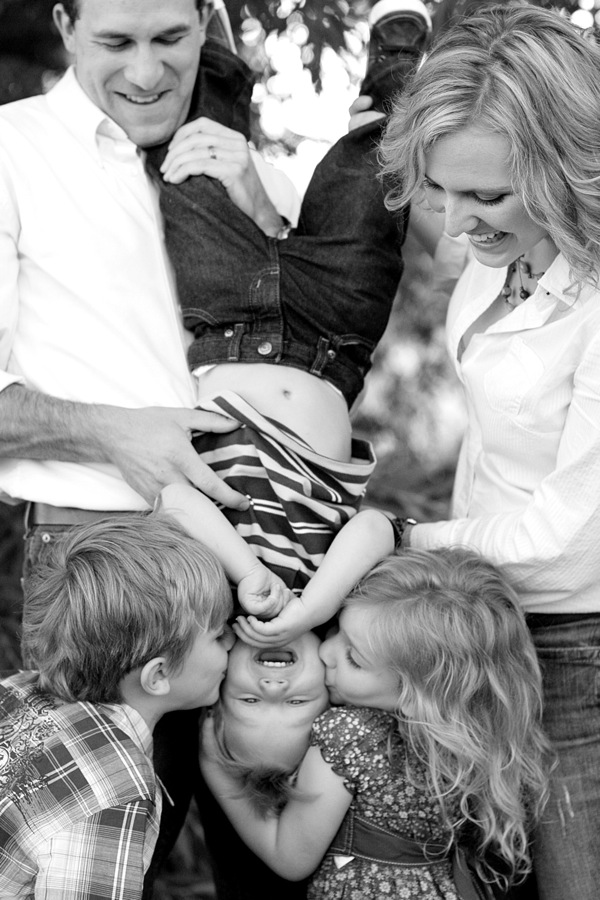
Once you have taken the best-posed portraits of the large group, have them loosen up a bit by asking them to do a group huddle or squeeze. This will get some laughs out of your clients and allow them to let their posed bodies rest for a bit.

Asking the family to take a break can offer some great natural posing. This man had his whole family together after many years and was overcome by joy.
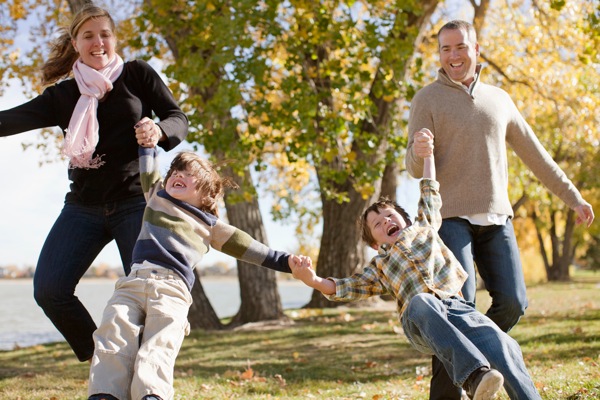
Ask your group to walk around, talk to each other, and just be. Look out for the children in particular, as they’ll usually act the most natural.
This collection of natural posing will often make for the most emotive portraits because they will portray the family just as they are. Even better if they are in a location that is fun or open where they can enjoy a walk or play games.
Photograph Family Units Separately
When you photograph families with grandparents or more than one family unit, make sure to photograph each family separately and together. Pose each family together in the larger portrait first, then, if you have time, mix them up a bit and have some fun.

Ask them to play, run, walk, do a group hug, or anything that will create authentic smiles and expressions from the oldest to the youngest.

Take time to get portraits of the adults as well. Either in couples or individually.
This also helps to break up a session with little children because they can get bored quickly.

Photograph children individually.
Try different combinations with the families, for example:
- Grandparents with the grandchildren
- Grandchildren together
- All of the children of the parents together with and without the parents
- Each couple in the family alone
- Individuals portraits of each child
- All the men together
- All the women together
- Generational photos
- Cousins together
- Brothers and sisters with and without in-laws
- Each grandparent alone and together

Not all of those may apply to each large family portrait, but they can help you to add to the collection of poses that you’ll deliver to your clients.

Take photos of the whole family together and then take photos of just the children.

Make sure to get generational photographs like this one of the 4 generations of men in the family.
Wrapping up
Before you wrap up the session, ask your clients if there is any portrait or pose that they specifically want. Some large families may bring a prop for everyone to use like shirts. There may also be a combination that you missed or didn’t think of that they would like to get.

Asking, “Is there anything else you’d like me to photograph before we leave?” can also be a great way to end the session once you feel you have gotten all of the best photos.
Giving your clients the chance to make sure they get all of the portraits they want is key for you to do a complete job with their photographs.
In conclusion
Posing large families can seem like a big challenge, however, using the triangle posing method can help tremendously in getting different combinations and poses. This will give your clients an assortment of poses and keep the whole experience fun and light which will make them want to get more portraits taken in the future!
The post Tips for Posing Large Families and Groups appeared first on Digital Photography School.


 [LINE1]

You must be logged in to post a comment.