Have you ever done macro photography? If you have, there is little doubt that your first experiences with it were magnificent. What a cool aspect of photography! If you haven’t, give it a go and experience the world up close and super personal. Some photographers go crazy about it and although I have taken my fair share of macro photos, and have even purchased a dedicated lens for macro photography, I don’t want to spend wads of cash on a photographic style that is not my main niche. That doesn’t mean I don’t strive for the best photos I can get, it just means I need to be a little more creative.

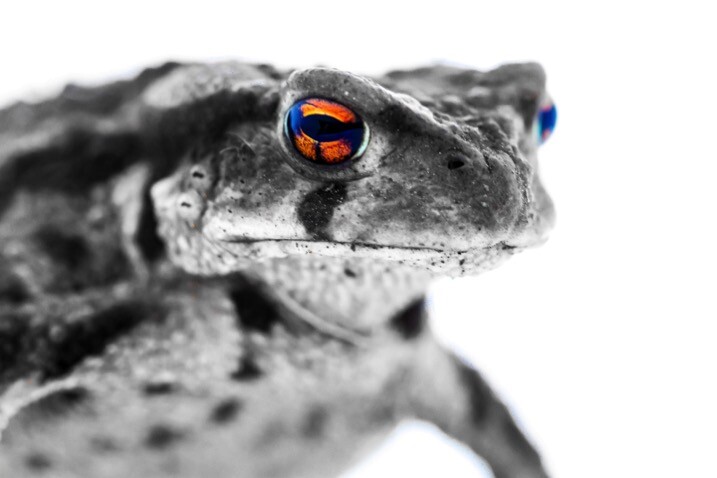
A toad I stumbled upon on a mountain trail.
There are so many gadgets and gizmos that you can buy to help modify light such as flashes, soft boxes, reflectors, etc. Attachments like slide rails can also help you image stack in post-processing. However, I use macro photography simply as a change of pace and to help me keep honing my skills. So, I would like to share a very simple trick that I use that you can to without having to spend a penny. So what is it? Well, let’s first look at an important concept about macro photography so you will get the best results when you are experimenting based on this tutorial.

Depth of field
The first tip and technique that we need to think about before I reveal my simple method, is depth of field (DoF). Generally, in macro photography, you will be really close to your subject, especially if you use a designated macro lens. If you use a telephoto lens with an extension tube, you may not be as close but due to the focal length you will still have a very narrow depth of field.
So to keep in true macro fashion your best option to increase your depth of field is to increase the f-stop. Thus you will need plenty of light. For my trick, the sun is all you will need. No need to spend any money. If you want to brush up on all the parameters that go into depth of field then please check out this articles: Depth of Field and the Importance Distance to Subject Plays.
The trick is – a white paper bag
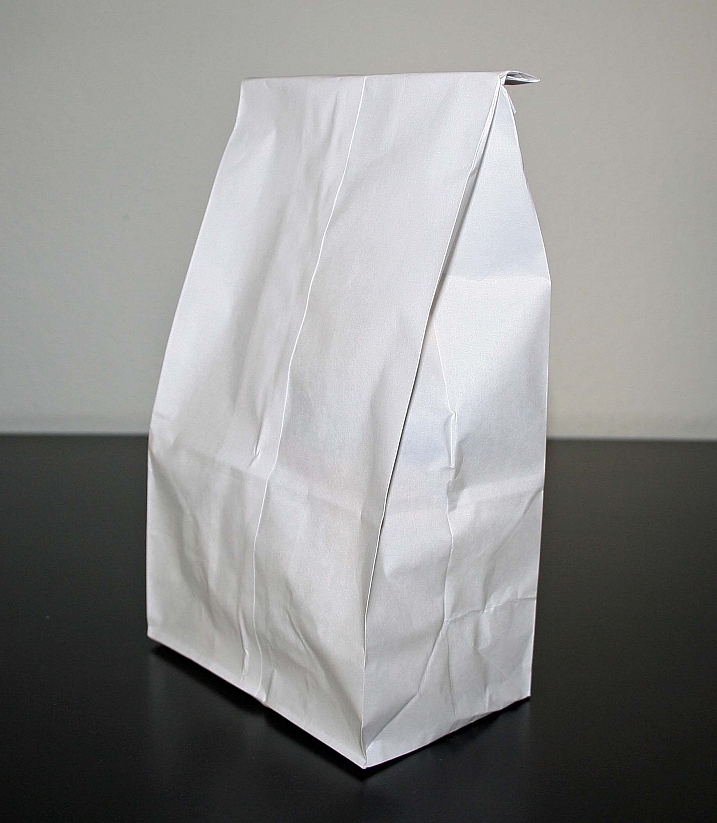
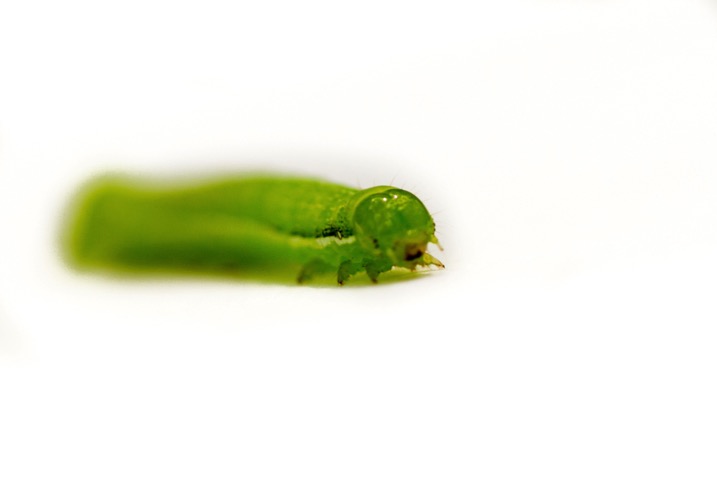
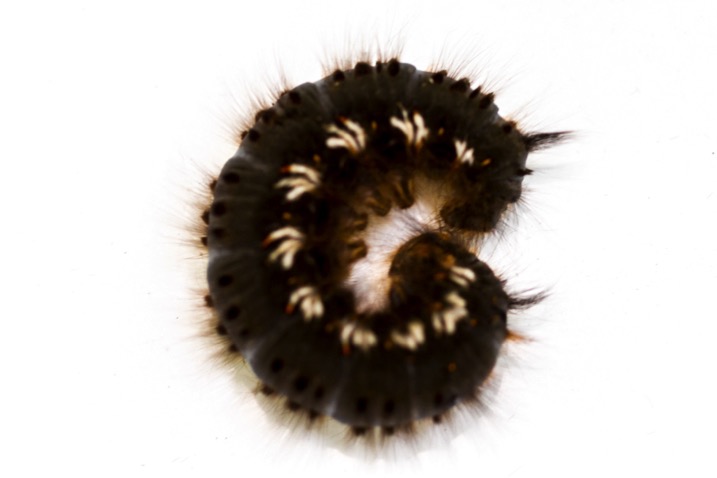
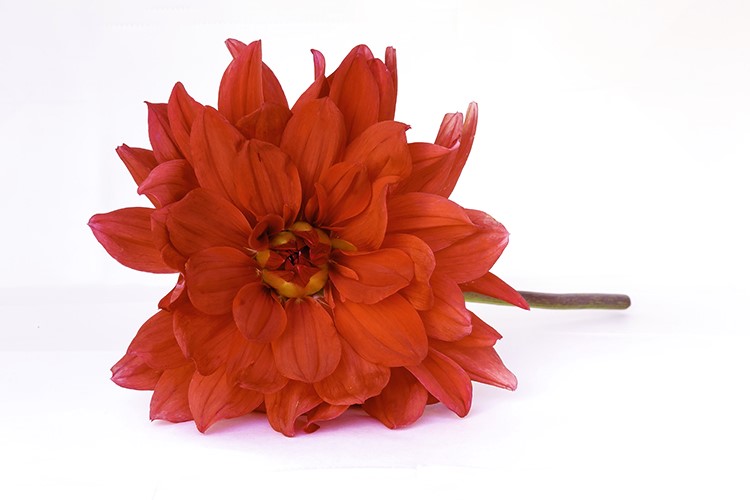
So what is the trick? Well, it is a large white paper bag. The best ones I’ve found are the shopping bags that you get from mid-range clothing stores which are made of fairly thin white paper. Yep, that is it, a white paper bag and you have your own lightbox or white box.

By Jeffrey Beall
A smaller sack would work too, but obviously, that limits the size of what can be placed inside. Fold your bag up and out the door you go to find, critters, animals, flowers and fauna, or beach treasures.
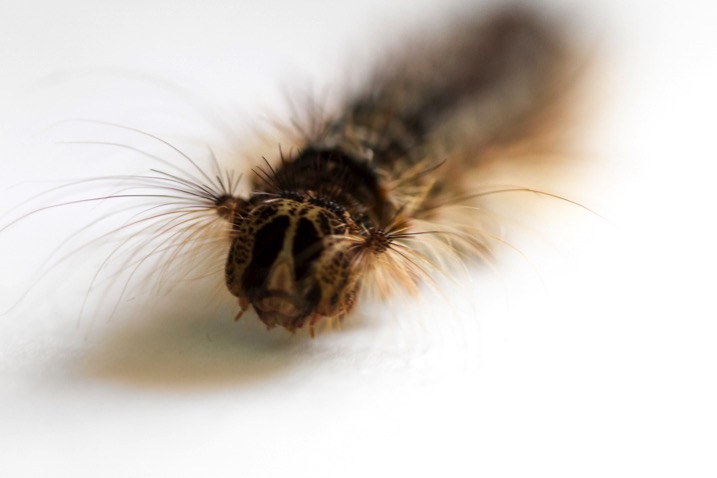
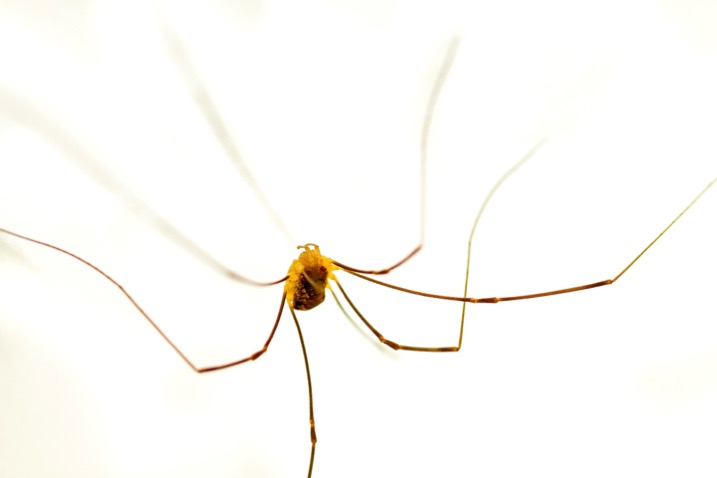
The white paper is translucent so light will permeate the bag and create a white-box, also known as a lightbox. If you shoot when there is strong sunlight, there will be enough light to give you shadows. And because the light source (the paper bag) is so close to the subject the shadows are extra soft and very pleasing. Thus, you can create fantastic results with something you may already have in your cupboard or closet.

Working with small critters
The second tip is about the bugs, butterflies or animals that you choose to place in your bag. The anxiety of a living creature is most likely going to be high after you capture them and stick them into a foreign environment. For the sake of the creature, let it calm down. Place it in your paper bag, close it and let the creature calm down for a minute or two.
This will also give you time to get your camera in the proper shooting mode and adjust the settings. From a photography standpoint, giving your subject time to become calm will allow it to slow down or even become still. Thus you will have a good opportunity to get crisp, clear and clean shots. Remember to kindly capture and release any living thing back into their habitat.

Use exposure compensation
The third tip is another technical one and is about exposure compensation. The bag is white so you need to increase your exposure compensation by a minimum of a plus half a stop to get the best results so that the white bag will appear white.
Remember your camera does not have a brain and will automatically adjust your exposure to 18% grey. The goal is to achieve a nice clean white background, so you need to increase your exposure compensation. If you’re in manual mode make sure that you have adjusted your settings to overexpose your photo (plus side). Even if you completely overexpose parts of the white bag, as long as your subject is properly exposed you will be okay.
The goal is a white background with subtle shadows from the subject. If you need to refresh your understanding of exposure compensation you can check out the following: How to Use Exposure Compensation to Take Control of Your Exposure.

Other uses for the bag
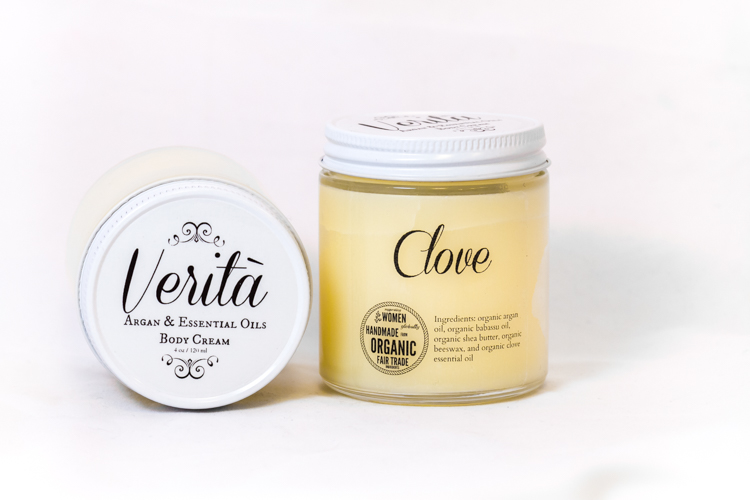
This cheap and easy lightbox can be used for all kinds of subjects. Even for product photography if you are in a pinch. It works best in strong, full sun, so the light can penetrate the paper and let you keep your ISO settings low.


The only subjects that this method really doesn’t work for are white subjects (e.g. sun bleached seashells).
Your turn
Now you have few excuses but to get out into the field and get some cool new photos. Please share your white bag photos below along with your comments or question.
googletag.cmd.push(function() {
tablet_slots.push( googletag.defineSlot( “/1005424/_dPSv4_tab-all-article-bottom_(300×250)”, [300, 250], “pb-ad-78623” ).addService( googletag.pubads() ) ); } );
googletag.cmd.push(function() {
mobile_slots.push( googletag.defineSlot( “/1005424/_dPSv4_mob-all-article-bottom_(300×250)”, [300, 250], “pb-ad-78158” ).addService( googletag.pubads() ) ); } );
The post The Cheapest and Easiest Lightbox Macro Photography by Branson Quenzer appeared first on Digital Photography School.

Digital Photography School

