RSS
 

Posts Tagged ‘Dish’

What Size Beauty Dish is Right For Your Portrait Photography?

03 Jul

The post What Size Beauty Dish is Right For Your Portrait Photography? appeared first on Digital Photography School. It was authored by John McIntire.
What Size Beauty Dish is Right For Your Portrait Photography?

Beauty dishes are common and well-loved lighting modifiers. They are particularly useful for portraits (beauty is in the name after all). They also tend to be a lot cheaper than decent sized softboxes. Years ago, your choice of beauty dish was quite limited. Nowadays, if you try searching for beauty dishes, you will be presented with a multitude of options that greatly vary in size and even how they set up.

2- What Size Beauty Dish is Right For Your Portrait Photography?

Although the numbers don’t seem to be that different, the actual sizes of these beauty dishes vary greatly, and they all have a distinct effect on the light in your images.

What do you do when faced with this kind of choice and how do you know what size beauty dish you should buy? This article discusses three common sizes of beauty dishes and shows you what effect they have on your images. All of the beauty dishes discussed here are silver, and none of them are collapsible. As long as they are of decent quality, the fact that a beauty dish is collapsible should have no impact on your images.

What is a beauty dish?

Three different size beauty dishes. Left: 16″ Middle: 20″ Right: 27″

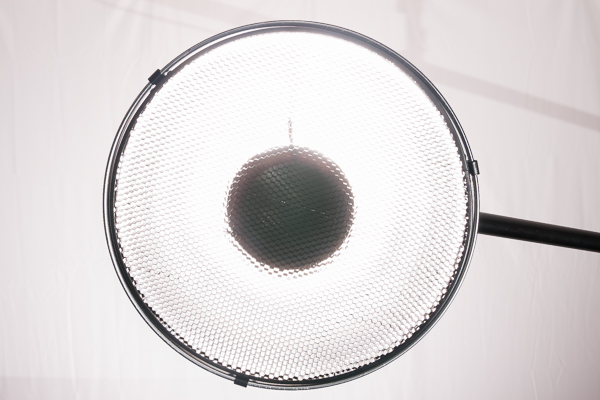
Beauty dishes are bowl-shaped modifiers that are known for the contrasty light they provide. The quality of light is usually somewhere between hard and soft (when brought in close to your subject). This sets them apart from other modifiers, like umbrellas and softboxes, where the goal is to achieve the softest light possible. This allows you to achieve well-defined edges and shadows, but still retain a flattering light on your subject.

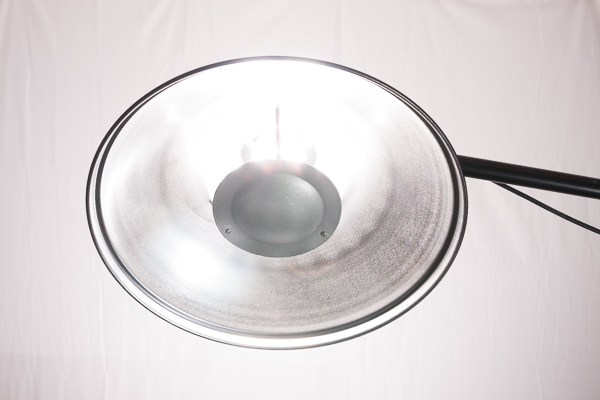
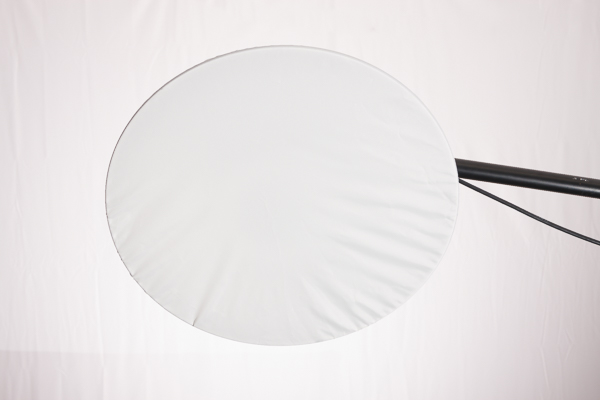
This image shows an unmodified beauty dish on the left. A gridded beauty dish in the middle, and a beauty dish fitted with a diffusion sock on the right.

Often, you will find that beauty dishes come with grids and diffusion socks to help modify them further. Grids alter and increase the directionality of the light, while diffusion socks diffuse the light further, softening it a bit and altering the shape.

What sizes are there?

Any search for a beauty dish should reveal a huge amount of results these days. You can find tiny beauty dishes that are only a few inches across that are designed for flashguns and you can find massive beauty dishes that would be ideal for lighting groups of people. This article compares three sizes that fall more into the normal sized category. These are a 27″, 20″ and 16″.

All three beauty dishes were positioned the same distance from the subject to clearly demonstrate the differences in the effect they provide.

1. 27″

At 27-inch in diameter, this beauty dish is at the upper reaches of what you can expect to find in terms of size. When it’s in close, the light it provides is really soft and is comparable to a medium-sized softbox, but with a bit more contrast to it. It also provides large catchlights in your subject’s eyes.

Because of its size, it’s easy to bring the light further away from your subject to achieve a similar effect to that of smaller beauty dishes, while giving you more room to work. This beauty dish would also be great for lighting multiple people, whereas smaller dishes might struggle.

The 27″ beauty dish provides really soft light when placed in close. Pay attention to the shadow and highlight transitions as well as to how the light wraps around the subject.

There are a couple of disadvantages to a beauty dish this big. The bigger the light source is in relation to your subject, the less bright your subject’s eyes are going to be. If you want bright, clear eyes, a smaller beauty dish may be the way to go. It is also harder to control the light fall off (without a grid) as the bigger source will cast more light behind your subject.

2. 20″

The second beauty dish we’re going to discuss comes in at 20 inches. This is pretty close to what may be considered a standard size for a beauty dish (if there is such a thing). Placed a few feet (1-4) away from your subject, the qualities of light it produces are great for all sorts of portraiture and for a wide variety of subjects.

It is great for male and female subjects, though for flattering portraits of older people you may want to consider not using a beauty dish. Instead, opt for large softboxes and umbrellas. As the beauty dish isn’t a great deal bigger than your average subject’s head (from an appropriate distance), you also have good control over the light fall off, and you have even more control when you introduce a grid.
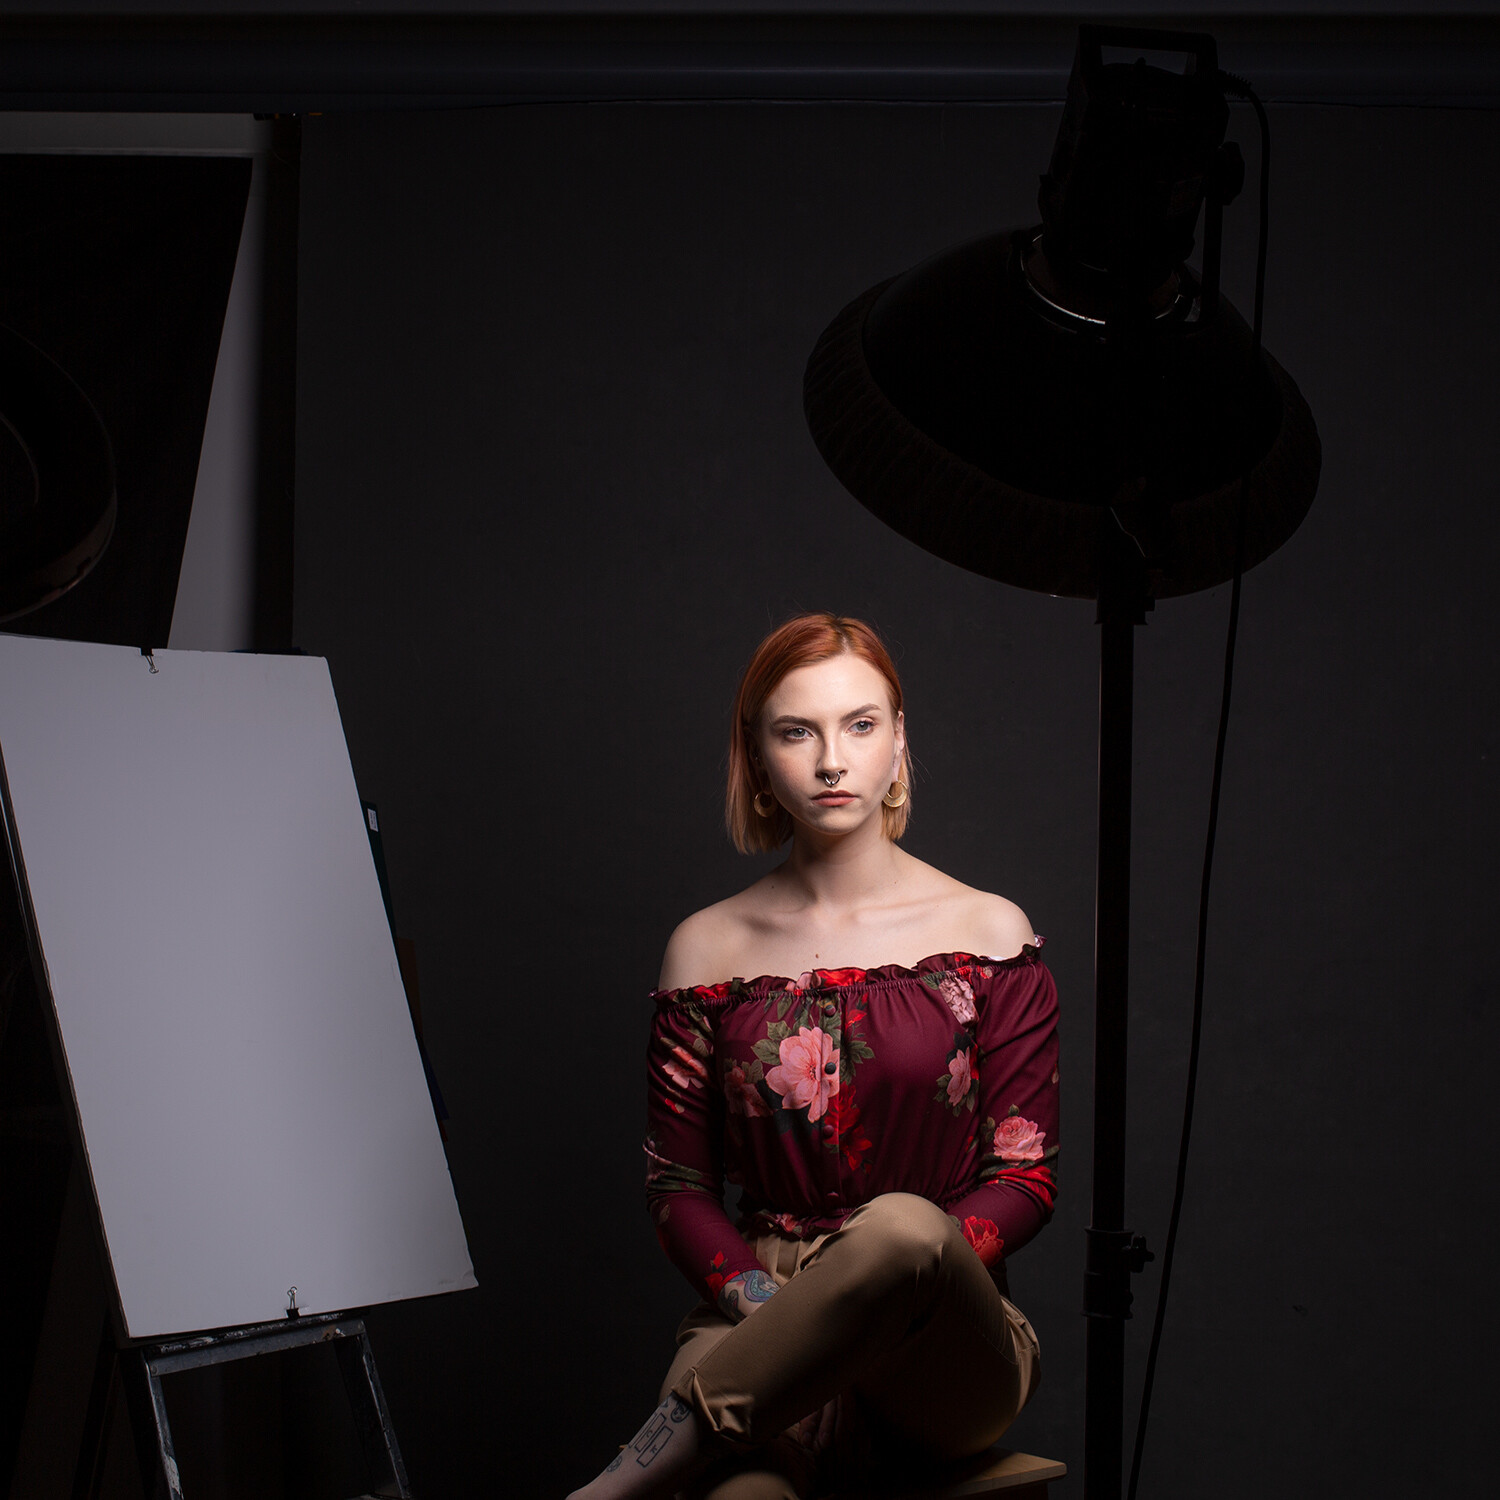
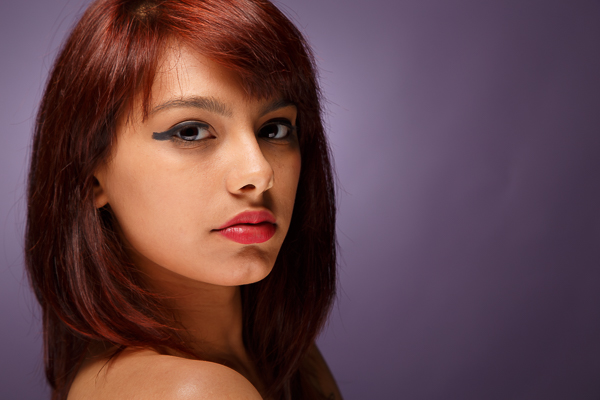
The 20″ beauty dish also provides good, soft light but the edges of the transitions from shadow to highlight are more defined. You’ll also note the light wraps around the subject less and results in darker shadows toward the back of the subject’s head.

3. 16″

This last beauty dish is 16-inches in diameter. This is the size that I have used the most ever since I bought it well over a decade ago. You can see in the images just how battered and well-used it is.

Because it is quite small, it is easy to control and great to bring in really close to your subject. This beauty dish clearly lights and defines your subject’s eyes. The harder light source also provides clearly defined edges between shadows and highlights but in a flattering manner.

If you want to reduce light fall off as much as possible, this size is definitely the way to go. However, if you want to increase it, you are better off with a larger modifier. This is because moving this beauty dish any distance from your subject will result in really hard light that you might find unflattering to most subjects.

The 16″ beauty dish also provides excellent light. Here you can see the transitions from shadow to highlight are clearly defined. Also, the rapid light fall off means the areas towards the back of the subject’s head are more in shadow.

In terms of portability, this size beauty dish is great. It doesn’t weigh very much at all and just carrying it in your hand takes minimum effort.

When used as something other than a key light, this size beauty dish is really effective. Its small size makes it unobtrusive and easy to position anywhere you need, whether that’s for use as a hair light or fill.

What size should you get?

Left: 16″ Middle: 20″ Right: 27″

Some of the differences between these three modifiers can be subtle and hard to spot if you’re new to lighting. If you’re still wondering which you should opt for, my best advice (which is by no means gospel) would be to evaluate what you need it for.

Do you need portability? Get a small one or consider a collapsible one.

Will you be shooting groups of people often? Go for the largest one you can.

Are you shooting in a small space? Go for the small one again.

Are you shooting in a large space where you can’t get the lights very close to your subject? Again, go for the biggest one possible.

Whichever you choose, make sure that it comes with both a grid and a diffusion sock for the most control possible.

No matter which way you choose to go, you are going to find yourself with a versatile and useful modifier that will last you for years.

Have you used these modifiers? Share your thoughts with us in the comments below.


what size beauty dish

The post What Size Beauty Dish is Right For Your Portrait Photography? appeared first on Digital Photography School. It was authored by John McIntire.


Digital Photography School

 
Comments Off on What Size Beauty Dish is Right For Your Portrait Photography?

Posted in Photography


How to Create Abstract Photos with Oil and Water and a Little Dish Soap

03 Aug

Oil and water are like chalk and cheese. They just aren’t the same are they? But despite their seeming incompatibility, each brings out the qualities of the other. As photographers, we love a good juxtaposition. There’s nothing that creates balance better than imbalance – well, it’s definitely the case here, at least. So in this article we’re going to use that to create some abstract photos.

For this project, we are going to create a body of images that look as if they come straight out of a chemistry class instructional… or a 60s liquid light show. With two philosophically opposed house hold items, several more amicable components, and a camera. The process is simple and the results are abstractedly beautiful and a little trippy too. Intrigued? Check it out below.

How to Create Abstract Photos with Oil and Water and a Little Dish Soap

How to Create Abstract Photos with Oil and Water and a Little Dish Soap

Things you will need to do this:

  • Camera
  • Sheet of glass
  • Two objects to set your glass on (I used milk crates but chairs and even stacked books work too)
  • A macro lens or extension tubes (I used my Kenko extension tubes)
  • Tripod
  • Towel
  • Some colorful materials
  • Oil (it doesn’t really matter what type, I used vegetable oil)
  • Dishwashing liquid soap
  • Water
  • Eyedropper or spoon

Find a background material

First, you’ll need to gather a few materials for the background of your image. You are looking for colored cardboard, magazines, posters, cloth, scraps – anything with a bit of color that won’t be missed if it gets coated in a little oil or dish washing liquid. Duller toned materials like brown or black won’t reflect light as readily, so aim for brighter colors to begin with.

Don’t worry too much about intricate patterns or details as they wont show in the final image. While you are scouting for materials, grab an old towel too, it’ll come in handy later.

How to Create Abstract Photos with Oil and Water and a Little Dish Soap

For my abstract oil project I selected a cardboard gift bag I had around the house and a reflective folder I flattened out. The bright color combinations of the bag will create smooth, vibrant gradients. The reflective sheen of the folder will guide a greater amount of light up through the image, but the holographic flowers can yield surprisingly subtle results.

How to Create Abstract Photos with Oil and Water and a Little Dish Soap

The reflective cardboard I used for this image directs small speckles of light up into the splotches of oil. The overall grey tone of the cardboard contrasts with the flecks of colors to create a surrealistic, rainy atmosphere.

How to Create Abstract Photos with Oil and Water and a Little Dish Soap

This is an image with the Happy Birthday bag as a backdrop. None of the details are discernible, but a soft gradient separates the image into soft hues

Setting up

One you’ve assembled a neat pile of colorful bits and pieces, it’s time to set up. The aim here is to construct a bridge of sorts for your sheet of glass to sit on. To reduce the impact of a potential oil-spill, I set my rig up outside. Wherever you choose to setup just make sure you work on flat, even ground. Grab your milk crates (or chairs, etc.), set them down a little distance apart and set the glass between the two. Now take a few of the colorful materials you’ve selected, and position them on the ground, directly under the sheet of glass.

To set up your camera, I strongly recommend using a tripod. Because macro lenses and extension tubes can reduce the amount of light reaching your camera’s sensor, the tripod will steady the camera for longer exposures. A tripod will also cut down the handling of your camera with oily fingers. Once your camera is locked into the tripod, turn it on, select Live View Mode and focus the camera on an area directly in front of the lens. You’ll need to be able to watch what you are doing on the LCD screen in the next step.

How to Create Abstract Photos with Oil and Water and a Little Dish Soap

Positioning my pane of glass between two milk crates, I then set my cardboard birthday bag in the space underneath. Using a tripod is highly recommended as this project requires a fair bit of hands-on adjusting and fiddling both behind and in front of the camera. The lemon tree is not mandatory

Time to start cooking

Gather your water, dish washing soap, oil, spoon (or eyedropper), and towel and place them within reach. Begin by adding a small spot of oil to the glass. Keeping an eye on your LCD screen will help you position your drops within the camera’s field of view. To build up layers of liquid, add dots of water or dishwasher liquid to the center of the oil. As the liquids span out over the glass, add in new droplets of the different ingredients. Alternating between ingredients takes advantage of their natural resistance to each other, delineating shapes and patterns more readily. If you like, you can use the tip of your spoon or eyedropper to manipulate the shape of the growing bubble.

That’s about it really! The rest is totally up to you. You can’t mess up, so don’t worry if you aren’t getting perfect circular bubbles or patterns. Allow the medium to take shape as you cycle through your three ingredients. Try running a spoon through the middle of the concoction to create smaller clusters of bubbles. Or use a greater ratio of dishwasher liquid to oil to enhance the spiderweb look of the cleaning chemicals. Even spritzing mists of water over the glass can make fascinating reflections.

Experiment with the background and elements

While you are watching the details unfurl beneath the camera lens, don’t forget to experiment with your background too! Add or remove materials, layer new colors, add materials which have a greater or lesser reflective surface. Use a flashlight (torch) to illuminate different areas in the image or shine the light up into the bubbles suspended on the glass.

There are no hard and fast rules – the more you experiment the more you’ll discover. And, once all your liquids have inevitably pooled in a messy, semi-clear river of goo, grab your towel, wipe down the glass and start again! A word of caution, however, this project can become an addition in itself, not only because it looks good, but because each result is so illusive and unpredictable.

Have fun and share your abstract photos made from oil, water and dish soap in the comments below.

This smooth effect was created as the oil and dish washing liquid slowly spread over the surface of the glass

The delicate strands in this image is a result of the dish washing liquid being spread across the glass surface with a spoon


This image was photographed with a single color background. The consistent color illuminates the beads of oil and water in the light

The post How to Create Abstract Photos with Oil and Water and a Little Dish Soap by Megan Kennedy appeared first on Digital Photography School.


Digital Photography School

 
Comments Off on How to Create Abstract Photos with Oil and Water and a Little Dish Soap

Posted in Photography


Video: How to make a DIY ‘beauty dish’ for $12

12 Jul

Photographer and YouTuber Joe Edelman is a bit DIY obsessed when it comes to portrait gear—from DIY gobos, to a reflector holder, to a portable background stand, he’s created some pretty interesting things. But this poor man’s DIY ‘beauty dish’ might be his most useful creation yet.

A beauty dish, as Edelman explains in the video, is a light modifier that turns a bare bulb flash into a large direct light source with rapid fall off and no hot spot in the center. It creates a fairly harsh light that is unforgiving, but desirable in portrait lighting situations where you really want to carve out your subject’s features.

If you’re a novice you might occasionally want this create this look, but not so much that you’re willing to spend $ 60, $ 70 or $ 80 on a bona fide beauty dish. What’s a poor (literally) photographer to do?

Left: Edelman’s DIY ‘beauty dish’ made from an umbrella and a piece of foam core. Right: sample photo shot with this modifier.

Edelman’s solution is to use a 30-inch photography umbrella, place it strategically close to your subject for faster fall-off, zoom your speedlight as far in as you can, and cut out a 12-inch circle of black foam core to place in the middle.

All together, this hacked-together modifier can cost as little as $ 12 ($ 11 for a 33-inch umbrella, $ 1 for some foam core at your local WalMart).

Sure, it’s not a ‘real’ beauty dish, and maybe you can hack together a more accurate facsimile in your spare time, but it’s portable, takes about 5 minutes to ‘make’ and the results are remarkably similar to a real beauty dish.

Check out the full video up top and then head over to Edelman’s YouTube channel if you want to see more tutorials like this one.

Articles: Digital Photography Review (dpreview.com)

 
Comments Off on Video: How to make a DIY ‘beauty dish’ for $12

Posted in Uncategorized


On Assignment: Leaf and a Dish

22 Mar

As photographers, we often have to do outdoor portraits. And if we are lighting, that means hauling a lot of gear, fighting a lot of sun and dealing with the wind. But lately I've been working to pare the gear pack down to something that is reasonable in terms of cost, size and weight.

The photo above is a good example of what can be done with a minimal amount of well-chosen gear. With a little advance thought, you can overpower the sun, have good mobility and not have to worry about the wind.

Read more »
Strobist

 
Comments Off on On Assignment: Leaf and a Dish

Posted in Photography


Profoto launches collapsible OCF Beauty Dish

08 Mar

Profoto has launched the OCF Beauty Dish, a collapsible, lightweight, fabric version of its Softlight Reflector. Unlike the Softlight Reflector, the OCF Beauty Dish can be collapsed and stored in a carrying case when not in use, making it a more attractive option for photographers on the move.

The OCF Beauty Dish is available in silver and white versions, and includes a diffuser, deflector plate, and carrying bag. Including the deflector plate and speedring (the latter of which is sold separately), the entire beauty dish weighs 1.1lbs/.48kg and measures 56 x 56 x 22 cm/22 x 22 x 8.7 in. This model can only be used with Profoto’s B1 and B2 flashes, however.

The OCF Beauty Dish is available now from Profoto’s website for $ 179.

Articles: Digital Photography Review (dpreview.com)

 
Comments Off on Profoto launches collapsible OCF Beauty Dish

Posted in Uncategorized


5 Ways to Use a Beauty Dish Light for Portraits

12 Apr

The beauty dish. It’s one of my favorite light modifiers, which is why I’m so excited to share some techniques you can try with your beauty dish. Don’t have one? Not to worry. There are plenty of DIY beauty dish project plans online. I’ve actually made them out of aluminum turkey pans. When you decide to step up to a more professional beauty dish, however, they are usually not as expensive as most light modifiers and you can get them for speedlights or studio strobes.

Beautydish 2

Beauty dishes are a niche modifier usually reserved for beauty shots. These tend to be head and shoulder portraits that highlight makeup and hair, and are commonly used in the fashion industry. So why should you try it? Well, it’s fun to see if you can make images like you see in the fashion magazines, it’s also very creative. You really have to plan and construct the entire image. This may include everything from your choice of background, lighting setup, and hair and makeup.

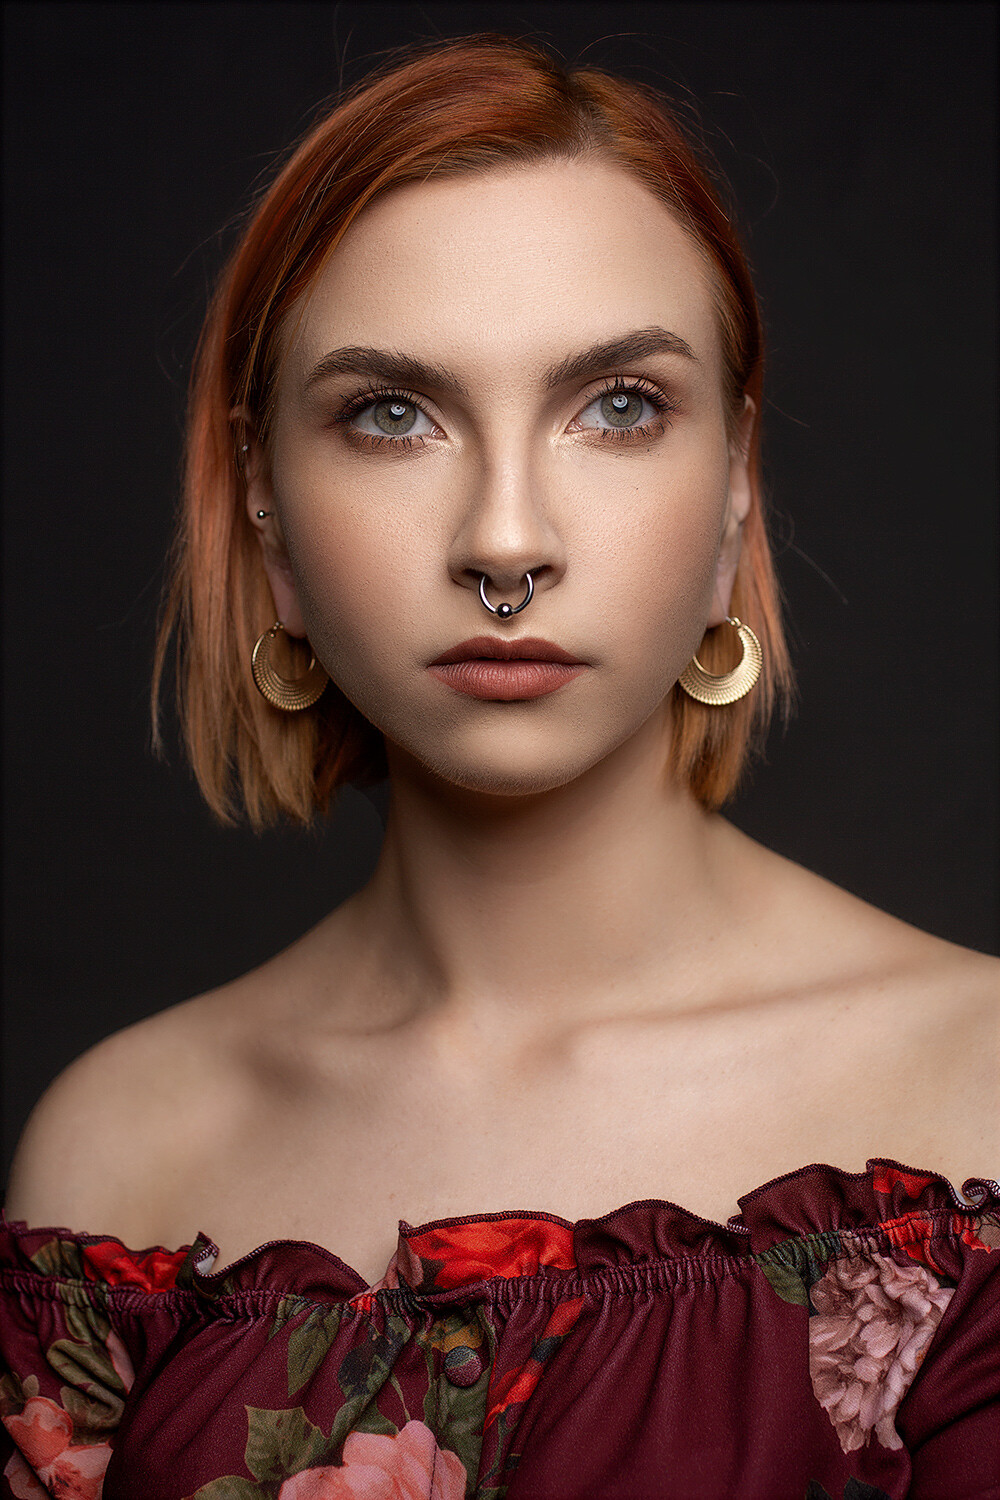
The quality of light produced by a beauty dish is not as soft as a softbox, but it is softer than an umbrella, and not as hard as just using a 7 inch reflector. The light falloff is quite rapid, which helps to sculpt the subject’s face and to show texture in their skin. Beauty dishes often produce nice catch lights in the eyes and shadows under the jaw line. They are versatile modifiers because you can change the quality of light by choosing a dish with a silver, or white, inner surface. The white surface will produce slightly less specular highlights on the subject’s face. You can also control the spill of light by using a grid and even further soften the light by adding a sock over the front.

Beautydish 3

When you plan a shoot using a beauty dish, only use it on clients or models with very good skin because the light pattern it produces can show off imperfections like wrinkles and blemishes. It’s also helpful to find a good makeup and hair artist because you will be showing off the subject’s face in detail. If you’re not ready to pay a makeup artist for this service, you can offer them a trade for images so they can expand their portfolios; or, if you’re really lucky sometimes you can find a model that is skilled at doing her own makeup.

When setting up your camera, I recommend a lens in the 85-200mm range. I use studio strobes and an aperture around f/8 or f/11. I would also recommend using a boom arm because it will help you put the beauty dish in just the right spot, without getting in the way of your shot. The beauty dish will give you very nice light on the subject’s face. Keep in mind you often need to spice up the image with a rim (or accent) light, hair light or a background light.

Beautydish 3 2

Let’s get started with five ways to use your beauty dish:

1. One light with a reflector: Clam shell lighting)

This is the typical way you will see a beauty shot set up. The dish is positioned right above the subject’s face, pointed down slightly, so the center of the dish is aimed at the subject’s forehead, right between the eyes. The dish should be close to your subject to produce soft light, usually within two to four feet. When you set this up, make sure you can see catchlights in the top of subject’s eyes. Then add a reflector under the beauty dish to bounce light back up on to their face. This will help minimize the shadows under chin, and add a catch light at the bottom of the eyes. You will have to put your camera between the beauty dish and the reflector. Some photographers also like to add black cards on either side of the subject to help create shadows on the sides of the face.

Beautydish 1 2 Beautydish 2 2

2. Two light setup: Clam shell lighting

This is basically the same as number one above, except you use a strobe in place of the reflector. This allows you control of the power output of the fill light. I prefer to use a strip box for this purpose, set one or two stops darker (lower) than the main light.

Beautydish 7b Beautydish 8

3. Add a sock over the beauty dish

The sock is a piece of diffusion material, that looks like a shower cap, which you put over the beauty dish. This softens the light on the subject’s face, and if you are getting shiny spots it will reduce the specularity of the light. Using a sock will produce a creamy look, with less skin texture.

Beautydish 9

4. Add a grid to the beauty dish

The grid will focus the light into more of a spotlight type pattern, which can be used to create some interesting effects. Just make sure the grid is pointed directly at the subject or the light pattern will not strike the face correctly. The easiest way to check this is to make sure the subject can see directly through the grid to the light source.

Beautydish 4

5. Take it outdoors

The beauty dish is a great light modifier for outdoors because it’s more compact than a softbox, but can be used like one. The light quality will be softer than an umbrella, and won’t catch the wind as much as an umbrella or a softbox. It can be used as the main light source or as a fill light. If you use it as a main or fill light you can set it up at a 45 degree angle like you might use a softbox. When the light conditions are warm in tone such as sunrise or sunset, you may want to add a color temperature orange gel over the beauty dish to help blend the strobe’s light with the sunlight.

Beautydish 6

The beauty dish is a bit of a specialist tool that can produce wonderful lighting patterns when used correctly. However, it can also be used in many creative ways to produce interesting shots. I hope you have fun giving the beauty dish a try.

Beautydish 5

googletag.cmd.push(function() {
tablet_slots.push( googletag.defineSlot( “/1005424/_dPSv4_tab-all-article-bottom_(300×250)”, [300, 250], “pb-ad-78623” ).addService( googletag.pubads() ) ); } );

googletag.cmd.push(function() {
mobile_slots.push( googletag.defineSlot( “/1005424/_dPSv4_mob-all-article-bottom_(300×250)”, [300, 250], “pb-ad-78158” ).addService( googletag.pubads() ) ); } );

The post 5 Ways to Use a Beauty Dish Light for Portraits by Gary Detonnancourt appeared first on Digital Photography School.


Digital Photography School

 
Comments Off on 5 Ways to Use a Beauty Dish Light for Portraits

Posted in Photography


How to Gel a Beauty Dish, v.2.0

25 Nov

One thing I have learned about light and lighting: there's always different—and often better—way to do something.

A few months ago we ran a piece on gelling various soft light modifiers, wherein I listed my go-to ways to color soft light. But someone in the comments offered a different way—a way better way—and I have been using it ever since. Here's what he suggested.

Read more »
Strobist

 
Comments Off on How to Gel a Beauty Dish, v.2.0

Posted in Photography