What is spot color in an image?
Some people refer to it as selective coloring. However, these two techniques are not the same thing.
Traditionally, selective coloring is something that is done in post-production. Photographers would highlight a certain area of the image, or a certain object, and leave it as the only thing that has colored in the frame.
They would turn the rest of the image into monochrome, or on occasion increasing the color saturation of that object while lowering it in the rest of the photograph. This is to call attention or focus to that particular part of the image.

Do you remember the days of black and white prom dresses with red corsages? Or, do you remember a black and white image of a model with red lips? Those are classic examples of selective coloring.
Difference between spot coloring versus selective
Spot coloring uses the available colors in a scene and then composes the image so that one color stands out from the rest of the frame. Spot coloring is a technique that is used in-camera (done by the photographer). It works by placing a color against other colors that allow it to stand out in the composition.
Selective coloring is a technique where one color is prominent in the final shot whereas all the other colors have either been changed to monochrome or had their color saturation levels lowered during post-production.

The key with spot coloring in camera is to look for naturally occurring examples of color pops as opposed to making changes in post-production to highlight a particular color. This purple flower pops against the green of the leaves.
Before we move forward on this subject, I have to say that I am not downplaying or downgrading selective coloring versus the spot color technique. If there is one thing that this photography journey has taught me, it is that there is a market for every style of photography.
Each style of photography has its fans and its critics – that’s just the way the industry works. You just have to decide which camp you want to be in and run with that. I use spot coloring as I compose my shots in-camera. Unfortunately, rarely do I see a good use of selective coloring in post-production.

My lovely client, in her red sari, stood out against this historic yellow brick building. This is a perfect example of spot color. By placing the bright red clothing against the reduced color tone and vibrancy of the building, the eye is directed right toward the subject.
I don’t know about you, but being in front of the computer for an extended period of time editing my images is not the most productive use of my time. If I can get the shot as close to how I envision it to be in-camera, then post-production is just about adding the finishing touches so it becomes relatively easy.
Here is a link to another recent dPS article about tips for quick editing. For me, spot coloring is a way to achieve an effect that fits my brand, my aesthetics, and my style of photography. Also, note that a spot color in your frame doesn’t have to be bright and vibrant. Sometimes, color contrast or a change in color hue is enough to move the eyes to the subject.
Advantages of Spot Coloring In-Camera

Colorful Italian gelato against the brick façade gives the right amount of soft color pop in this “subtle” use of spot color.
Spot coloring in-camera, if done correctly, can help you in the following ways:
#1 – It provides a clear definition of your subject.
By isolating your subject by way of color, you give a clear definition of the subject and help it stand out in an otherwise busy/crowded frame.
#2 – It helps you understand the relationship between colors.
Some colors work together, and others just don’t. Understanding the relationship between complementary colors and opposing colors can go a long way to creating images that are aesthetically pleasing and on point for your brand and your portfolio.
When practicing your spot color technique, keep a copy of the color wheel with you when you are creating images or studying the images of others to see how colors work together or against each other. You can print a color wheel off of the internet or find one in your local art supply store.

By No machine-readable author provided. Bwilliam assumed (based on copyright claims). [GFDL, CC-BY-SA-3.0 or CC BY-SA 2.5 ], via Wikimedia Commons
#3 – Spot color makes images more impactful, images that have strong clear subjects.
These are more impactful when compared to images that are busy and cluttered and don’t give the viewer a sense of what is happening in the frame.
#4 – It slows you down to observe first and then click later.
When you observe a scene intentionally for the play of colors, patterns, and textures, you automatically slow down and learn to see first and then click the camera. Often, we are so focused on just clicking and getting something captured as opposed to photographing the right subject the right way.
If nothing else, this process will help you get away from the “spray and pray” mentality (photograph multiple frames at once and hope one of them works). Trying to use spot color can help you to slow down and analyze your scene. Ultimately, this will help you develop as a photographer instead of relying on the “spray and pray” technique.
Creative spot coloring can be done for any genre of photography: portraits, travel, and still life. Of course, some are easier than others, but this look is achievable in all these areas.
Spot Coloring in People Photography and Portraits

By choosing a pallet that complements the background, I was able to bring focus to my clients instead of having them blend into the frame. Here the red clothing worked really well against the white of the snow. This example is a bright, vibrant use of spot color. Note that they are not all wearing the same colors – but they do all have some common elements of the red which collectively looks well matched.
When you are photographing people (e.g. families and kids), a simple tool like a style guide can go a long way. I proactively send a style guide, or what-to-wear for your portrait tips list, to my clients where I suggest clothing options and colors – basically, pieces that I know will photograph well according to the season and location.
For example, if we will be shooting outside in a park or out in nature, I will suggest colors and outfits that will not compete with all the greenery. During the fall season when we have gorgeous colors in the trees, I will suggest colors that go well with the oranges, browns, and reds that Mother Nature shares with us. This way, when I am composing my shots and directing my clients, I will use poses that will ensure the photos are aesthetically pleasing and that do not have too many competing colors in the frame.
This is a “professional use” of spot color. I am going to coordinate the colors so that my client stands out from the background while looking pleasing at the same time.
Now, before you accuse me of manipulating the client experience, I have to point out that in all my eight years of being a family photographer, I have yet to come across a client who does not appreciate the what-to-wear tips that I send them when they book my photography services.
Most people are extremely uncomfortable being in front of the camera and get stressed out on what to wear and how to dress. Anything that can help alleviate that pain is going to be a welcome and much-appreciated thing. They have no idea that it’s actually a technical and aesthetic consideration on my part. It makes my job easier!
Spot Coloring in Travel Photography

This colorful costume of the guards in the Vatican, Rome really stands out against the pastel colors of the building facade and the iron gate.
One of the key considerations to creating compelling travel images is to be aware of what is going on around you. Location is just as important as light. When you get to a scene, take a quick look around and do a quick mental assessment of everything that is happening around you. Colors, textures, light, and the subject all play a very important role in the final outcome of the image.
Think about how spot color could work for your shot. If you are in a location that has generally muted tones and colors, look for a subject that is a contrasting color to the rest of the scene. If framed correctly, that subject will carry the entire weight of the image, and the other colors will work in harmonizing the overall image around that subject.
On the other hand, if you were to choose a subject more or less similar in tones and colors to the background, the subject will likely blend in and the entire image may lack that oomph that you were hoping for. If you are in a busy, colorful location with lots of activity, try to isolate your subjects against a monotone background, thereby giving the subject a chance to stand out from the commotion.
Spot Coloring in Still Life Photography

I love photographing food because that means I get to munch on it after as opposed to snacking on junk food! Plus, there is no better learning tool for the spot color technique!
This is one of the easiest genres of photography where you can practice spot color easily. Why? You have complete control over all of the color elements.
Remember when I said spot color is an exercise in understanding the color pallet? When you are planning your still life imagery, you can choose the colors (from opposite ends of the color wheel) to add that element of color pop to your images. You will also learn how effectively different colors work together to create a composition.
Spot color can be used with any genre of photography. However, the still life genre is a particularly useful learning experience because you have plenty of time and you control all of the colors that will be introduced into the picture!
Summing Up
I hope these examples help you to understand that just like many other techniques, spot coloring is a way to add creativity and fun to your images. Do you use spot color in your images? Share in the comments below.
The post How to Use Spot Coloring in Your Photos appeared first on Digital Photography School.

Digital Photography School
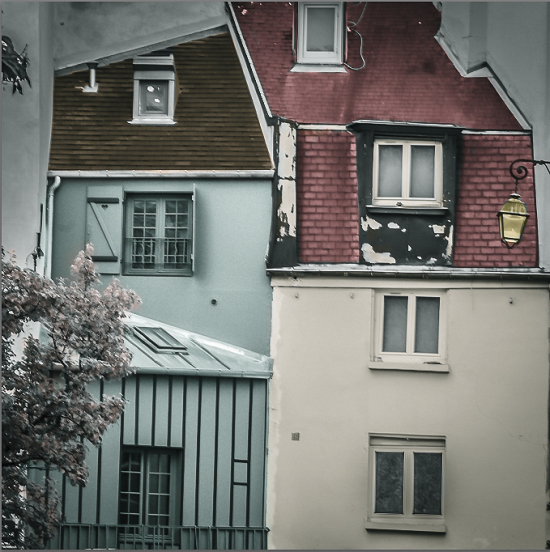
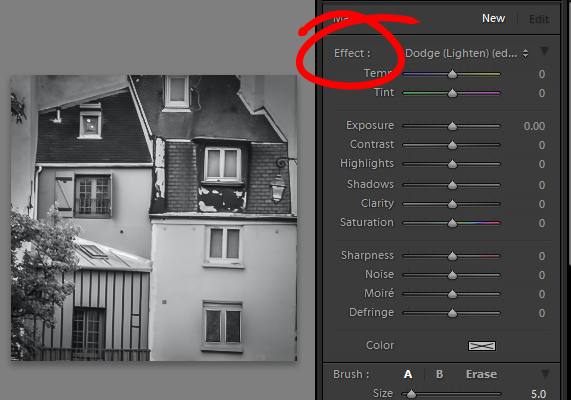
 let’s take this image.










 Your fifth grade baking soda volcano may not have turned out so well, but take our word for it this experiment is an easy and fun way to make abstract art!
 Set your dinner plate somewhere level and safe from getting knocked over, and then pour in a layer of milk.
  Grab your droppers of food coloring and add a few drops of each color to the center of your plate of milk.
  Apply a good dollop of dish soap to one end of a clean Q-tip.
  Dab your soapy swab into your milk and dye mixture and watch the colorful explosion!
  Grab a phone, compact, or DSLR and start snapping.
You must be logged in to post a comment.