RSS
 

Posts Tagged ‘Cold’

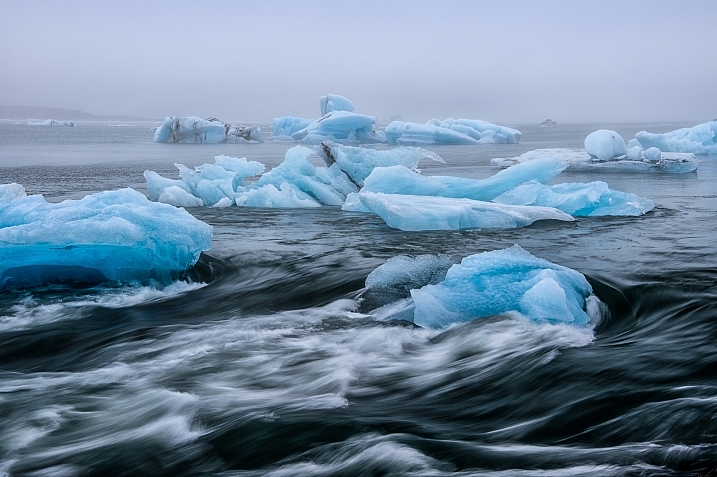
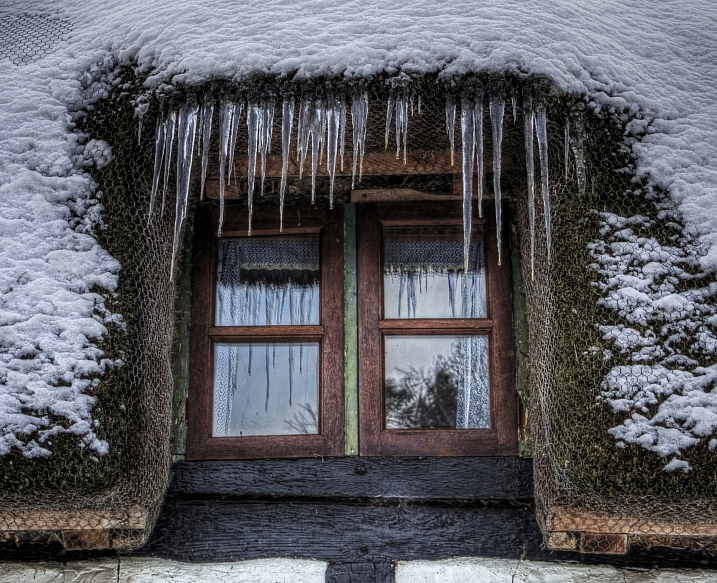
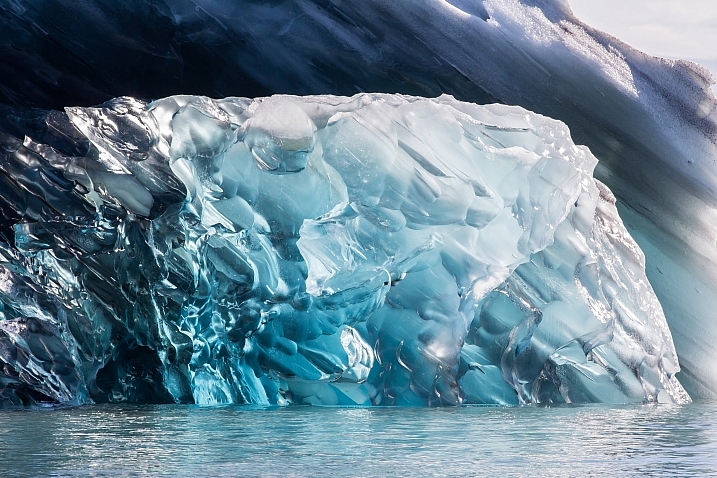
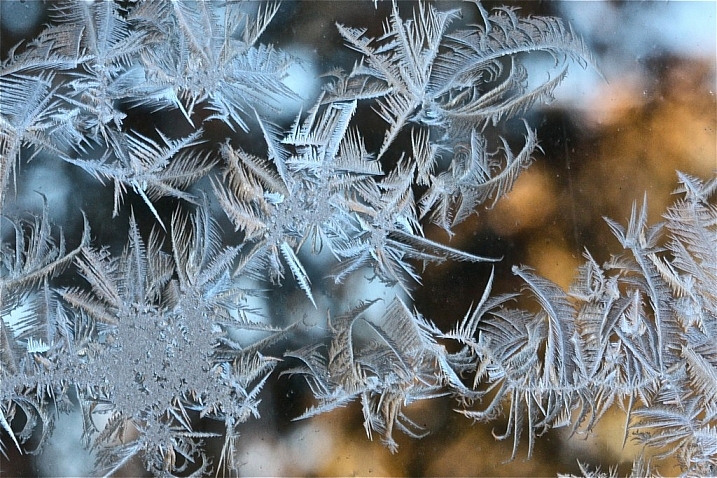
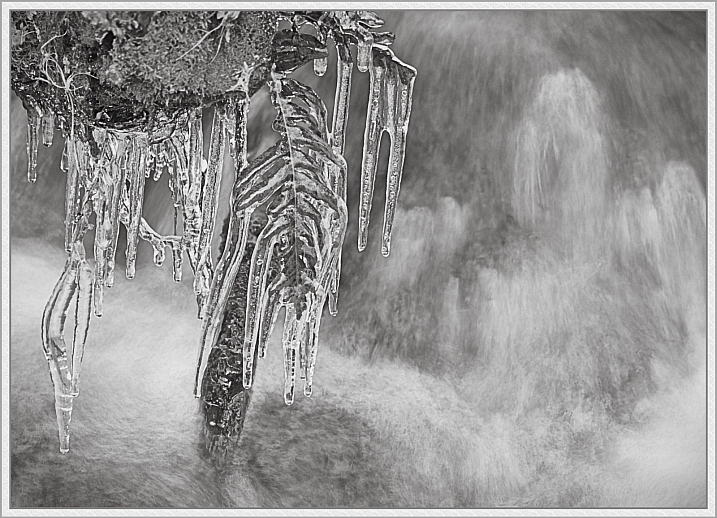
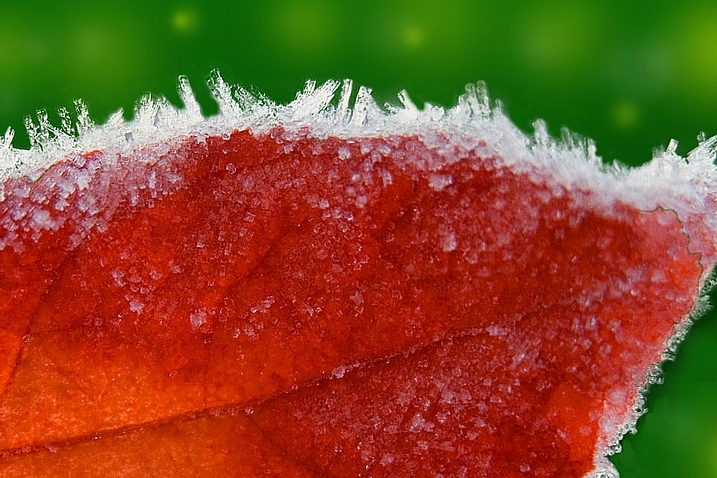
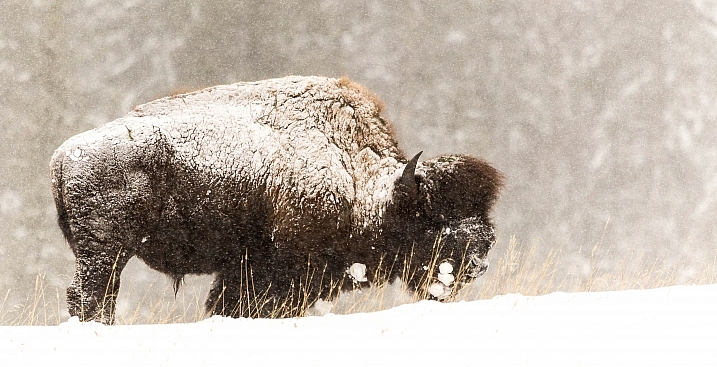
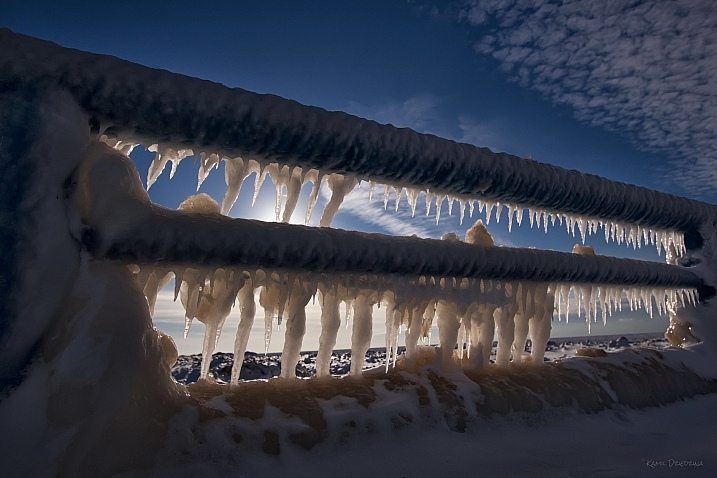
The Weekly Photography Challenge – Cold

03 Jul

The post The Weekly Photography Challenge – Cold appeared first on Digital Photography School. It was authored by Sime.

This week our challenge may or may not be a direct result of me being in a house this week with no heating, school holidays for the kids here in Melbourne and the weather has been pretty chilly, so ‘cold’ it is!

The theme is #dPSCold use that hashtag wherever you share your photo. Make sure you take a new photo for this challenge, you don’t learn much by grabbing a photo out of your archive and uploading it ?

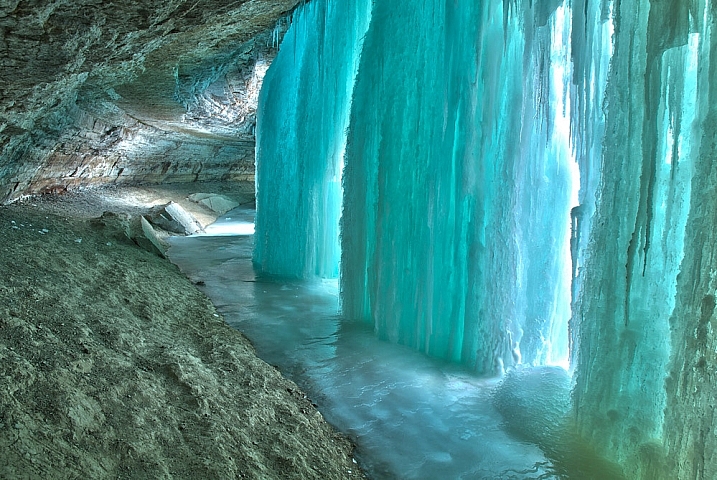
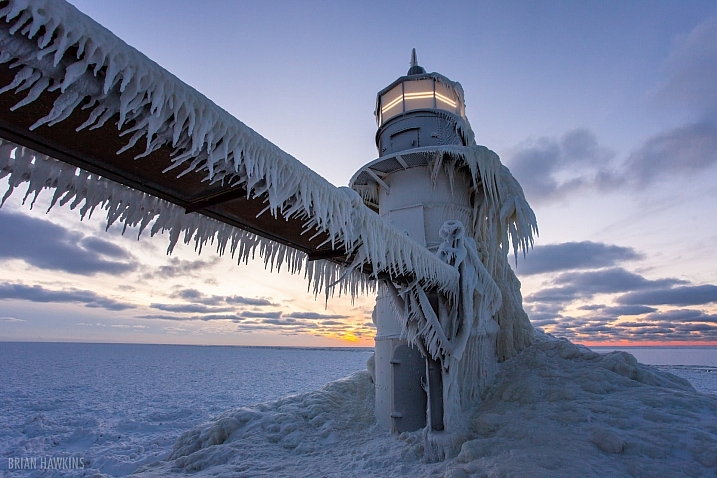
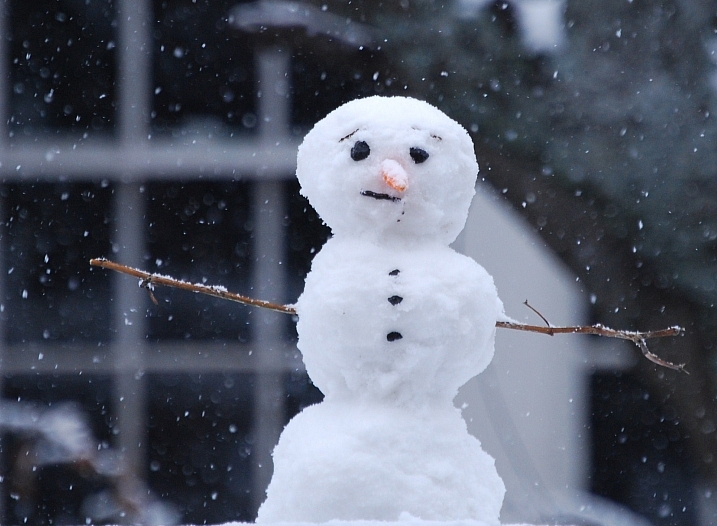
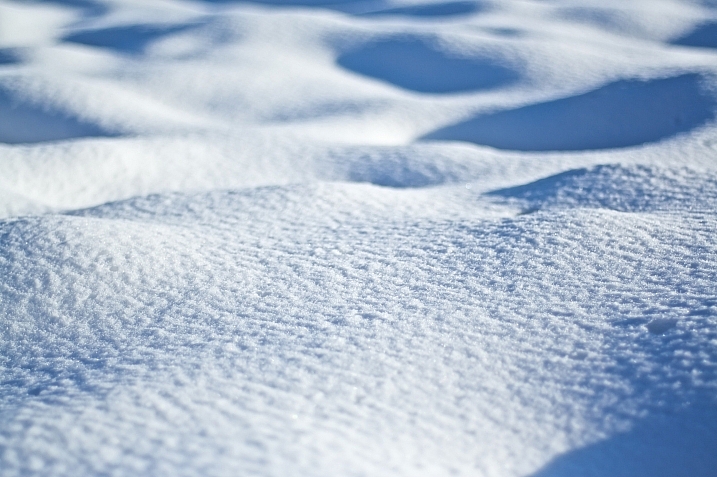
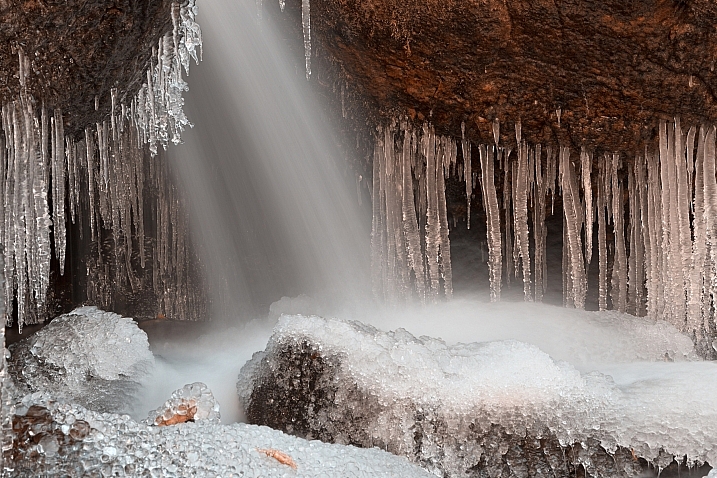
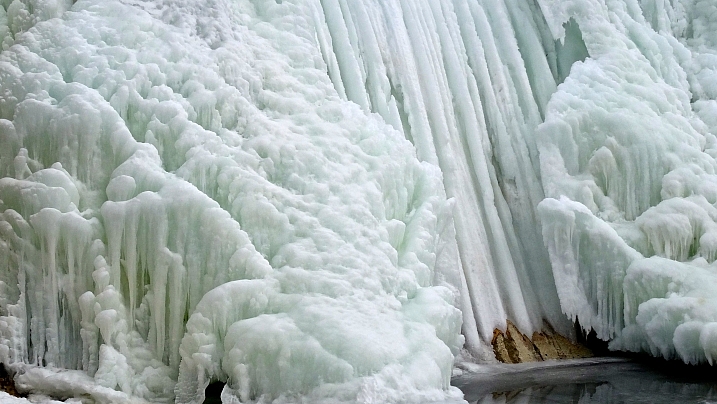
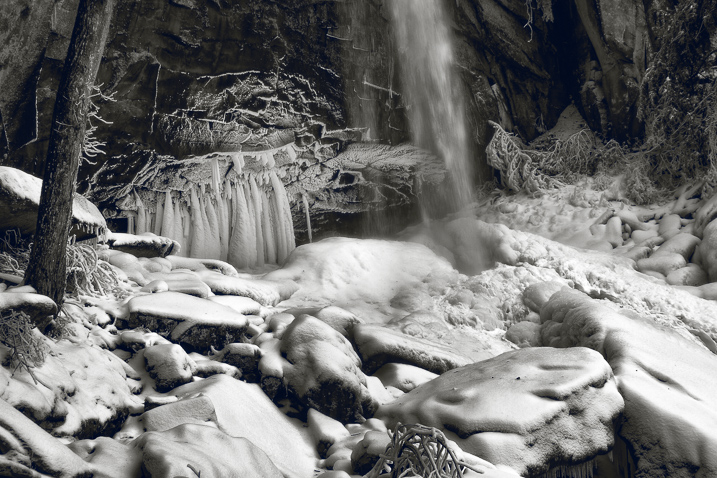
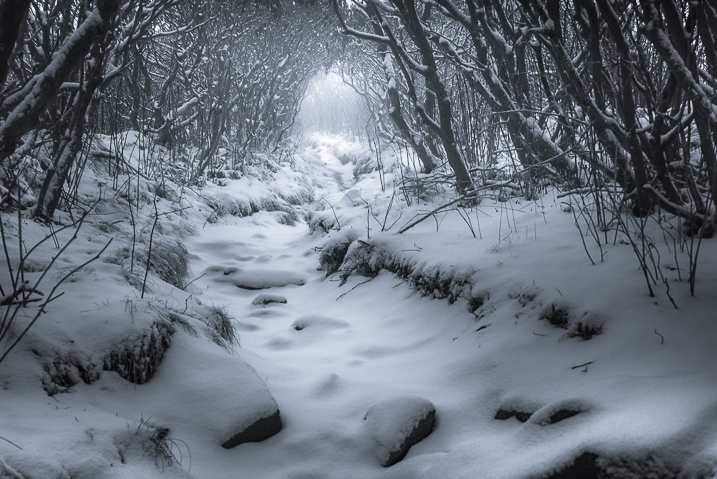
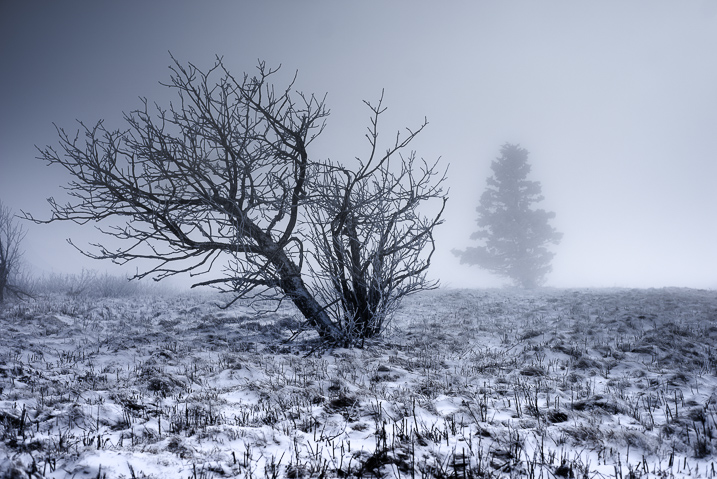
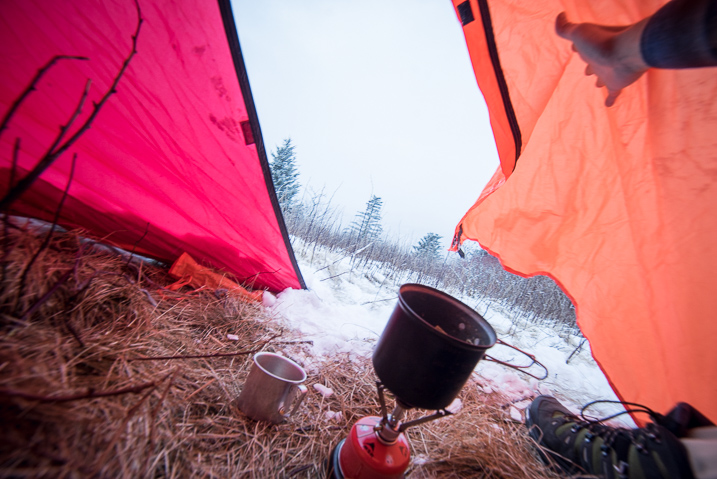
A cold photography scene

Tips for shooting in the cold or perhaps you could try the frozen bubbles thing

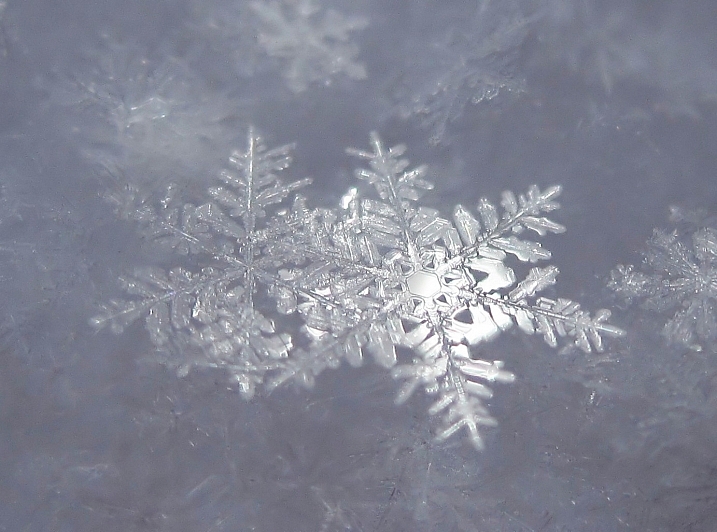
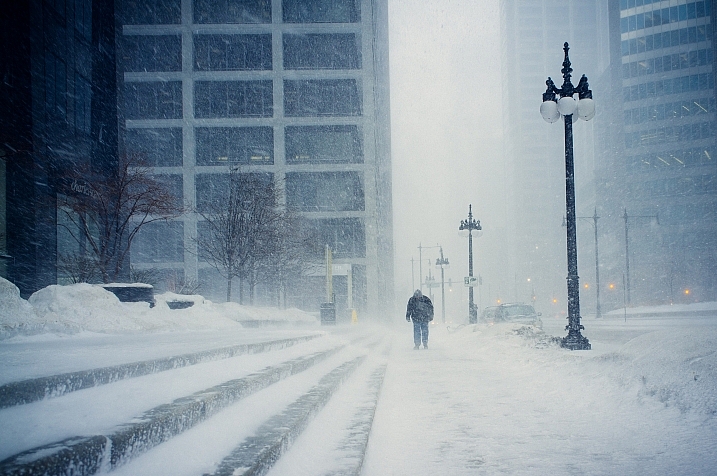
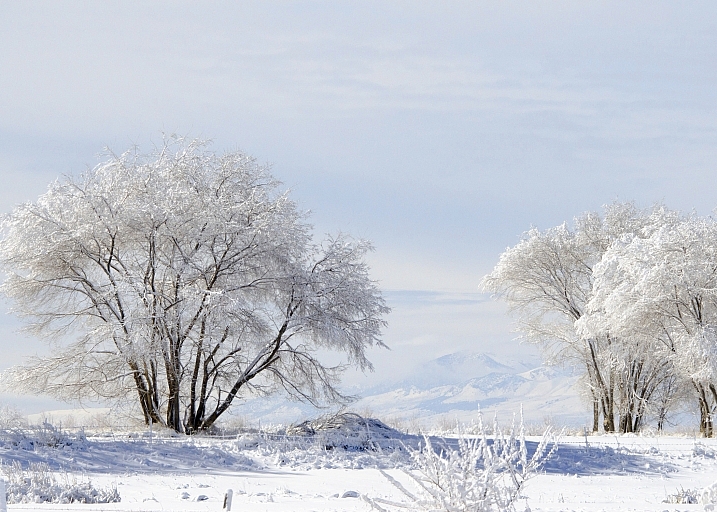
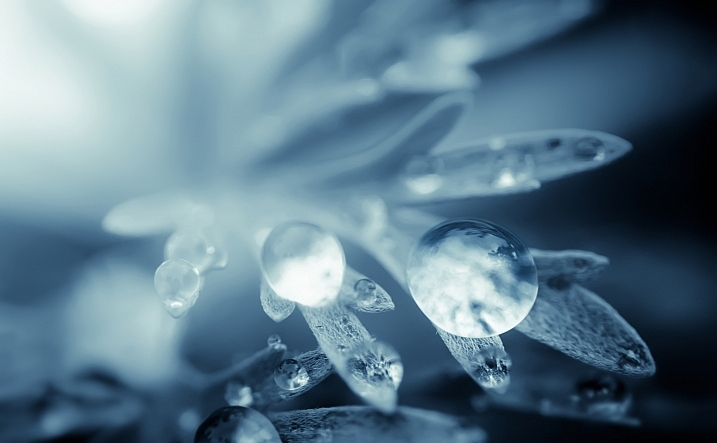
Keeping in mind that ‘cold’ could be many things as it’s applied to photography. A cold colour temperature, a cold scene and that could be many things too… Someone that’s cold, physically, mentally, it’d your story to tell!

Upload your photo into the comments field below this post (look for the little camera icon in the Disqus comments section below this post) and they’ll get embedded for us all to see. Or, if you’d prefer, upload them to your favourite photo-sharing site and leave the link to them.

Weekly Photography Challenge – Looking Up

If you do get stuck, you can contact our friendly (mostly!… ok, well.. after coffee he’s ok!) support guy. He’s on the email support@digital-photography-school.com

The post The Weekly Photography Challenge – Cold appeared first on Digital Photography School. It was authored by Sime.


Digital Photography School

 
Comments Off on The Weekly Photography Challenge – Cold

Posted in Photography


How to Photograph Frozen Bubbles in the Cold

12 Mar

The post How to Photograph Frozen Bubbles in the Cold appeared first on Digital Photography School. It was authored by Mark C Hughes.

Bubbles in the Air

I live somewhere that gets pretty cold in the winter, and occasionally it gets super-cold. Alright, discussing cold is always a relative measure depending upon where you live, but I may be understating a bit to say it gets pretty cold, when actually, it gets freezing by pretty much anyone’s measure. Fortunately for my family and me, it only gets challenging for about a week or two in the depths of winter.

In the hardest times, temperatures reach around -30C (-22F). At these temperatures, there is very little moisture in the air, and it is just plain cold. Extra layers only help a little bit. Frostbite is a very significant risk for any exposed skin, particularly if there is any wind (times to freeze exposed skin are less than a couple of minutes).  Many people here wear the temperatures they endure almost as a badge of honor.

So cold we can freeze bubbles before they pop

It gets really cold here

At these temperatures, everything freezes here – even things you probably didn’t think could freeze. The large river that goes through my city freezes for the entire winter. Starting sometime in November until breakup in April, eyelashes and beards freeze, camera lenses freeze (aperture blades and shutters won’t move) and cars require block heaters to keep the oil in the crankcase warm enough so that you can start the engines.

There are colder places on earth, but not that many.  During our recent cold snap from the polar vortex (very cool name but I’m not sure its a real thing), people compared it to temperatures in Antarctica (it was slightly colder here than there).

It gets pretty cold here

So what, who cares?

Realistically, apart from complaining about the weather (a common national pastime for Canadians… look it up) you don’t want to spend much time outside at these freezing temperatures. So why tell you about crazy frigid temperatures? Because there is something that you can do at these temperatures that you can’t really do if it isn’t cold enough. You can blow bubbles and take pictures of them freezing before your eyes. The effect is remarkable, and it happens very fast. Frozen bubbles! If you can blow bubbles, you can watch them freeze before your eyes.

The process is pretty quick. The ideal temperature to do this is when temperatures dip below about -20C or -4F. At temperatures higher than that, the bubbles don’t freeze the same way. Blowing bubbles at these subzero temperatures can be challenging, but if you take the time, you can get some amazing results.

Bubbles on a bubble wand

The science of bubbles

Bubbles are common phenomena that kids love playing with. They seem very simple, but the science behind them is quite complicated. Bubbles are made up of two soap films – inside layer and outside layer – holding and trapping a layer of water between them to form the bubble. When you blow the bubbles through a wand or a straw, the air you introduce expands the inner film layer to create the bubble. As the water evaporates, the bubble eventually bursts. The bubbles stay together based upon the surface tension (the tendency to stick together) of the soap film, but the film is, in general, very thin.

In warm weather, soap and water are all you require for making lots of bubbles, but at colder temperatures, the soap film needs to be stronger. By adding glycerine or corn syrup, you make the bubbles stronger. By adding a small number of sugar crystals, the bubbles will show crystal patterns in the bubble walls as they freeze. The main ingredients you need access to are water, dish soap, glycerine, and some sugar.

Ingredients to make frozen bubble images

The 3 W’s and 1 H

In preparation for shooting bubbles, the key questions before you start are WHERE, WHAT, HOW and WHEN. Because the temperatures are so cold, you need to plan everything in advance because you can’t spend that much time in these temperatures trying to guess what you are going to do next. You need to pick a spot to set your bubble down (this is not a floating bubble exercise). This is the WHERE. Preferably it is someplace convenient, at a reasonable height and near a source of warmth (like somewhere near a door or running car to get you inside).

You then need to decide on the WHAT, is there a particular look you are going for? Is there an effect you are trying to achieve? (Night shot? Candles?)

Next, you need to think about HOW. How are you going to compose the shot? How are you going to blow the bubbles? What is the background like (this is a key aspect)? How are you going to manage both focusing, bubble making and shot taking? Are you going to need a tripod?

Finally, the WHEN is the last part to consider. You need to pick a time of day on a day that is cold enough to create the effect, that has great light and when there is little to no wind (this disrupts the bubbles). Wind will quickly destroy any efforts to blow bubbles in the cold.

Bubble frozen solid with corn syrup

The WHERE

So let’s consider the WHERE.

It will be cold, so you will need to scout a location that is easy to get to, at a reasonable height to photograph preferably from a tripod (to free up your hands) and is relatively near warmth.

These are normally close-up images, so it presents some similar challenges as macro photography. You really can be just about anywhere as long as you don’t have distracting shapes, colors or patterns in the background. Ideally, if you choose a reasonable aperture, the bokeh will have the background blurred but significant shapes, colors or patterns will be apparent.

I used the snowy railing on my back deck as a place I would set up for my shots because it was close to my house, at waist height and I can control the background.

Frozen bubble with a dark background

The WHAT

Regular bubbles don’t really work in super cold temperatures. The bubble mixtures that work in the summer struggle in super-cold temperatures and tend to just burst before freezing. In cold temperatures, bubbles can be more difficult to generate. Even if you do, they often just fall to the ground.

If you search the internet, you will get lots of clear advice but little in the way of explanation. I found and tried multiple recipes for bubbles and discovered that some of the recipes don’t work all that great. All generate bubbles, but some work better than others.

The general objective is to get bubbles with thicker films that tend to stay together. Also, by adding some sugar, you can get cool crystalline patterns as the bubbles freeze.

The recipe I settled on (as it worked fairly reliably) was 1 cup of water, 4 tablespoons of dish soap (not dishwasher soap), 3 tablespoons of glycerine and 2 tablespoons of sugar. I saw many recipes that used corn syrup, but they didn’t seem to work as well as the glycerine and made for sticky bubbles. However, corn syrup does work – just not as well. The glycerine strengthens the bubble, and the sugar helps with the crystalline patterns in the freezing bubbles.

To blow the bubbles, you will need a straw and some patience. Preferably you use a reusable straw (which I have a bunch of).

Regular Bubble solutions don’t really work for freezing bubbles

The HOW

Once you have figured out your location, you need to compose your shot. Plan on a bubble being about 3 inches in diameter (could be bigger but probably won’t be smaller). Set your camera on a tripod, pick the spot where you are placing the bubble and set your focus manually.

You can set the bubble on snow, or if you use the bottom of a cup or glass, a small amount of solution on the base helps place the bubble easier and without it popping. It is also useful to have your camera set up to take multiple shots (slow burst) without recomposing or refocusing.

Bubble with focus on the back wall rather than front wall

Once set, use a straw in the solution and slowly blow the bubbles. You will need to keep the bubble on the straw, place the bubble and slowly extract the straw from the top of the bubble. This technique worked best for me. Remember it is cold, and blowing bubbles is not that easy when it very cold.

The WHEN

Okay, you are all set…but is it cold enough? You need -20C (-4F) or the bubbles don’t freeze properly. Ideally, you want it sunny as the light hitting the bubbles really makes them pop. The good news is that generally when it is really cold, there is so little moisture in the air that it is often sunny.

Finally, you want there to be as little wind as possible. The wind will cause the bubbles to move unpredictably and cause them to burst. Try to find a location sheltered from the wind.

Using a candle to illuminate a bubble at night

The Shoot

Once all the preparation is complete, and you are ready to go, you may realize that it is difficult to blow bubbles, wear gloves, stay warm and shoot at the same time. Once the bubbles start to freeze, they freeze fast. You will want to place the bubble and then watch for it to begin to freeze and then take multiple images in a short burst.

If you can have someone blow bubbles for you, this helps because getting the bubbles to form, place them and then hope they stay together long enough for the images to turn out can be a bit of a challenge. It is a little finicky to get the bubbles to stay where you want them but if all the stars align the results are great and fun.

Mostly frozen bubble

The Results

If you get everything working, you can get pretty amazing results.  Whether for still images or video, bubbles freezing are really interesting to see and photograph. If you plan out the images, you can get great results.

Not quite frozen bubble


The post How to Photograph Frozen Bubbles in the Cold appeared first on Digital Photography School. It was authored by Mark C Hughes.


Digital Photography School

 
Comments Off on How to Photograph Frozen Bubbles in the Cold

Posted in Photography


7 Tips for Beautiful Photos in Icy Cold Weather

26 Nov

Winter is a beautiful season to take photos. In order to capture the beauty that winter offers you’ll have to overcome cold temperatures for both you and your gear.

Here are seven tips that will help you protect your gear and take beautiful photos during the winter season.

Remember that exciting feeling you had as a kid when the first snow came? If you’ve become a grumpy grown up when it comes to winter, challenge yourself to recapture the wonder of winter this year!

1. If You Hate the Cold, Stay Inside!

When you think of winter photos you might imagine being bundled up outside in the howling cold trying to avoid frostbite while taking photos. I’ve certainly been in that situation a time or two!

Maybe the thought of crazy winter weather keeps you from ever stepping outside to take photos during winter months. But who says you have to go outdoors to take nice winter photos?

Before stepping outdoors, think about what you can accomplish inside.

A few years ago I spent the whole winter indoors studying. I loved the way the icicles looked hanging from our house. Rather than take my camera outdoors, I photographed the icicles from inside my house.

Ever since I was a kid I’ve always had a bedroom that faces the sunrise. I love waking up to golden hour.

These are the icicles during the afternoon.

These are the icicles at sunset. In Ontario, Canada, sunsets often have deep and vibrant colors.

These icicles are being lit by the cool light of the full moon.

2. Preparing Your Batteries

Now suppose you do want to head outdoors to take winter photos; you had better be prepared.

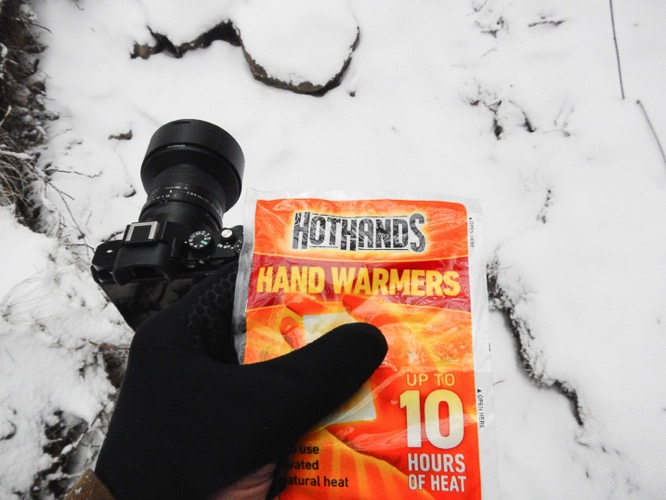
Make sure your batteries are fully charged (including your spare ones). Batteries tend to drain faster in the cold, so find a warm pocket to keep them in. A pocket should allow the batteries to be up against your body; perhaps an inner chest pocket. Also, try keeping a hand warmer or baked potato in the pocket!

While you’re waiting for your batteries to charge, enjoy a hot cup of tea! Steam is a lot of fun to photograph and works best when it is backlit.

3. Metering for the Snow

Most people use some sort of auto setting on their camera such as ‘landscape’ or ‘portrait’ mode. You may even be using aperture or shutter priority. With all of these settings, your camera uses its internal meter to calculate the right exposure or brightness for your photo.

This can be a problem.

When the landscape is covered in bright white snow, your camera will want to darken the exposure. This means that you’ll snap a photo and the snow will turn our looking very gray. The camera doesn’t realize that you want the snow to appear bright white in your photo. Of course, it doesn’t even know it’s looking at snow!

There are two ways to fix this. The first is to use full manual mode so that you have control over the exposure, not your camera.

If you’re not comfortable using manual mode yet, then try using exposure compensation. Set your camera to aperture priority, then use exposure compensation to increase the exposure by a full stop. Keep making adjustments until you’ve got it just right. Consult your camera manual on how to adjust exposure compensation.

Prior to using exposure compensation, I used to have to brighten all my winter photos with Lightroom. Notice how gray the snow is in the photo on the left.

Even though you can brighten your photos later with an editing program, it’s far better to get the exposure correct the moment you take the photo.

4. Look for Contrast

Once you’ve got the hang of exposure and metering it’s time to make some creative photos.

The first thing I look for in a snowy landscape is contrast. Since the snow is bright white, I look for dark objects that will stand out in contrast to the snow.

Contrast is what will help your photo to ‘pop’ and give it more dimension.

In a landscape, this might be trees, buildings, animals or people.

The dark trees in the background help the shape of the snow-covered hill to stand out. The boy sliding down the hill really pops too.

5. Think in Black and White

You’re already looking for high contrast scenes. Bright white snow together with dark objects create a perfect high contrast black and white photo.

Seeing our photos in black and white allows us to appreciate the lines and texture in the photo without being distracted by colors.

The bright snow is contrasted by the dark trees.

There are two options to get a black and white photo. You can change your camera settings to photograph in black in white. Or, you can photograph in JPEG or RAW mode and convert the photos to black and white later.

I recommend using RAW mode and set your camera to black and white. This way your RAW photo will retain its color even though it appears black and white on your camera. Using RAW mode offers you the chance to see your photos in black and white as you take them, but still have the option to keep them in color when you look at them later on your computer.

A silhouette is a perfect choice for a high contrast black and white photo.

6. Slow Shutter Speed

I love to be out in snow storms watching the wind whip the snowflakes around. The constant motion of the snowflakes will allow you to get creative with your shutter speed.

You can set your shutter speed to freeze the movement of the snowflakes, but you can also slow your shutter speed down and capture the movement of the snowflakes.

You can’t see the wind with your eyes, but you can see how it blows the snowflakes around. When you slow down your shutter speed, you’ll capture the blurred movement of the flakes.

You can slow your shutter speed down just a little bit and capture some slight motion blur.

You can slow the shutter speed down to about 1/30 of a second to capture even more motion blur. Just make sure that both your camera and your subject are held very still (consider a tripod).

I recommend using shutter priority. Slow down your shutter speed until you achieve the desired amount of blur in your photo. Remember the third tip I gave you about metering for the bright snow? If you’re having trouble getting the right exposure then try manual mode or exposure compensation.

7. Protect Your Camera Before You Come Inside

People who wear eyeglasses know how annoying it is to come inside from the cold. As soon as they step indoors, their glasses fog up! This is called condensation. It’s moisture from the warm air collecting on a cold surface.

This will happen to your camera too. When you bring it inside from the cold, moisture will collect on it, getting into all the tiny little parts of your camera. Naturally, this can be a problem for the long-term health of your camera.

Here’s what you can do to bring your cold camera into the house without having to worry about condensation:

While you’re still outside, put your camera into a large heavy-duty airtight bag. Seal the bag so that no moisture can get in. Now when you bring your camera into the house no moisture will get into your camera. Allow your camera to return to room temperature before taking it out of the bag. When you do take it out, no moisture will collect on it!

This airtight bag will keep all the condensation off my camera until it returns to room temperature.

Beautiful Photos in Icy Cold Weather

Whether you’re taking winter photos from the warmth of your cozy home, or you’re going to brave the winter chill, remember these simple tips:

  • Charge your batteries and keep them warm.
  • Get perfectly exposed photos through manual mode or exposure compensation.
  • Make your winter photos look creative by finding contrast, converting them to black and white, or using a slow shutter speed.
  • Keep your camera safe from moisture by sealing it in an airtight bag before coming back inside.
  • Be ready for your next adventure by recharging your batteries as soon as they are warm!

The post 7 Tips for Beautiful Photos in Icy Cold Weather appeared first on Digital Photography School.


Digital Photography School

 
Comments Off on 7 Tips for Beautiful Photos in Icy Cold Weather

Posted in Photography


Capture One Latitude style packs bring warm and cold color presets

10 Jul

Phase One has launched its new Latitude style series, the latest addition to the company’s Capture One Style Packs product launched last year. The Latitude presets are offered in two different packs: Latitude | Deep Forest and Latitude | Sunbound. The new series was inspired by “some of the world’s greatest destinations,” Phase One said in its announcement.

Both Latitude style packs contain eight presets, each with original, bright, and dark variations, for a total of 24 styles per pack. The “Sunbound” pack focuses on adding warmth to images, and the “Deep Forest” pack focuses on cold colors.

“The Styles are built to enhance curves, saturation and tonal adjustments,” says Phase One Software VP Jan Hyldebrandt-Larsen,”without affecting key capture parameters such as exposure and white balance.”

Each Latitude pack is priced at $ 39 USD, but a limited-time discount offers both together for $ 59 USD until July 27. Buyers must run Capture One version 10.1.2 or newer to install the style packs. The latest version of the software, Capture One 11, is offered through Phase One’s online store for $ 180 USD (single-user license).

Via: Phase One

Articles: Digital Photography Review (dpreview.com)

 
Comments Off on Capture One Latitude style packs bring warm and cold color presets

Posted in Uncategorized


Cold Yet Comfortable: 13 Surprisingly Inviting Concrete Home Interiors

06 Apr

[ By SA Rogers in Architecture & Houses & Residential. ]

brisago 4

It may be cold to the touch, but concrete doesn’t have to make a home feel uncomfortable and unwelcoming, even when it makes up most of the surfaces throughout the interiors. In fact, concrete proves to be surprisingly versatile – polished to a mirror finish, molded with wood or given a rocky, irregular texture for visual interest – and setting it off with timber, glass, greenery and natural light strikes just the right balance.

Courtyard House by NOA Architecture

noa concrete house

noa concrete house 2

noa concrete house 3

noa concrete house 4

This stunning intergenerational house by NOA Architecture is programmed “as an inhabited landscape contained within a modernist slab,” with a single glass-wrapped layer between a floor and roof plane, so the concrete floors, walls and other surfaces are offset with views straight out onto the lush green landscape of Aurora, Oregon. The best part is that oculus-style atrium in the center of the living room.

Pitch House by Iñaqui Carnicero

pitch house 2

pitch house 3

pitch house 4

The dramatic ‘Pitch House’ of Madrid by Iñaqui Carnicero uses textured concrete to transition visually into its sloped, rocky surroundings. Using wood as formwork for concrete, and leaving the resulting textural imprint behind, lends a richness that the material usually doesn’t have. Glazed walls reflecting a crystal-clear swimming pool on the terrace don’t hurt, either.

Casa Dem by Wespi de Meuron Romeo Architetti

concrete wespi 1

concrete wespi 2

casa dem

casa dem 3

From street level, this blocky concrete house doesn’t look like much, but its beauty is hidden on the other side of the slope. Casa Dem by Wespi de Meuron Romeo Architects was made with several different types of concrete, including smooth, minimalist textures and rougher, more gravelly textures for an unexpected and beautiful contrast. The house is defined by its many square- and rectangle-shaped cutouts, from the smaller ones on the facade to the openings for windows and doors.

Low-Cost Modernist House by Terra e Tuma Arquitetos

vila matilde

vila matilde 2

vila matilde 4

vila matilde 5

Cement blocks are more commonly associated with prisons than residential architecture, and when you hear that they’ve been used to create a remarkably low-cost home, your expectations might be low. But Terra e Tuma Arquitetos pulled off quite a feat with Vila Matilde, an ultra-affordable modernist home in Brazil. Despite these cheap and typically ‘cold’ materials, the space feels comfortable and homey, with special thanks to plenty of natural light and a clever design incorporating a plant-filled courtyard.

Casa Brutale Cliffside Concept

casa brutale i

casa brutale ii

casa brutale iii

casa brutale iv

On the other side of the spectrum is Casa Brutale, a residence so luxurious and dramatic it seems like it could never be real. But this modern villain’s lair cut directly into a cliffside by OPA is actually under construction, with most of the interior spaces tucked beneath a glass-bottomed swimming pool for lots of watery reflections.

Next Page – Click Below to Read More:
Cold Yet Comfortable 13 Surprisingly Inviting Concrete Home Interiors

Share on Facebook


[ By SA Rogers in Architecture & Houses & Residential. ]

[ WebUrbanist | Archives | Galleries | Privacy | TOS ]


WebUrbanist

 
Comments Off on Cold Yet Comfortable: 13 Surprisingly Inviting Concrete Home Interiors

Posted in Creativity


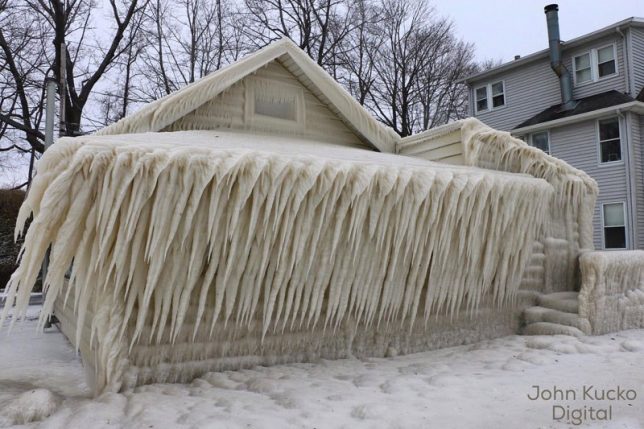
Cold Frontage: Storm Leaves Waterfront House Encased in Frozen Waves

30 Mar

[ By WebUrbanist in Art & Photography & Video. ]

ice house exterior

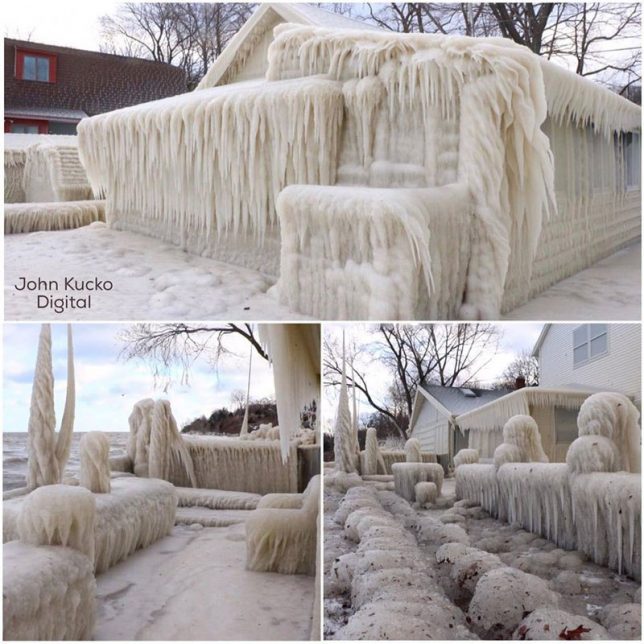
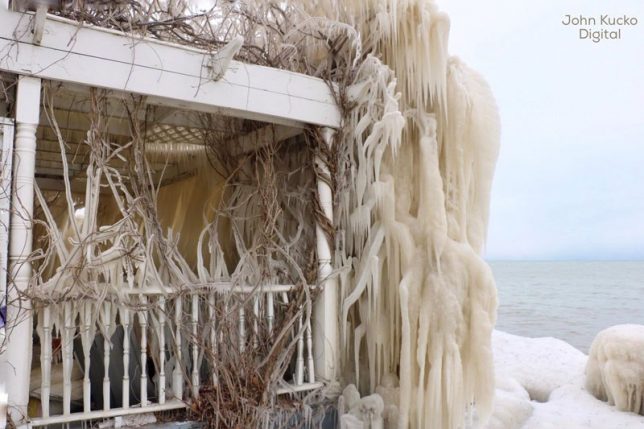
When a cold front blew in over Lake Ontario, photographer John Kucko caught wind of the phenomenon and rushed to shoot images of a remarkably frozen home.

iced over house

Located in Webster, New York, the house is entirely trapped inside ice, a combination of sheets and icicles wrapping the residence on all sides. Outdoor furniture and landscaping elements between the lake and the house were likewise wrapped in frozen water.

cold front

An unusual combination of waves, wind and freezing weather contributed to the mix, as well as the home’s proximity to the lake. Winds over 80 mile per hour pushed water the short twenty feet to the residence. You can see more images and videos on the photographers Facebook page.

ice house detroit

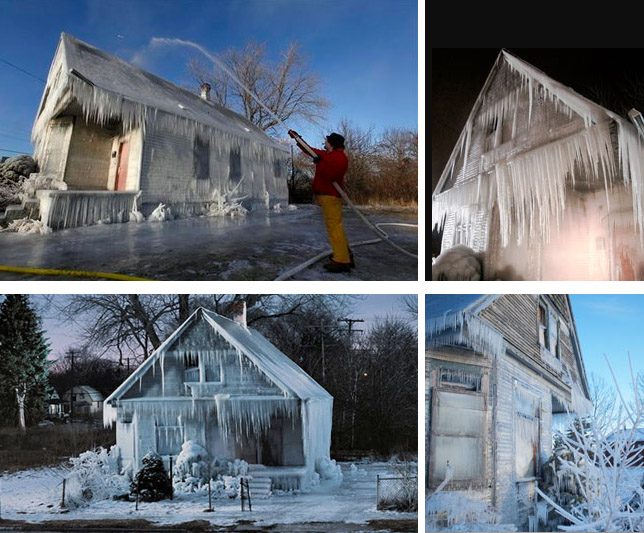
Years ago, artists in Detroit did something similar but intentional with an abandoned home, showering it with water and letting it ice over for effect.

Share on Facebook


[ By WebUrbanist in Art & Photography & Video. ]

[ WebUrbanist | Archives | Galleries | Privacy | TOS ]


WebUrbanist

 
Comments Off on Cold Frontage: Storm Leaves Waterfront House Encased in Frozen Waves

Posted in Creativity


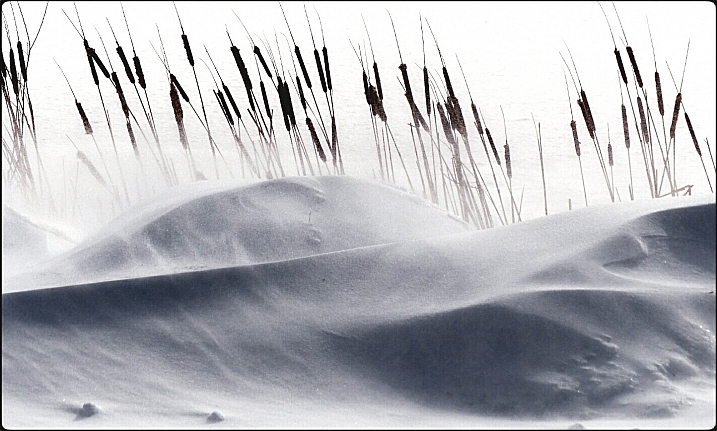
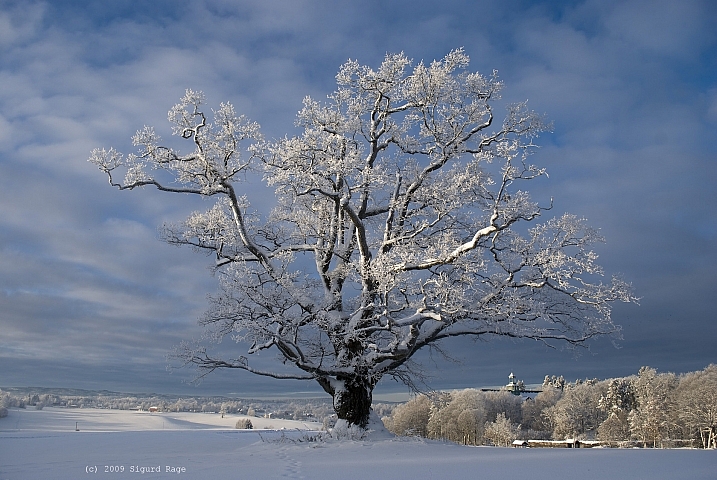
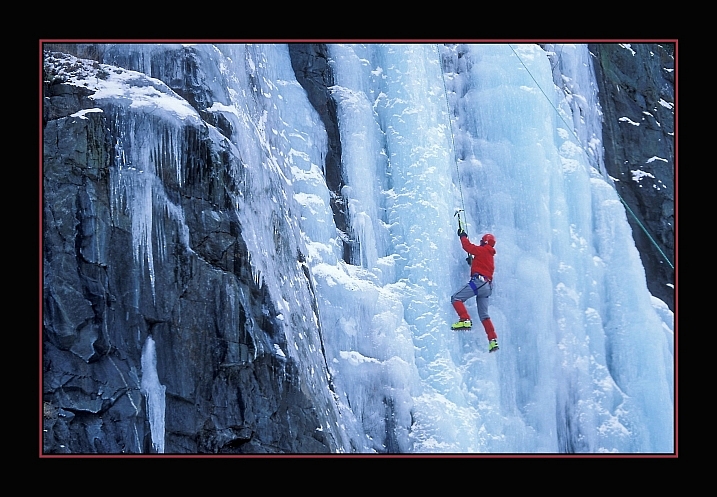
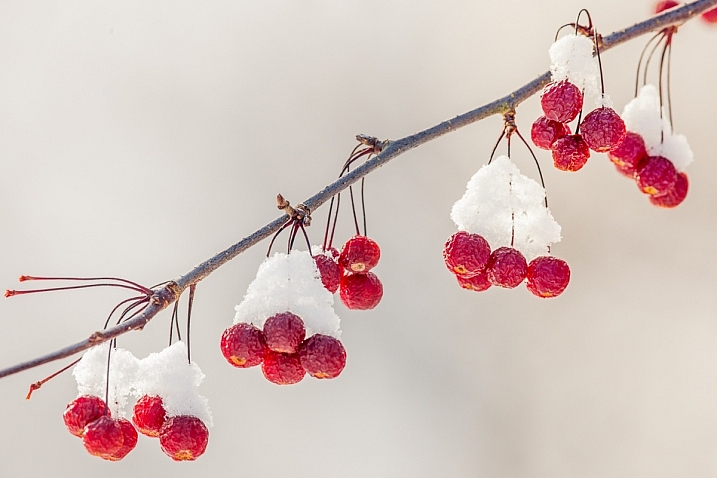
24 Frozen Images of Some Cold Winter Weather

29 Jan

Here in the northern hemisphere part of the world, it is winter. That means two things – cold and snow. But that doesn’t stop some people (nor should it stop you) from doing photography.

Let’s have a look at some frozen images of some cold winter scenes.

By Howard Ignatius

By Neil Howard

By Dan (catching up)

By smilla4

By Ken Mattison

By Sigurd Rage

By Roger S. Hart

By Barbara Friedman

By Julie Falk

By chuddlesworth

By USFWS Mountain-Prairie

By Jack Skipworth

By ShinyPhotoScotland

By B Gilmour.

By Tupulak

By Kamil Dziedzina

By MJI Photos (Mary J. I.)

By Brian Hawkins

By Melinda Shelton

By Simon Doggett

By Nicolas Raymond

By ellenm1

By Gonzalo Baeza

By ravas51

googletag.cmd.push(function() {
tablet_slots.push( googletag.defineSlot( “/1005424/_dPSv4_tab-all-article-bottom_(300×250)”, [300, 250], “pb-ad-78623” ).addService( googletag.pubads() ) ); } );

googletag.cmd.push(function() {
mobile_slots.push( googletag.defineSlot( “/1005424/_dPSv4_mob-all-article-bottom_(300×250)”, [300, 250], “pb-ad-78158” ).addService( googletag.pubads() ) ); } );

The post 24 Frozen Images of Some Cold Winter Weather by Darlene Hildebrandt appeared first on Digital Photography School.


Digital Photography School

 
Comments Off on 24 Frozen Images of Some Cold Winter Weather

Posted in Photography


Shooting in the Cold – Tips for Winter Photography

06 Dec

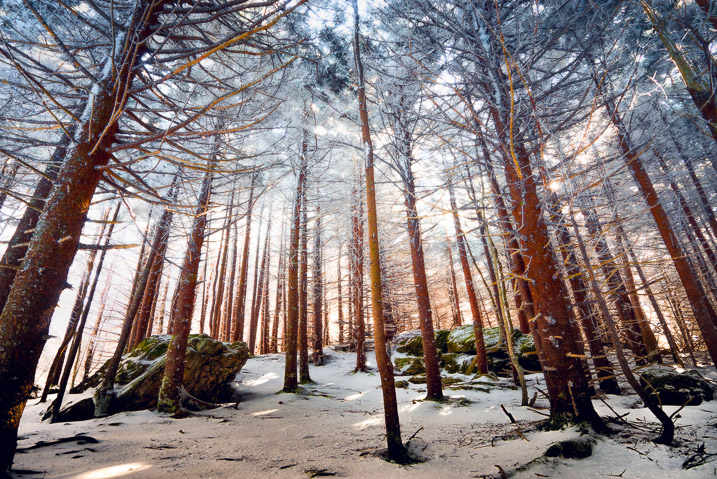
Just because it’s cold doesn’t mean you should stop doing any photography. Winter photography can be magical, here are some tips for shooting in the cold to help you.

The weather

It’s easy to go out and shoot when the weather is nice and the weather God’s smile down with big fair sky grins. Summer, Spring, and especially Autumn are popular times for photography because there’s no shortage of photo opportunities – comfortable photo opportunities at that.

Winter Photography 2

Seasons change, though, but that doesn’t mean that you have to be discouraged, or worse, stop shooting just because winter comes around and the weather outside turns cold.

Winter Photography 5

That’s not to say that making photographs in winter doesn’t come with its own set of problems – well, not really problems. Let’s just say that making photos in the colder months is more challenging than it is when at warmer times of the year.

Winter Photography 4

There are still quite a few reasons to venture out into the cold with your camera. Here are a few tips that will help you stay productive (and safe) during those frosty months between Fall and Spring.

Winter Photography 7

Protect yourself

All the know-how and skill in the world won’t do you much good if you’re too cold and miserable to actually make photographs. Always be aware that you and your well-being, above all else, is the most important thing to protect while shooting in frigid temperatures, doing winter photography.

Winter Photography 6

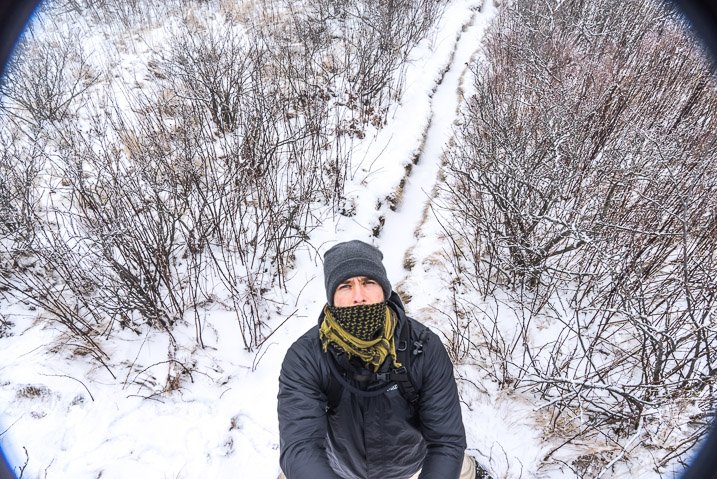
Keep a well updated on current and future weather conditions and dress accordingly. Wearing layers of clothing will help you adjust your body temperature based on your level of activity while shooting, to prevent sweating which can lead to hypothermia. Protect your face, hands, and feet.

Winter Cold Weather Protection

This includes wearing warm gloves that allow good finger movement so you don’t have to constantly remove them before using your camera. Also, a face wrap or scarf goes a long way to shield your face from the wind but also to protect your camera from freezing condensation of your breath. More on that oh so wonderful phenomena a little later.

Protect your batteries

Yes, we all know most of our cameras are electric and that means batteries. Batteries are essentially little chemical reactors that produce electricity. High or low temperatures affect batteries to varying degrees (temperature humor). Cold batteries discharge themselves faster than do warm ones. So basically, the cold temperatures faced when shooting winter photography can drain your batteries.

Winter Batteries

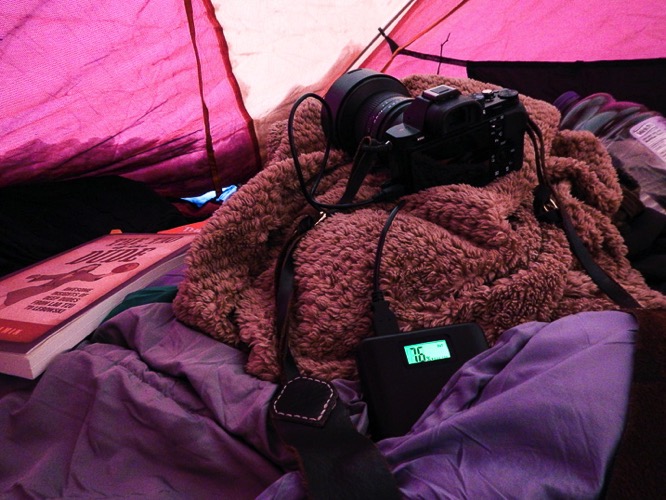
Take this into account and bring an extra battery or two when you venture out for some chilly winter shooting. If you can, carry your extra batteries in your pocket or closer to your body to keep them warmer and working more efficiently. There have been times when I was working in single digit temperatures when I put my battery in the camera only immediately before composing in order to maximize my shooting time.

Don’t breathe

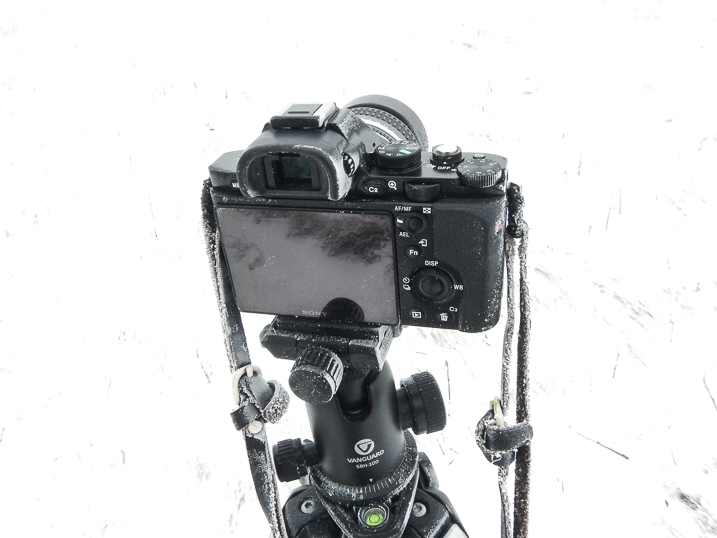
Well, breathe of course, just not on your camera, or lens for that matter. Your breath contains a relatively high amount of moisture and heat. When the temperature outside drops, the very air you exhale can spell disaster for your winter photography. If you breathe directly onto your camera or lens condensation forms. Just like blowing your breath on a mirror. When it gets cold (below freezing), that condensation WILL FREEZE. This means that lens elements can glaze over with your own brand of self-made ice and viewfinders become unusable.

Winter Frozen Camera 2

To combat this frosting effect, remember to never carry your lenses close to your body and never blow your breath on them. For that matter don’t hold them in your hand for extended amounts of time because this too will warm them up which can lead to condensation. When composing your images, it’s a good idea to hold your breath.

Winter Frozen Camera 1

It only takes a few moments and will prevent a buildup of frost and ice on your camera.

Understand your tripod

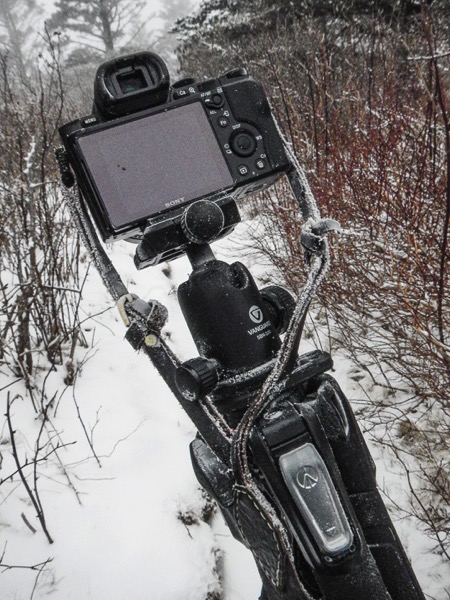
I remember one late afternoon of shooting, a few winters back on a secluded stretch of a mountain stream. I was standing in the water with my tripod, making exposures until the light was gone and then packed everything up to drive back to the hotel. The temperatures were hovering somewhere in the lower twenties F (-4 to -6c). I carried my gear inside but left the folded tripod in the car.

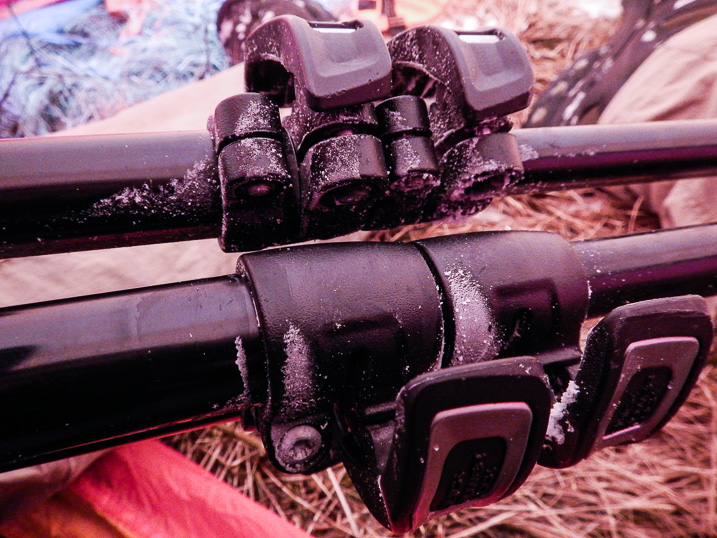
The next morning found me beating on my now frozen tripod with a boot in order to break it free of the ice caused by leaving a wet tripod in a car overnight.

Winter Photography 1

I learned my lesson that day and there are a few things you can do to prevent my mistake from happening to you.

Winter Frozen Tripod

If your tripod gets wet, do what you can to remove as much water as possible. This will reduce the ice buildup. If you find yourself unable to store your tripod in a warmer place after shooting, leave the legs fully extended and be sure not to lock the legs. By leaving the legs unlocked you will have a much easier time making the tripod usable if it does freeze.

Leaving the legs fully extended may be cumbersome but it will keep water from being introduced further into legs. The key factor to remember when using your tripod in winter is that water and moisture are your enemies. Anything you can do to reduce the moisture will help ensure your tripod functions more easily when things get really cold.

Summary

Cold weather shooting and winter photography can be an extremely rewarding experience. Winter time transforms landscapes and locations into dream-like scenes different from any other time of year.

Winter Photography 3

Be sure you understand how to cope with the winter temperatures so you can protect yourself and your gear. Here’s a quick recap of the things you can do to make your sure your winter shooting is a great experience.

  1. Dress yourself according to the conditions. If you feel you’re not adequately prepared don’t risk it.
  2. Bring extra batteries and keep them warm. Carry your batteries close to you in order to extend their life.
  3. Don’t breathe on your gear. The condensation from your warm breath will freeze on your camera and lens. Hold your breath when composing.
  4. Be mindful of your tripod. If it gets wet the water may freeze making it difficult to use. Keep it as dry as possible.

Please share any other winter photography preparedness tips in the comments below. Of course, share your winter images as well!

googletag.cmd.push(function() {
tablet_slots.push( googletag.defineSlot( “/1005424/_dPSv4_tab-all-article-bottom_(300×250)”, [300, 250], “pb-ad-78623” ).addService( googletag.pubads() ) ); } );

googletag.cmd.push(function() {
mobile_slots.push( googletag.defineSlot( “/1005424/_dPSv4_mob-all-article-bottom_(300×250)”, [300, 250], “pb-ad-78158” ).addService( googletag.pubads() ) ); } );

The post Shooting in the Cold – Tips for Winter Photography by Adam Welch appeared first on Digital Photography School.


Digital Photography School

 
Comments Off on Shooting in the Cold – Tips for Winter Photography

Posted in Photography


Winter is Coming: Here are some tips on what and where to shoot when it gets cold

10 Oct

Winter is Coming

Winter is only a month or two away and many photographers will find it challenging to press on through the dreary winter months; especially those of us that live in Seattle or other areas where wind, rain, sleet and snow pound the region for months on end.

In this article I’ve outlined some tips to keep your landscape photography fresh when the weather starts to head south.

Photograph Transitions

The transition between fall and winter offers up a unique opportunity to photograph fall color under a fresh dusting of snow. If the forecast is calling for snow toward the end of fall, head out and see what you can find!

The warmer colors of the fall leaves and foliage will be presented in stark contrast against the cold tones of the snow and can make for very interesting and dynamic images. The above image was taken in the central Cascade mountains of Washington state at the end of Fall.

Head to the Desert

This may sound like a weird tip, but if you have any sort of opportunity to visit the desert or the canyon lands of any kind during the winter, do it! Places like Bryce Canyon in Utah (pictured above) and the Grand Canyon in Arizona offer very unique conditions and compositions that the average tourist won’t get to see during the summer months.

Snow can add a nice color contrast to the desert landscape and can also add soft textures to the arid environment. As an added bonus you won’t have to deal with the crazy crowds and 100 degree temperatures.

Icy Waterfalls

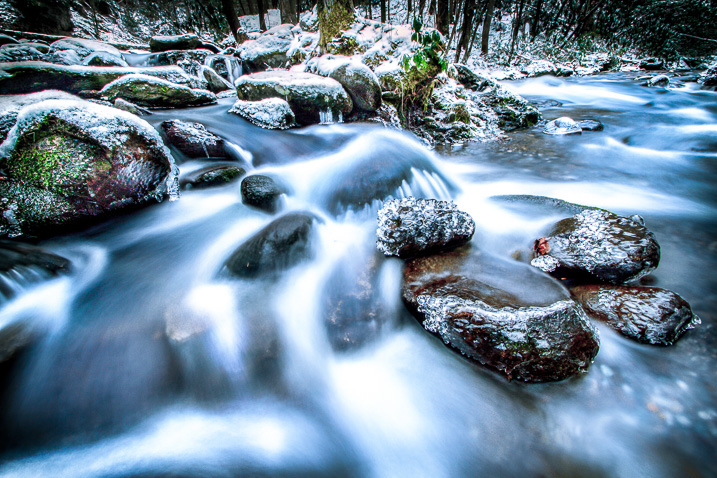
Shooting waterfalls during the winter months can often times make even popular and well shot locations look refreshing and new. Multnomah falls is one of the most recognizable waterfalls in Oregon and even it can take on a different appearance during the winter.

The frozen spray from the falls can add some really nice textures and visual elements to your images. The snow can also contrast well with the icy blue water flowing over the falls.

  • If you plan to shoot waterfalls or any sort of moving water during the winter definitely invest in a good set of micro-spikes (for traction) to give you an extra edge for hiking and climbing.
  • Trekking poles (your tripod can work in a pinch) are also a great idea to help with stability and balance while transversing icy terrain. 
  • If your tripod comes with metal spikes or feet it’s always good idea to bring them along as they may work better (or worse) depending upon conditions.
  • Hip-waders and Gortex can definitely help keep you dry and comfortable.

Let’s face it, slipping and falling into a river or on a rocky slope isn’t something you really want to do in cold weather.

The Mountains are Calling

Snow and the winter weather that comes with it can really add depth and layers to your images. Heading to the mountains with a longer focal length lens can really help to emphasize winter weather conditions such as fresh snow, low clouds and fog. 

When the weather looks to be heading south I love to head up to the mountains to check out how the conditions are shaping up for sunset and sunrise.

  • Bring waterproof and breathable layers, snow shoes and any other supplies that you may need when you find yourself hiking in cold conditions.
  • Packing a Jet Boil (or another source of heat) and some instant meals can be a lifesaver if you’re in a pinch.
  • A GPS can be your best friend if your tracks get covered by fresh snow.
  • Check the weather forecasts often and do some research to ensure that you don’t find yourself in the wrong place at the wrong time.

Chase the Storms

The sunsets that often follow winter storms can offer some of the most intense and gorgeous light that you can capture. To really take advantage of this try heading to the coast just as a low pressure system has begun to move on shore. It takes a bit of planning but the sunset/sunrise conditions on the back edge of the storm can be absolutely spectacular! The above image was taken in late winter at Cape Kiwanda on the Oregon Coast.

  • Check the weather forecasts hourly when planning a trip like this.
  • The National Weather Service here in the US is a great place to track weather and believe it or not the Weather Channel website offers some of the most accurate forecasts you can find on the internet. 
  • The NOAA Hi-Def radar smartphone App can give you a great deal of insight into minute by minute precipitation and cloud cover forecasts.

As an added bonus you won’t have to deal with that pesky marine layer that often plagues the west coast of the US during the summer months. 

Stay Close to Home

If the conditions are just too dangerous or you just don’t have time to plan a trip, look to areas near you for unique vantage points and compositions that can offer up very different photographic results during the winter months. This was taken near my home in Snoqualmie, WA. 

Get creative in your surroundings! This shot was taken with my Canon 70-300mm F4-5.6L IS lens. Using longer focal lengths in your area can really open up new and exciting compositional opportunities. 

Articles: Digital Photography Review (dpreview.com)

 
Comments Off on Winter is Coming: Here are some tips on what and where to shoot when it gets cold

Posted in Uncategorized


Out Cold: 12 Closed & Abandoned Dairy Queen Stores

29 Feb

[ By Steve in Abandoned Places & Architecture. ]

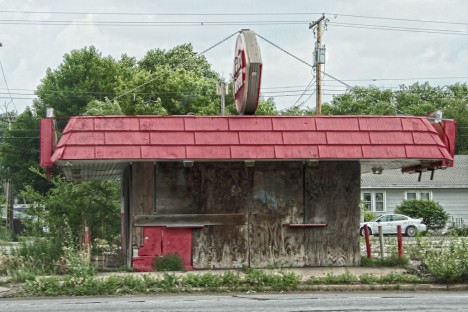
abandoned-dairy-queen-0
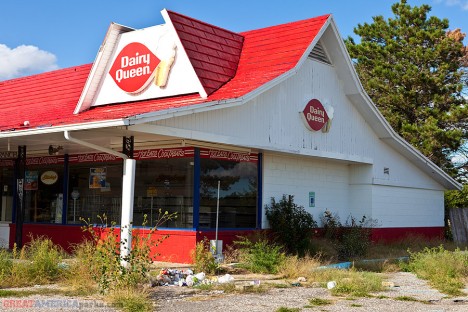
Chill out, soft-serve ice cream fans, these 12 abandoned Dairy Queen stores aren’t typical of the 75-year-old chain’s 4,000+ locations worldwide.

abandoned-dairy-queen-1a

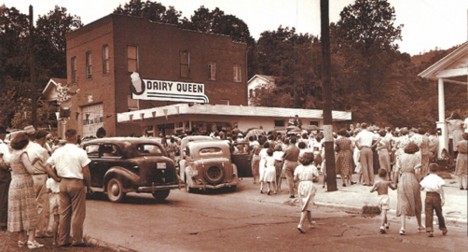
Founded in June of 1940, Dairy Queen has carved out a viable, sustainable, and for the most part successful niche in the fast, er, “fan food” industry. Take it from Warren Buffett – the legendary investor’s Berkshire Hathaway holding company has owned International Dairy Queen Inc outright since 1998.

abandoned-dairy-queen-1b

abandoned-dairy-queen-1c

Though abandoned by Dairy Queen, the chain’s original location on 501 N. Chicago St. in Joliet, IL still stands thanks to its 2010 designation as a city landmark. Originally built in 1895, the building was a DQ until the early 1950s – subsequent tenants included a lawn-mower repair business, a furniture store, a motorcycle shop and a plumber. Since 2007 the Universal Church of the Kingdom of God has dispensed The Lord’s message at the historic location, presumably accompanied by chilled communion wafers.

More Like Ender

abandoned-dairy-queen-2a

“Abandon all hope, ye who enter here…” the hope of enjoying some fan food (not fast food), that is. Credit Flickr user haymarketrebel with the above photo of a closed and abandoned Dairy Queen in Tustin, CA snapped on November 20th of 2013.

Grilled, Chilled, Killed

abandoned-dairy-queen-3a

abandoned-dairy-queen-3b

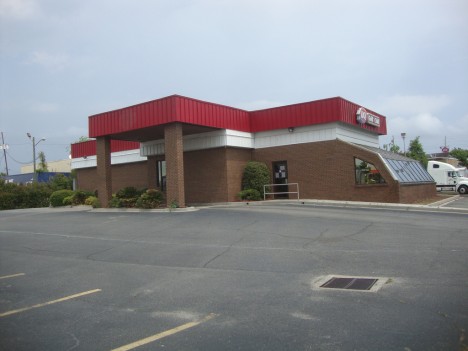
Traditional fixtures of small-town America, larger and more restaurant-style Dairy Queen Grill & Chill stores began to appear in 2001. The above store, located in Savannah, GA sports the revised corporate logo that debuted in 2007.

abandoned-dairy-queen-3c

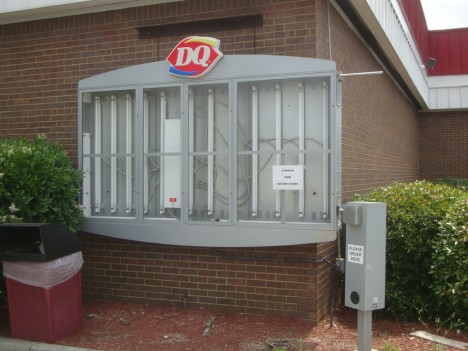
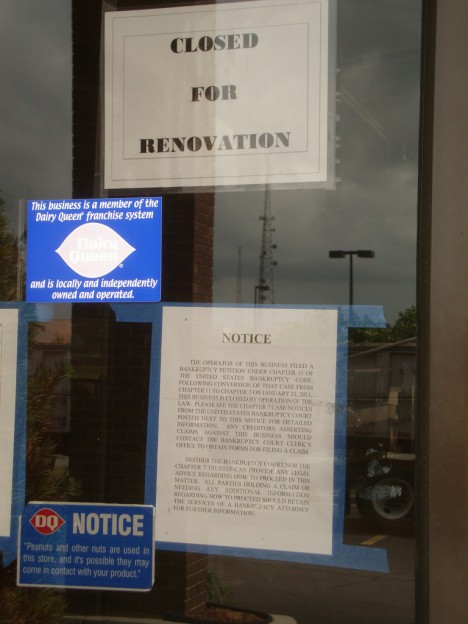
Too big to fail? Nuh uh: Flickr user C-Bunny snapped the shuttered store in April of 2011 and noted the presence of “Closed for Renovation” and “Notice of Bankruptcy” signs plastered to the glass drive-thru window. Which is it, DQ… why not both?

Stuckey’s to be You

abandoned-dairy-queen-4b

abandoned-dairy-queen-4a

Flickr user Steven Wilson (ezeiza) has the hots for Dairy Queen: his dedicated online album features over 140 photos and counting! Wilson included but a single abandoned DQ; a combination Stuckey’s/Dairy Queen store in Lindsborg, KS that judging by the overgrown landscaping has been shut for some time.

Next Page – Click Below to Read More:
Out Cold 12 Closed Abandoned Dairy Queen Stores

Share on Facebook


[ By Steve in Abandoned Places & Architecture. ]

[ WebUrbanist | Archives | Galleries | Privacy | TOS ]


WebUrbanist

 
Comments Off on Out Cold: 12 Closed & Abandoned Dairy Queen Stores

Posted in Creativity