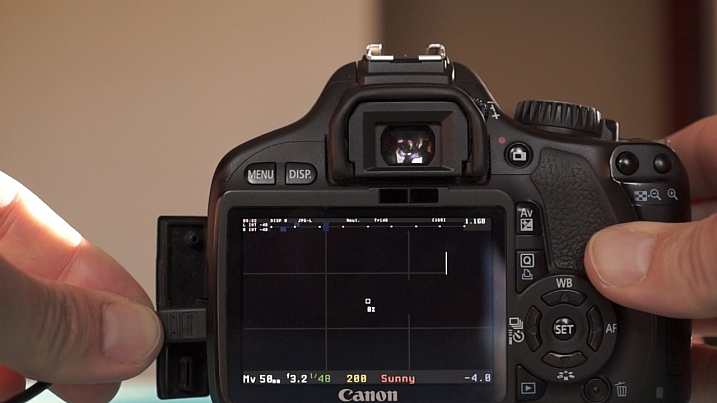
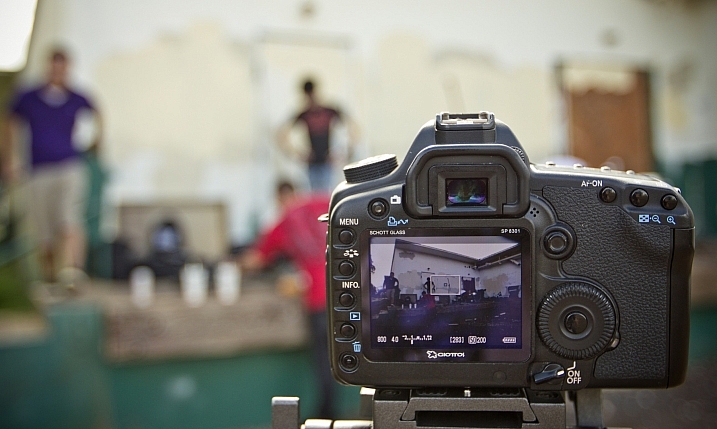
The video function on your camera is probably one that you don’t play with very often. It’s often disregarded – after all, DSLR cameras are not exclusively video cameras are they? But did you know that some big budget films, including The Avengers, have scenes shot on DSLR cameras? In fact, The Avengers used the Canon EOS 5D Mark II and 7D cameras on the set!

By Dave Dugdale
Understanding your camera’s video mode opens a world of opportunities to you. Filming is great for recording a developing scene, rather than trying to record a sequence in a still image. As a wildlife photographer, I use film to record sequences of behaviour with wildlife. For obvious reasons, it’s much easier to convey something that occurs over time with moving images. Whether you work with wildlife or not, I hope the following guide to taking DSLR video helps you to unlock the potential of your camera’s video mode.
#1 Understand frame rates
When you’re shooting a video, you’re actually recording images at a very fast frame rate. These are then played back so quickly that the human brain sees one moving image. Depending on where or what you are shooting, the frame rate you go for will vary. It’s worth noting that the frame rate your camera can shoot video at is different to the frame rate at which it can shoot still images.
Movies are shot almost exclusively at 24 frames per second. Television doesn’t have an internationally accepted frame rate. For example, in Europe and many other countries, videos are shot in PAL format at 25 fps. In North America, and also Japan, videos are shot in NTSC format and at 29.97 fps (often written as 30 fps).

By Steven Worster
#2 Choose your shutter speed
Big movie cameras will likely have rotary shutters. They are semicircular and spin around to expose the sensor for each frame. Filmmakers would then adjust the shutter angle to alter the amount of motion blur in a video and how smooth the movement appears to the eye.
DSLR cameras almost exclusively use curtain shutters. You don’t need to worry too much about the workings of the shutter for this. Just remember that to convey normal motion in your video, and avoid static uncomfortable viewing of your video, you should shoot at 1/ double the frame rate.
So, if you are shooting at 25 frames per second, then you should choose a shutter speed of 1/50th second. You can balance the exposure using the aperture or ISO. The following video illustrates the differences in motion blur with different shutter speeds.
#3 Do both wide and close-up shots
It can be easy to train your camera on an event, set it to record and leave it alone. But how many films or videos have you watched where the camera angle or composition never changes? Very few, if any. One of the best ways to keep the viewer’s attention, and add a professional touch to your videos, is to shoot one scene in a number of different compositions.
This is why shooting video with a zoom lens is so handy. You can zoom out to record your wide shots, and then zoom in to record close-ups that highlight the details of whatever you are filming. It allows you to jump between clips, keeping the viewer’s attention.
If you were to just show one clip for 30 seconds solid, it is likely that the viewer would become bored. If you cut between compositions, then their interests are peaked. It also allows you to skip through time, cutting between more interesting parts of a sequence (although you need to be careful that the scene looks the same and flows – that’s known as continuity).
Take a look at this example:
#4 Focus manually
It’s super tempting to use autofocus when you first start filming, especially if you’re recording a moving subject. But autofocus makes the lens search for the focus, and once it starts trying to refocus in your video then it looks very amateur. Instead, pull the focus manually.
You’ll need to practice this technique, but it’s not as hard as it sounds. Using a smaller aperture helps too. In big film productions, there are entire jobs for focus pullers – this is a guy who manually focuses the lens for the cameraman.
#5 Take filler shots
Make sure you record the little details around your subject of the film. It might be water hitting a leaf, or the wind blowing through trees. It could be anything. But filler clips let you pad out your final film with extra details, meaning that you don’t require footage of your target throughout the whole film.
This is particularly useful in wildlife films, as it helps to transition time and events more easily by breaking up different clips. It works in a similar way to the wide and close-up shots mentioned in tip #3 above.
#6 Record sound externally
Big productions never record sound directly from the camera. They’ll have a sound man with a boom pole, holding it over people talking. This removes the interference of you actually working the camera, but it also ensures sound receives the attention it deserves. A film without sound is often a bad film, but a film with only sound can paint a picture easily.
For wildlife, we record sound at a later date. Very rarely is it recorded at exactly the same time. Instead, it is dubbed onto the footage during editing. Here’s an example:
Notice how it helps the clips to flow into one another? I am definitely not a sound expert, but it helps to make a conscious effort to improve your sound recordings.
In Conclusion
Video is a fantastic medium, I love it. There is a reason we are transfixed by film and television. Quality film production is an art, just like photography, and it is great fun to try your hand at it. So switch over to the video mode of your camera and see what you can put together.
If you’ve made any DSLR films yourself, please share them in the comments below.
googletag.cmd.push(function() {
tablet_slots.push( googletag.defineSlot( “/1005424/_dPSv4_tab-all-article-bottom_(300×250)”, [300, 250], “pb-ad-78623” ).addService( googletag.pubads() ) ); } );
googletag.cmd.push(function() {
mobile_slots.push( googletag.defineSlot( “/1005424/_dPSv4_mob-all-article-bottom_(300×250)”, [300, 250], “pb-ad-78158” ).addService( googletag.pubads() ) ); } );
The post Beginner’s Guide to Doing DSLR Video Clips by Will Nicholls appeared first on Digital Photography School.

Digital Photography School


