The post Backlighting in Photography: The Ultimate Guide to Beautiful Backlit Images appeared first on Digital Photography School. It was authored by Simon Ringsmuth.

When used creatively and intentionally, backlighting can be an incredible tool to take your photography to the next level.
However, the concept of backlighting seems somewhat counterintuitive.
After all, when your subject is backlit, the main source of light is coming from behind, not from the front – and conventional photography wisdom generally says that your subject should be well-lit from the front.
So how can you create backlighting that looks good? How can you capture backlit images that really stun the viewer?
That’s what this article is all about.
Let’s dive right in.

What is backlighting?
In order to understand how to use backlighting, you should know what the term means.
So what actually is backlighting?
The following diagram depicts a standard photography scenario with the main source of light behind the camera.

Using this type of setup, the subject is well-lit, and there is a shadow cast on the wall directly behind the subject. The result is a detailed, evenly-exposed image that conforms to the basic principles of photography.
In contrast, backlighting reverses the subject and the light source.
The light goes behind the subject (and points toward the camera), which causes the shadow behind the subject to vanish. Backlighting results in a photograph where the subject is usually much darker than normal.

Also, placing the light behind the subject often results in a silhouette or glow effect. This makes the final image look different from a normal photograph and can be jarring, at least at first.
But with a little practice, you can use this technique to create images that are unique and stand out from the crowd.
Backlighting in portraits
Backlighting is a tried-and-true portrait photography technique – one that can get you some stunning photos.
How does this work?
It helps to see some actual portrait photos that illustrate the concept of backlighting versus frontlighting. This first image is a fairly standard portrait shot:

The subjects are lit from the front, and the image is evenly exposed without any harsh shadows. It’s a great photograph, and it meets all the normal criteria for a maternity shot someone would want to put in a frame or a photo book.
Now, let’s look at another photo of this couple, this time shot using backlighting:

The parents-to-be are shrouded in shadow (which I was able to boost in Lightroom, thanks to the RAW file format), and the woman’s hair is glowing with a brilliant golden halo. The man has a glowing outline around his head, and the entire scene has a slightly mystical quality to it.
This is all due to the creative use of backlighting.
When you light your subjects from behind, you can get images like this, which pack glowing hair, brilliant outlines, and a beautiful background. This type of photo does take practice, but with a little trial and error, you can use backlighting to get similar results.
Here’s a head and shoulders portrait of a young man:

The sunlight is coming from the front, his face is evenly lit, and the background is colorful and easy to see.
Now compare that image to its backlit counterpart:

His hair suddenly looks like it’s on fire, and his ears have a bit of a glow. The right side of the background is lush and green, whereas the left side, where the sun is positioned, is almost entirely blown out. Even the man’s shoulders are outlined in gold, and the photo has an energy to it that the frontlit photo just can’t match.
As you can see, knowing how to use backlighting to your advantage can result in portraits that stand out from the pack. It may be a little tricky at first, especially if you’re using natural light instead of studio light.
But with a little practice, you’ll get the hang of backlighting – and you’ll get the type of pleasing reactions from your clients you never knew you were missing.
Backlighting isn’t just for portraits, though! It can be used in a variety of situations for creative, inspiring images, including nature photography:
Backlighting in nature
To illustrate the power of backlighting for nature photography, check out this backlit landscape image:

Once you start looking for the light, you’ll notice shots like this everywhere. In fact, one of the best ways to learn backlighting is to go out in nature and simply experiment by putting your subjects between the camera and the sun.
Sunrise and sunset are great times to try out backlighting. Look for situations where your subjects are at a bit of a distance; it also helps to have a general idea of where the sun will be at dawn and dusk. Metering with backlight is tricky, so I like to use Aperture Priority to control the depth of field and then dial in exposure compensation to get my shots as light or as dark as I want.
A rule of thumb I like to use in these situations:
Expose for the highlights, then bring up the shadows in Lightroom. Basically, try not to make your photo too bright, because you may end up with clipped highlights (i.e., white, informationless areas that cannot be darkened).

You can also look for more mundane subjects on which you can practice, like interesting leaves:

Remember:
When shooting in nature, the main source of light is the sun, but you don’t have to use direct sunlight. In the image above, the mid-afternoon sun made these leaves glow. The sun isn’t in the frame, but it still lit the leaves from the back and gave me a fun photo opportunity.
I used a similar technique for the image below. You can see how my use of backlighting made this large blade of grass appear almost translucent. The shot was not an accident, and I was only able to capture it by looking for new ways to shoot familiar subjects. In this case, I was only photographing a simple piece of grass!

Most people would pass by this scene without a second thought, but it just goes to show how backlighting can give new life to even mundane subjects.
Silhouette backlighting
One interesting way to use backlighting is to obscure your subject altogether. This technique is known as silhouette backlighting, and it can be a fun and creative way to showcase people, animals, and other objects.
How does this work?
You create silhouette images by shooting directly into the light source – which completely darkens your subject. The result is a photo that shows a shape or outline instead of a well-exposed subject.
To get the image below, I pointed the camera at my main source of light, then waited for someone to walk by. The fountain itself doesn’t emit light, but instead reflects what comes from the sun – and it was so bright that it completely darkened my subject. The image tells a story, even without seeing any details of the person.

I used a similar backlighting technique to get this shot of a young woman in the early morning:

I knew where the sun was positioned, so I waited patiently until a person walked into the frame. By putting my subject directly between the camera and the main source of light, I was able to capture a silhouette. The end result is much more interesting than a normal, properly-exposed image taken in broad daylight.
Silhouettes aren’t just for people. You can use silhouette backlighting for a variety of subjects; all it takes is a little creativity and a willingness to try something different.
Some type of Manual mode (either full Manual or Aperture Priority with exposure compensation) is best for these shots. It’ll give you better control over the final image, and you won’t need your camera to make exposure decisions in tricky lighting conditions.

One of my favorite ways to use silhouette backlighting is to create sun stars, like this:

I start by putting a large building between my camera and the sun.
Then I move around until the sun is poking out from behind a corner of the building. I shoot with a small aperture, usually f/8 to f/11, and I shift the camera position until I get the shot just right.
This technique takes practice, but you can easily get the hang of it in under 15 minutes.
Use Aperture Priority and exposure compensation, and look for ways to use the light that might not have occurred to you before.
Backlighting in photography: Conclusion
If you’ve never experimented with backlighting, then I encourage you to give it a try and see what happens.
You might think shots like the ones in this article are beyond your skills, but all it takes is a bit of practice, a dash of patience, and a willingness to try something different.
Backlighting is a fun, creative technique, and you might just find yourself using it far more than you expected!
Have you ever tried backlighting? What did you think of it? Share your thoughts in the comments below!
The post Backlighting in Photography: The Ultimate Guide to Beautiful Backlit Images appeared first on Digital Photography School. It was authored by Simon Ringsmuth.


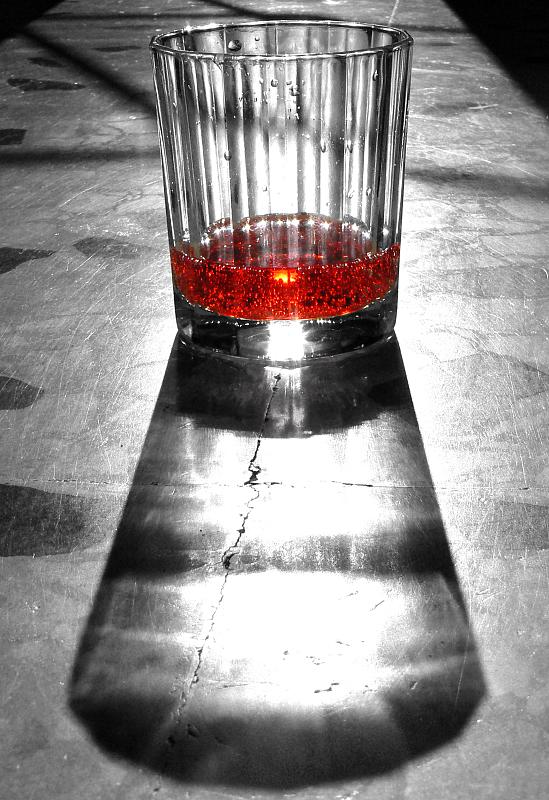


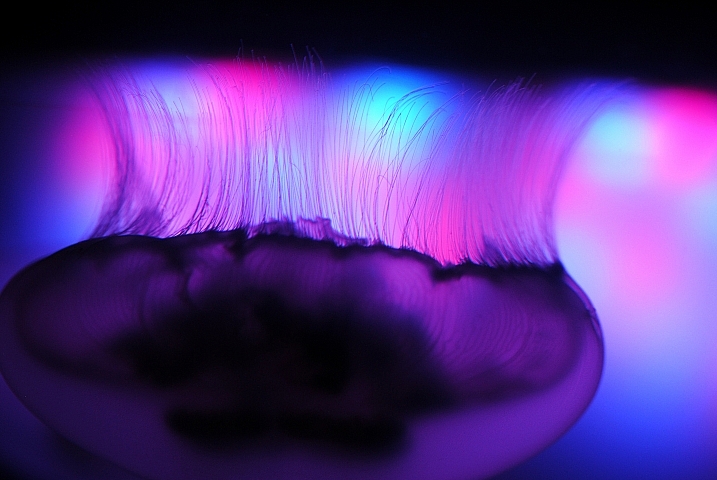
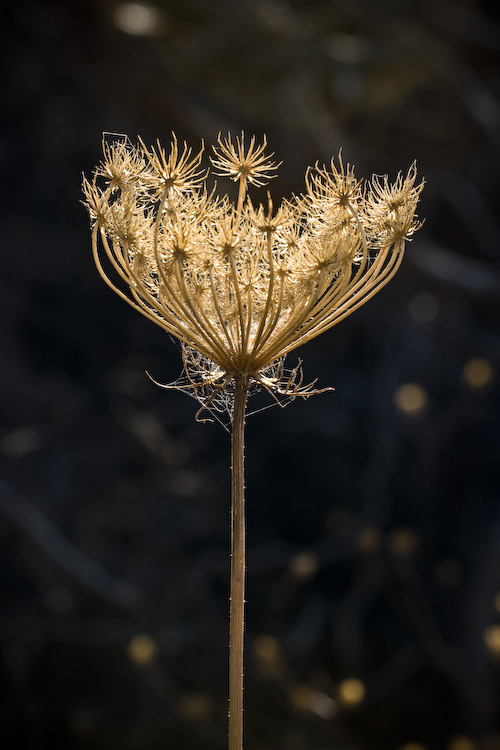


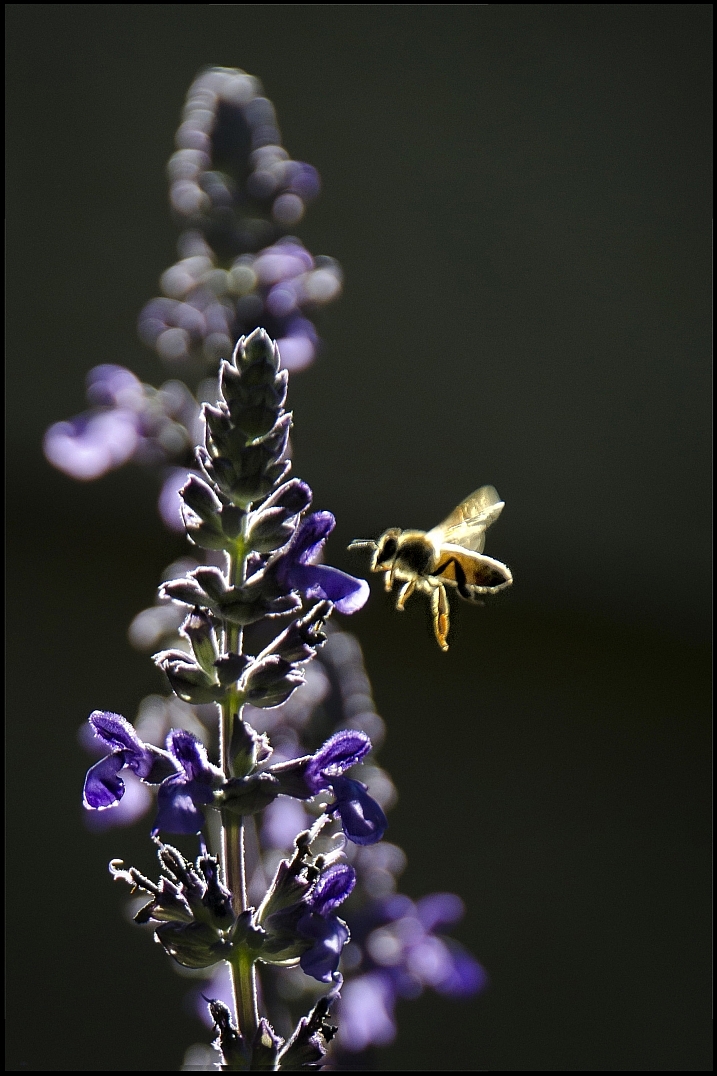
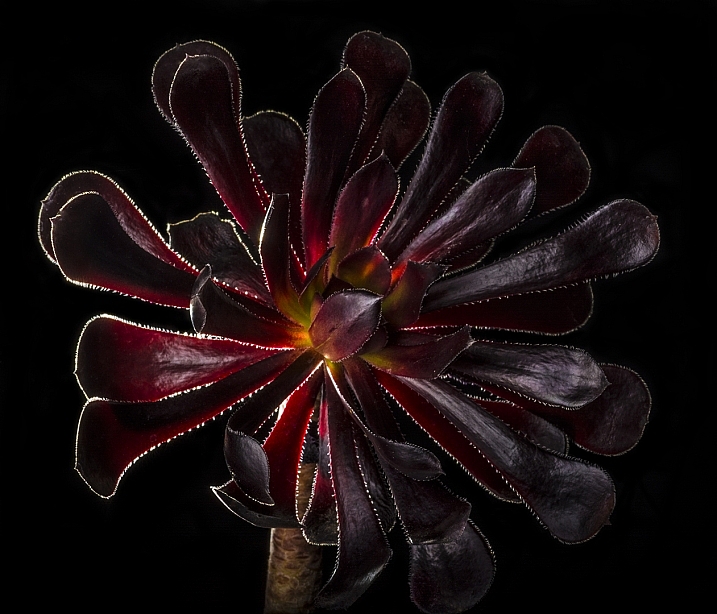
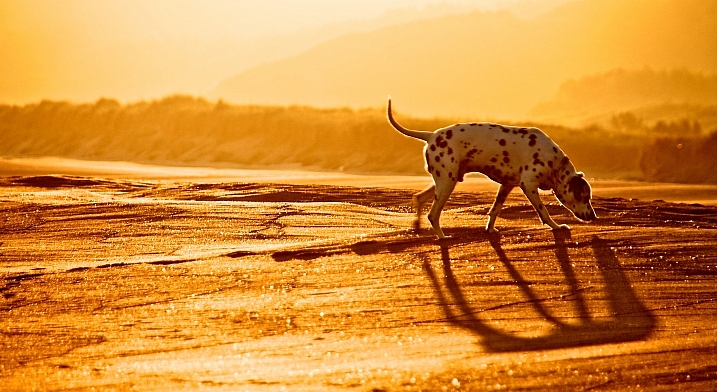


 Photo by naughton321
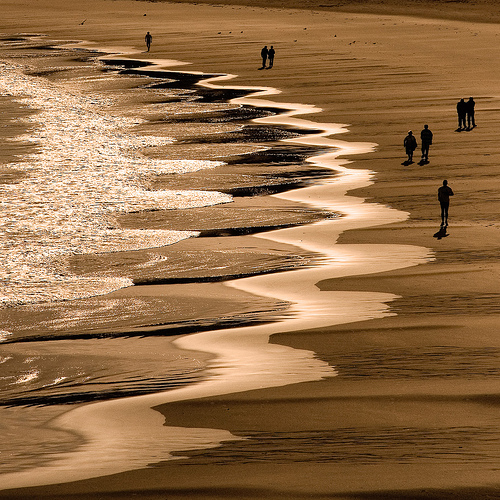 Photo by Ty-Dan
 Photo by benefit of hindsight
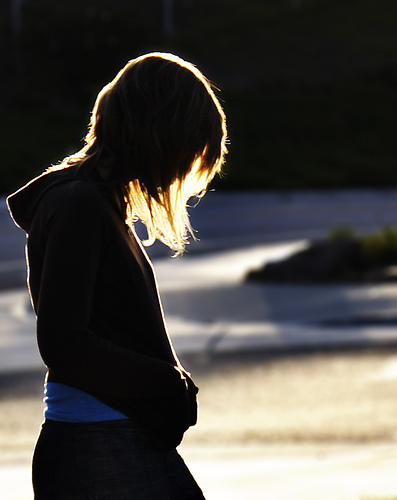 Photo by ‘SeraphimC
 Photo by limonada
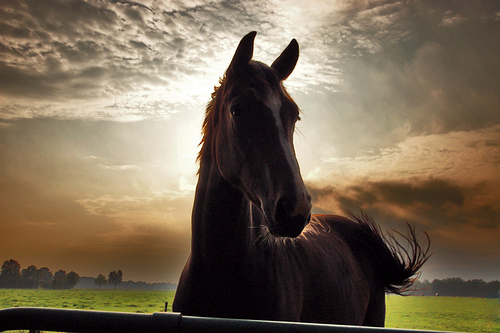 Photo by serni
You must be logged in to post a comment.