In the Northern Hemisphere summer is finally here and that means it’s the beginning of camping season. It’s time to haul out the tent, the propane stove, the canoe, the bug hat and the DSLR. You visit all these beautiful places, gain a sense of peace and respect for Mother Nature, then come home and wish you were still there. Having beautiful, sharp images of the brutal trail you faced, the noisy bird that woke you at dawn, or the incredible sunset you experienced can make the experience all the more rich. The added bonus is you have some fantastic images you can hang on the wall and gaze at as you plan your next trip.
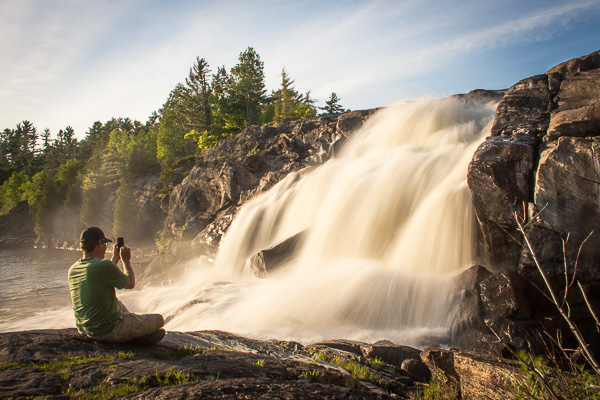
Taking a DSLR into the back country isn’t as costly or as expensive as you would think. You don’t need the super high end gear. Your DSLR is fairly rugged, it can handle rain, heat, a few bumps, water, dust, campfire smoke, etc. It’s not as breakable as you might think. Whether you are hiking or canoeing/kayaking, taking your gear into backcountry is easy. I’ve been taking my DSLR into the backwoods of Northern Ontario for years and have never regretted the decision. It’s taken practice, but through trial and error, you too can find a system that lets you take your DSLR into the woods. When packing for a backcountry trip remember to consider the following.
How will you pack and protect your gear but make it easily accessible?
OPTION 1: A hard case
These are easy to access, and when closed properly are airtight. Your camera and lenses will be completely safe using this method. They are easy to access on the trail, just lift the lid. Hard cases can be adapted to fit a camera and a lens by removing some of the foam padding from within. You customize the case to your gear. The drawback is the added weight you will have to lug and the cases are awkward. Picture yourself dragging a tired body, a backpack containing a tent, food, clothing and a suitcase like object through the bush. It’s not easy. But if you want the 100% protected guarantee then this type of case is for you.
OPTION 2: A dry bag
This method doesn’t guarantee complete protection. If you capsize in a canoe or drop the gear into a river, dry bags don’t promise watertight protection. However, a dry bag is easy to strap to the canoe or kayak and can be packed into a standard tripping pack quite easily. The dry bag keeps it safe from the elements. The handle at the top makes it easy to carry. The trick is to create a padding system within the dry bag. I use an old foam mattress to pad my gear.
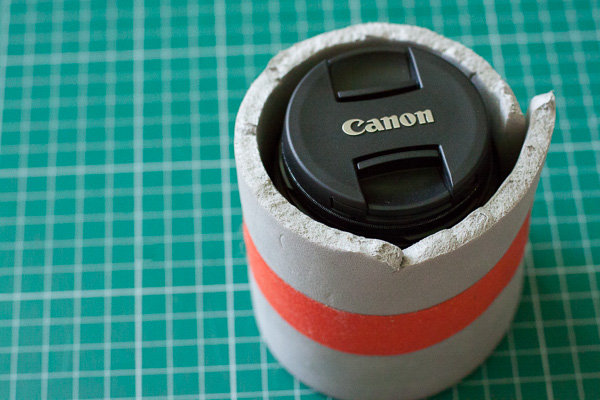
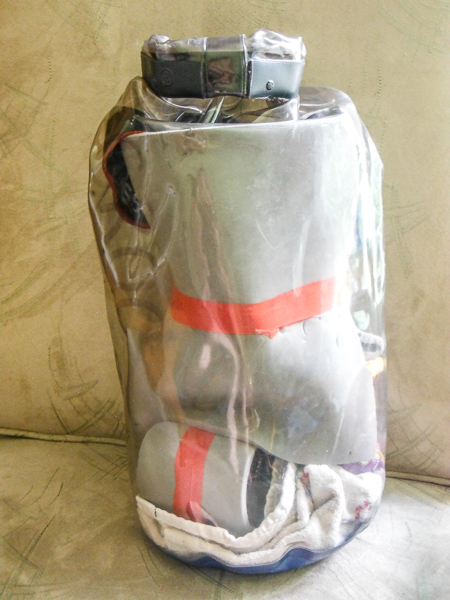
Basically, cut up the mattress to fit your camera and bag. You can wrap spare lenses in the same foam and place them in the bottom of the bag. Dry bags can be purchased in varying sizes so you don’t have to buy a new bag for each combination of gear. This method is the cheapest, it’s fairly accessible and it’s certainly the easiest to carry.
OPTION 3: A tripping pack designed for carrying camera gear
There are several tripping packs that are designed to carry your tent, clothes, food and camera gear. These are excellent at protecting your gear and are designed for just such an outing. The problem is they aren’t very waterproof. They do come with a rain cover, but let’s face it, the gear is ruined if you drop the bag in a lake. If you are just hiking, then this is a fantastic option, these bags are designed for this job.
The drawbacks come for those of us who are smaller in stature or female. Most of the overnight backpacking bags are huge and become difficult to carry, especially for women. Sometimes chest straps don’t sit where they should and can be very uncomfortable. Comfort on the trail is extremely important: you don’t want to be in agony. Whatever you choose, make sure the pack fits properly. The comfort factor is the key to an enjoyable hiking trip.
How far will you travel? Can you really carry all that gear?
Tripping in the back country is hard work. You have to carry everything you need. You want to make sure enjoy your trip. If you are crippled under the weight of carrying, or portaging your camera gear, it isn’t going to be fun. Pack light and smart. Try to limit yourself to a few lenses, a filter or two, a few batteries and memory cards.
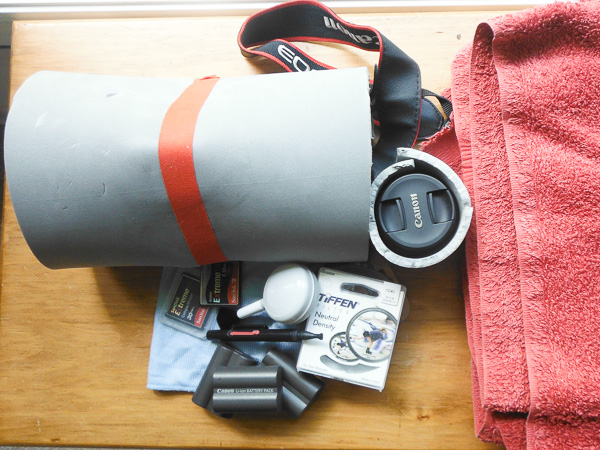
Make it a fun challenge, take along one lens. Do you really need your 85mm lens if your 70-200 range zoom will cover this focal length? Be frugal with what you carry. This will push you to be creative in the types of shots you take. Also, it’s important to take a tripod for super sharp shots. Investing in a lightweight model is a good idea. The lightweight versions are pricier but worth it.
Use Common Sense
If you are going on a trip and serious about taking some great photos then make sure you plan for it.
- Cut down the number of kilometres (miles) you cover in a day in order to build in some time for photography.
- Choose a route that has some beautiful photographic locations. Plan in advance and do your homework.
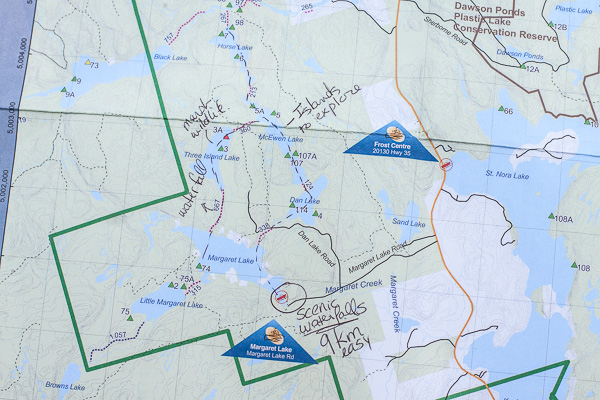
- If canoeing or kayaking plan a route that doesn’t contain huge multi-kilometre portages that will drain you of energy.
- Make sure you tie your camera gear to your canoe/kayak for added safety in the event you dump.
- Portage through challenging rapids to avoid soaking gear.
- If the weather is challenging, stay undercover. You can get moving tomorrow.
- Don’t take your gear out of its protective bag if the water is really rough, especially if you’re a novice paddler.
Finally, there’s one essential piece of gear that weighs almost nothing but you are guaranteed to regret it if you don’t take it. Always take a lens pen, and a couple of microfiber cloths, they are a must. Your gear will get dirty. Accept this fact now and simply remember to book your camera in for a thorough cleaning after you return. It will feel like a new camera afterwards, that’s a bonus.
It’s a little more work but it will be worth it. People will “oooh” and “ahhhh” at your photos, and who knows maybe you will inspire a friend to take same trip because they just have to visit the place they’ve seen in your photographs.
The post Taking your DSLR into the Backcountry Safely by Erin Fitzgibbon appeared first on Digital Photography School.

Digital Photography School


You must be logged in to post a comment.