The post How to Make an Animated GIF in Photoshop appeared first on Digital Photography School. It was authored by Ana Mireles.
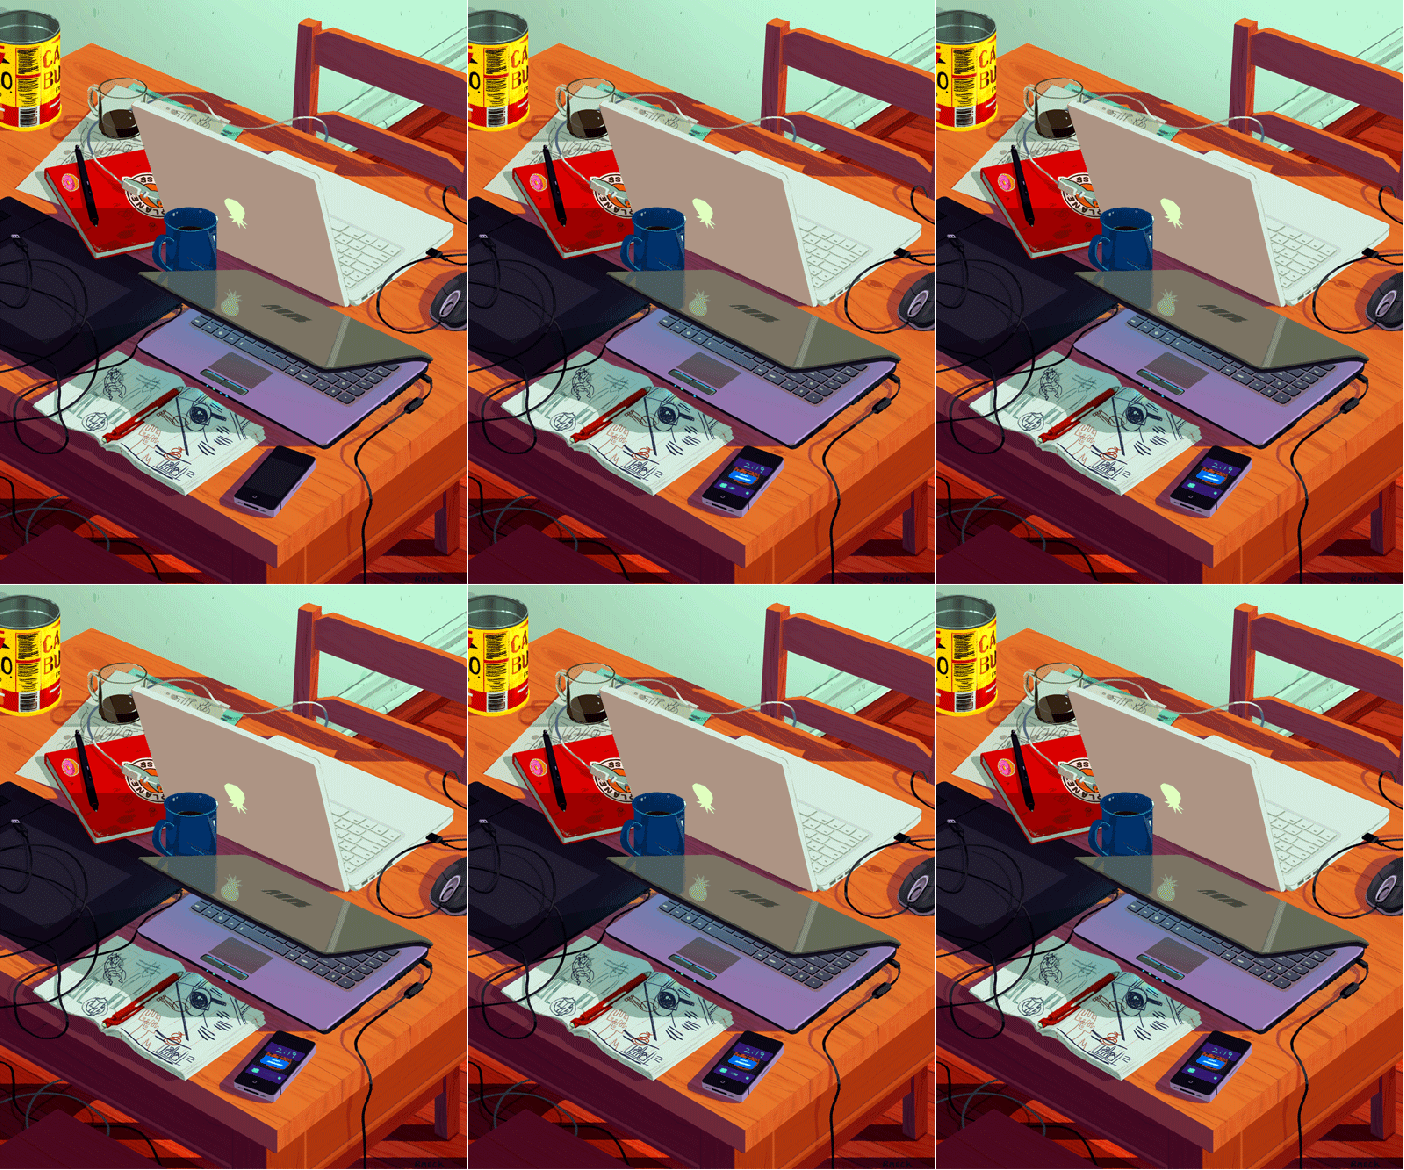
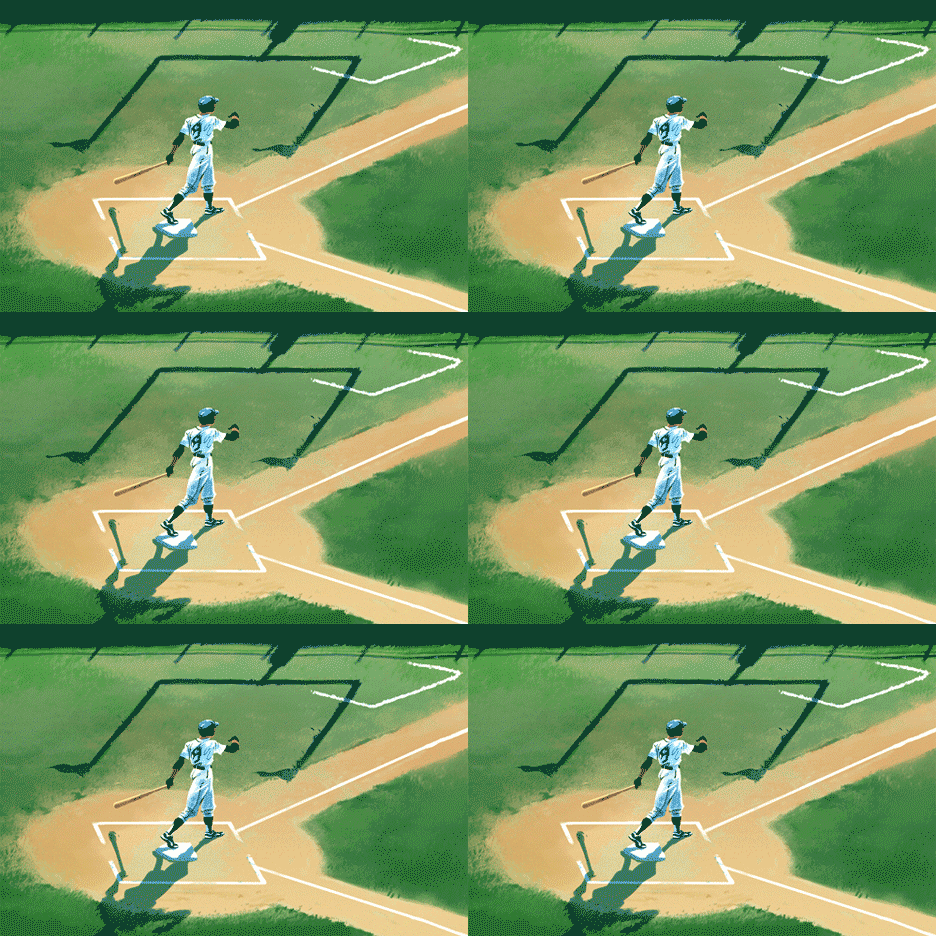
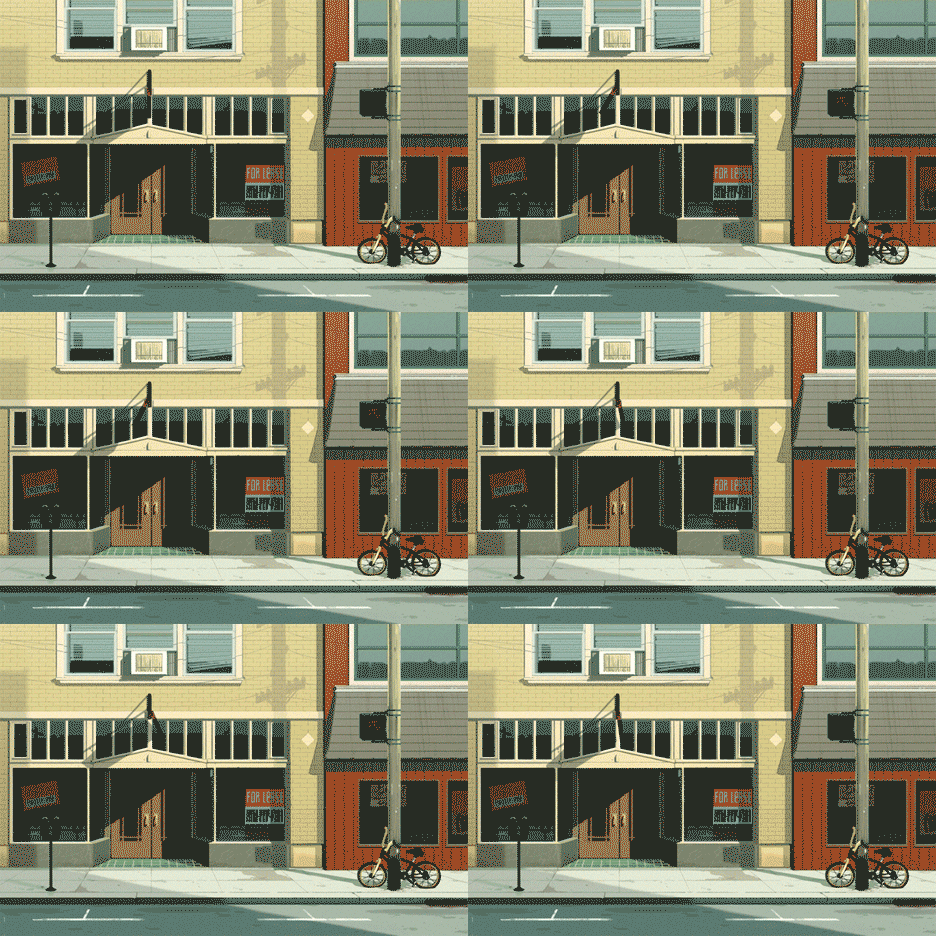
Don’t you love GIFs? I do. They are fun, creative, and a great way to grab attention. In a world full of images (animated and otherwise), you need to create original quality work to stand out. Stop following trends and make your own using Photoshop in just a few simple steps.
A GIF is a file format that supports animated images in the smallest size, which makes it very appealing for any online platform. The famous acronym stands for Graphic Interchange Format, and it became trendy for Internet humor, but now it’s a powerful tool.

Five reasons to do your own GIF
- Showcase your product/brand in action or being used.
- Do a call to action on your website.
- Show a step by step example of any instruction.
- Enhance your visibility.
- Grow your social media audience.
What you need
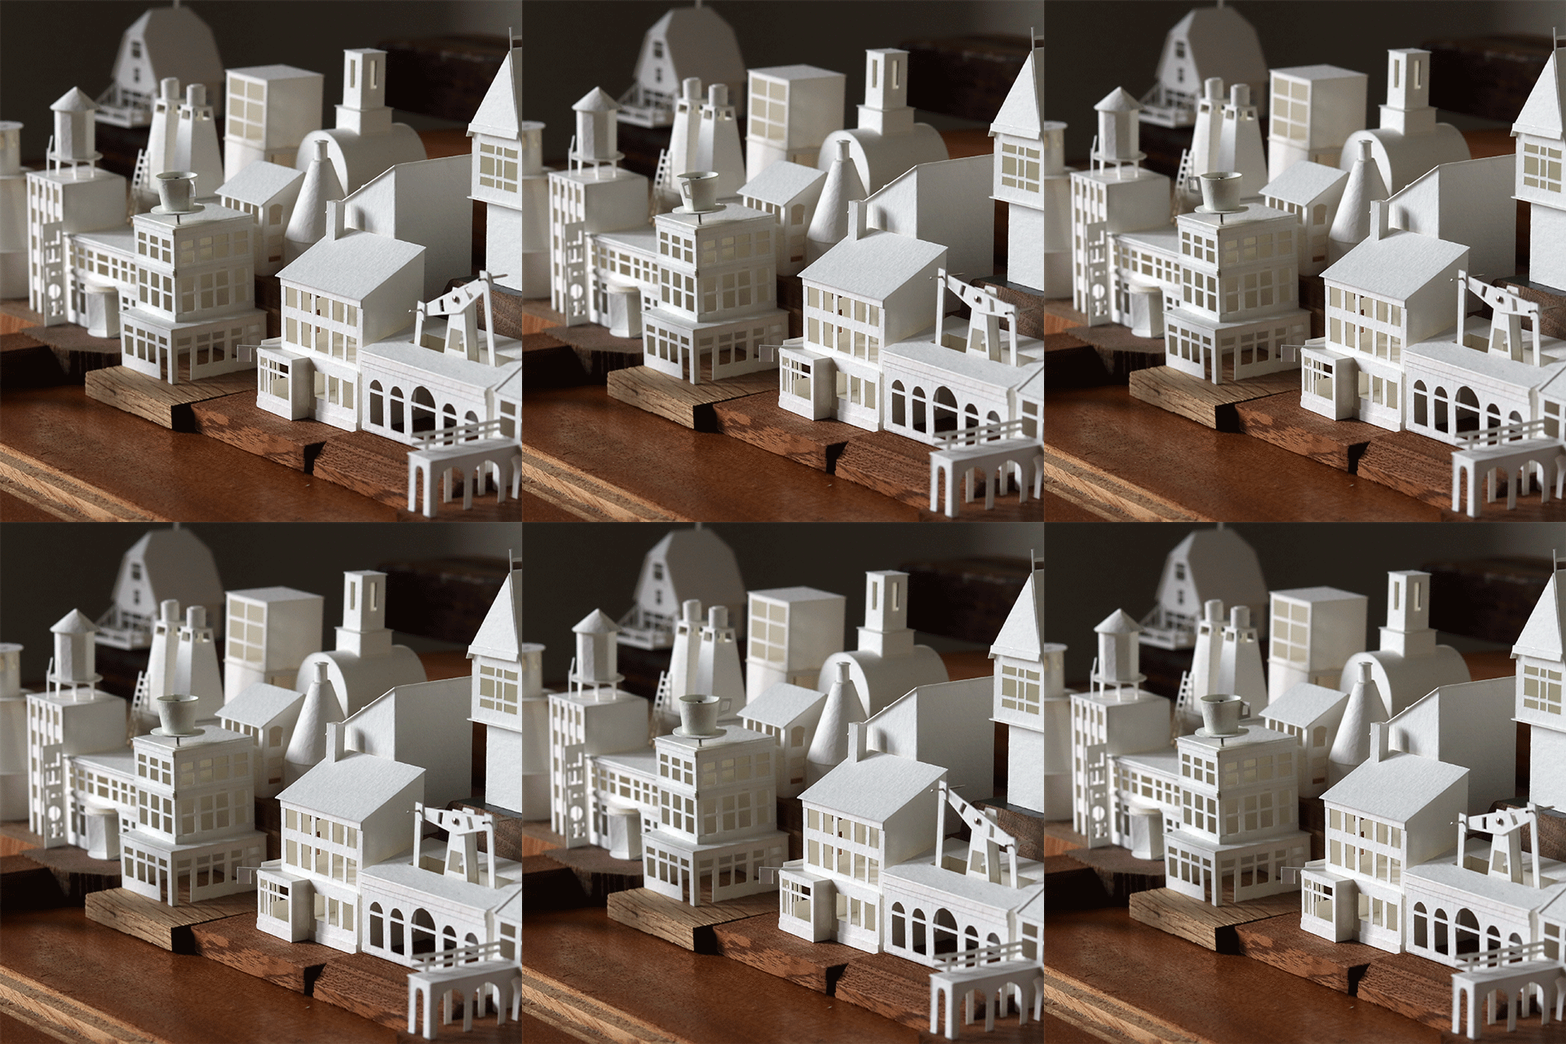
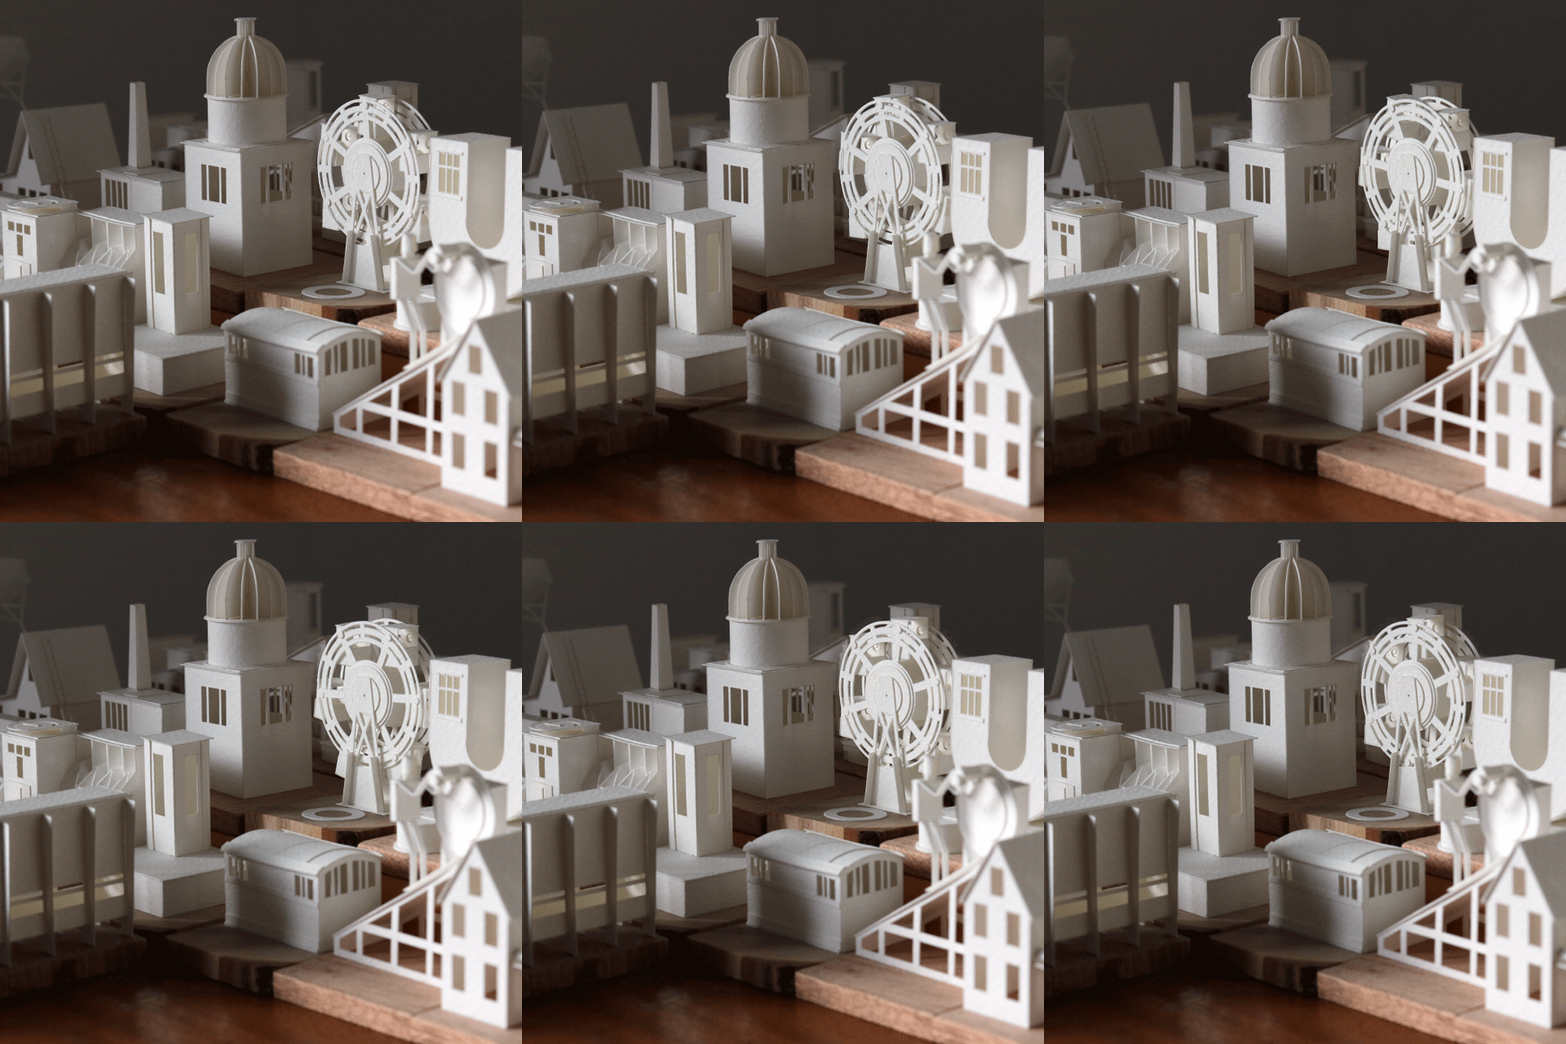
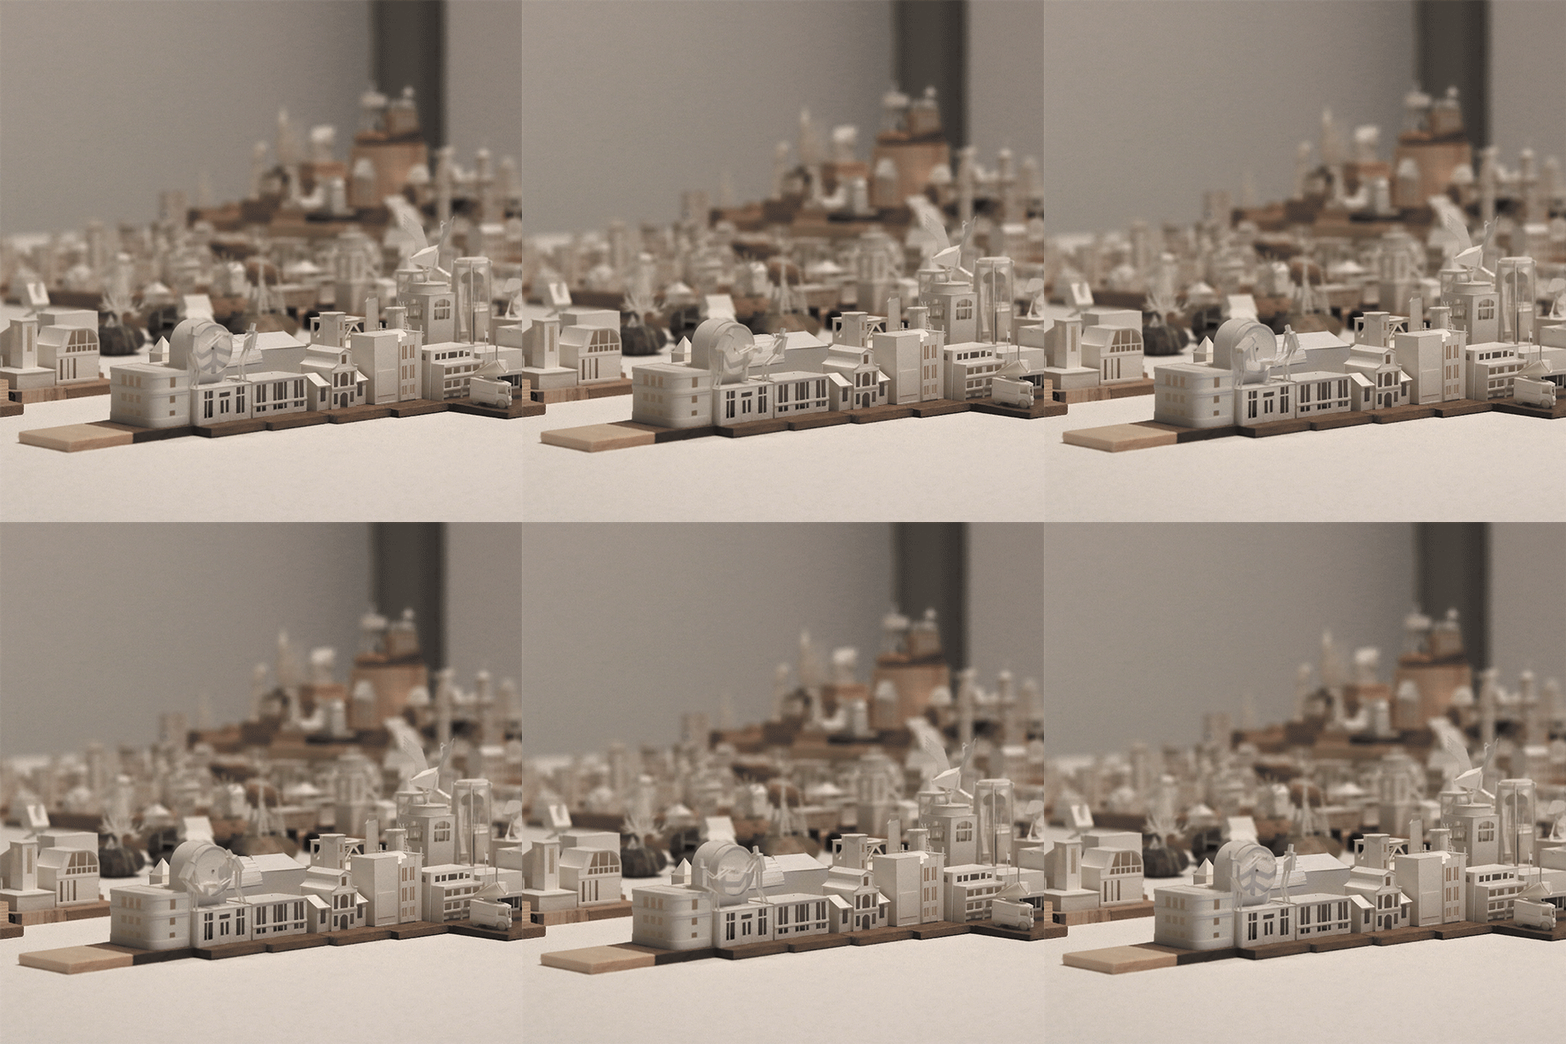
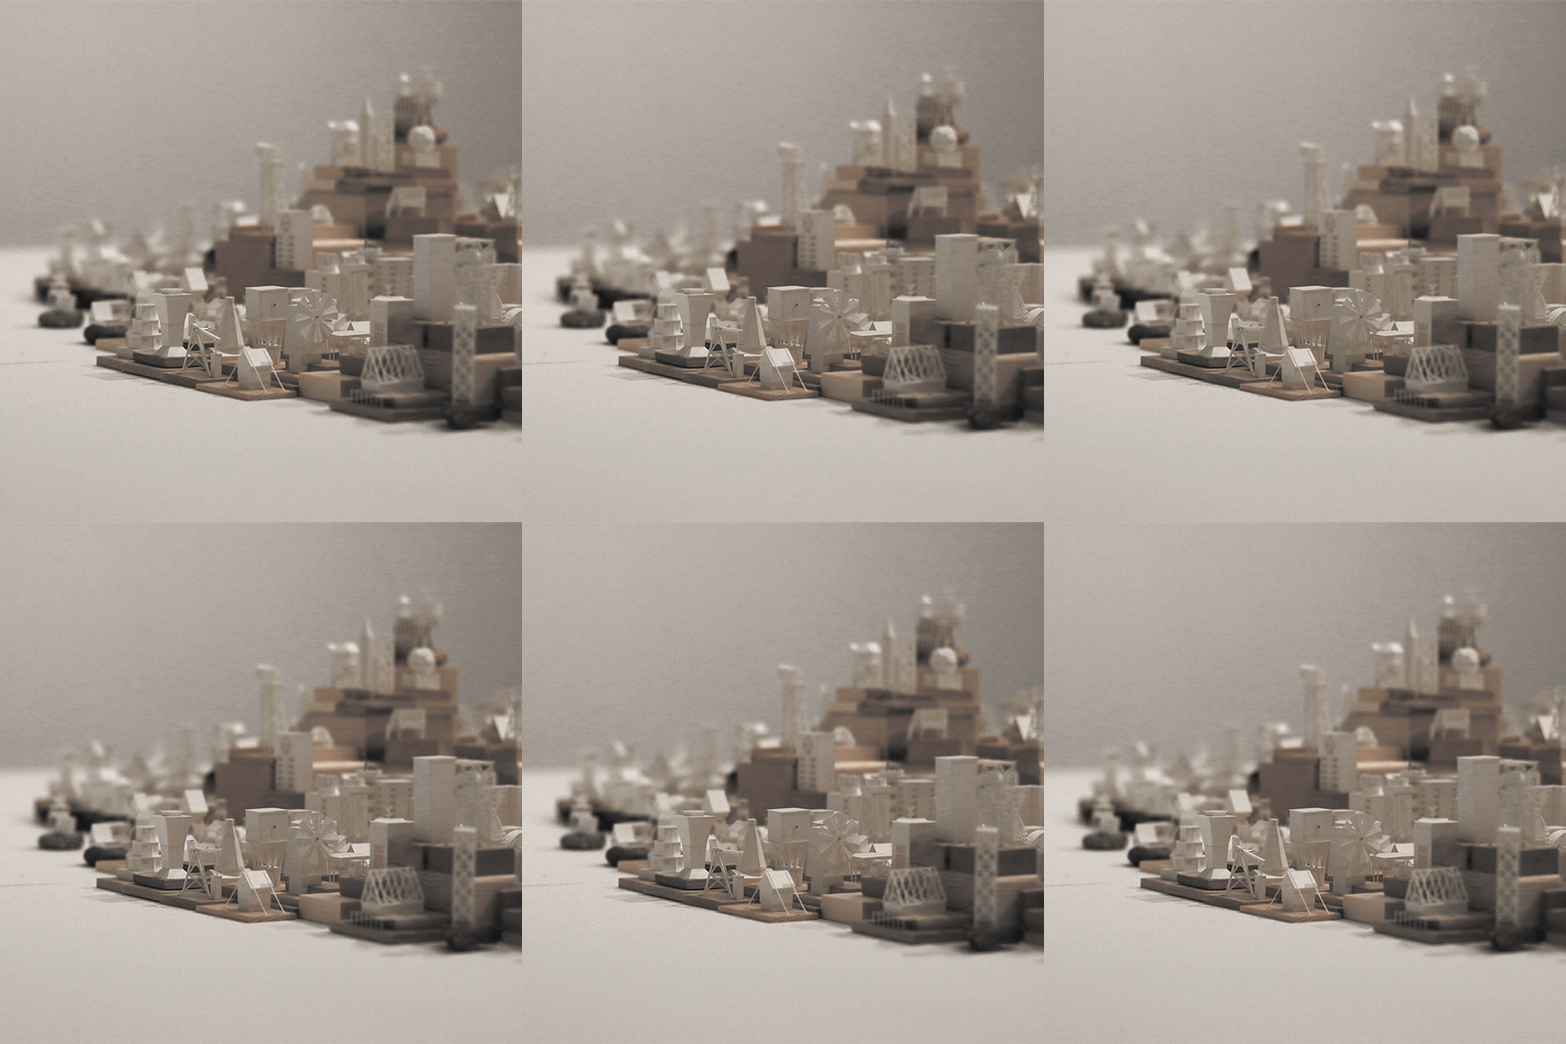
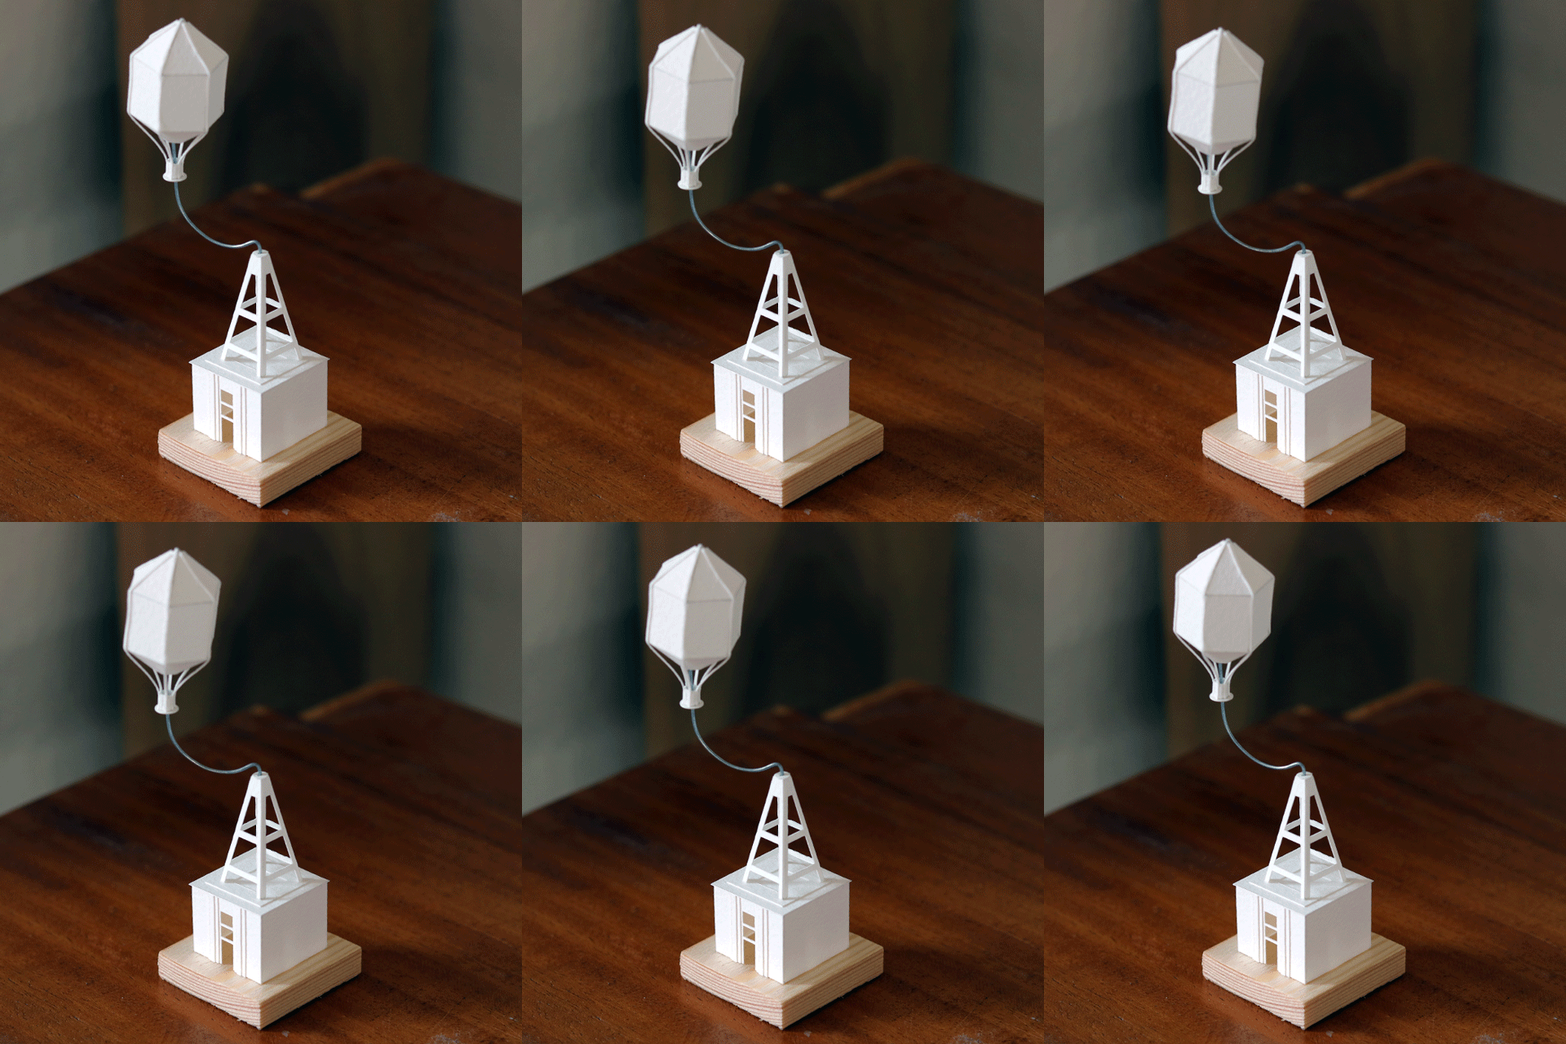
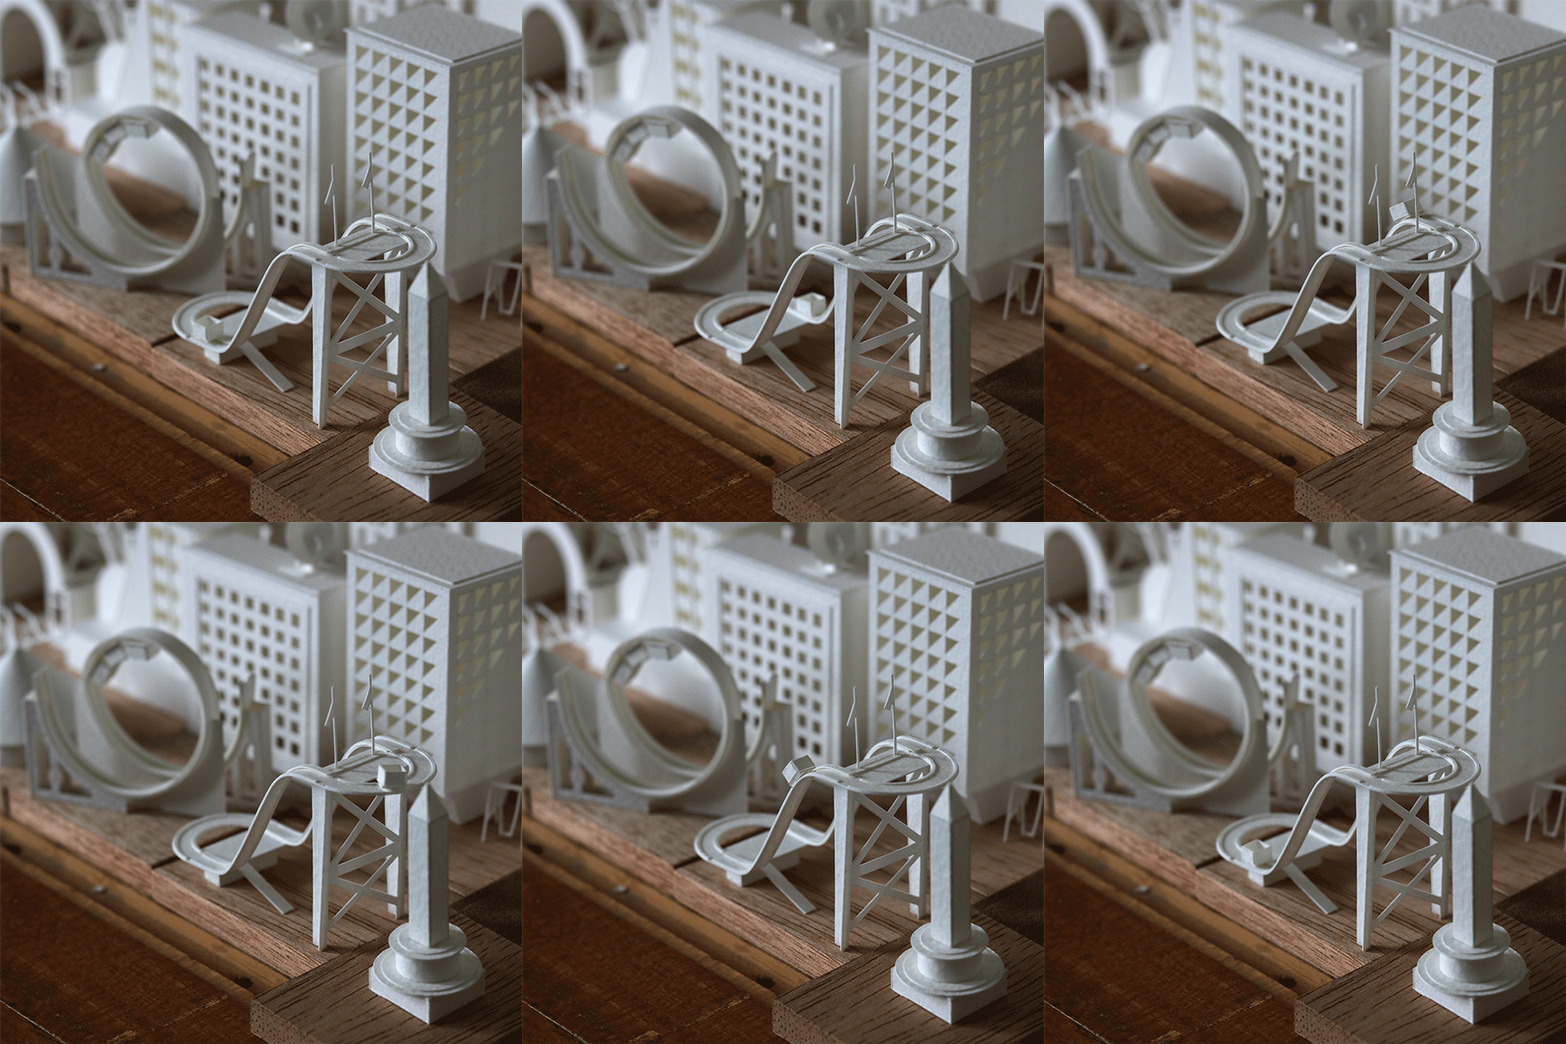
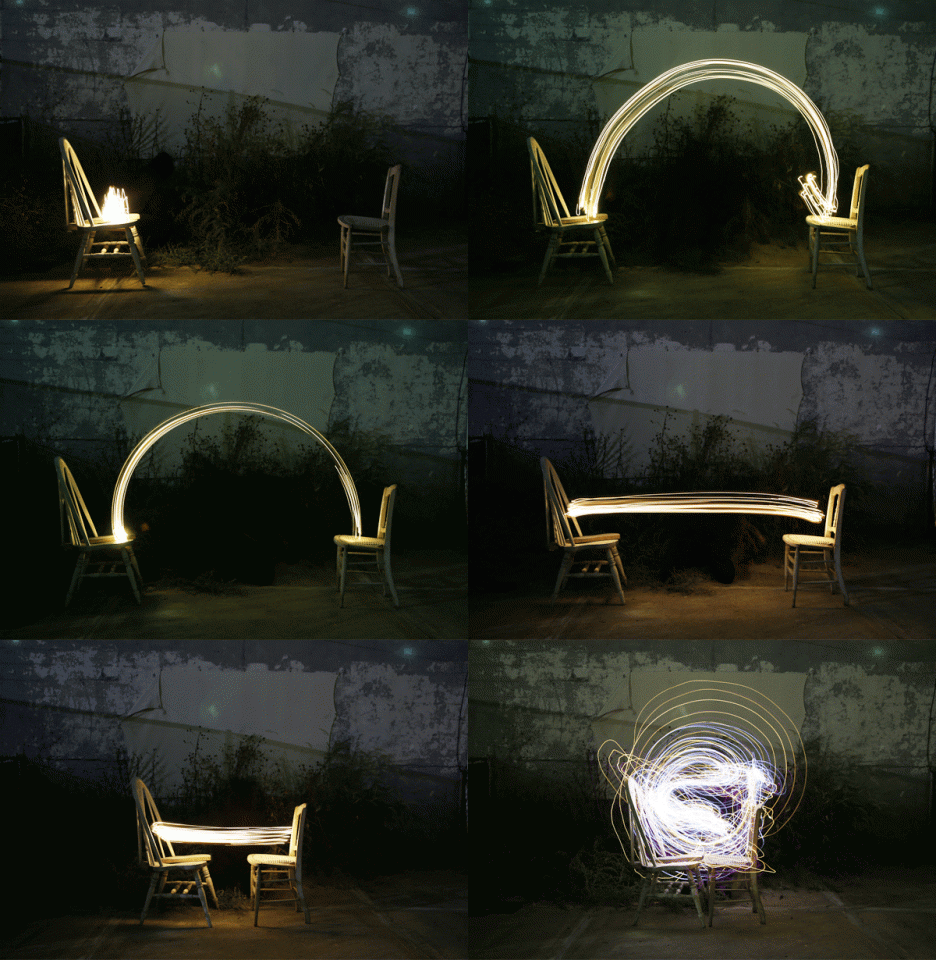
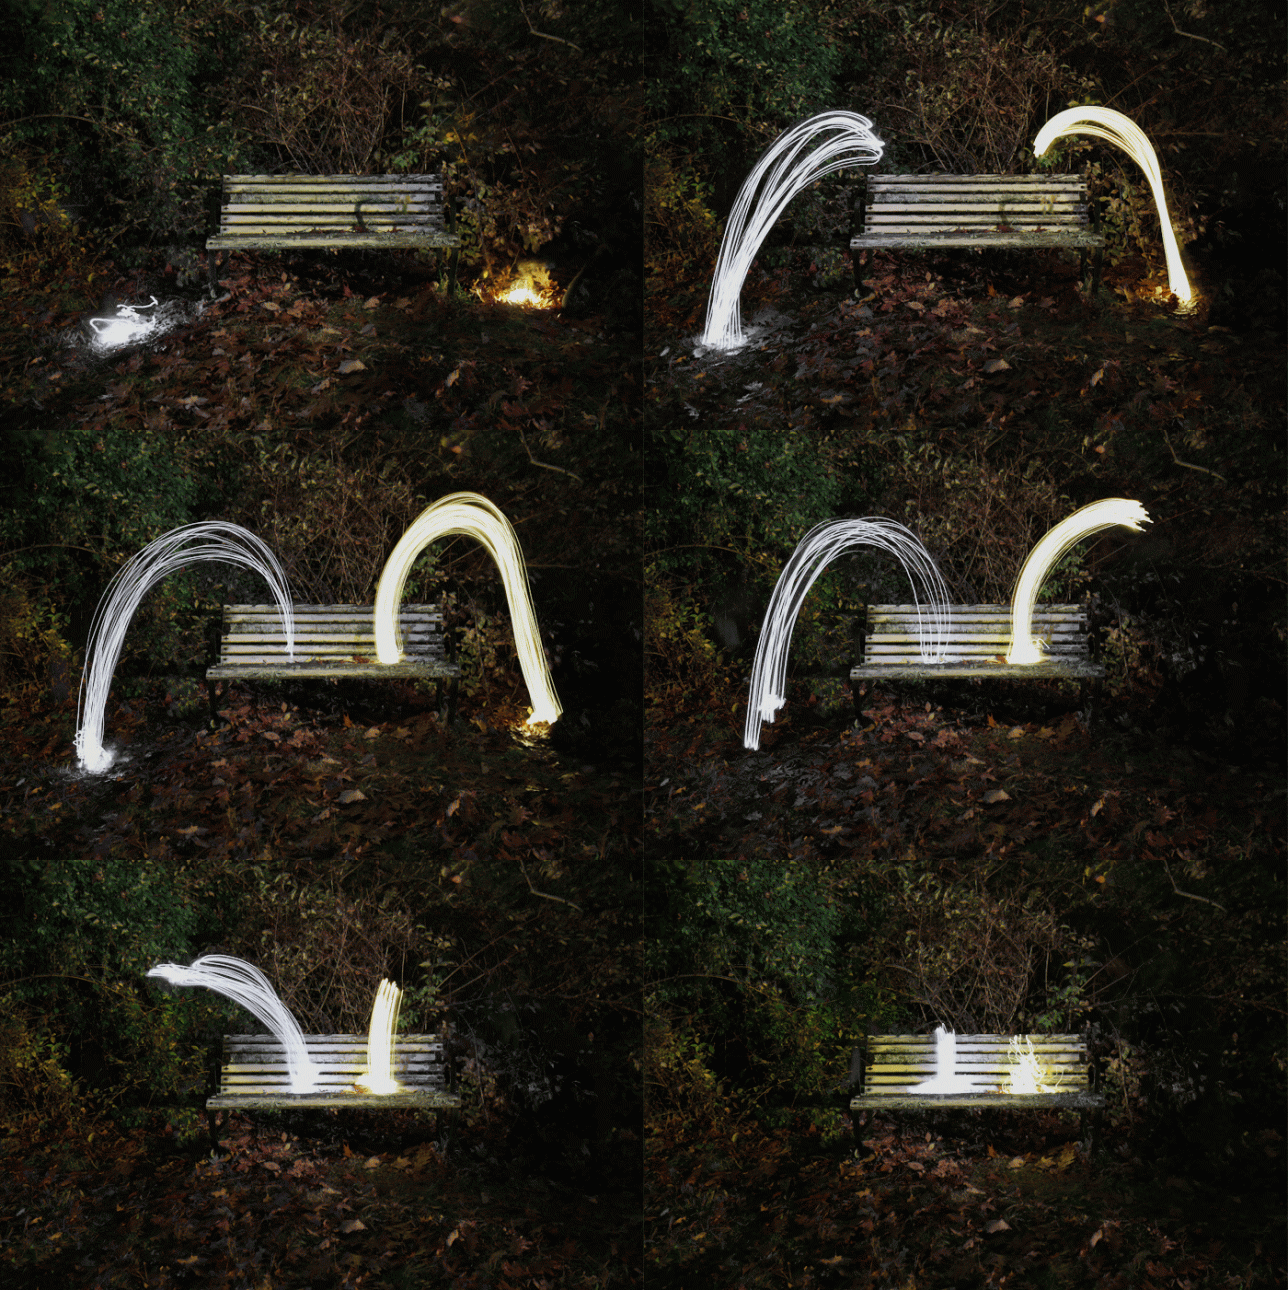
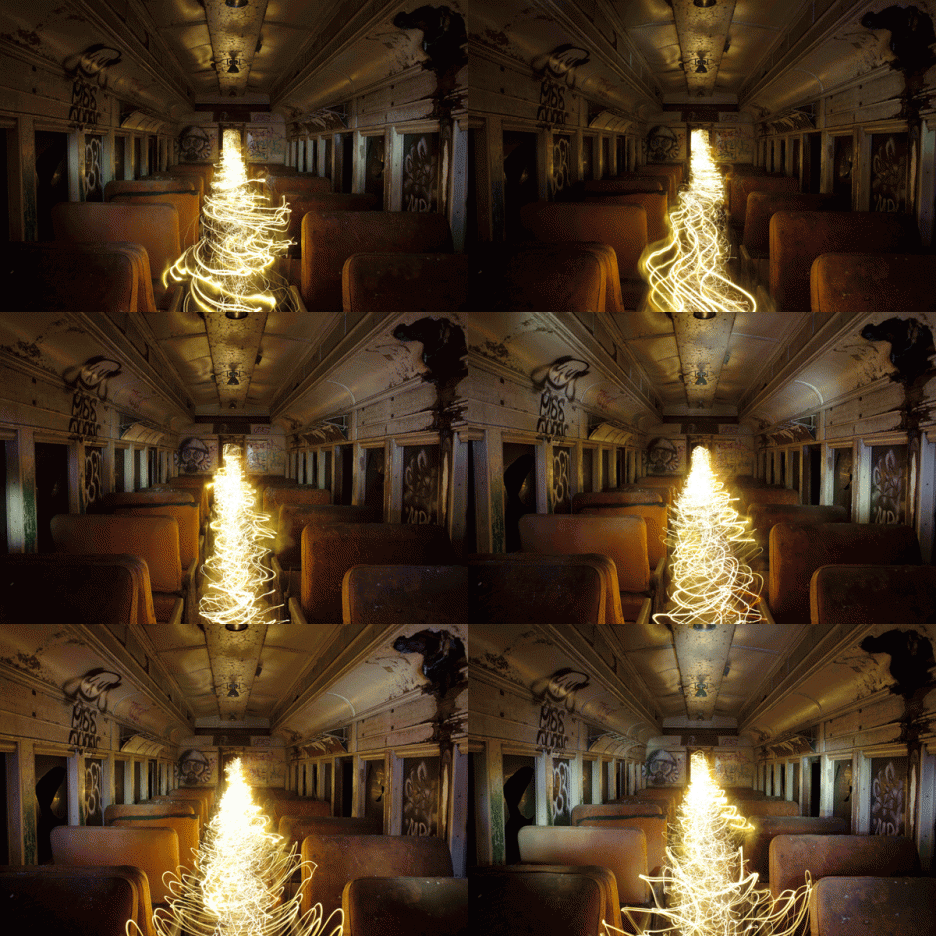
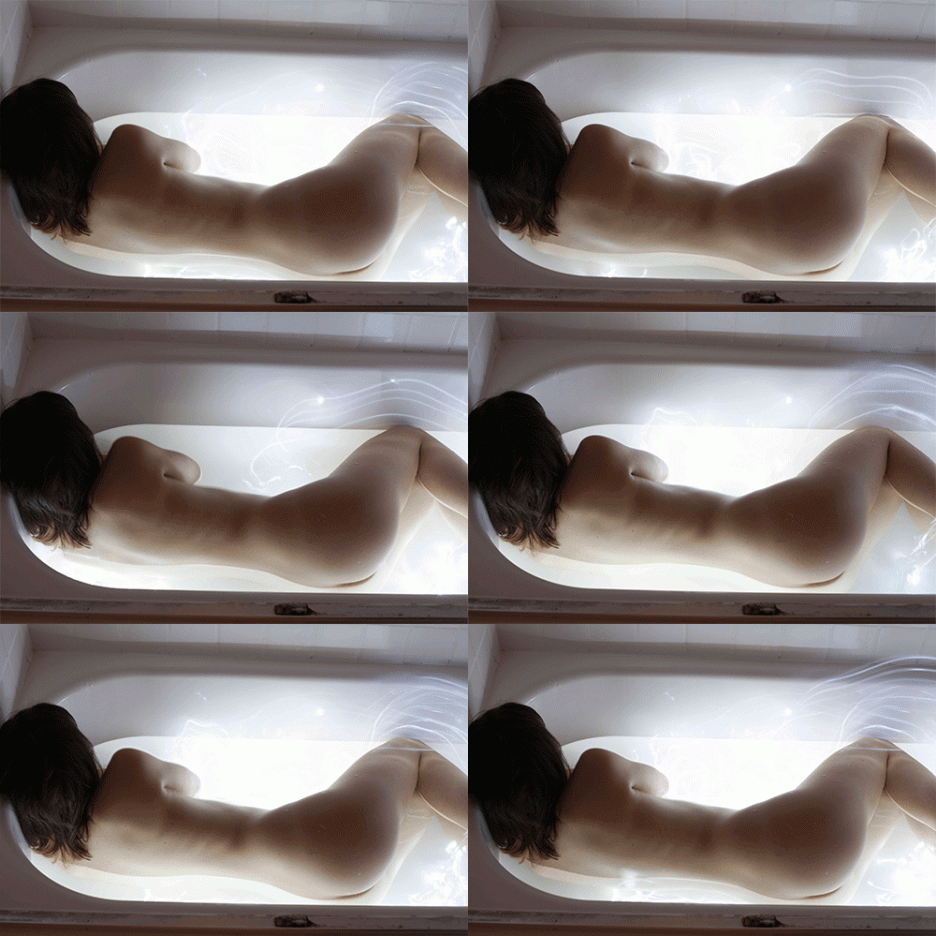
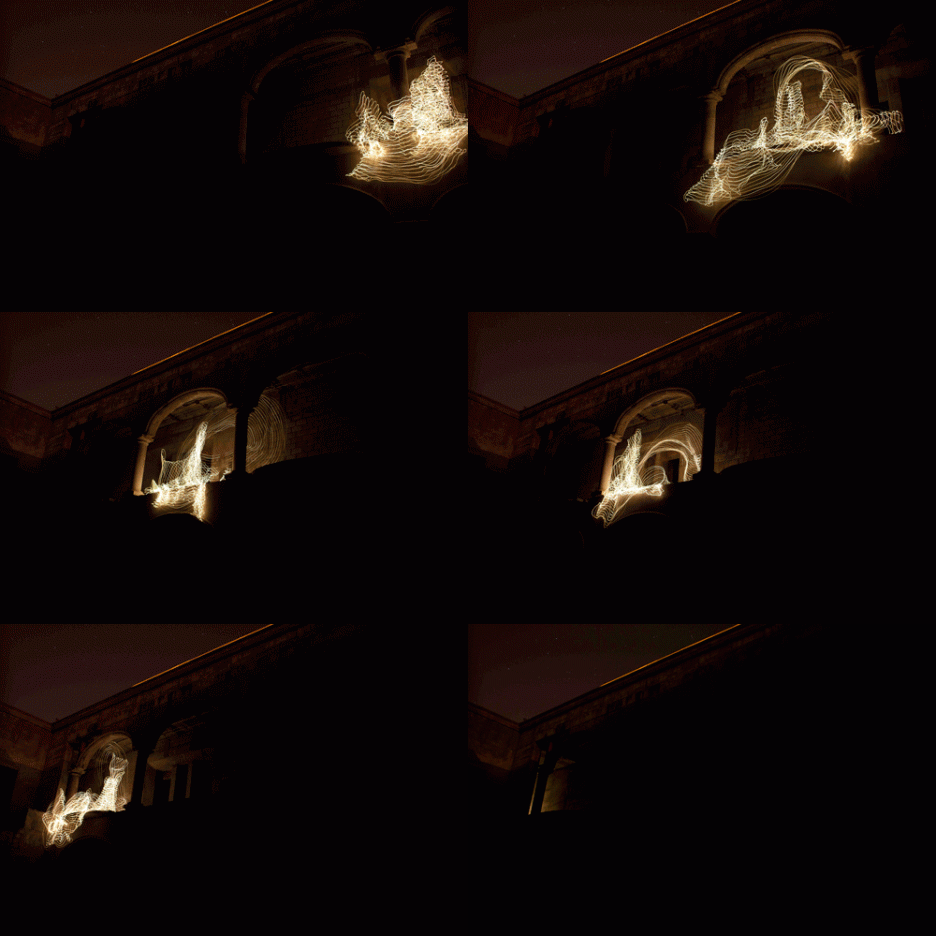
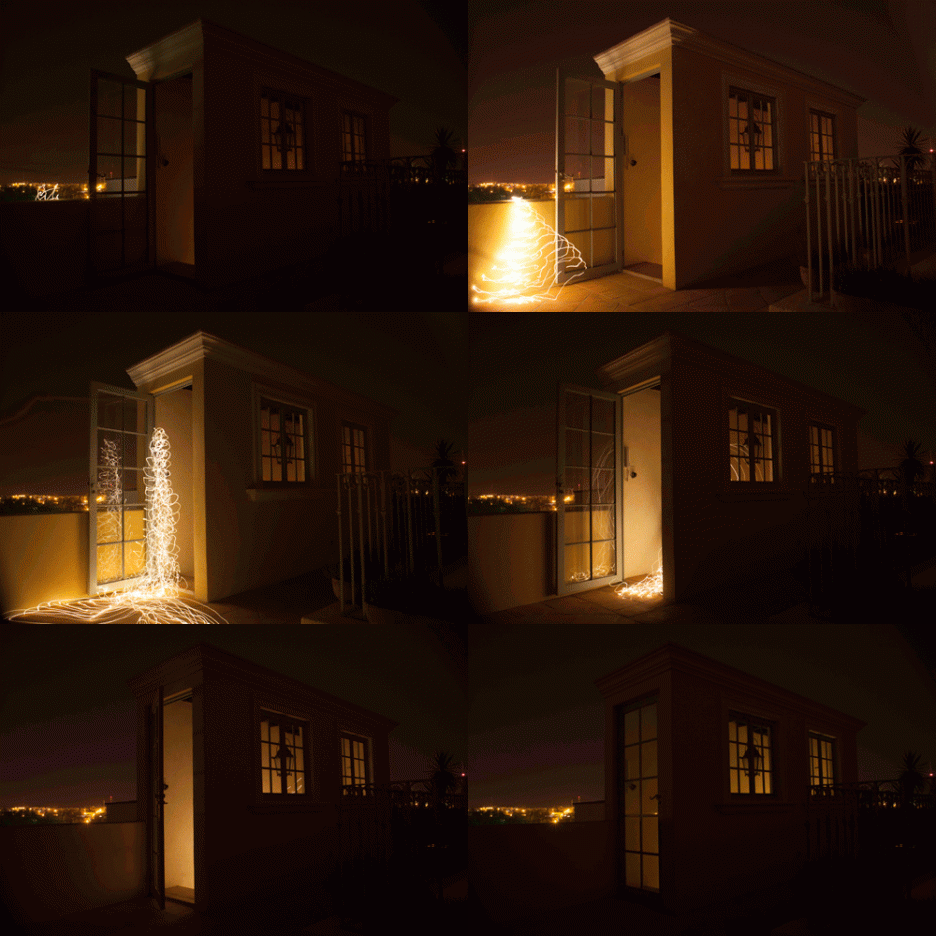
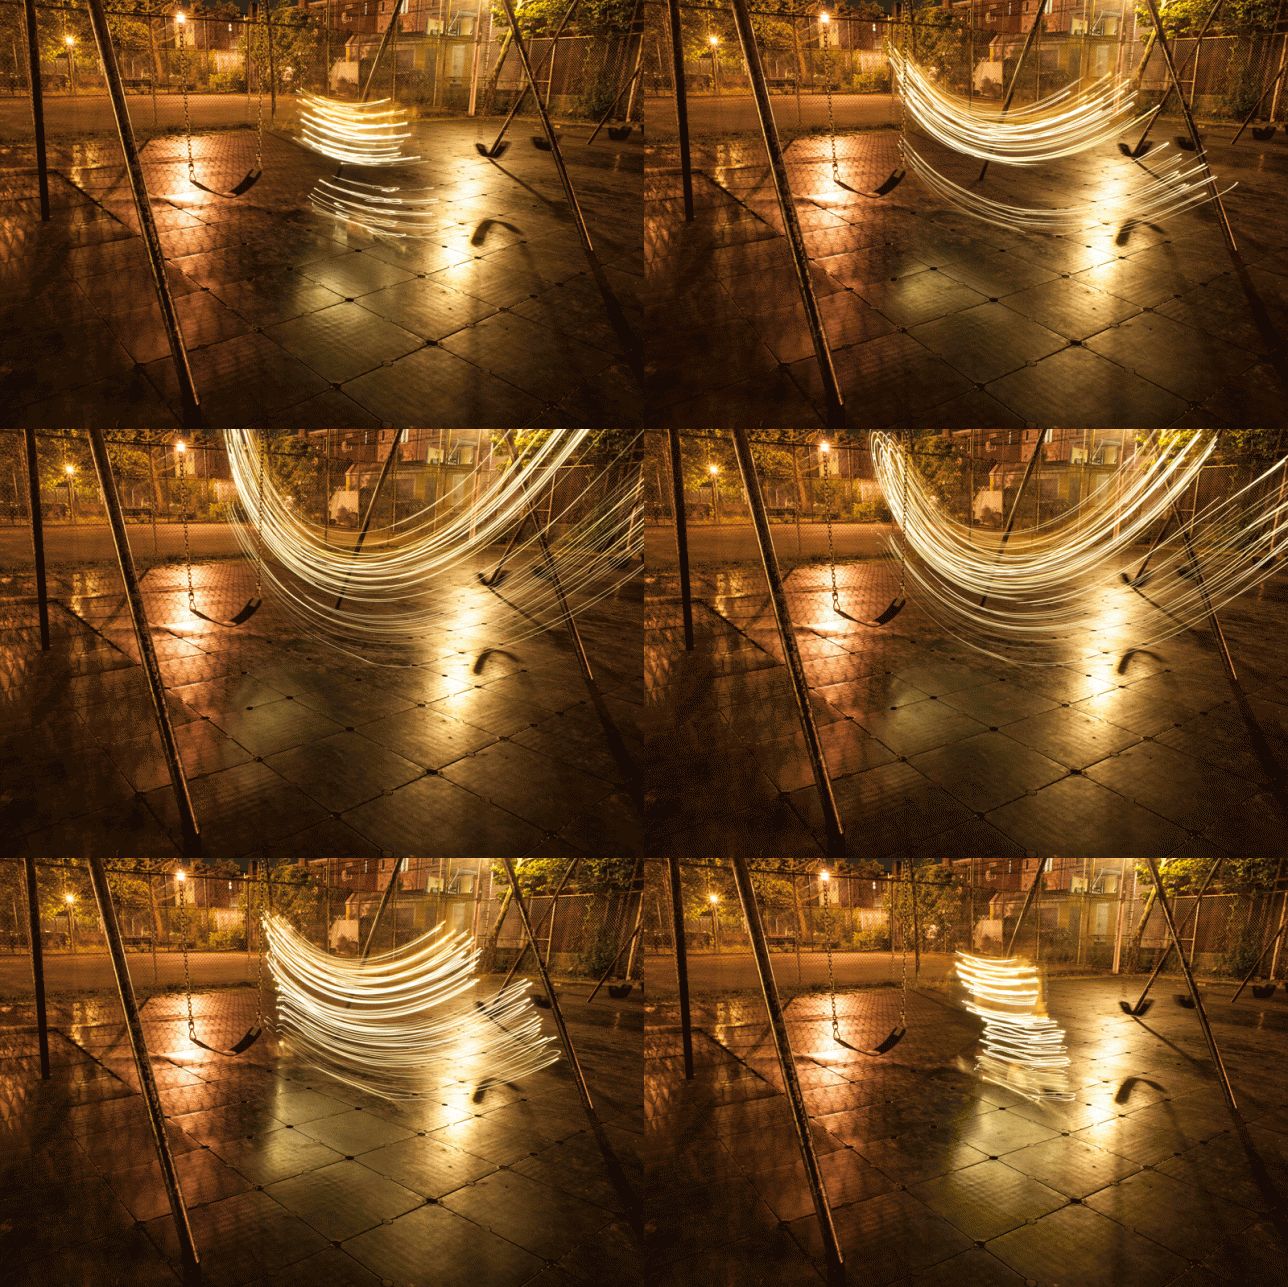
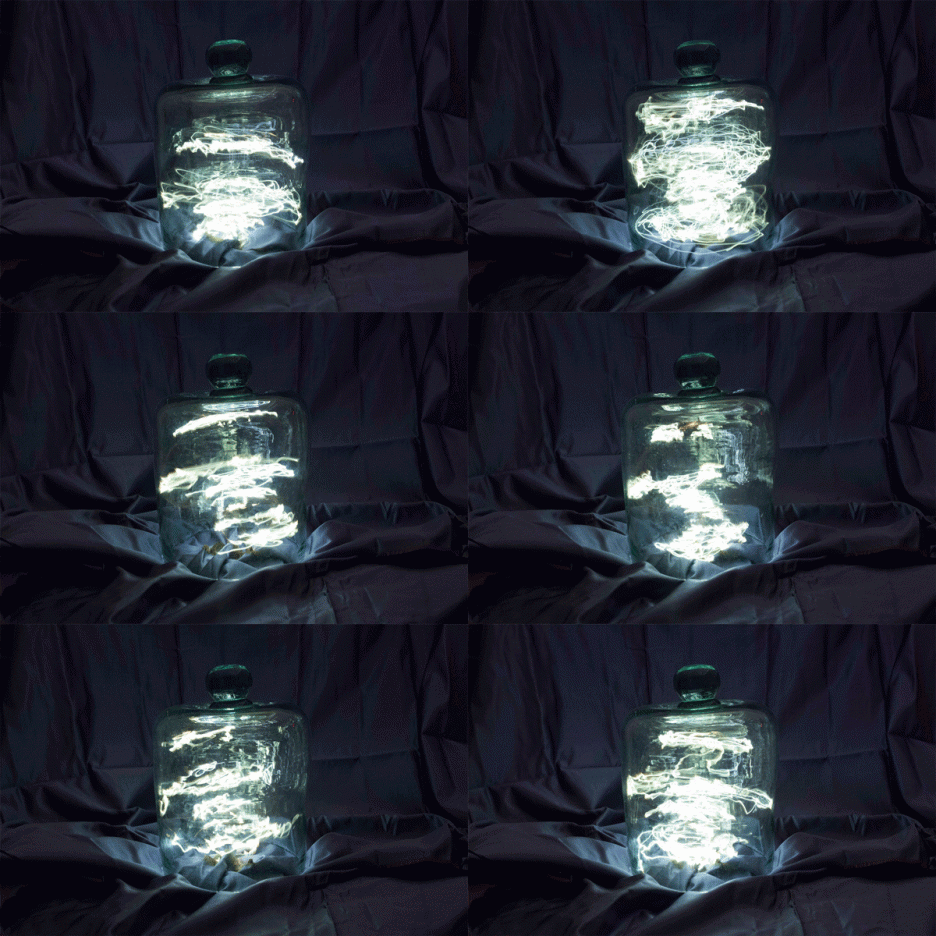
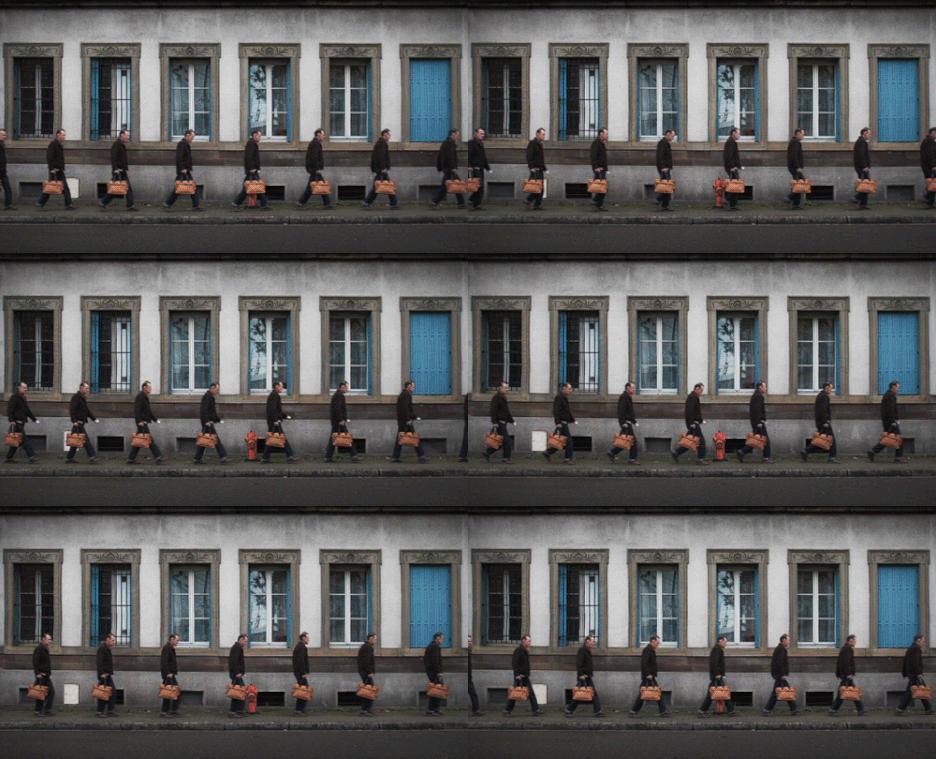
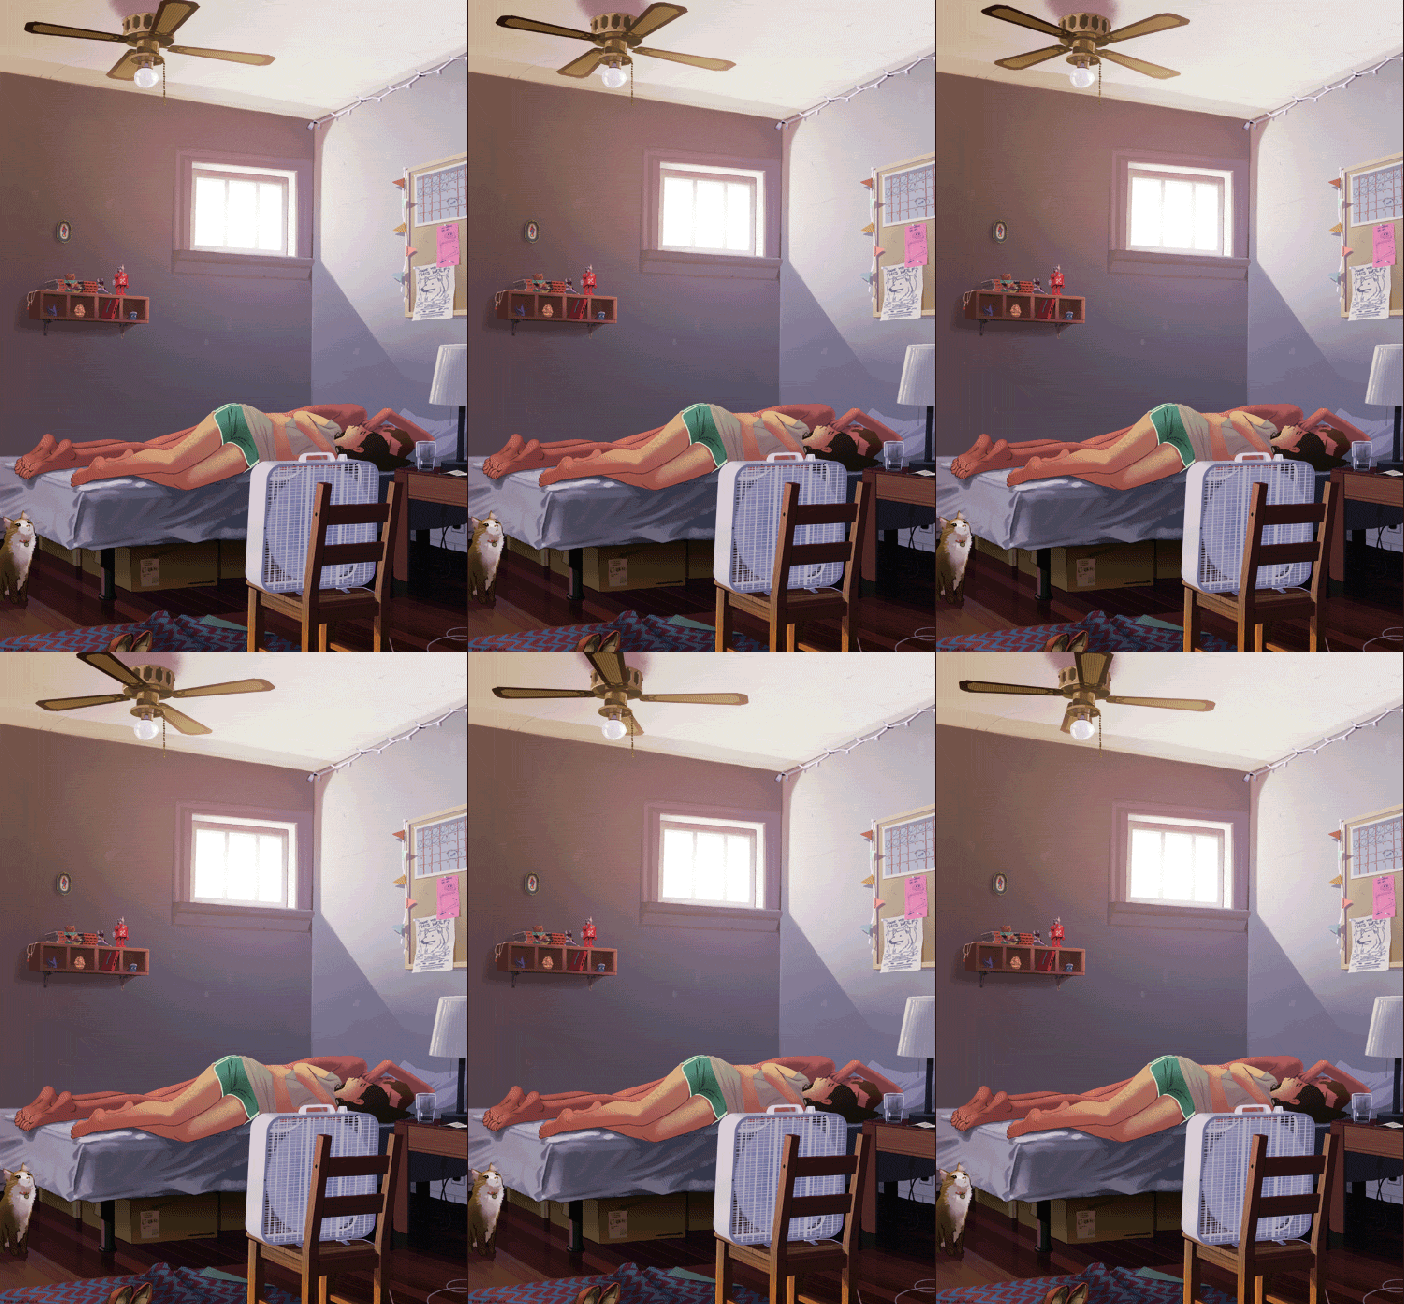
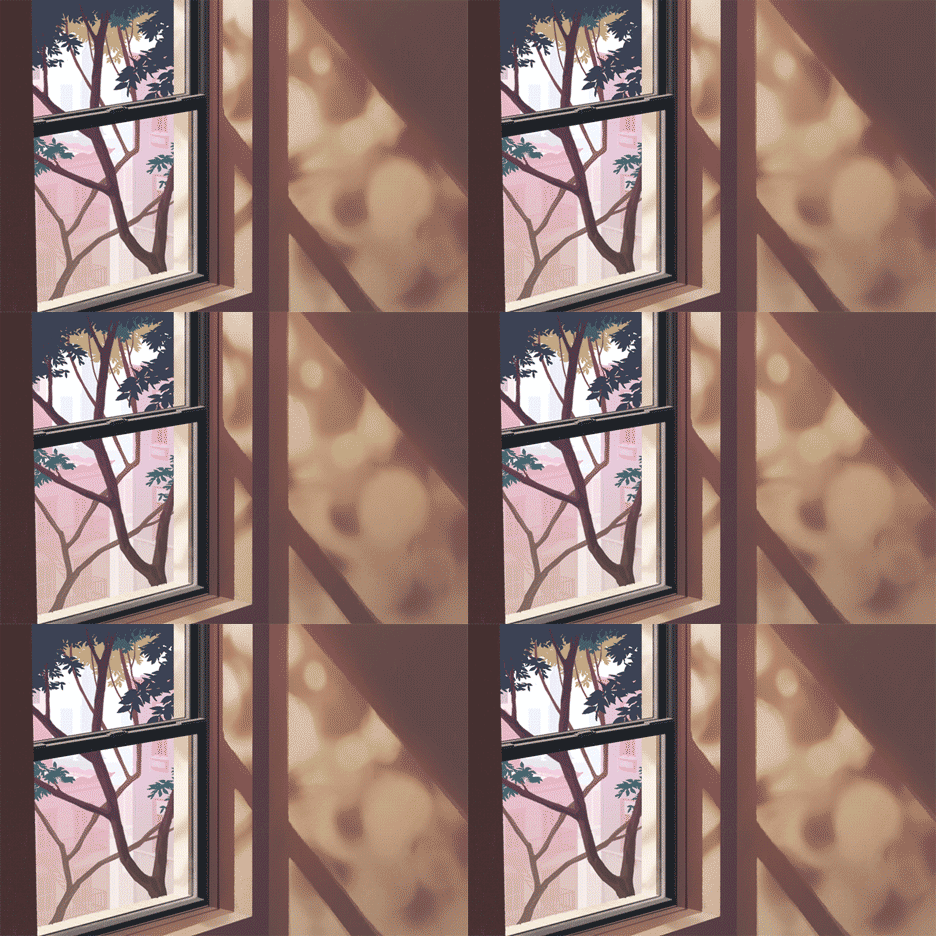
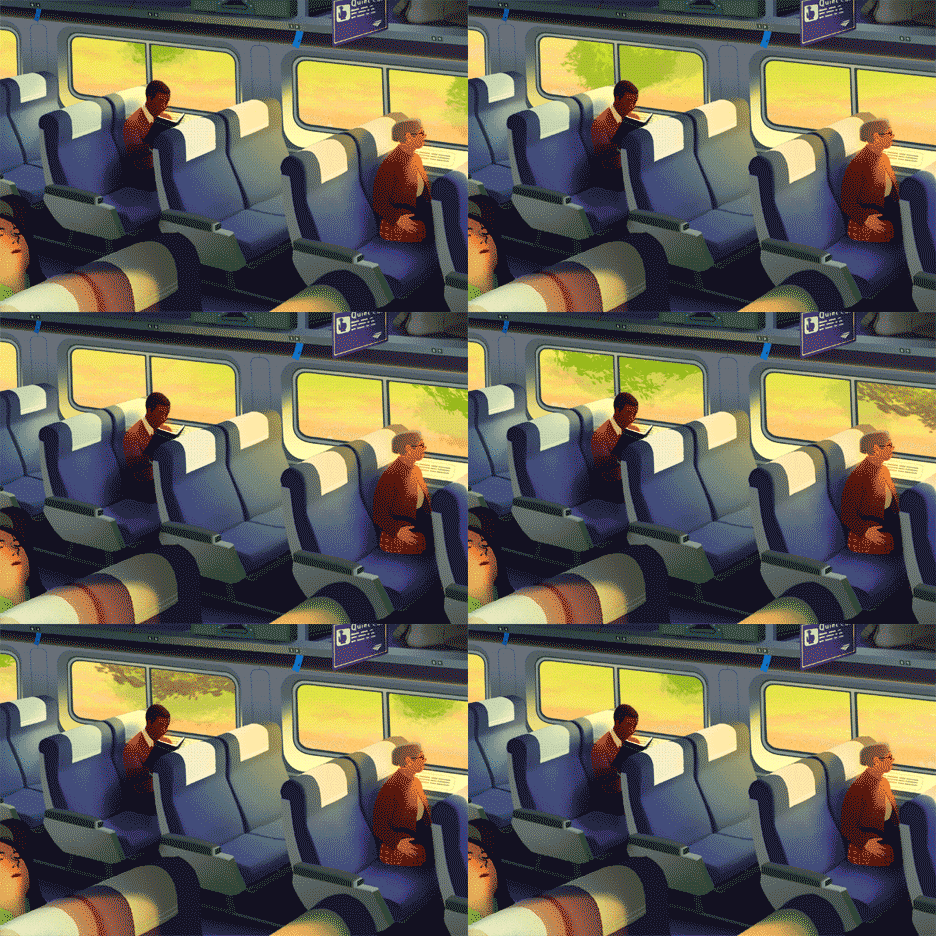
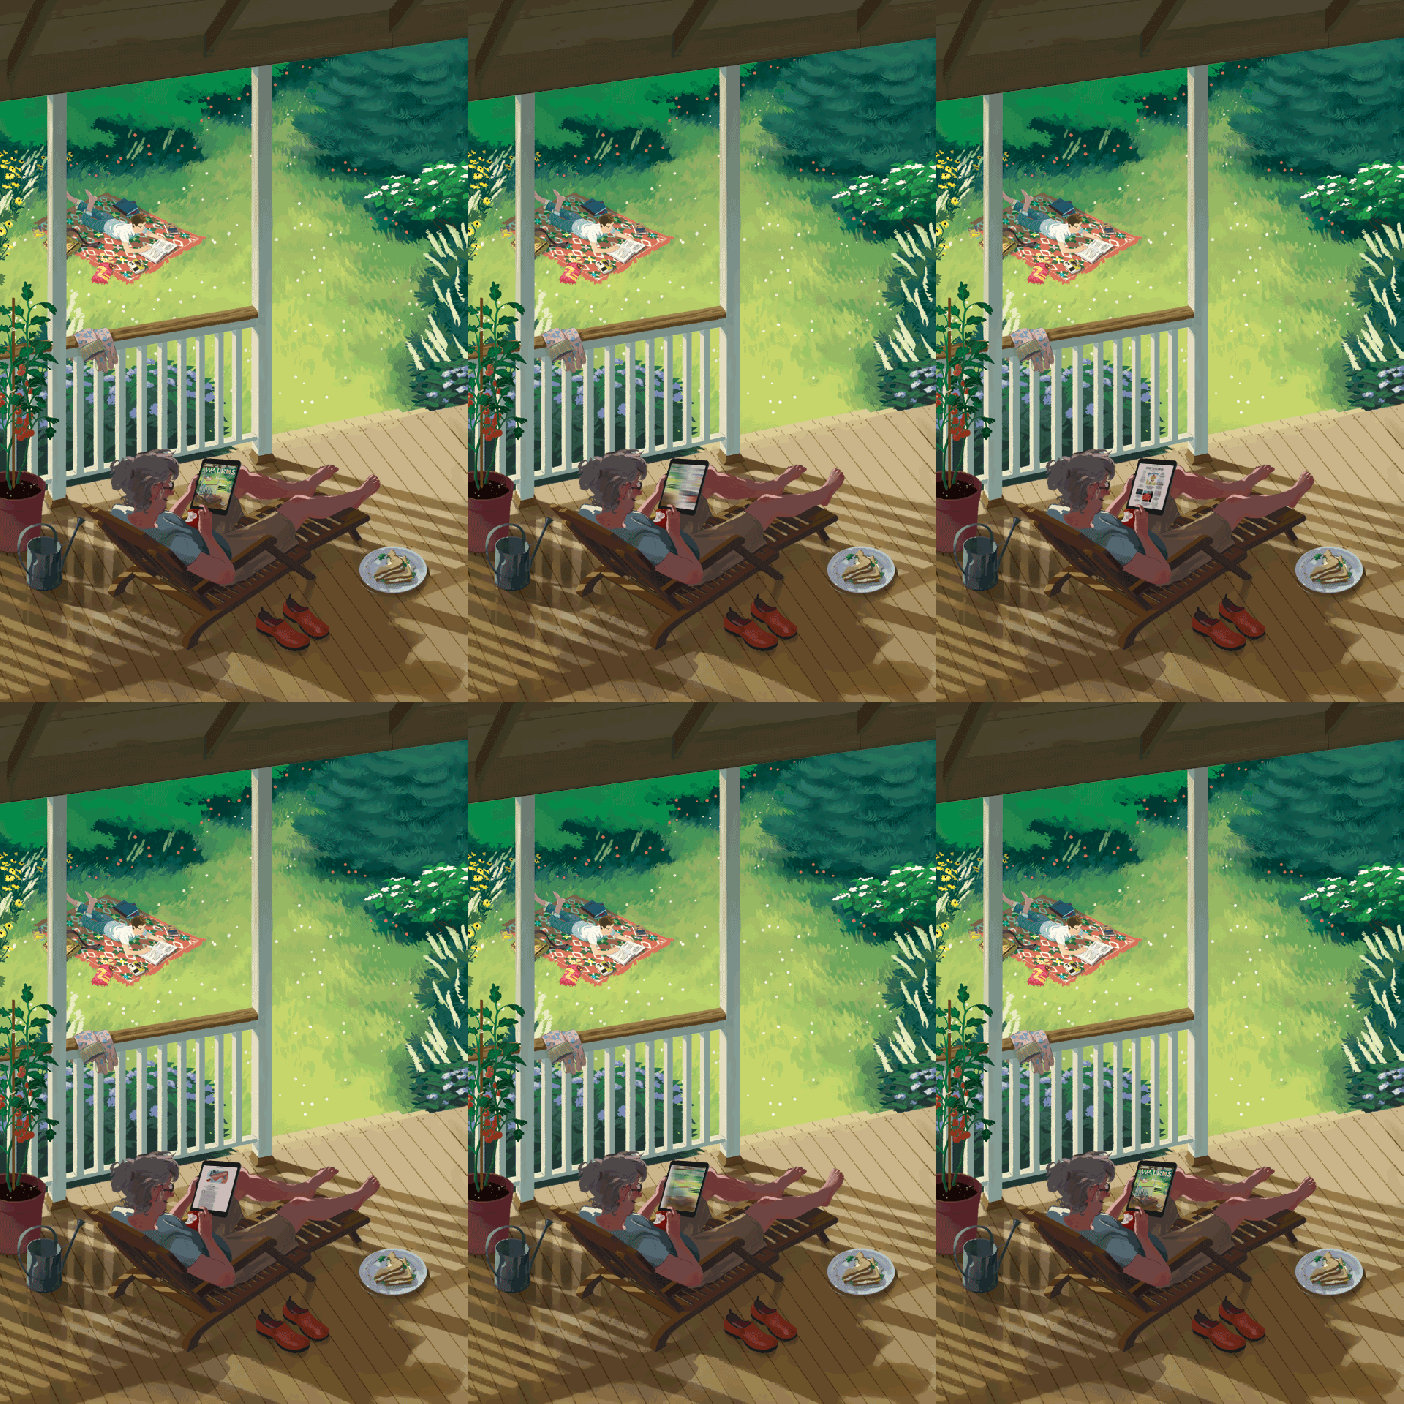
You can make GIFs from words, video snippets, or a sequence of photographs. This last one is the technique I’ll show you. While technically you could use any series of images, a coherent set of photographs result in a more engaging GIF.
To achieve this, plan your photo shoot to maintain either the same light or the same framing, and use it to tell a story. If you need some inspiration, check out “8 tips – How to do storytelling with your images.”

If you are doing any post processing on your images like changing the size or format, you can save a lot of time by doing it in a batch. You can learn how to do this in the article How to Batch Resize Your Images Quickly Using Photoshop (https://digital-photography-school.com/batch-resize-images-using-photoshop/). If instead, you are making more complex adjustments I recommend you create an action and then apply it to all of them. If you don’t know how to do this read How to play Photoshop Actions on Multiple Images with Batch Editing.

Now that you have all your images ready to go, open Photoshop and go to Menu -> File -> Scripts -> Load Files Into Stack. On the pop-up window, choose the files you want to import and click OK. This opens all your images as layers within the same file.

Once the images are open, you need to animate them. If you usually work with still images, you may need to go to Menu -> Window -> Timeline to make the Timeline panel visible. It will appear at the bottom of your screen, and it will show a thumbnail of the top layer.

Open the drop-down Menu from the right of the panel and click on Make Frames from Layers. Now you should see the thumbnail of all the files you imported as layers.

If you need to change the order, drag and drop them to correct. Once everything is as you want it, it’s time to determine the animation settings.
First set the time each one will show before changing into the next one. You’ll see a number on the bottom of each frame and an arrow next to it. If you click on the arrow, you’ll open the drop-down Menu to set the time. Do this for each one, as they can be different from each other. You can see a preview by clicking on the play button.

As the last step, you can choose how many times the animation repeats. Under the frames, you can find a menu where you can set this. GIFs usually run on a loop so I will put ‘Forever.’ But you can decide to do it differently.

As I mentioned at the beginning, GIF is a file format; therefore it is something you determine at the moment of saving. When saving a photograph, you would normally choose .jpg or .tiff. However, this time you need to choose .gif. You can find this option under Save for Web. Here, you can choose the amount of color, whether you want it dithered, and if you want a lossy compression. All of these choices determine the file size. You can move them around to choose the best combination of size and quality.

If you now open your saved file in Photoshop, it will be a layered image that you can continue to work on. If you want to see it animated just click and drag it into your browser.

I hope you enjoyed the article.
Please share your GIFs with me in the comment section.
If you are feeling inspired and want to keep exploring animated images, you can experiment with time-lapse and stop motion. Check these articles to get you started:
- Time-lapse Photography Tutorial: An Overview of Shooting, Processing and Rendering Time-lapse Movies
- Time-Lapse Photography – Beyond the Basics
- 5 Tips for Making a Stop Motion Video

The post How to Make an Animated GIF in Photoshop appeared first on Digital Photography School. It was authored by Ana Mireles.


















You must be logged in to post a comment.