The post 11 Photography Tips for Absolute Beginners (How to Get Started) appeared first on Digital Photography School. It was authored by Lea Hawkins.

So you’ve decided to take up photography – but how do you begin? How do you deal with gear, camera settings, and Photoshop? More importantly, how do you start getting beautiful pictures, fast?
In this article, I aim to share plenty of advice for photography beginners, including:
- How to buy the right gear
- Tips for improving your skills ASAP
- How to choose the right camera settings
- Where to start with post-processing
Are you ready to jumpstart your photography hobby? Let’s dive right in!
1. Research gear (but don’t go overboard)
Your gear does not make you a good photographer.
In fact, if you are just starting out, a top of the line camera will not only be a waste of money, but it will also make your learning process trickier. A bit like buying a race car to learn to drive.
When you want to buy gear – whether it’s your first camera/lens/accessory or your tenth – do your research. It’s helpful to take a look at some photography forums or articles for camera recommendations. Once you find something that sounds viable and fits your budget, read professional and user reviews to determine whether it’ll satisfy your needs.

2. Take lots of photographs
“Your first ten thousand photographs are your worst.” – Henri Cartier-Bresson
As with any skill, the more you practice, the better you get. So the quickest way to get better? Simply head out with a camera and start taking pictures.
Of course, knowledge does matter, but there’s something essential about holding a camera in your hands, looking through the viewfinder, and considering different compositions. Aim to spend at least a few hours every week behind the lens (and more is better!). It doesn’t necessarily matter what you shoot – as long as you’re shooting, you’re improving.
And don’t beat yourself up if your shots don’t turn out the way you’ve envisioned. Part of photography is about failing repeatedly; over time, you’ll learn how to get the result you want, and you’ll come home with more and more keepers.
3. Read the manual
Camera manuals are quite possibly the most boring thing you have ever read in your life, and reading the camera manual is certainly the most boring thing you’ll ever do in pursuit of photographic improvement.
That said, I suggest you do it anyway.

Camera manuals are not exactly a riveting read.
Why? It’s important to know how your camera actually works, especially in the beginning. And the information will become useful down the line, too. You’ll be out in the field and you’ll want to know how to change a particular setting; if you’ve read the manual thoroughly, you’ll be able to figure it out on the fly. On the other hand, if you haven’t read the manual, you’ll be forced to look up instructions on your phone, and by then your photo opportunity will likely have disappeared.
Of course, you don’t need to read the manual all at once. I recommend you place it where you can push through in small installments while you are killing time, such as the bathroom, the car, or at work during your lunch break.
4. Don’t start with workshops
So you’ve got the photography bug. You might be thinking, “Ooh! I’ll sign up to a bunch of workshops; that way, I can improve really fast.”
And workshops are great. But they tend to be geared more toward enthusiasts – photographers who understand the basics and are looking to level up their skills in composition, lighting, and advanced techniques. That’s why I don’t recommend going nuts with workshops right away. Instead, you should really start with the basics:
- How to operate your camera
- The meaning of different photography terminology
- How to determine the proper settings for the situation
Fortunately, you’ve already taken a step in the right direction, because you are currently reading one of the most useful photography sites on the internet. There are more tips and tutorials on this site than you will ever need, especially for a beginner. Once you get the hang of things, then you’ll have a better idea of the type of workshops that would suit you, and you might consider that route.
So I’m not saying that you shouldn’t do a workshop – just that you should wait until you know what suits your needs.
5. Connect with other photographers
Learning photography with others is often invaluable – whether you sign up to an online group or you join a local camera club.
For one, your photography will progress faster, plus it will be far more fun with the help of your fellow shutterbugs.

Connecting with other photographers is a great way to learn and get inspired.
Camera clubs often have monthly competitions and may organize photo tours, exhibitions, and other activities. Talking with knowledgeable photographers or even fellow beginners will not only inspire you, but also keep you motivated.
Also, sign up to some reputable photography newsletters and Facebook pages, or even reach out to photographers you admire. Most professional photographers don’t mind answering a few questions, as long as you are respectful, polite, and don’t demand too much of their time.
6. Try everything
This piece of advice is short and sweet.
While you may have taken up photography with a certain genre or subject in mind, it can be helpful to try all genres. You never know what you might have a knack for, or what you will learn along the way.
So shoot landscapes. Shoot portraits. Head out to the streets and do some urban photography. Find a beautiful flower and photograph close ups.
You never know; you might find a genre that you absolutely love and hadn’t ever considered.
7. Get feedback
Your friends and family may love you, but they will lie to you about your photography (and they may not even know what to look for). Unless you have a very honest friend or family member who actually knows a bit about art, it’s often more beneficial to get feedback from strangers.
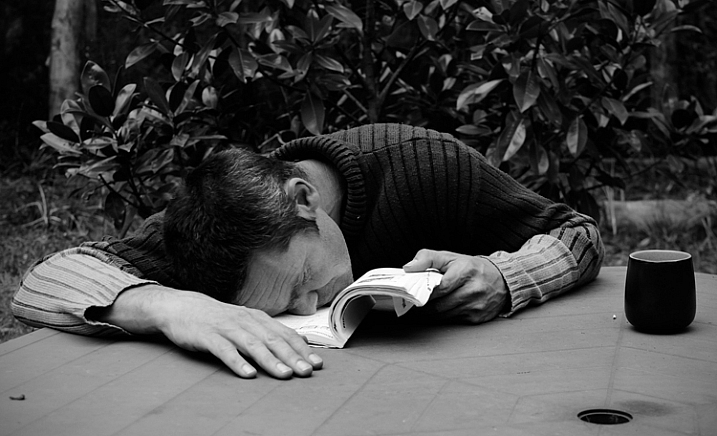
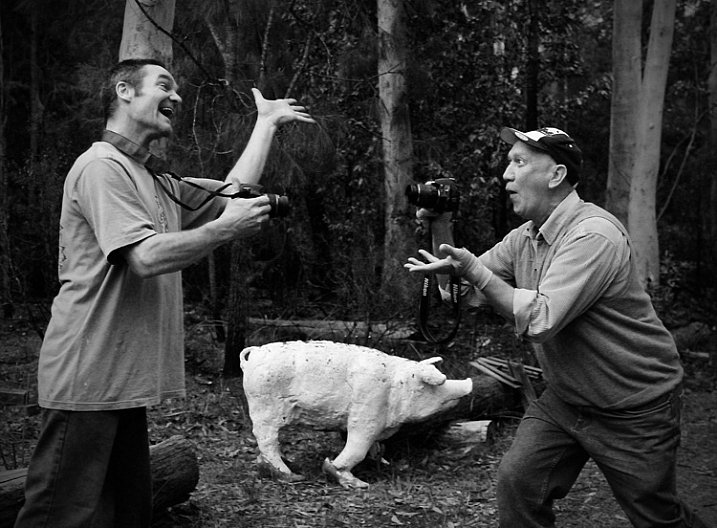
Signing up to a photo sharing site where others can comment on your work will get you mostly honest feedback (sometimes brutally so). Years back, I posted the image below on a feedback site. I knew the image had faults, but I was keen to hear what someone else could point out and how they could help me improve.

Well, one fellow submitted a lengthy comment, basically pulling the image apart. He pointed out what seemed like several million faults, and he really went to town on it. But while the comments were painful and borderline unkind, it was useful advice that I could then apply to my next portrait photo shoot.
8. Enter free competitions
If you have money to spend and confidence in your work, by all means, enter some of the big competitions – even as a beginner. You wouldn’t be the first to take a major prize within the first few months of picking up a camera.
Even if you don’t want to spend money to enter competitions, there are plenty of free options. Throw in some images, see how the contest goes, and hey – maybe you’ll win!
9. Aim to get off Auto mode
If you really want to be a good photographer, this is vital.
Because while Auto mode is useful enough when you’re just getting started, it’ll eventually hold you back, and it’ll certainly prevent you from realizing your full potential.
You don’t need to rush, though. At first, just enjoy photographing, even if that means using Auto mode all the time.
Then slowly move up the ladder as you familiarize yourself with Program mode, Aperture Priority mode, and eventually Manual mode.

In truth, manual settings aren’t nearly as difficult as some beginners think. It can be a bit like learning to drive. In the beginning, it’ll be challenging to manage gears, indicators, and steering, all while trying not to veer off the road. But with a bit of patience and practice, it’ll become second nature.
(When you are ready to try manual settings, there are plenty of beginner guides and cheat sheets here on dPS!)
10. Get a post-processing program
To become a serious photographer, you’ll eventually need an editing program.
Why? Because these days, editing is an essential part of the photographic process. If you want your photos to look their best, then you must learn to edit.

These days, your “darkroom” can sit with you in bed (alongside some extras!)
Which post-processing program is best?
Well, there are free programs such as Darktable and GIMP, which are nice but have their limitations. Then there are the big guns like Photoshop and Lightroom, which can be daunting for beginners. Personally, I recommend just forging ahead with Lightroom; if you intend to eventually get serious with your photography, it’s a hugely useful tool to understand, plus it’s not as difficult as it might initially seem.
Alternatively, you might consider an option such as ON1 Photo RAW or Luminar 4, both of which are slightly more beginner friendly than Lightroom yet pack a lot of power.
11. Have fun
This is the best and most important part of photography:
The enjoyment of it!
Don’t get bogged down by unsuccessful attempts or by comparing yourself to professionals. Even the best photographers in the world were beginners at some point. Just keep taking photographs, keep learning, keep challenging yourself, and above all, keep enjoying the fun you can have with photography!
Photography tips for beginners: final words
Hopefully, you’re now feeling inspired – and you’re ready to continue the learning process.
Photography is an adventure, and it’s a fun one, too. Sure, there will be ups and downs, but in the end, you’ll be glad you persevered!
The post 11 Photography Tips for Absolute Beginners (How to Get Started) appeared first on Digital Photography School. It was authored by Lea Hawkins.


You must be logged in to post a comment.