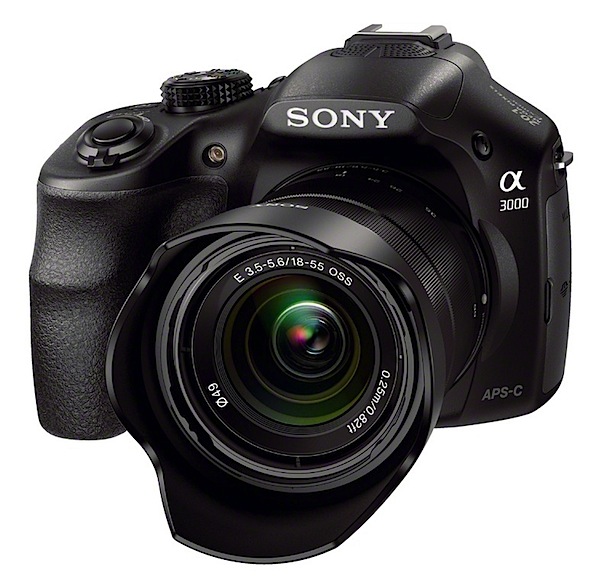
If you hanker for a DSLR and don’t have the budget for a high end full frame camera nor even enough $ $ $ for an APS-C sized sensor job, look this way… the news suddenly has suddenly got brighter.
Most of the early action in mirrorless interchangeable lens cameras was in the area of models that offered viewing only via a rear screen, sometimes with an add on turret finder.
But they just didn’t look like a DSLR!
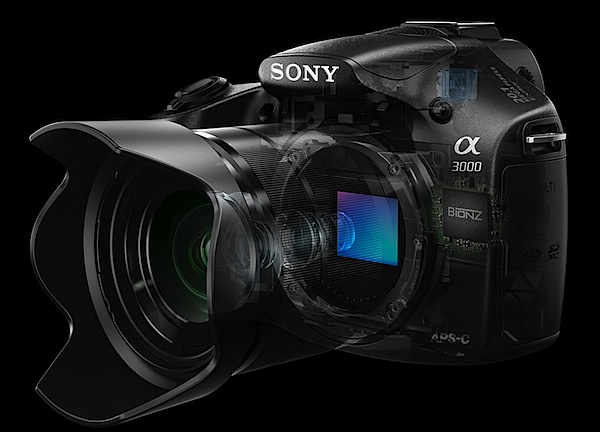
Now Sony has come up with an appealing answer to a mirrorless interchangeable lens camera that has the appeal of a DSLR … with maybe a few less bells and whistles.
The A3000 indeed has a traditional DSLR look and feel with a simple user interface.
For one thing, you know you’re holding a DSLR with a traditional DSLR body shape and speed grip.
To whet your appetite further, you can choose from 16 interchangeable E-mount lenses from Sony and Zeiss for a range of shooting options.
The camera can shoot a maximum image size of 5456×3632 pixels, sufficient to make a 46x31cm print.
Video can be shot in MPEG4 or AVCHD, with the latter offering Full HD 1920×1080 pixels.
I was unable to shoot stills while recording video.
Handling
The camera is surprisingly small, easy to hold and well-balanced, at least it felt well-balanced with the f3.5-5.6/18-55mm OSS kit lens that was supplied with the review camera. Bear in mind that this is the package that is usually offered: body and 18-55mm lens.
One Sony exec made the statement that ‘newcomers are often daunted by the complex settings found in traditional DSLR products … The 3000 user interface has been inspired by our easy to use NEX range of cameras.’
There are many key DSLR features in the camera, including a hot shoe and an eye level viewfinder. I ventured out in bright sun and at first found the viewfinder to be a dim alternative to the LCD screen, but then managed to successfully lift the brightness of both via a menu helper.
To minimise total size and weight the A3000 accepts existing E-Mount lenses from the NEX family of products.



Sony A3000 Controls
At this point I have to disagree with the Sony spokesman. Firing up the camera with nary a glance at the instruction manual (thankfully available online) I found my early hours a mess of confusion.
You can find the PDF of the full manual here.
Confusion? For one thing there was no menu button, at least there was no button labelled ‘menu’.
But let’s look it over.
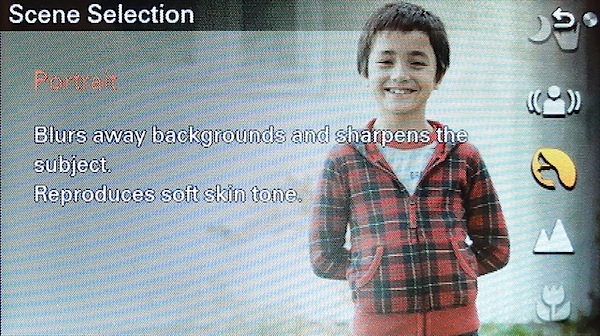
Top deck: familiar territory, with the mode dial housing positions for intelligent and superior auto exposure, PASM, movie, sweep panorama and scene selection (presets for portrait, sports, macro, fireworks etc).
Forward are the power and shutter buttons. At one corner is the replay button.
Rear: just over the edge is the movie record button, which I feel could have been better placed at the camera’s far right corner.
Then there are three unlabelled ‘soft keys’ — A, B and C — which take care of menu choices. Here’s how Sony describes the functions of these keys:
‘The soft keys have different roles, depending on the context. The assigned role (function) of each soft key is shown on the screen. To use the function shown at the upper right corner of the screen, press soft key A. To use the function shown at the lower right corner of the screen, press soft key B. To use the function shown at the center, press the center of the control wheel (soft key C). You can assign the functions to the soft key B.’
By careful inspection of the manual you can eventually suss out the functions of these three buttons but I found them to be a bit bewildering at first.
Anyway … the control wheel has positions for burst shooting and the self timer, ISO setting, display options plus exposure correction and AF options.

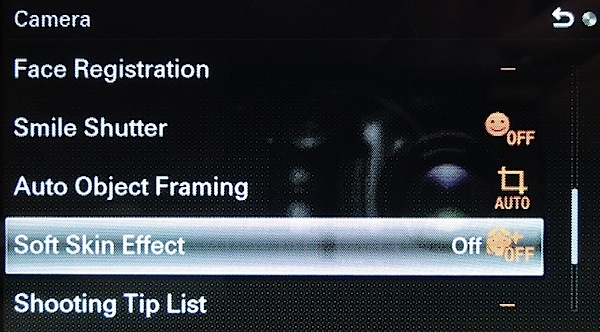
Fifteen picture effects are accessible from the menu (soft key A). These include ‘artistic treatments’, like retro photo, miniature and partial colour.

Sony’s sweep panorama feature is included that can shoot panos up to 12,416 x 1856 pixels in size.
One note: unlike most interchangeable lens digicams, you need to manually blow away any dust on the sensor. Like this: ‘After turning off the camera, remove the lens and blow off dust on and around the image sensor surface using a blower.’ Careful!
ISO Tests
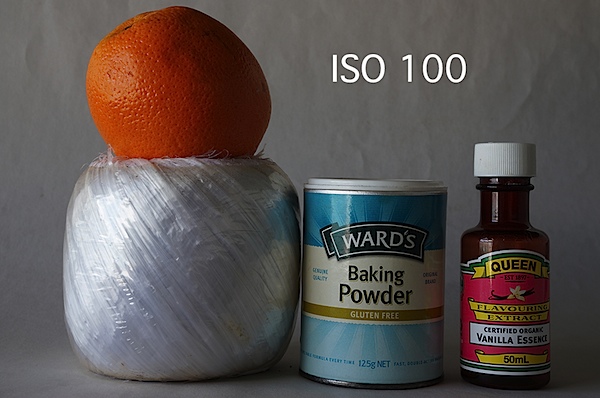
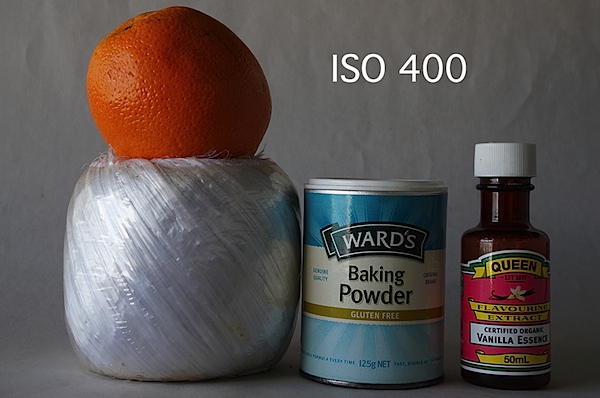
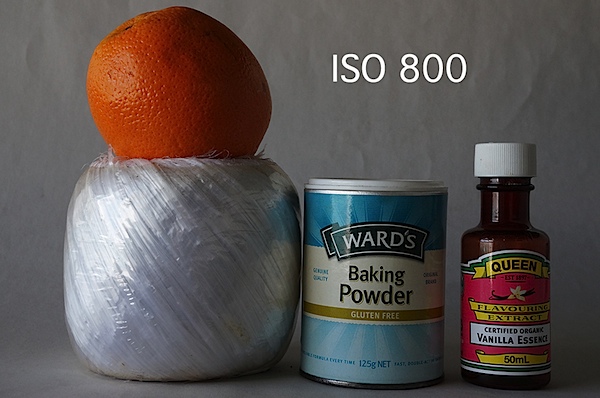
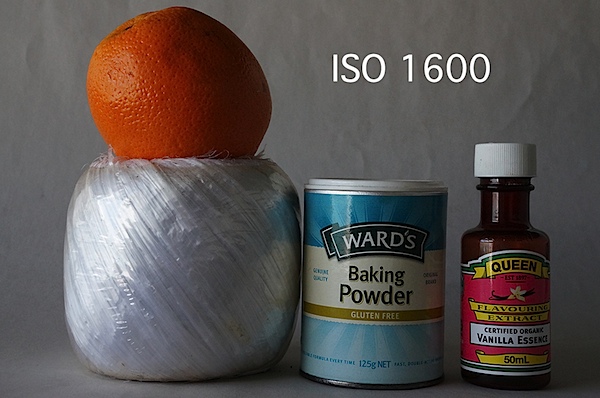
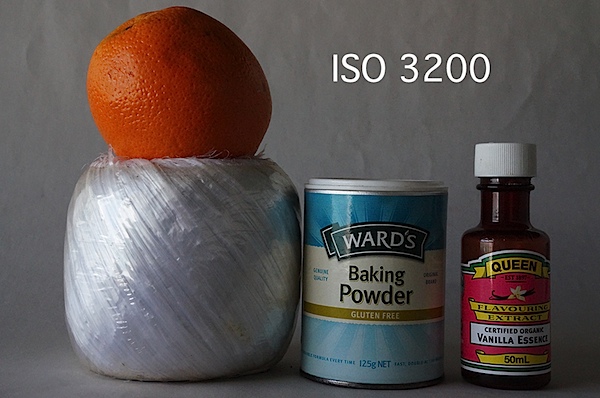
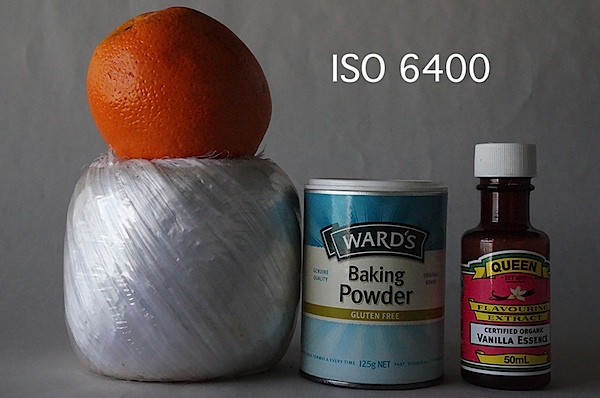
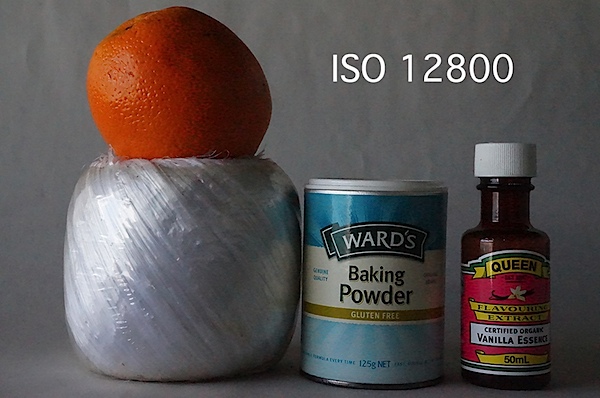
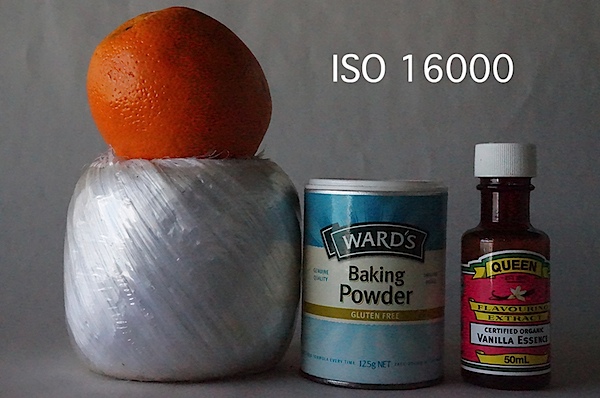
Only at ISO 3200 was noise beginning to rise. At ISO 6400 noise up slightly but sharpness acceptable. At ISO 12800 noise up further, sharpness noticeably down and ugly artefacts evident.
At ISO 16000 the show was over: noise up, sharpness down and ugly artefacts worse.
Sony A3000 Review Verdict
Quality: above average. Accurate colour.
Why you’d buy the Sony A3000: small DSLR-like camera; access to lots of lenses.
Why you wouldn’t buy the Sony A3000: menu access confusing.
An attractive camera for the newcomer. Lots to like. Especially the price.
Sony A3000 Review Rating: 4 stars
Sony A3000 Specifications
Image Sensor: 20 million effective pixels.Metering: Multi segment, centre-weighted, spot.
Lens Mount: Sony E-mount.
Exposure Modes: iAuto, Superior Auto, Program AE, shutter and aperture priority, manual.
Effective Sensor Size: 23.5×15.6mm APS-C CMOS.
35 SLR Lens Factor: 1.5x.
Shutter Speed (stills): 30 to 1/84000 second and Bulb.
Continuous Shooting: 3.5 fps.
Memory: SD/SDHC/SDXC, Memory Stick Pro Duo/Pro-HG Duo cards.
Image Sizes (pixels): Stills: 5456×3632 to 2736×1824.
Movies: 1920×1080, 1440×1080, 640×480.
Viewfinder: Turret electronic plus 7.5cm LCD screen (230,400 pixels).
File Formats: JPEG, RAW (Sony ARW), JPEG+RAW, MPEG4, AVCHD.
Colour Space: sRGB, Adobe RGB.
ISO Sensitivity: Auto, 100 to 16,000.
Interface: USB 2.0, HDMI mini, remote.
Power: Rechargeable lithium ion battery, DC input.
Dimensions: 128x91x85 WHDmm.
Weight: 411 g (inc battery).
Price: Get a price on the Sony A3000 with 18-55mm Lens or the Sony Alpha A3000 with 18-55mm Lens and 55-210mm Lens + 32GB Card + Battery + Case + Flash + 3 Filters + Tripod + Tele/Wide Lenses Kit.
Post originally from: Digital Photography Tips.
Check out our more Photography Tips at Photography Tips for Beginners, Portrait Photography Tips and Wedding Photography Tips.
Sony A3000 Review
The post Sony A3000 Review by Barrie Smith appeared first on Digital Photography School.

