Using this technique you can create a stippled effect common to impressionist painters by blending multiple layers of a single image.
To do this technique, you will need to use a photo editor that supports layers. I use Photoshop Elements but you can also use Gimp, which is free, and many other photo editors.
Don’t let the layers thing scare you away, ok? In fact, if you are leery of layers trying this technique should, ironically, make it all become clear.
Pick an image to start. I particularly like this effect on flowers and foliage but it works for other subjects too. Here is the image I will use to start.
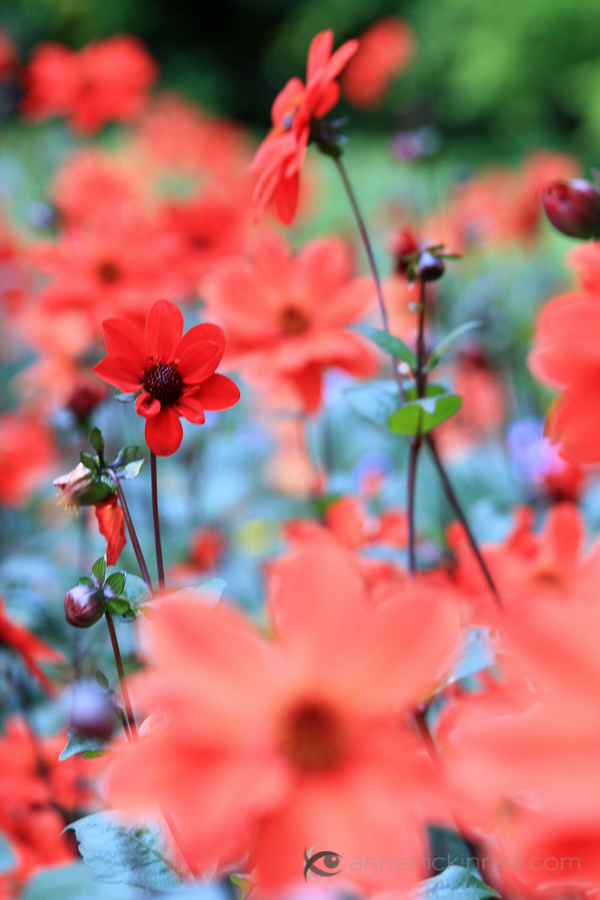
Follow these steps:
1. Duplicate the background layer (Layer>Duplicate Layer)

2. Reduce the opacity of the new layer to 30%
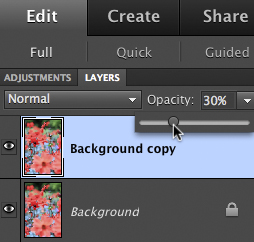
3. Use the move tool (usually an arrow) and move the layer slightly in any direction

4. Duplicate the background layer again (it’s on the bottom of the layer list)
5. Drag the new layer to the top of the layers list
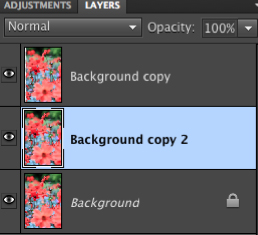
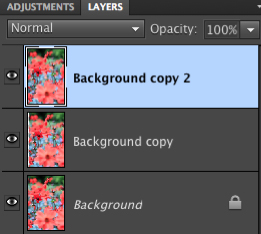
6. Reduce the opacity of the new layer to 30%
7. Use the move tool to move the layer slightly in a different direction
8. Repeat steps 4-7 any number of times
9. When you are happy with the result, use the crop tool to crop the edges of the image where you can see the borders of the moved layers.
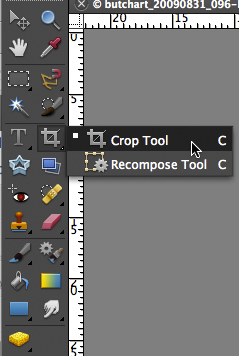
Here’s a little video that shows me performing these steps.
And the final image:
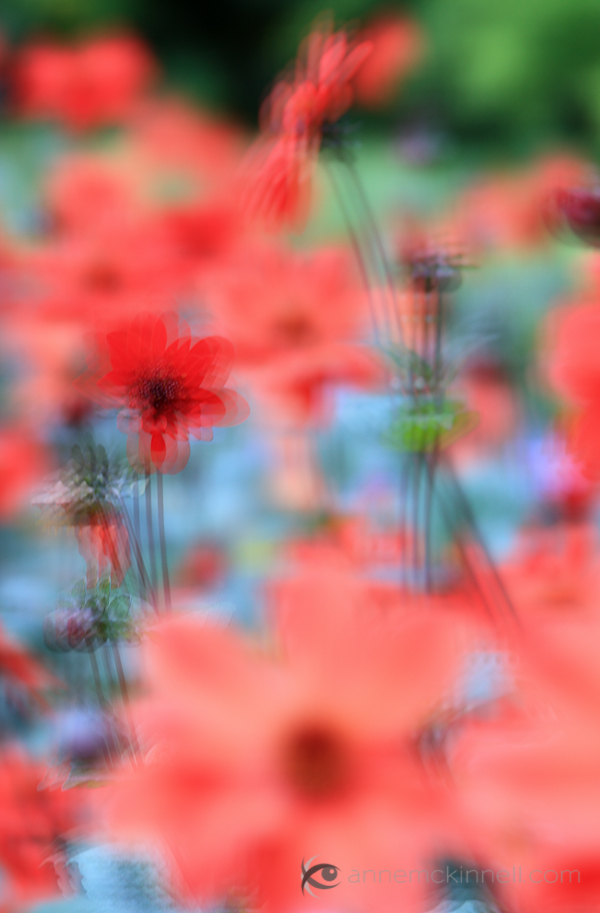
There are many different ways you can accomplish a particular effect in photoshop (or your photo editor of choice). I try to use the simplest methods I can find to keep it simple.
Post originally from: Digital Photography Tips.
Check out our more Photography Tips at Photography Tips for Beginners, Portrait Photography Tips and Wedding Photography Tips.
How To Create A Multiple Exposure Effect In Post
You must be logged in to post a comment.