Most often you may strive to capture photos which most closely reflect the scene the way it looks to your eye.
On the other hand, with having powerful editing software at your fingertips and an insatiable creative streak, sometimes you may find yourself experimenting with altering your images to create different “looks”.
Lightroom gives you ample opportunity to experiment with creative effects.
Some photographers find the idea of strong post-processing edits to be an unfair alteration of reality, but let’s face it, it can be loads of fun to play around with photos in Lightroom (LR) or Photoshop (PS) and the results can be stunning – even if they don’t accurately reflect the shooting conditions.
It’s important to keep in mind that edits don’t have to be super-strong or over the top, and just a few fairly minor changes can work wonders to create a mood that fits the photo. Naturally, what works and what doesn’t is subjective. That being said, it’s likely you wouldn’t want to use a soft, bright effect on a portrait of prison inmate, or a dark gritty effect on photos of a newborn.
The extent to which you are able to apply these effects will be largely influenced by the original file type. If you are working with JPEG, you are going to run into problems with color rendition, saturation, noise and other issues. If you plan on processing your photos with editing software, I recommend shooting RAW files 100 percent of the time.
#1 Add Warmth
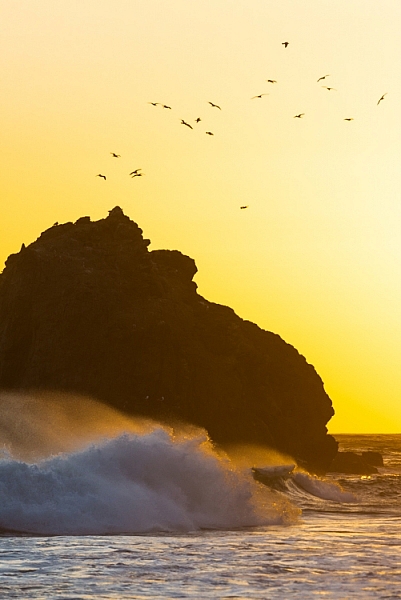
The warming effect works best to boost an already warm photo, but can also be created.
When trying to create a certain mood in a photo, it makes it easier if some of the characteristics of that mood are already present, and you can just accentuate them. This is especially true if you want to create a warm feeling in a photo.
The first slider you’re going to want to visit for this is color temperature. Increasing the color temperature is going to give the entire image a warmer tint, which can be exaggerated by increasing vibrancy.
Another way to boost the warmth is in the HSL/Color/B&W panel. HSL stands for hue, saturation and luminance which can be adjusted for eight different colors. You will work with the first three – Red, Orange and Yellow. I prefer to start with the Luminance tab, and find that decreasing luminance, and then sometimes increasing saturation slightly, works pretty well with many images.
Although you don’t have access to the HSL panel, don’t forget the power of the graduated filter to increase the warming effect in skies – particularly in sunset photos.
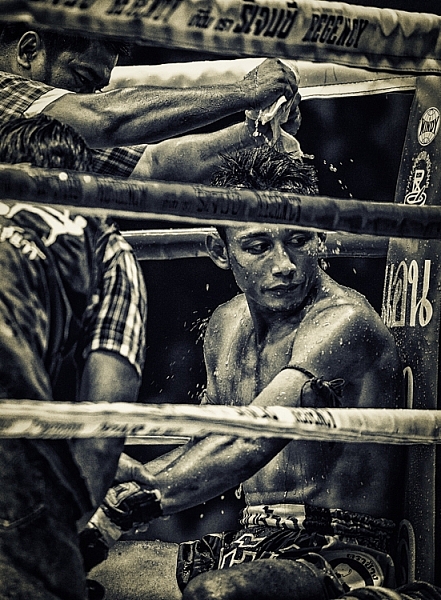
#2 Dark and Gritty
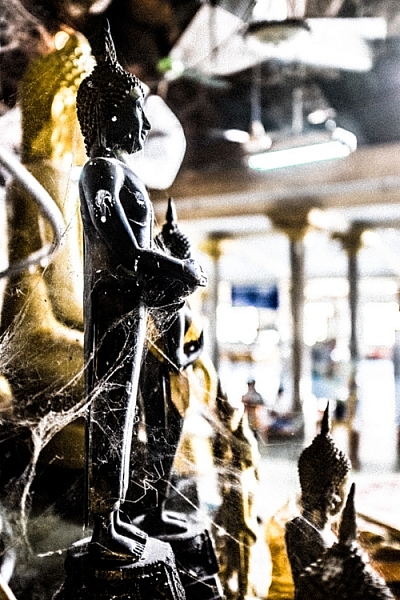
The dark and gritty mood adds a brooding look and highlights detail, while taking the focus off of colors.
To achieve various levels of this effect, I work with various combinations of the following:
- Increasing Clarity, sometimes more than 100 per cent by using graduated filters or the adjustment brush
- Increasing Contrast, and decreasing Highlights and Whites
- Further tweaking contrast with the Tone Curve sliders
- Decreasing Saturation and Vibrance, or converting to black and white
- Adding grain in the Effects panel
#3 Light and Airy
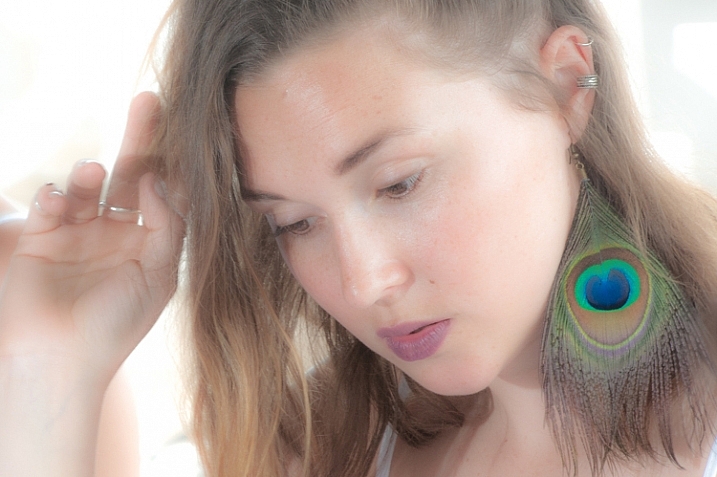
Light and airy is a good look for soft portraits, where super sharpness isn’t desired.
For this look, the idea is to make the image soft without any harsh shadows. Here are some steps to take that will start to produce this mood:
- Lower Contrast
- Increase Highlights and Whites sliders
- Decrease Shadows and Clarity
Also note that a light hand with the sharpening slider should be used here to maintain the softness. If you add sharpening, try using a high value for masking to lessen the global affect.
#4 Silhouette
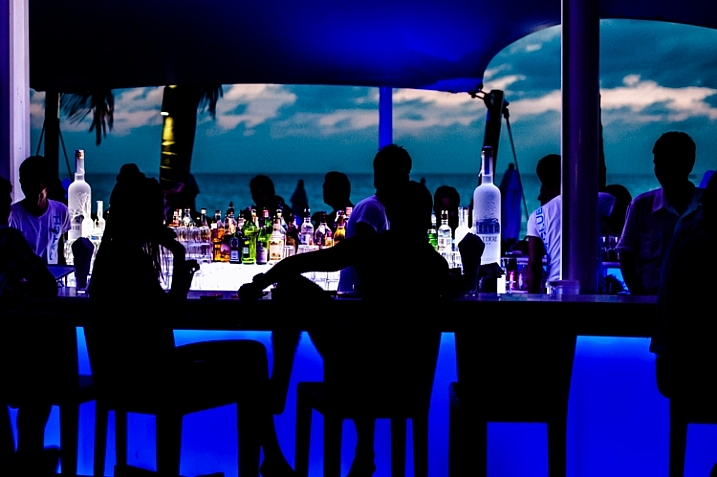
Silhouettes help to simplify your photo.
You certainly can’t create this effect in just any photo – nor should you. Look for elements in the image that would be enhanced by a reduction in detail. Do the areas of the image that are going to be reduced to black contain details that are important to telling the story?
Here are some adjustments that will get you moving in the right direction:
- Increase Contrast
- Decrease Shadows and Blacks sliders
- You can decrease the darks and shadows sliders in the Tone Curve panel if needed
Depending on your image, you likely want to avoid the clarity slider as this will bring back shadow details that you’re trying to get rid of.
#5 Bright and Clear
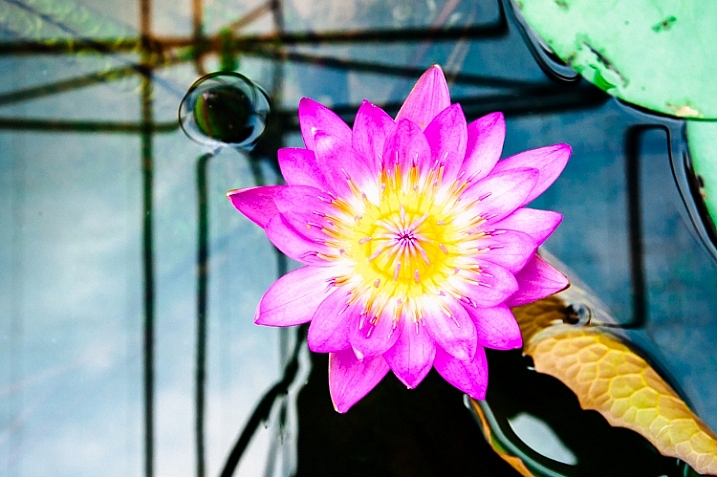
The bright and clear look makes your photos pop with lots of detail.
Along similar lines to the light and airy effect, you are looking to boost lightness while maintaining contrast and retaining detail and color. Here are some of the edits I start with while aiming for this look:
- Boost Contrast
- Increase Shadows
- Increase Whites – you usually have to decrease highlights a bit as well to avoid clipping
- Visit the Tone Curves panel if you need to work on the contrast more
The trick here is that after making these adjustments, the colors can get a bit washed out. A visit to the HSL panel, some tweaking of the luminance and saturation of the dominant colors in your image, will help you dial it in.
Conclusion
In case this hasn’t crossed your mind already, creating presets of these settings can save you oodles of time later on. Of course, all of the adjustments I’ve outlined above may not work on your original image (depending on exposure, contrast, saturation, subject matter, etc.), and the same goes for any presets which typically only serve as a starting point.
What tricks do you have up your sleeve for creating different moods in post-processing?
googletag.cmd.push(function() {
tablet_slots.push( googletag.defineSlot( “/1005424/_dPSv4_tab-all-article-bottom_(300×250)”, [300, 250], “pb-ad-78623” ).addService( googletag.pubads() ) ); } );
googletag.cmd.push(function() {
mobile_slots.push( googletag.defineSlot( “/1005424/_dPSv4_mob-all-article-bottom_(300×250)”, [300, 250], “pb-ad-78158” ).addService( googletag.pubads() ) ); } );
The post How to Create 5 Different Looks Using Lightroom by Jeremie Schatz appeared first on Digital Photography School.
You must be logged in to post a comment.