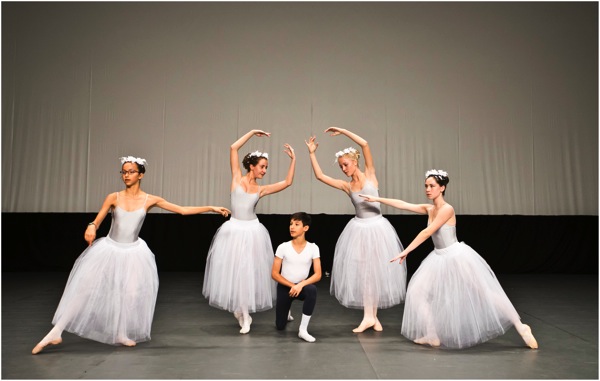
One of the biggest challenges as photographer is shooting inside a theatre, simply because the only thing that you can control is the camera. You may be faced with very dim lighting conditions, dancers moving around at great speed, different lighting settings during the show, no use of flash, and your movement in the theatre during the show may be limited.
I am writing this guide based on an assignment you have with the organizer, as photographer of the event. Some of the points might not be relevant or accessible for you if you are attending a performance as a member of the public.
Preparation for the shoot
Know the ground
A protocol for all professional photographers is to understand the grounds and what to expect. This can be done through an early visit (if allowed), or a search online for other’s work in the same location, to understand the layout and surroundings.
Request to attend a rehearsal prior to the performance (usual this is done free of charge) if possible, but to me this is mandatory if the opportunity exist. This not only gives you a chance to enter the theatre but also to understand what is to be performed and its sequence. You can then be better prepared to know the photos you will wish to take, and at which location you’ll need to be so you’ll be ready for the shot. Take this opportunity to talk to the organizer on which seats you will be allocated or which seat you prefer. I will cover location of seat for shooting in the technique part later.
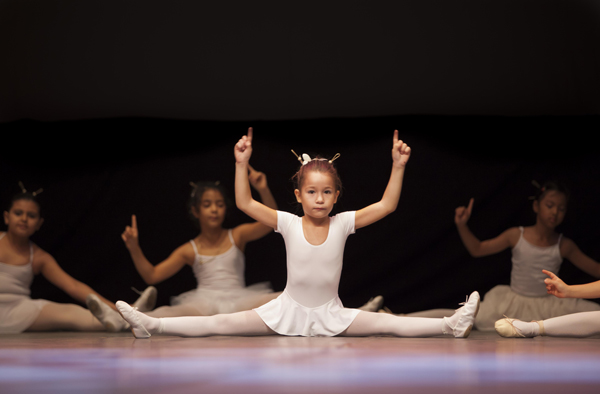
Settings: f/2.8, 1/125th, ISO 1600
Choosing your seat (if you have a choice)
I am very particular in my location of shoot as it reflect the quality if work I will produce from the assignment.
Most theatres can accommodate hundreds, to thousands of spectators at various elevations. My personal recommendation is to locate yourself on the ground level, a few rows behind the front, right in the middle. Below are some explanations of some problem you may encounter at different locations.
Up in the balcony
Cons: Too far from the stage, shooting angle not directly perpendicular to the dancers.
First row seats
Cons: Too near to the stage.
Side Seat
Cons: shooting angle not directly perpendicular to the dancers, too many distractions in photos (sometimes you can see dancers at the side before entry to the stage.
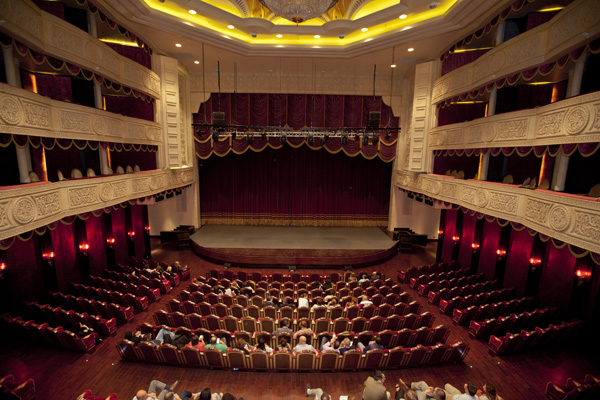
Ideal seat
On the ground level, a few rows behind the front, right in the middle is the ideal seat. Personally if I can only sit at one location throughout the show, I will prefer this seat as it provide me a comfortable direction to the stage and most of my shots will be facing the dancers.
Type of Equipment needed
With the above, you can know decide what equipment you need for the shoot.
Flash Gun
As most performances prohibit use of flash during show, you can omit having one on your camera during the performance but do still carry one with you (I use it for group photo at the end of the show). The use of LED light is good as well for after the show shots.
Camera
In such challenging conditions, a camera with capability to handle high ISO settings without producing too much noise is preferred. I usually have my Canon 5D Mark II, and also my Sony 7R for such assignments.
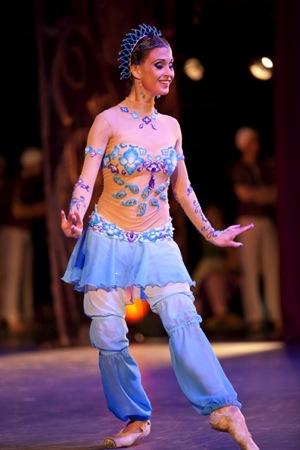 |
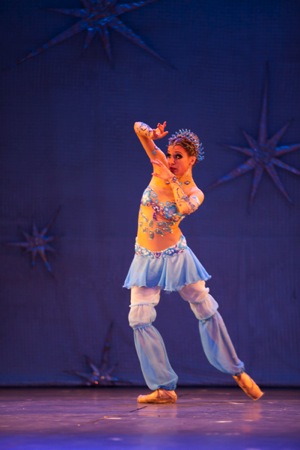 |
Lenses
The most important piece of equipment you need after understanding the grounds and location is the right lens. A zoom lens is mandatory for me to enable me to reach out to the stage and get close-ups of the dancers. Lenses with large apertures are preferred in such low light conditions. I will touch on that more at the later section on why. I usually have my 70-200mm f/2.8 on my Canon, and the 16-35mm f/2.8 on my Sony 7R for wide-angle shooting.
Tripod/Monopod
This is a interesting topic as most theatres prohibit you from setting up a tripod, subject to organizer approval. If you are given a seat for shooting, a tripod will be difficult to manage with limited legroom space. I always use a monopod for such assignments in order to conserve energy.
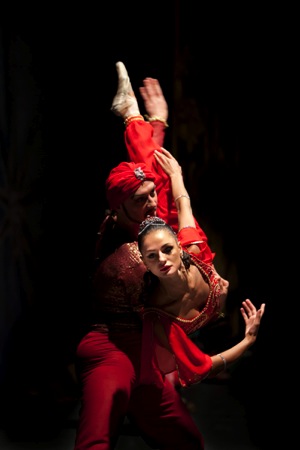
Camera settings: f/2.8, 1/30th, ISO 1000 |
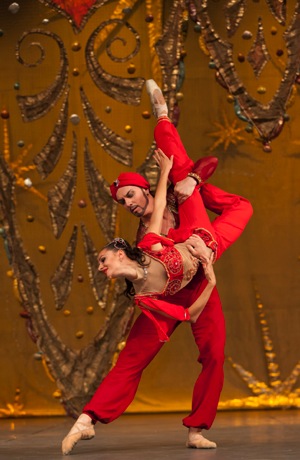
Camera settings: f/3.2, 1/500th, ISO 2500 |
Know your gear inside out
I am often on site photographing events and someone will come and ask for help as they can’t tune back to certain setting or something is not functioning correctly on their camera.
Shooting in a theatre is like sports photography. If you missed a moment it will be gone, and you will not have a second chance. Always be ready, and anticipate what is coming up. Study your camera inside out for all the functions that you wish to use and manipulate during the shoot. Know all the commonly used functions like setting ISO, aperture, shutter speed, etc. I usually use AV (Aperture priority) and control the ISO if I need more shutter speed.
On ISO, every camera has its own capability to handle ISO and minimize noise. Know the limit of your camera, like my 5D MarkII, I will not push it to more than 5000 ISO.
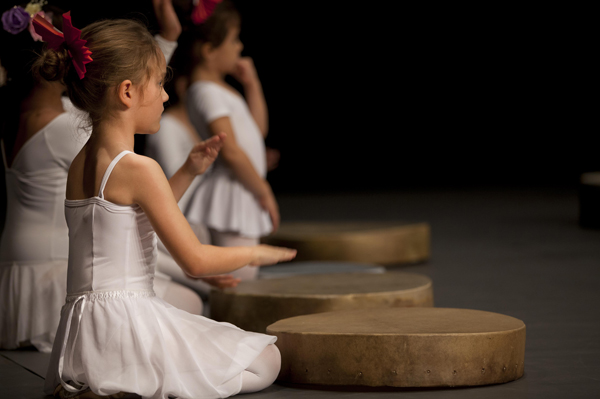
Camera settings: f/2.8, 1/200th, ISO 800
Techniques to adopt
Basic technique for shooting such scenes is to select the right ISO for the shot with the right shutter speed, depending on the movement speed of the dancer. Things moves very fast in a performance and you have to make your camera adapt to what is happening on the stage, so you capture what you need.
A common trick I use something is to pre-focus on an stationary object on the stage prior to the dancers coming into position. This only works if you attend the rehearsal and know the staging of the show.
Lastly always shoot RAW for such events so that back at your desk the white balance can still be adjusted. Color balance can be off due to some lighting differences during the show.
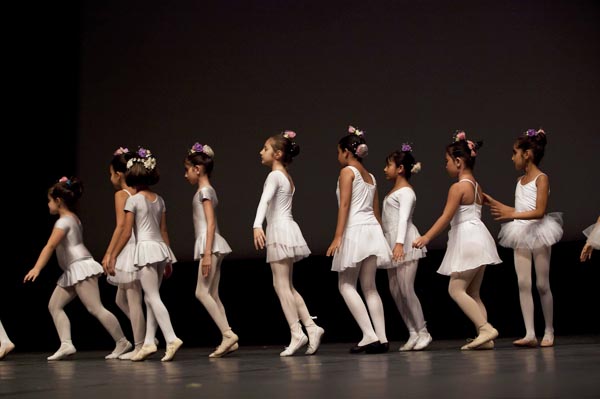
Camera settings: f/4, 1/250th, ISO 1600
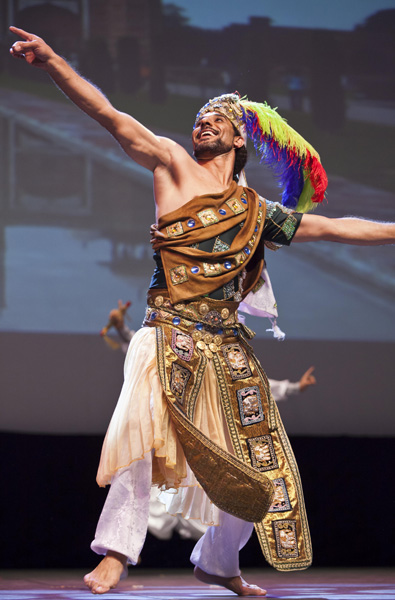
Camera settings: f/2.8, 1/320th, ISO 1600
Photos taken during Enana Production and Academy performances.
googletag.cmd.push(function() {
tablet_slots.push( googletag.defineSlot( “/1005424/_dPSv4_tab-all-article-bottom_(300×250)”, [300, 250], “pb-ad-78623” ).addService( googletag.pubads() ) ); } );
googletag.cmd.push(function() {
mobile_slots.push( googletag.defineSlot( “/1005424/_dPSv4_mob-all-article-bottom_(300×250)”, [300, 250], “pb-ad-78158” ).addService( googletag.pubads() ) ); } );
The post A Guide to Photographing Dance Performances in a Theatre by Ray Toh appeared first on Digital Photography School.