By Frank Wang
One of the most retouching powerful tools in Photoshop is a relatively new feature called Puppet Warp. Introduced in Photoshop CS5, it can be extremely useful when you want to bend and shape parts of your image as if it were silly putty (or, as the name implies, like a puppet). I am going to give you a quick crash-course into how to make the most out of Puppet Warp.
The first step to puppet-mastery is to isolate the object you want to warp. This often involves making a selection of the object and deleting the background.
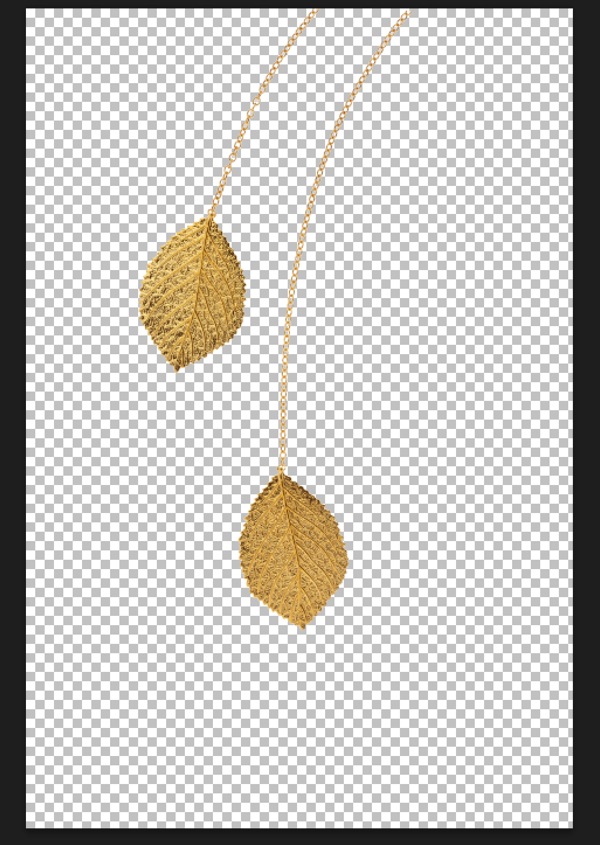
Assuming you are familiar with selection tools, I am going to start with an isolated image below. I would suggest making the object you want to edit into it’s own later after you’ve selected it (control+J or command+J). Puppet Warp works even if you don’t isolate the object from the background, but I find it less effective as you’ll end up moving background elements unintentionally. Not isolating the object will also slow things down, as you’ll be moving more pixels than necessary.
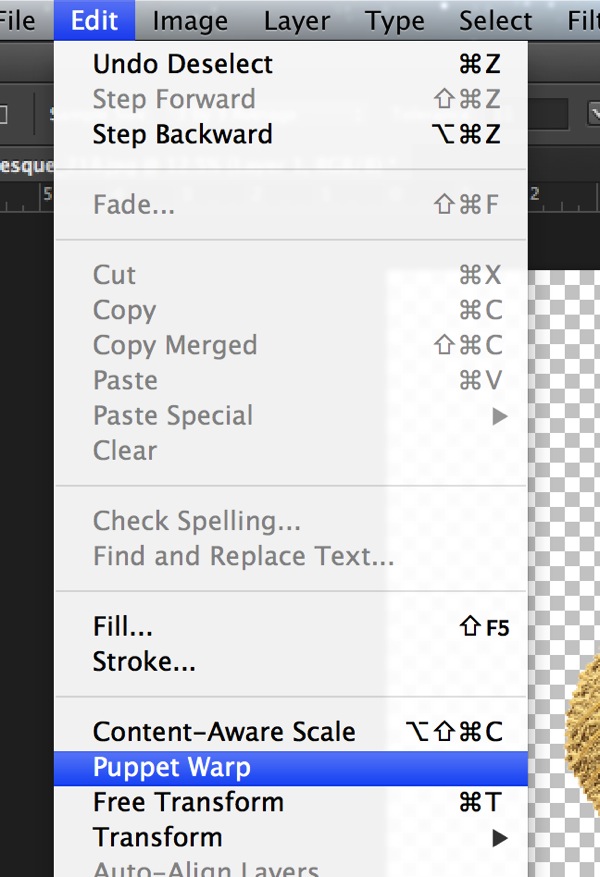
With the layer you want to edit selected, go to the Puppet Warp tool, which is found under the “Edit” menu.
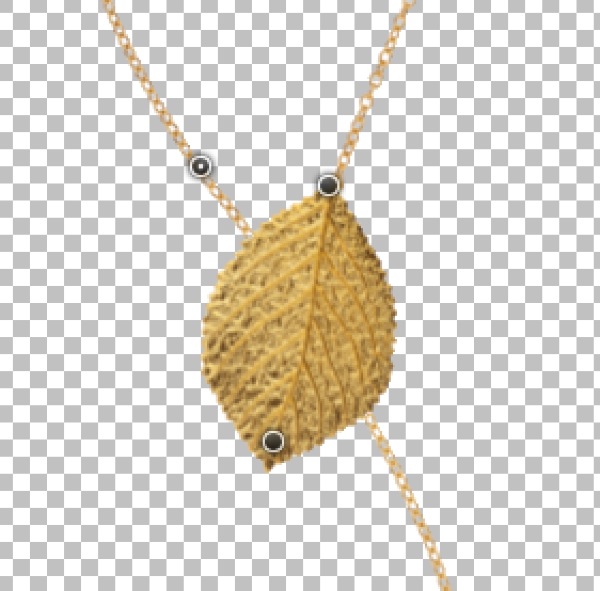
Once you’ve entered the Puppet Warp mode, you can start adding anchor points or “joints” that function both as anchors and points where you can click and drag. I’ve added some anchor points to my jewelry pieces below.
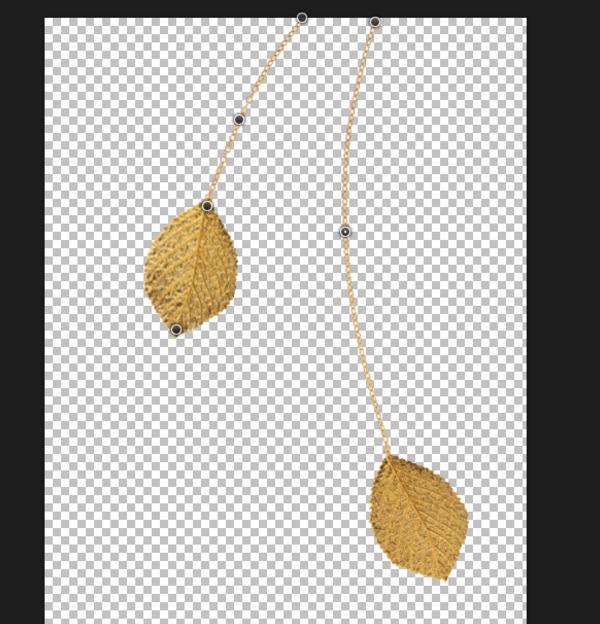
Next, select an anchor point and start dragging. Puppet Warp is a fairly intuitive tool once you’ve added some anchor points and started to move them around. The anchor points you are not dragging will stay put, while the ones you’ve selected (hold shift to select multiple points) bend to your will. Cool, right?
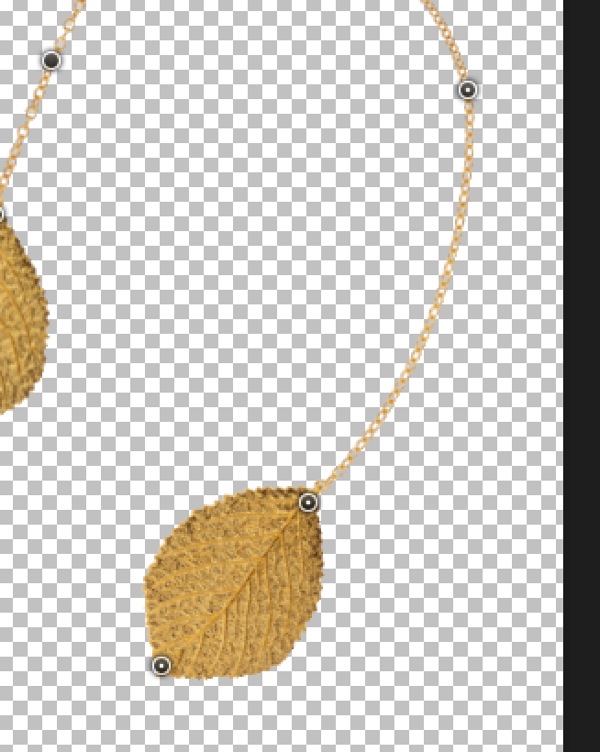
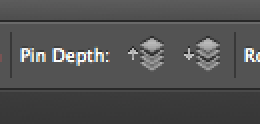
Another useful feature of Puppet Warp is the Pin Depth option. As you add anchor points and move them, you may discover you want to move one part of the object behind another. This is where Pin Depth comes into play. If I want a part of this chain to move behind the left leaf, all I have to do is to select the anchor point on the chain, click on the Pin Depth button with the “down” arrow, and voila, I can drag that part of the image behind another.
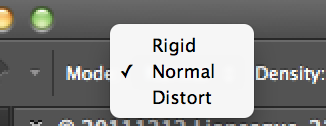
The “mode” option of Puppet Warp allows you to control how dramatic the changes to your image are when you move an anchor point. The default is Normal, which should suffice for most situations. For more dramatic changes, you can select the “Distort” option.
To delete anchor points simply select the point in question and hit the DELETE or key on your keyboard. Alternatively, you can hold down the ALT key and click an anchor point to delete it.
Puppet Warp is fairly intuitive but it takes a bit of experimenting to get a sense of how best to use it. I suggest alternating between the “Rigid”, “Normal”, and “Distort” modes to get an idea of how the tool works. Once you’ve gotten the hang of it, Puppet Warp is a VERY powerful tool.
As an additional example, I am going to warp the following black square. I’ve added four anchor points at the corners.
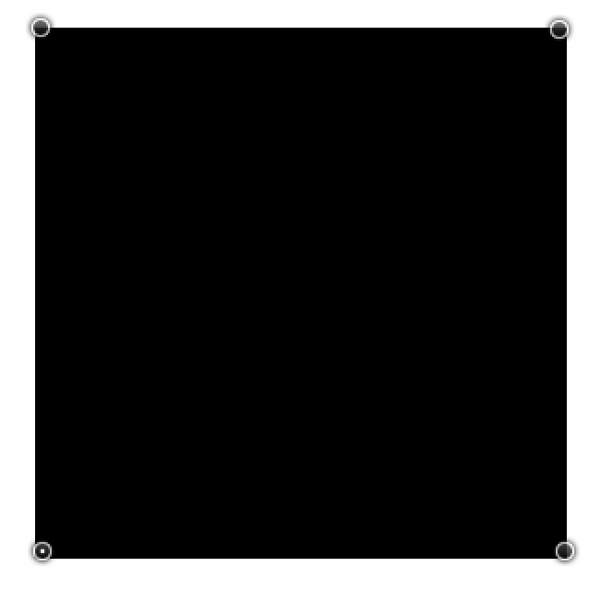
Once I’ve added the anchor points I can bend and stretch the rectangle to something else entirely.
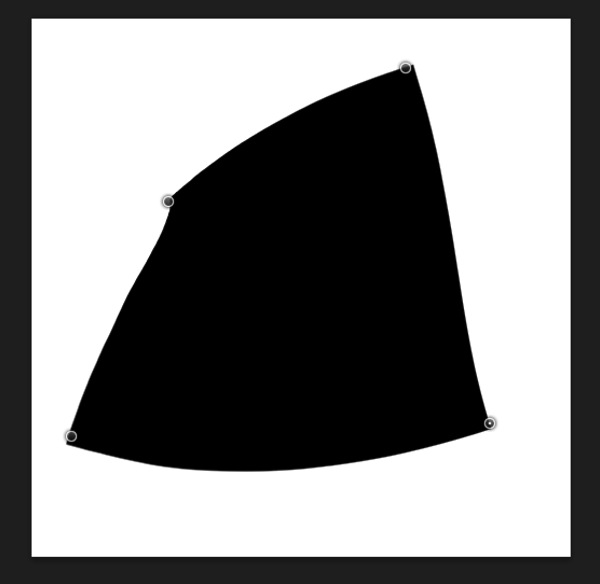
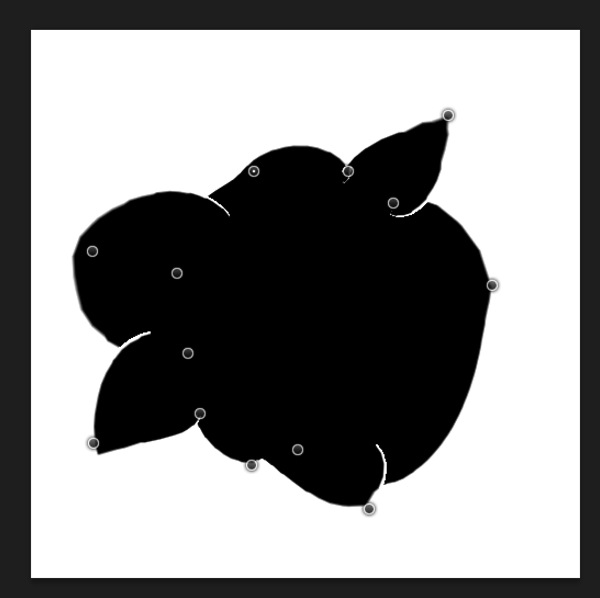
If you want to edit it further, you can add even more anchor points until you’ve warped the square to something akin to a Rorschach inkblot test. What do you see? A moth? A bird? Hm…
Frank Wang is a NYC photographer specializing in portrait and architectural photography. You can find him online at www.frankwangphotography.com and www.framephotographics.com. Connect with him via Twitter / Instagram: @frankwangphoto
Post originally from: Digital Photography Tips.
Check out our more Photography Tips at Photography Tips for Beginners, Portrait Photography Tips and Wedding Photography Tips.
Introduction to Puppet Warp in Photoshop