Adobe announced the availability of Lightroom 5 Beta at Adobe Labs today and by all means, go grab a free copy and play. I’ve been using Lightroom since version 1 and have been impressed with every upgrading to the program, gladly plopping down my money for a new version as I have found the enhancements in subsequent revisions well worth the funds. And Lightroom 5 seems to be on the same track, based on my findings while playing with the beta this last week.
Adobe has a number of fine new features in this revision and they are sure not to be missed. They include
- A Smart Preview feature which mobile photographers will love as it creates a smaller, editable version of their monstrously sized RAW image that is easily portable on a laptop and can be synced when the originals, possibly stored on an external drive or NAS back at home, become available.
- Radial Gradient which allows for selecting oval or circular shaped areas for specific effects.
- Upright, which attempts to correct crocked images or fine tune vertical lines. (My experience with this tool has been less than stellar on simple horizon shots at sea. More on this in a minute.)
- Advanced Healing Brush. This one, I like a lot and it is very helpful. Now your “Spot Removal Tool” can be used as a brush to wipe out items that are not in the shape of a circle. This helps a lot and means I spend even less time in Photoshop CS6.
That’s the obvious stuff that Abode packs into their press kit and you probably have seen those items demonstrated on other sites. What I want to show you are three things I found to be helpful in little, but repetitive ways for how I use Lightroom.
(Click any image for a larger version)
Invert Mask
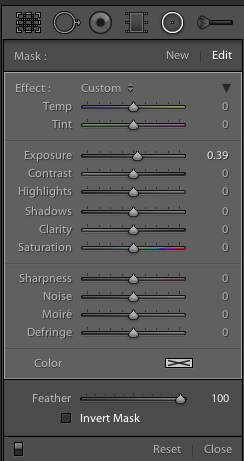 Thank you! I’ve been wanting this feature for the longest time to save time. But it’s not quite right.
Invert Mask is currently only available with the new Radial Gradient feature. See it at the right? It works well and I’d like to see if appear in the Gradient Tool (especially when creating a new gradient…it would be great to great one just the opposite of the one I am using at the moment) and in the Adjustment Brush.
Here’s a simple rundown of how the tool works.
Starting with this image of one of my client’s boats, the Un-Cruise Adventures Safari Explorer off the shore of Maui, Hawaii, I want to see which direction works best: highlight the boat and darken the surrounding seas or slightly darken the boat and bring up the seas, in order to add contrast to the main subject.
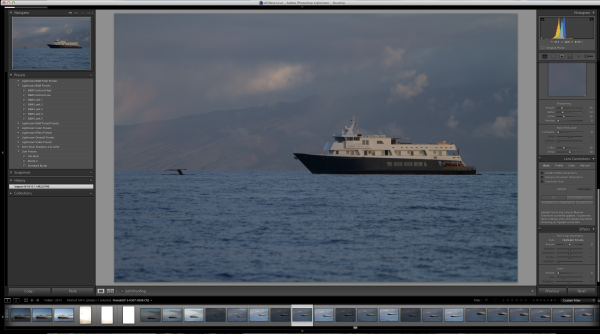
I select the new Radial Gradient tool and draw an oval over the boat (Dear Adobe, please make this tool work like the Ellipse Tool in Photoshop for consistency. Specifically, please allow me to grab a “corner” of the ellipse and drag it down instead of starting with the middle of the ellipse. Consistency would really help. Thanks.).
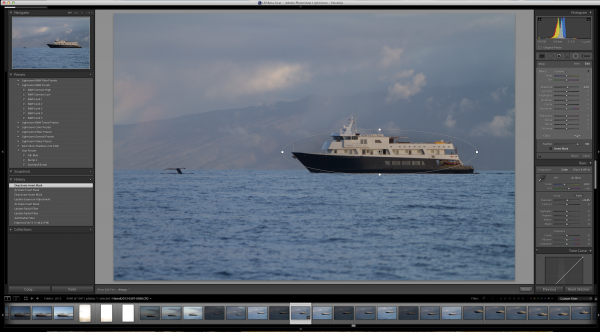
Because I have chosen only to increase the exposure by .39, Lightroom masked the boat and increased the exposure for the rest of the image. But if I want to swap that and mask the entire picture except for the boat, it’s just a simple click of the “Invert Mask” check box.
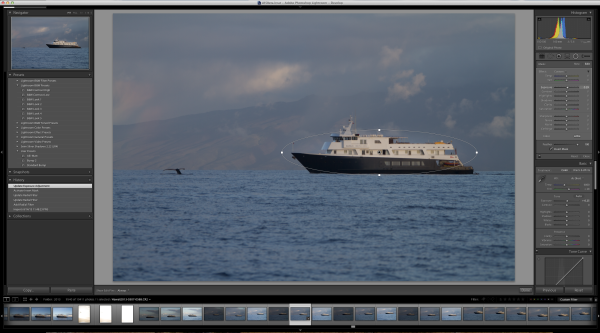
Subtle, but useful to me.
Now please, Adobe, add that ability to the Gradient Tool and to the Adjustment Brush especially.
Visualize Spot Healing
I’d like to think my sensor was perfectly clean before leading a recent tour to Bhutan. As a matter of fact, it was extremely clean before I left. But, as life goes, things don’t stay clean.
Take this image of a masked dancer at the Paro Tsechu.
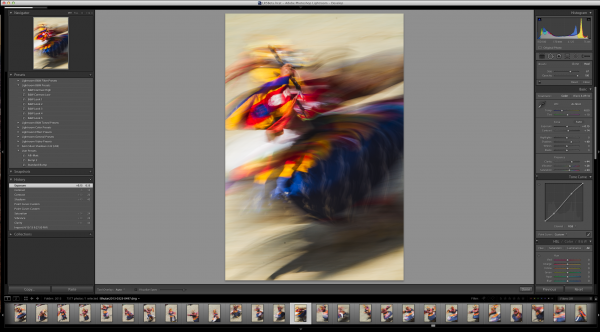
I wanted some blur (obviously) and used a small aperture to achieve a slow shutter speed. In this case, f/25 and 1/6th of a second. Closing down that aperture makes dust on the sensor more obvious, but this image has a lot going on making it hard to find all the dust.
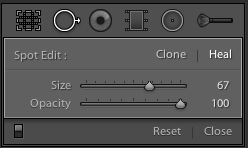
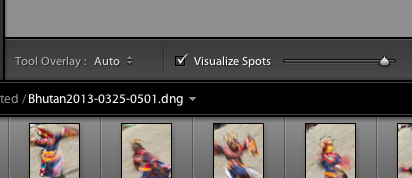
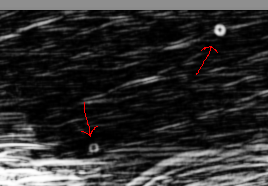
If I click on the “Visualize Spots” check box after clicking the Spot Removal Tool, the slider to the right of it comes alive and I can now more easily see spots. This is a technique used in Photoshop for a while and it works best where edge contrast can be spotted, so in areas without a lot going on.
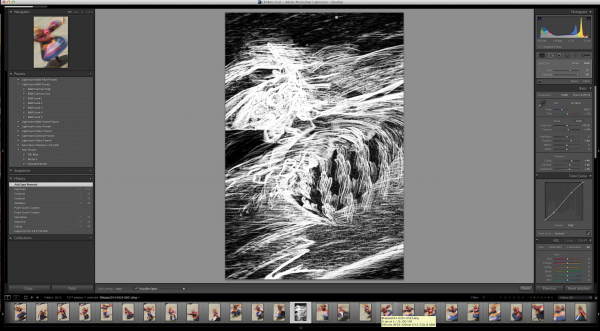
In this image, I found three additional spots, two of which would have been easy to miss without the tool.
Remove Chromatic Aberration Check Box
This one is really small, but helpful. With the addition of the “Upright” feature to the Lens Correction panel, Adobe made it easier to get to the Chromatic Aberration removal check box.
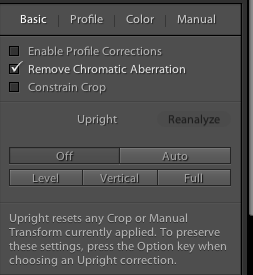
It’s a small thing, but I often use the check box for “Enable Profile Corrections” for my lens and then want to remove chromatic aberration on only select images, but many. The placement of the box here, as well as on the “Color” tab, helps.
Upright Is Not That Functional For Me
Maybe I’m doing something wrong, but I doubt it. This is one of Adobe’s touted JDI (Just Do It) features and it seems to work well on the demos, but not in real life. If it did, it would be cool. I can get the feature to work part of the time, but no where near even 25% of the time reliably.
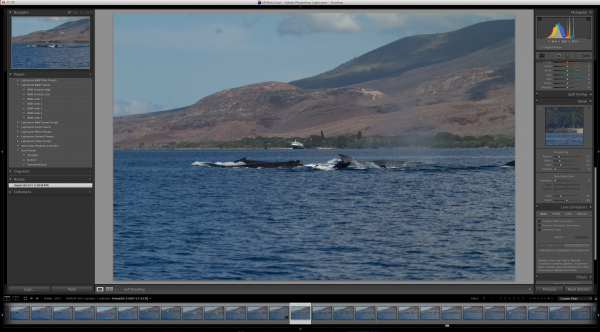
The feature is supposed to level a scene and make diverging or converging vertical lines straight. It can be helpful when it works. But something as simple as a horizon, an obvious one, in this example is not being leveled. Here’s the initial image out of the camera.
Now to show that the horizon is not level using the Crop Overlay.
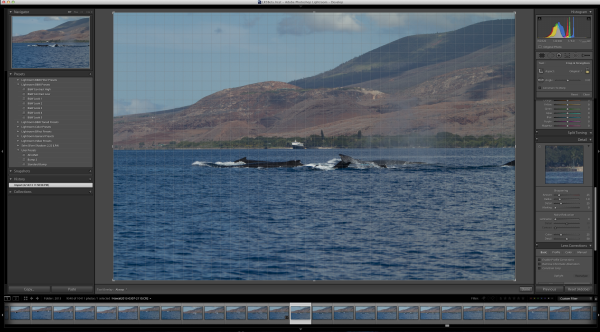
And now using the tool in Auto mode.
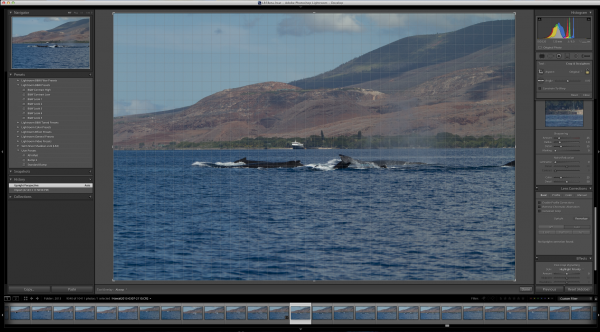
I tried in Level and Full modes to no avail. The program clearly states “No Upright Correction Found”. This is supposed to be a boon for landscape photographers, but even with a clear horizon like this, it failed.
I tried another obvious shot from Bhutan.
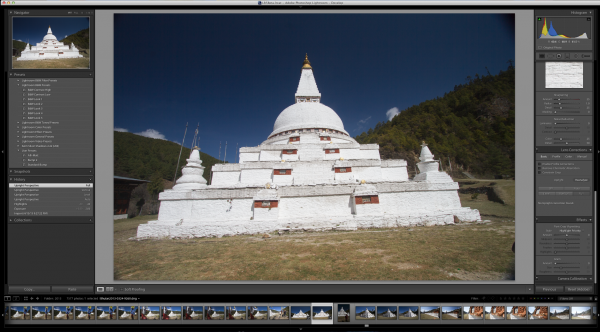
Now how can it say, in all four modes (Auto, Level, Vertical and Full) that no data can be found?
I’m not saying it doesn’t work, I’m saying it’s wonky and not yet reliable.
But this is beta software and that is why they put it out, to find the kinks that mean the most for their users.
Give it a try, Lightroom 5 Beta is quite useful with all the upgrades instituted.
Post originally from: Digital Photography Tips.
Check out our more Photography Tips at Photography Tips for Beginners, Portrait Photography Tips and Wedding Photography Tips.
3 Small But Important Lightroom 5 Beta Changes You Might Have Missed
You must be logged in to post a comment.