Andrew’s book Mastering Lightroom III is on sale now at Snapndeals for 40% off. This is a limited time offer, grab it while it’s available.

Today I’m going to show you just how easy to use, and effective Lightroom is, for converting colour photos to powerful black and white images.
The key to getting the best out of it is to use the Raw format rather than JPEG. The extra bit depth means they contain far more information for Lightroom to use. The end result is that you have more options and get smoother conversions.
This article concentrates on global adjustments – those that affect the entire image (I’ll leave local adjustments to another article).
There are two ways to convert an image to black and white in Lightroom:
- Set Treatment to Black & White in the Basic panel
- Go the B&W tab in the Color/HSL/B&W panel
Let’s take a look at each of these in turn.
Set Treatment to B&W in Basic panel
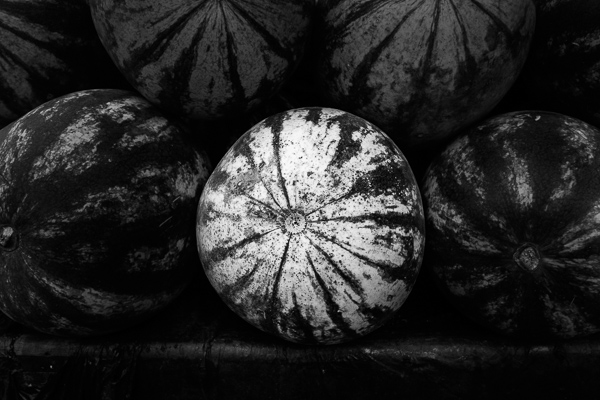
A good way to start is with a colour image that has already been processed. Before you start, set Saturation and Vibrance to zero, and adjust the White Balance sliders to give a neutral colour balance (the Auto setting works well most of the time).

This preps the image for the conversion. Here’s my starting image.

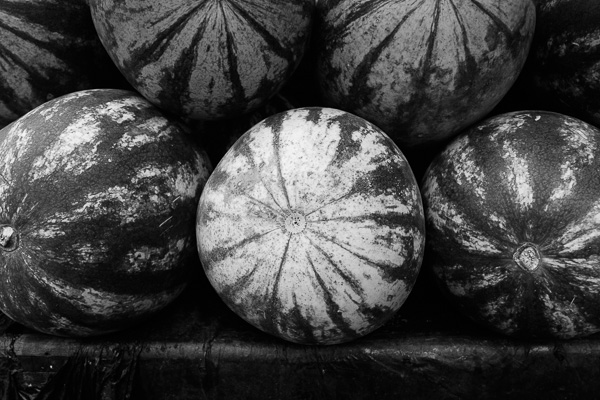
And this is what it looks like with Treatment set to Black & White.

The next step is to refine the conversion using the Tone sliders. These are the most useful ones, working in order from top to bottom:
Exposure – sets the overall brightness of the image. Adjust this first. If you started with a processed colour image, you may not have to.
Contrast – sets the overall contrast. Most black and white images benefit from higher contrast than you would use for colour processing. Set Contrast second.
Shadows – adjusts the darkest tones in the photo independently of the others. Use this to make the shadows lighter or darker.
Highlights – adjusts the lightest tones independently of the others. Use it to make the highlights lighter or darker.
With my photo I increased Contrast, moved the Highlights slider left to make the model’s skin darker, revealing texture, and the Shadows slider left to darken the shadows and add drama. Here’s what it looks like so far.

There are three other sliders you may find useful:
Clarity – increases mid-tone contrast, emphasizing sharpness and texture. A side effect is that the image often becomes a little darker when you increase Clarity, so you may need to return to the Exposure or Shadows sliders to lighten the photo.
My article Four Ways to Improve Your Photos With the Clarity Slider in Lightroom goes into the topic in more depth.
White Balance – after you have used the other sliders, you can go to the Temp or Tint sliders and move them to see the effect they have on your conversion. These sliders change the colour balance in the original photo, which in turn alters the tones in the image. Experiment with these to see if they improve the tones in your image.
These three images show the difference it can make. Moving the Temp slider altered the skin tones (see second image), and moving the Tint slider mostly affected the green background (see third image). The differences are subtle, you may have to look closely to see them.

Activate the B&W tab in the Color/HSL/B&W panel
The second option for converting photos to black and white in Lightroom is to go straight to the B&W tab in the HSL/Color/B&W panel.

Again, it is a good idea to start with a processed colour photo with a neutral colour balance and Vibrance and Saturation zeroed.

The eight sliders under this tab let you make the tones corresponding to the colours in the original photo lighter or darker.
For example, if you move the Blue slider left Lightroom makes any grey tones converted from blue darker. Move it right and it makes them lighter. The most obvious use of this slider is for making blue skies go dark and dramatic in black and white.

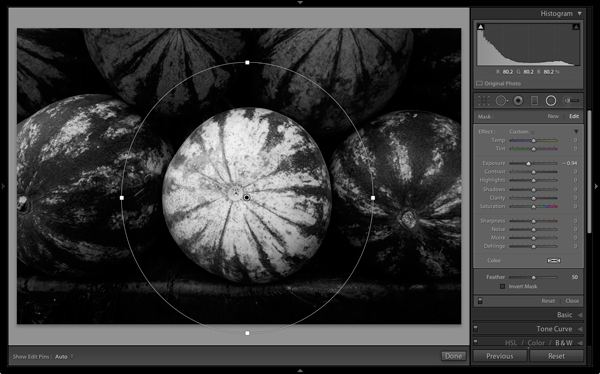
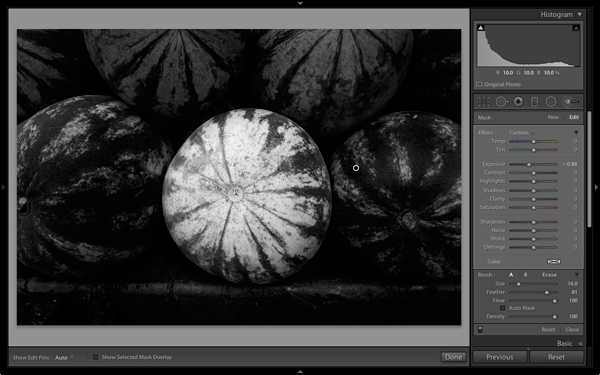
The other coloured sliders work the same way. Alternatively you can use the Targeted Adjustment Tool. To do so, click on the Targeted Adjustment Tool icon (see below red arrow on the left) and move the mouse over the grey tone you wish to adjust in the image. The Targeted Adjustment Tool icon and a cross-hair appear (see below, arrow on the right). Hold the left mouse button down and pull the mouse down to make the tones underneath the cross-hair darker, or up to make them lighter. Lightroom analyses the colours under the cross-hair and moves the appropriate colour sliders accordingly.

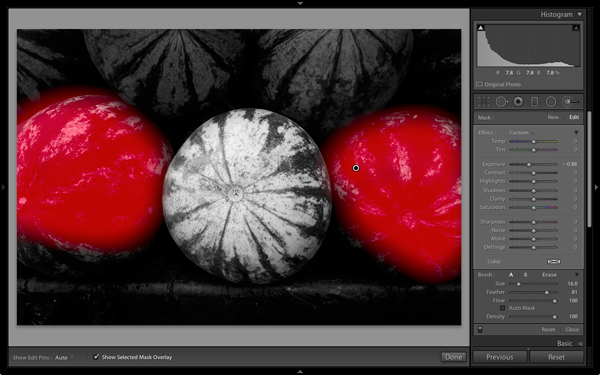
Be careful not to move the colour sliders too far or you will introduce unwanted artefacts and haloes into the image. The point at which this happens depends very much on the content of your photo. The best approach is to get in the habit of zooming to 100% and checking to make sure that there are no haloes around edges, and that the transitions are smooth in the affected colours.
This screenshot shows what happens when you push the sliders too far (in this case the Blue slider to -58). The edge of the sculpture is marked by a thin halo that isn’t present in the original photo:

Note that the initial position of the colour sliders in the B&W tab depends upon a setting in the Presets tab in Preferences. If the Apply auto mix when first converting to black and white box is unticked, the sliders will be in their zeroed positions.
If it is ticked, then Lightroom sets them according to what it calculates will make a good conversion. My preference is to have the colour sliders zeroed, and it’s what I advise you to do. If you’d like to see Lightroom’s conversion, you can press the Auto button at the bottom of the B&W tab at any time.

After you have finished in the B&W tab you can go to the Basic panel and make further adjustments with the sliders as explained above. Of course, if you elected to go to the Basic panel first, you can then go to the B&W tab to make changes there. In reality you may find yourself switching between the two panels as you refine the image.
How do you know which panel to go to first? That depends on the image. If it’s a photo with strong colour, then the B&W tab will probably be the most useful. But if the colours are not so strong, then the Basic panel may be better. It’s a judgement call that becomes easier with experience.
I’ve only touched on the topic of black and white conversion in this article. Now you have learnt how to make global adjustments. In my next article I will show you how to make local adjustments to really bring your black and white images to life.
Andrew’s book Mastering Lightroom III is on sale now at Snapndeals for 40% off. This is a limited time offer, grab it while it’s available.
Mastering Lightroom: Book Three – Black & White
 My ebook Mastering Lightroom: Book Three – Black & White goes into the topic of black and white in depth. It explains everything you need to know to make dramatic and beautiful monochrome conversions in Lightroom, including how to use the most popular black and white plug-ins. Click the link to visit my website and learn more.
The post How to Convert Photos to Black and White in Lightroom by Andrew S. Gibson appeared first on Digital Photography School.

Digital Photography School


 Dignity by Martin Mattocks on 500px
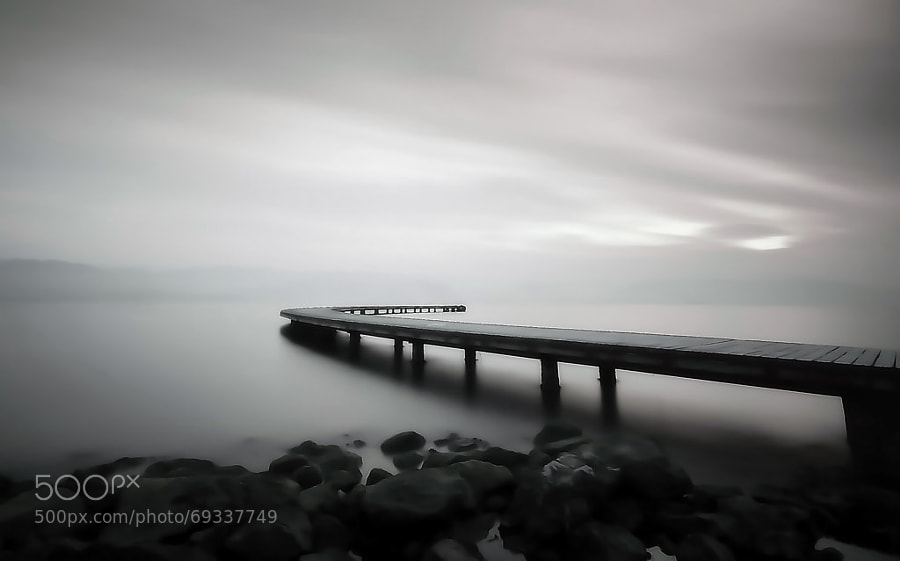
 “MAGIC IN ESPIGÜETE” / “MAGIA A LOS PIES DEL ESPIGÜETE” by Juan PIXELECTA on 500px
 Silver Reflections 2 by Joe V on 500px
 Age Old by Chris Fletcher on 500px
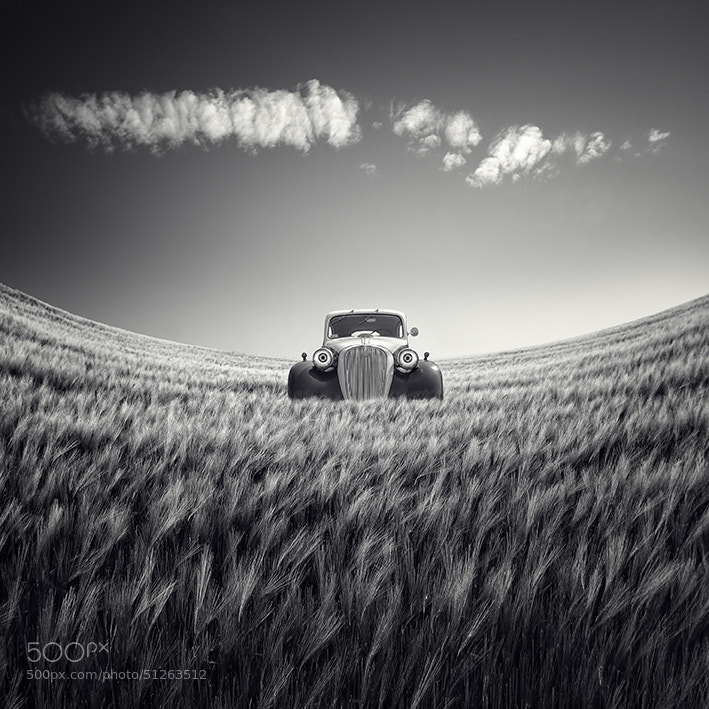
 Venice Nostalgia by Csilla Zelko on 500px
 Ibex Sunrise by Grant Thompson on 500px
 Herringfleet by George Johnson on 500px
 –In Motion– by Marek Kijevský on 500px
 Tranquility of Morning by Abi Arga Hadityarista on 500px
 on the road by adam smigielski on 500px
 81.2013 – B&W- Light Reflections … by Pawel Tomaszewicz on 500px
 dark master´s crown by Ronny Behnert on 500px
 Kuala Lumpur by Tashi_Delek Nakata on 500px
 SZEMPONT by Shady S. on 500px
 entrap by tet bautista on 500px


 When you purchase The Essential Guide To Black And White Photography you’ll also receive a free copy of 10 Recipes for Amazing Black And White Photography.


 Mastering Lightroom: Book Three – Black and White
You must be logged in to post a comment.