So you’ve done the research, read the articles, browsed through your photos, and decided it’s time to make the leap from shooting in JPG to shooting in RAW, in order to get the most quality possible out of your photos. Congratulations, and welcome to the fold!
Things are nice over here in RAW land, we have cookies too. Now that you’ve firmly decided once and for all to shoot in RAW, you can stop thinking about file formats and get back to making beautiful images, right? Well, sort of. Turns out there’s yet another layer to this cake, that adds yet one more twist to the mix: RAW compression formats.
“What?!” I can hear you saying now. “What’s a compression format? And why does it matter? Can’t I just shoot in RAW and be done with it?” Well yes, and no.
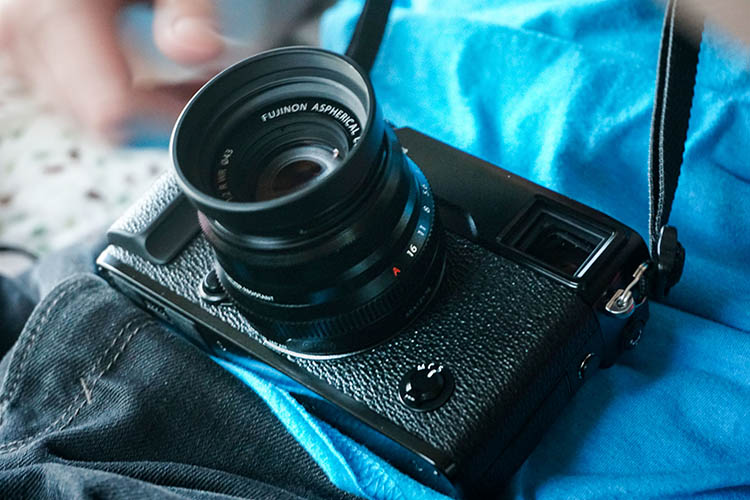
For starters go grab your camera, caress it gently, and rest assured that you have in your hands a very capable imaging device, that would have been the envy of every photographer in the world 10, or even five years ago. You don’t have to understand everything about RAW, JPG, and other formats, as long as you’re getting out there and taking photos that you like. But, if you would like to know more about how all this works, then by all means, read on. You might want to sit down and grab a cup of coffee, because things are about to get a bit tricky.
How RAW format works
When you take a photo with any camera (DSLR, mirrorless, point-and-shoot, or even your smartphone) a massive amount of color information is captured by the camera’s image sensor, and sent to a computer chip that analyzes it, and ultimately saves it to your memory card as a picture. If you shoot in JPG, a great deal of that data is discarded to save storage space, and facilitate easier sharing. But, if you shoot in RAW, most of that color data is retained, which results in you having much more flexibility to edit each picture in a program like Lightroom or Photoshop, but also results in file sizes that can be quite large and not at all conducive to emailing or posting on social networks. Many cameras allow you to choose different types of RAW formats such as:
- JPG – Every camera offers this format which stores 256 tonal values for each color, but compresses the file in such a way that a significant portion of the photo data is discarded. This format is ideal for photographers who do not do much editing in Photoshop or Lightroom, and the file sizes are much smaller than RAW, which makes them very easy to share.
- 12-bit RAW lossy compressed – This format stores 4,096 tonal values for each color (red, green, and blue) per pixel, but then throws away some information it deems unnecessary, using an algorithm to compress the file, so it’s a bit smaller and takes up less space on your memory card. Most of the discarded data is on the right side of the histogram, which makes sense, since digital cameras typically capture much more information in the mid-tones and highlights to begin with. Thus, there is a great deal more leeway when performing a lossy compression algorithm, since it is removing some data from a part of the image where there is so much to begin with, that removing a little will not matter to most users.
- 12-bit uncompressed – Also stores 4,096 tonal values for each color, but does not throw out any data to shrink the file size.
- 14-bit lossy compressed – This format stores 16,384 tonal values for each color (way more than 12-bit – 12-bit mean:s 2 to the power of 12 or 2x2x2x2x2x2x2x2x2x2x2x2, 14-bit is 2 to the power of 14) but also discards some data it deems gratuitous, in order to compress the file so it’s a bit smaller.
- 14-bit uncompressed – The best option most cameras offer (though some ultra-high-end models do have 16-bit RAW files, but they usually cost more than a new car) stores 16,384 tonal values for each color per pixel and does not throw any away, giving you the highest possible amount of information, to work with in post-production.
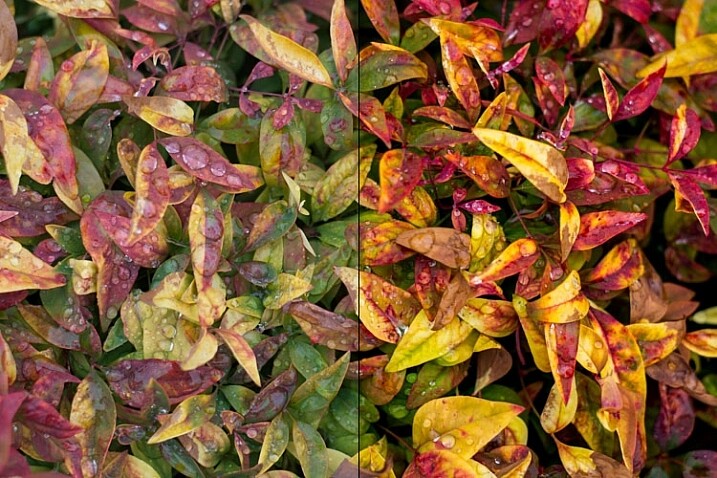
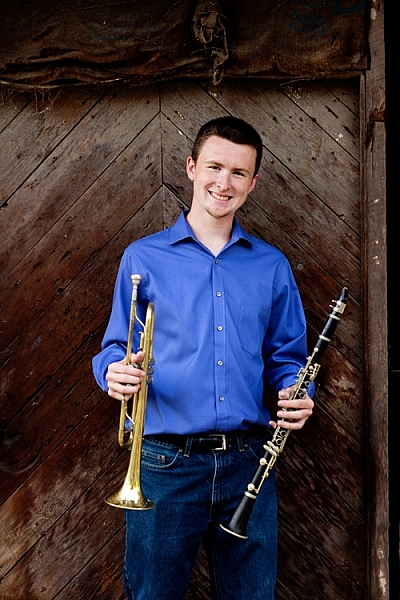
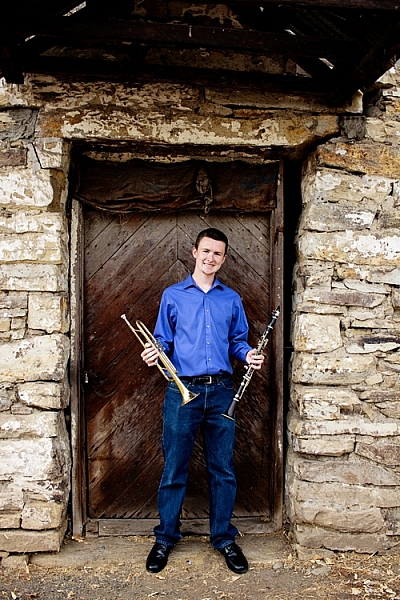
The original photo (left) was somewhat bland and flat, and shooting in RAW gave me the flexibility I needed to properly edit this into an image I really liked (right).
Looking at this data the answer seems clear, right? Just shoot in 14-bit uncompressed RAW because it’s obviously better! Well again, yes and no.
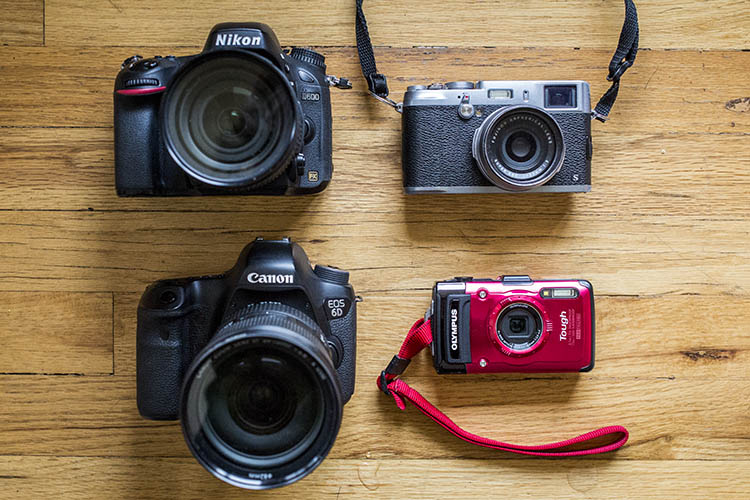
Due to the increase in the amount of data offered by a 14-bit file, the resulting RAW images take up much more space on your memory card and computer, and are much slower to load in a program like Lightroom or Photoshop. If you shoot with a high-megapixel camera like the Nikon D800, Sony A7Rii, or Canon 5DS, you can easily get RAW files approaching 100MB each. That is great when you need it, but can be quite a burden if you decide that all the extra data is not always worth the tradeoff in storage space.
Another issue that comes into play when comparing formats is whether the increased data actually does give you more flexibility when editing the image. Of course it does in theory, but in practice, having 16,384 tonal values for each color could be a bit of overkill for most people. If you generally get your exposure correct in camera, then you may not need the sheer quantity of data provided by a 14-bit uncompressed RAW format file.
Real-life examples
Some camera makers have other RAW formats, such as sRAW and mRAW, that actually decrease the pixel count of your images, while still giving you the flexibility of a RAW file. But, at the end of the day, one thing is clear – shooting in RAW will always give you significantly more freedom to edit your images than shooting in JPG. The question then becomes, which RAW format to use?
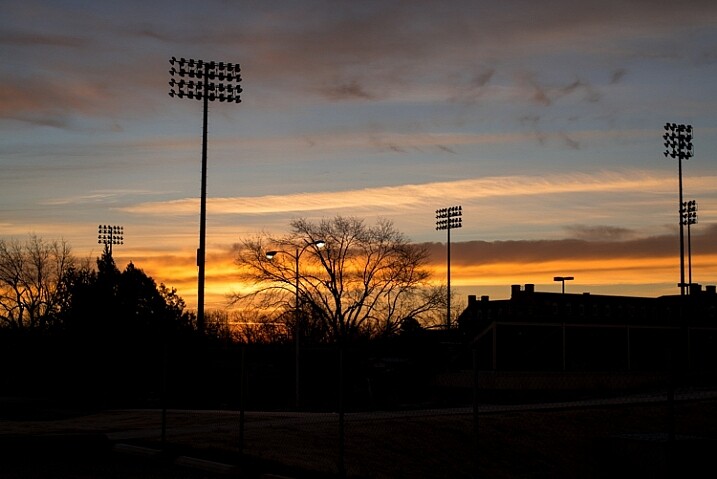
There are benefits and drawbacks to each one, but all RAW types allow you to have an extraordinary degree of flexibility in post-production, compared JPG. Like almost everything in photography, there is no single correct answer to the question, and it is largely dependent on your shooting style and needs as a photographer. To see how this plays out in a real-life scenario, here’s a picture I took, overlooking the Formal Gardens at Oklahoma State University.
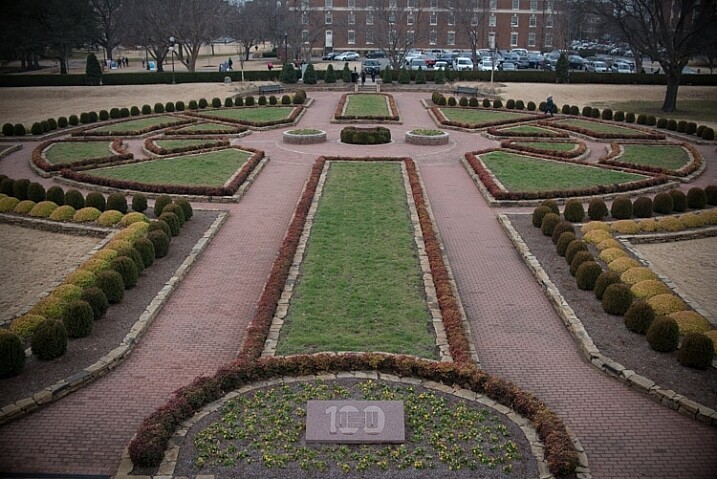
35mm, f/4, 1/350 second, ISO 100
I re-shot the same picture using massive over- and under-exposures using four different RAW formats, then corrected them in Lightroom. Shooting these photos as JPGs would have resulted in unusable images, but RAW gives you so much extra information, that you can often salvage parts of a picture that would have been entirely lost otherwise. RAW is useful for much more than fixing overexposed pictures, but it’s in extreme circumstances like this that the real differences between the 12-bit, 14-bit, compressed, and uncompressed formats, would be most likely to show up.
This first set of images has been intentionally overexposed by three stops, by leaving the aperture at f/4 and ISO at 100, but increasing the shutter speed to 1/30 second.
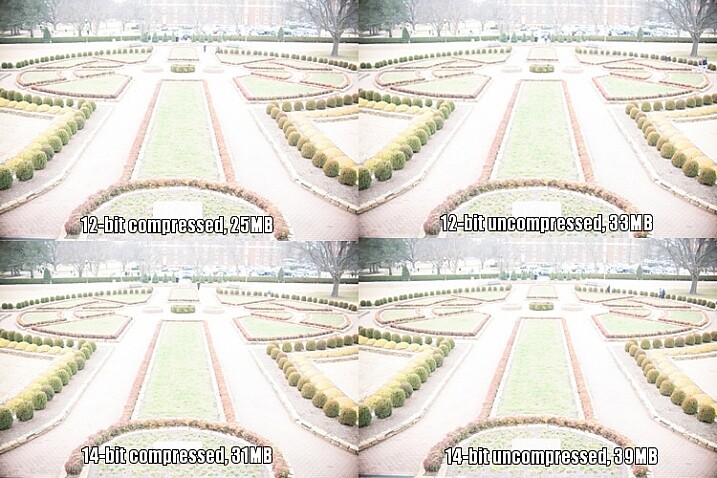
Overexposed intentionally by three stops, to test which format offers the most in terms of highlight recovery.
I then used Lightroom to bring the exposure values back down by three stops, for a correctly exposed image. Some data has been lost due to clipping, where things are so overexposed there is literally nothing left to recover, but for each picture I was able to get a decent image, useful for comparison purposes. I still wouldn’t use these in an actual production environment, but it does give you an idea of how flexible the RAW format really is.
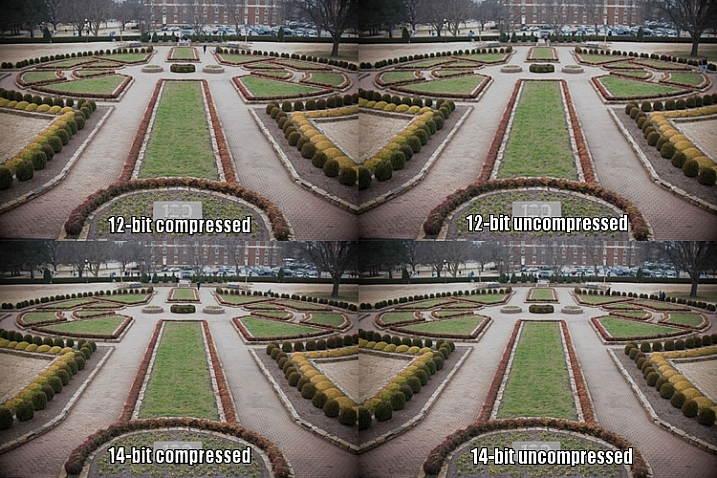
All images look virtually identical, but that’s not too unexpected given that these are minuscule thumbnails of 24-megapixel images. To get a better understanding of how the RAW compression formats compare, here is a 1:1 crop of the same section of each photo.
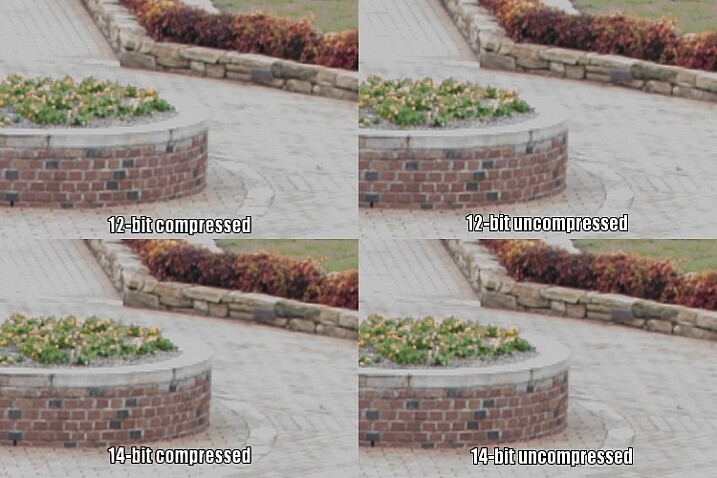
Upon close inspection, all four RAW formats appear to offer similar functionality when recovering highlight data.
Notice much of a difference? I don’t. That’s not to say there isn’t any difference, just not one that’s discernible to the human eye.
Since the initial 14-bit uncompressed file is more than 50% bigger than a 12-bit compressed image (39MB versus 25MB) there is clearly a lot more data to work with, but as this test illustrates much of that is not likely to matter a whole lot in practical terms. The biggest difference I can see is not due to lossy compression but bit rate, as both 14-bit files show just a few more clearly-defined bricks in the sidewalk, to the right of the planter.
However, keep in mind this is a 1:1 crop of a 24-megapixel image. You’re looking at about 94,000 pixels in each section above, out of nearly 25 million, or about .04% of the total image. If you have to zoom in this far to see any noticeable differences between 12-bit and 14-bit RAW files, that were overexposed by three whole stops to begin with, then to me it does not offer a significantly compelling reason to shoot 14-bit RAW most of the time.
To continue with the comparison, here’s the same picture underexposed by three stops in camera, by increasing the shutter speed to 1/3000 second.
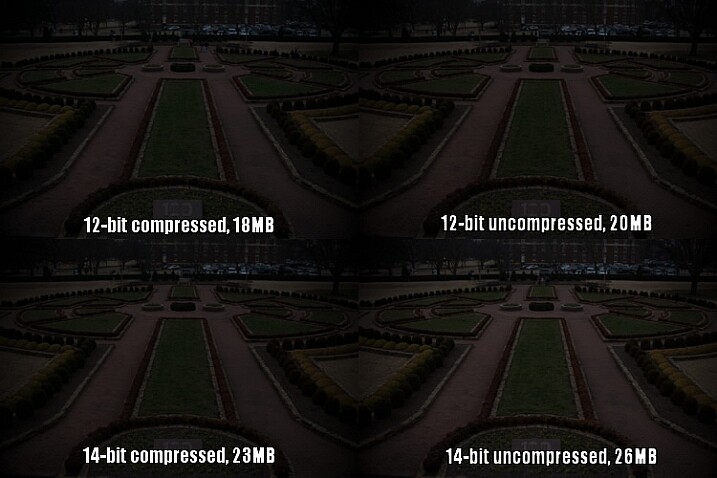
Underexposed by three stops to test shadow recovery.
Since almost no data was clipped, which I could tell by looking at the histogram, adjusting the exposure by three stops in Lightroom results in an image that is virtually identical to the correct one at the top of this article. Taking another look at the 1:1 crops below, yields a similar result as the first test.
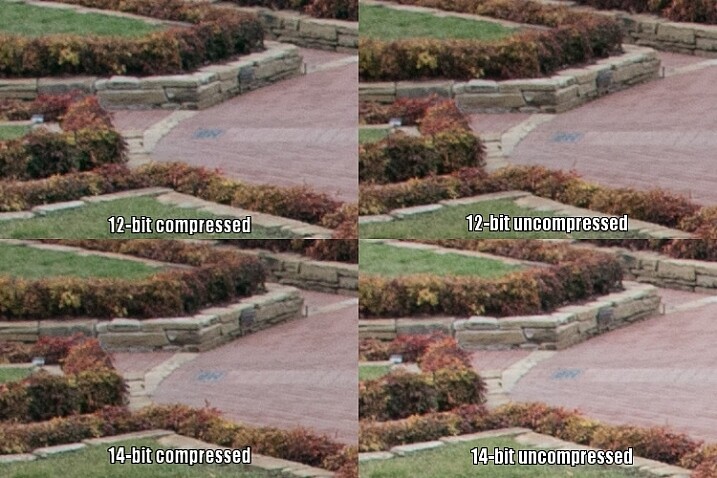
Once again, all four RAW formats appear to be on par with each other for recovering detail in the shadows.
The results here are remarkably similar to the overexposure test, and remember that these pictures have been severely underexposed before correcting them in post. The differences between the corrected images you see above are negligible, and the much smaller 12-bit compressed file gives results that are almost identical to the 14-bt uncompressed.
So, which format should you use?
While you can’t draw a universal conclusion from just one test, this example does illustrate that shooting in 12-bit compressed RAW still gives you plenty of data to work with, when editing your images. As I mentioned at the top of the article, some data is literally thrown away when shooting with a lossy compression format, but in most situations it’s nothing you are likely to notice. Only in extreme circumstances, such as when you want to do massive highlight or shadow recovery, or if a photo has been severely over or under-exposed, are you likely to notice any practical benefits from shooting in 14-bit RAW.
However, if you are the type of photographer who wants the most possible data in each picture, and continually pushes your camera to its limits, I would recommend capturing as much information as possible (i.e. shooting in 14-bit) and retaining every last chunk of it (shooting uncompressed).
Even when shooting for clients I use 12-bit RAW because it gives me more than enough color information to edit my shots. I could use 14-bit RAW, but for my purposes I have found that I simply don’t need to.
A notable caveat here is that the test I performed was just one example, and it’s entirely possible that a different scenario would have done a better job at illustrating the differences in terms of the different RAW formats. When doing this I tried to pick something that was generally representative of a typical photographic scenario, and not a situation that was far outside the realm of what most people would encounter when taking pictures. If I had over or under-exposed by four or five stops, or shot at higher ISO values, perhaps there would be some significant differences in terms of what each format has to offer, and I don’t want to draw any large-scale conclusions from just one small set of data.
What this test does illustrate is that even though 12-bit compressed RAW contains less photographic information than its higher bit rate counterparts, enough important data remains to give you plenty of wiggle room, if you need to do extreme corrections in post-production.
The original uncorrected version of the image at the top of this article, shot in 12-bit compressed RAW.
I generally don’t like to give advice when it comes to photography, life, jobs, or matters of the opposite sex, but I have shot with many types of RAW formats for a few years, and feel entirely comfortable shooting in 12-bit compressed. I do all my pictures this way, even paid jobs for clients, and have never had a circumstance in which a bad picture would have been salvageable if I had only shot in 14-bit uncompressed.
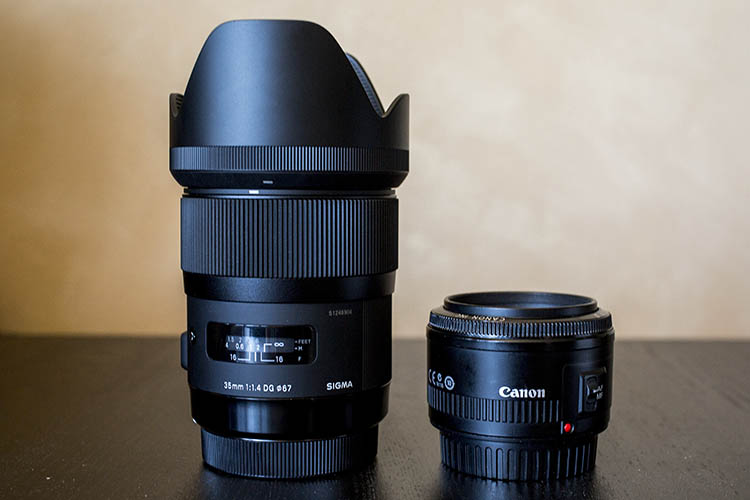
In my experience (which, I admit, is not the same as a professional photographer who makes his or her living taking pictures) there are plenty of other factors that matter just as much, such as: choosing the right lens, nailing your focus, composing your shot, knowing when and how to use external lights, and a host of other things that are more important than eating up your memory cards with 14-bit uncompressed RAW files. If your pictures regularly, and consistently, require the type of extreme editing that can only be saved by heavily editing a 14-bit uncompressed RAW file, I’m going to go out on a limb and say there are probably other things that you need to work on to improve your photography, besides choosing the right file format.
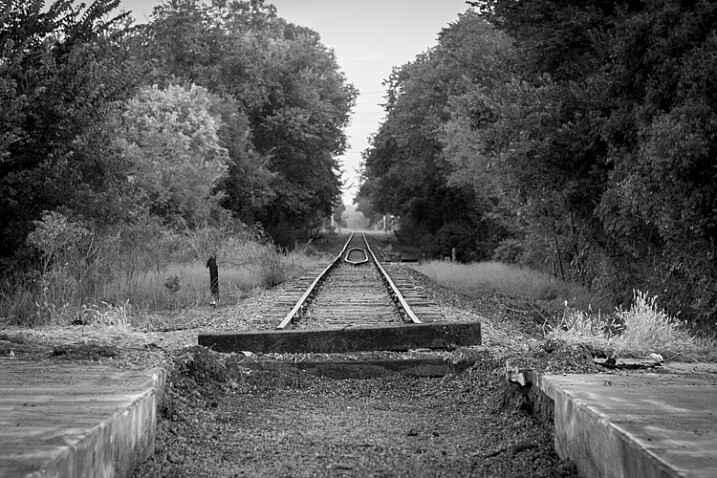
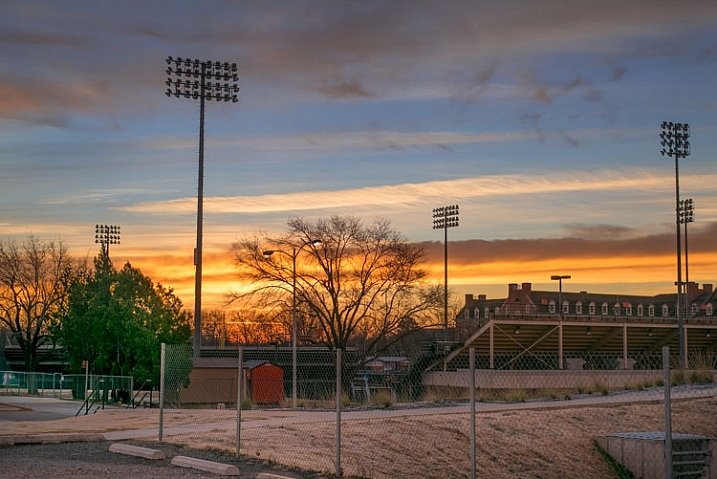
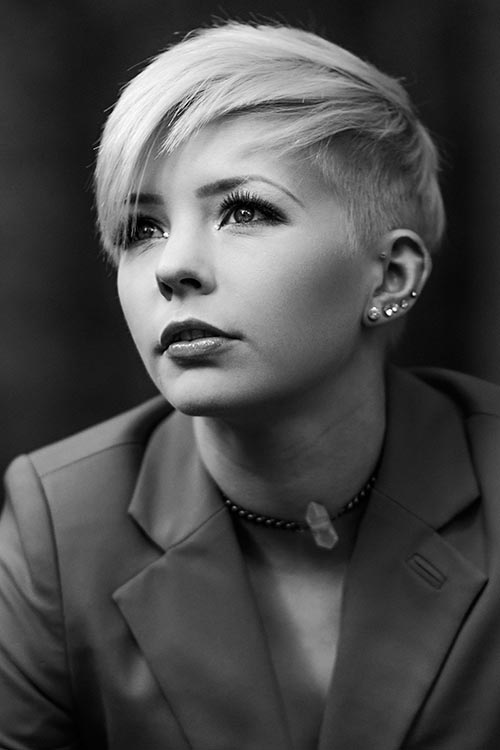
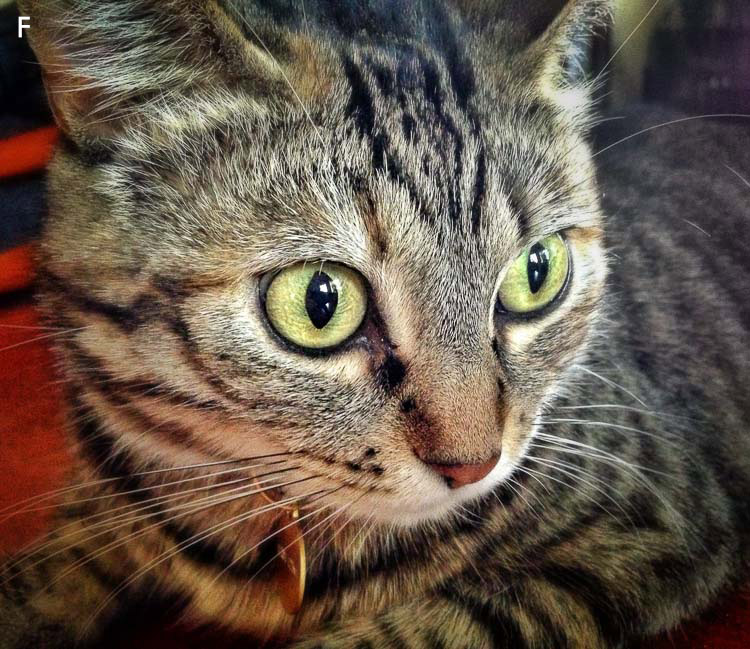
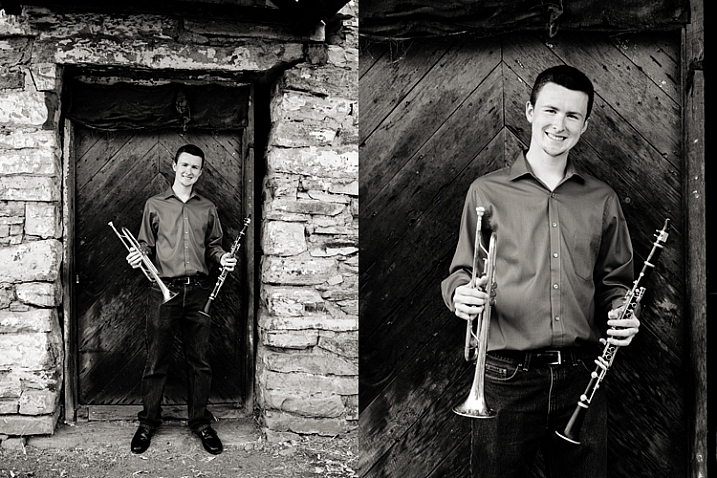
Even black and white photography can benefit from using the RAW format due to the additional data available in each individual pixel.
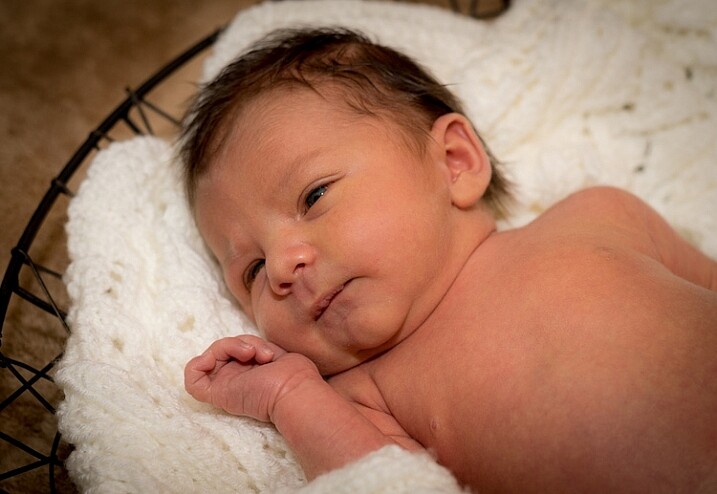
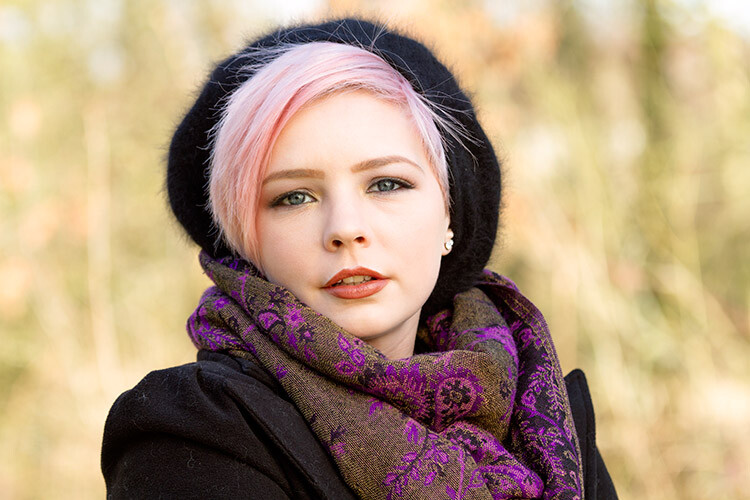
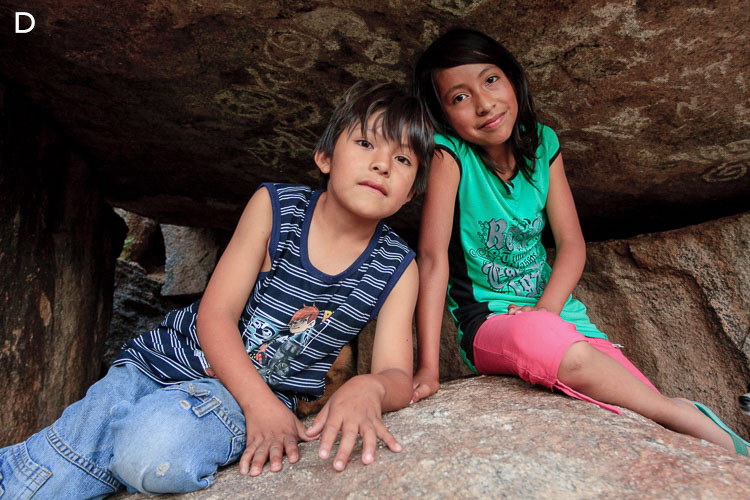
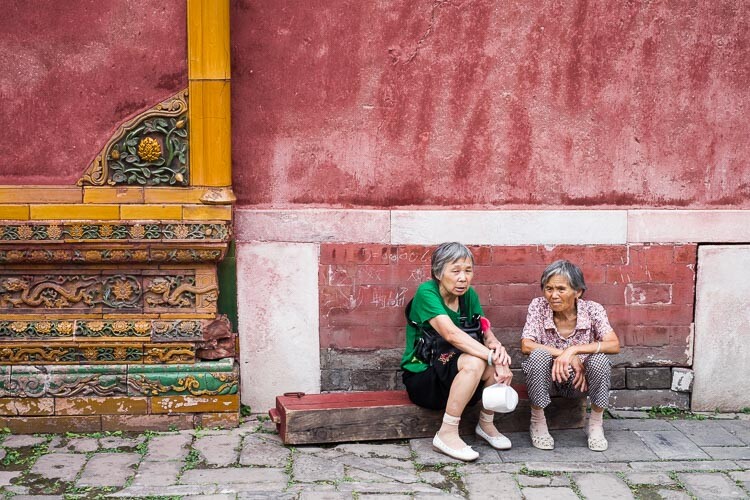
Of course it should be noted that the RAW format is beneficial, not just for fixing images that are way too bright or dark. RAW files give you significant flexibility when editing the colors of an image, and allow you to bring out more natural skin tones, get the deep rich blues hidden in a dull gray sky, find the intricate details of a flower petal that would be lost in a JPG, and perform all sorts of other edits that have nothing to do with making a dark photo a little brighter. Any RAW format is better than none, if you’re the kind of person who likes to edit your images after you take them, but if you want a nice balance between having lots of data while still keeping file sizes down, 12-bit compressed will most likely suffice just fine.
What about you? I’m curious what your experiences have been with compressed and uncompressed RAW. Perhaps you’re the kind of photographer who shoots in JPG and doesn’t bother messing with processing afer the fact. I’d like to hear about your experiences in the comments below, especially if you have found times when shooting 14-bit uncompressed RAW has come in handy. The more information we have to work with, the better informed we will all be as photographers.
googletag.cmd.push(function() {
tablet_slots.push( googletag.defineSlot( “/1005424/_dPSv4_tab-all-article-bottom_(300×250)”, [300, 250], “pb-ad-78623” ).addService( googletag.pubads() ) ); } );
googletag.cmd.push(function() {
mobile_slots.push( googletag.defineSlot( “/1005424/_dPSv4_mob-all-article-bottom_(300×250)”, [300, 250], “pb-ad-78158” ).addService( googletag.pubads() ) ); } );
The post 12-bit Versus 14-bit RAW – Which is Right for You? by Simon Ringsmuth appeared first on Digital Photography School.

Digital Photography School


 Concept To Creation: How Professional Photographers Do It Examples of Concept to Creation from Working Fashion Photographers
 Concept To Creation: Turn Inspiration Into Concept You have an idea, great. How do you turn that idea into a set of images? Can it be turned into a picture narrative/story? Now that you have your base idea, it’s time to do some research!
 Concept To Creation: Finding Inspiration We’re going to look at something a bit more conceptual. I can give advice and guide you, but ultimately it’s your job to really dig in and put it all together.
 Sarah DeAnna On Working With Photographers Sarah DeAnna, top fashion model, shares her experience working as a model for both male & female photographers, as well as offering tips for photographers who need guidance in how to direct models to get the most out of their subjects during a shoot. Let’s get the party started. Here is Sarah DeAnna with FPBlog…
 Lesson In Photoshop With Katie Nattrass Katie Nattrass is a professional retoucher with an innovative eye for image retouching. Recently featured in Professional Photographer Magazine, Katie’s background in photography strengthens her ability to connect with the needs of clients and photographers. From editorial, fashion and beauty to products and commercial images, she has worked with an impressive array of clients such as Boohoo , Puma, Nike,…
 Learnings Of A Model With Sarah DeAnna Sarah DeAnna join us on FPBlog. After sharing her discovery story, Sarah is back to share her experiences of learning the tricks of the trade as a model when she first started out. She offers her insights for photographers to get the most out the models they work with.
 Vinpix Meets Trina Turk & Jonathan Skow Hi FashionPhotograhyBlog.com readers. Do we have a treat for you! Today, we have a special guest at FPBlog, Vince Gonzales, LA based fashion photographer from Pro Photo Coalition as he shares his interview with popular California based fashion designer, Trina Turk and her partner, photographer and fashion celebrity, Jonathan Skow. Vince met with the dynamic fashion duo at their beautiful…
 Urban Siren With Clayton Gornichec FashionPhotographyBlog.com caught up with Photo of the Week winner, Clayton Gornichec. Clayton is currently based in Springville, Utah living with his wife and daughter. “Sunday Afternoon” was the theme of the week that Clayton was a finalist and it was a hotly contested week between the voting but it was his photo, “Urban Siren”, that won in the end with…


 While natural light has its advantages, it is not without its own set of shortcomings.
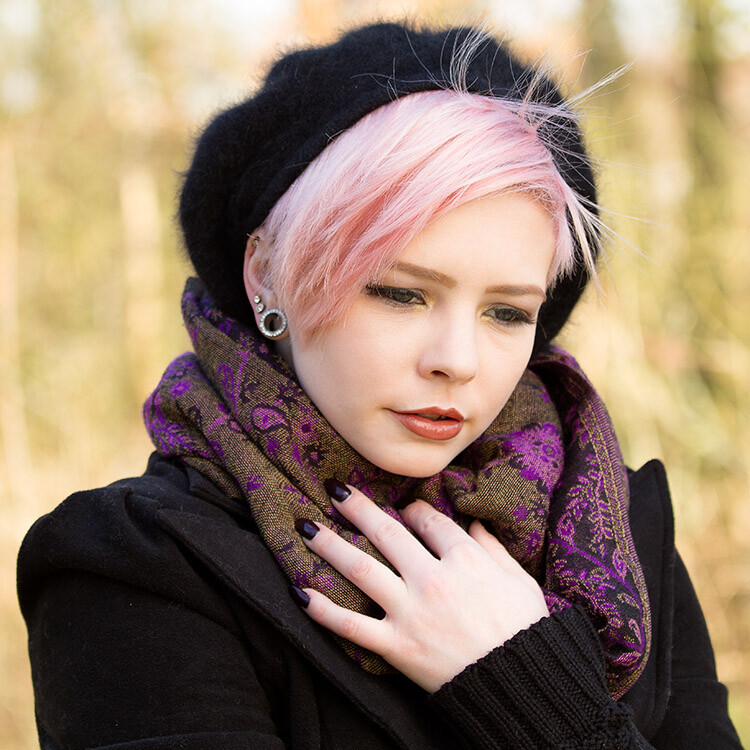

 Probably the most off-putting aspect of studio lighting is cost. It doesn’t matter whether you choose studio strobes, flashguns (speedlights), or continuous lighting; decent quality lighting equipment does not come cheap and a good set, along with modifiers, can easily cost over $ 1000. With natural light being a free and capable resource, it’s easy to understand why so many photographers steer clear of artificial lighting.


You must be logged in to post a comment.