Blue hour is a special time for photographers. The sky turns a different shade of blue, it’s velvety and delicious. It’s easy to take photos during blue hour because you don’t have to worry about harsh lighting or shadows.
In this article, you’ll learn:
- When blue hour takes place
- How to capture blue hour photos
- The best subjects to shoot for blue hour photography
When is blue hour?
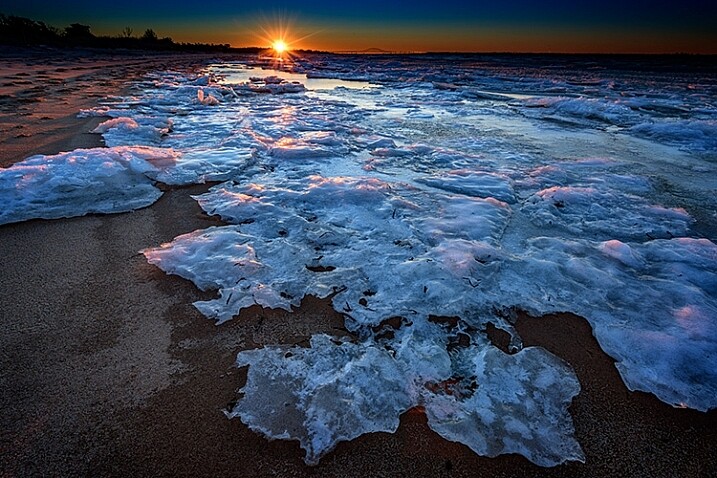
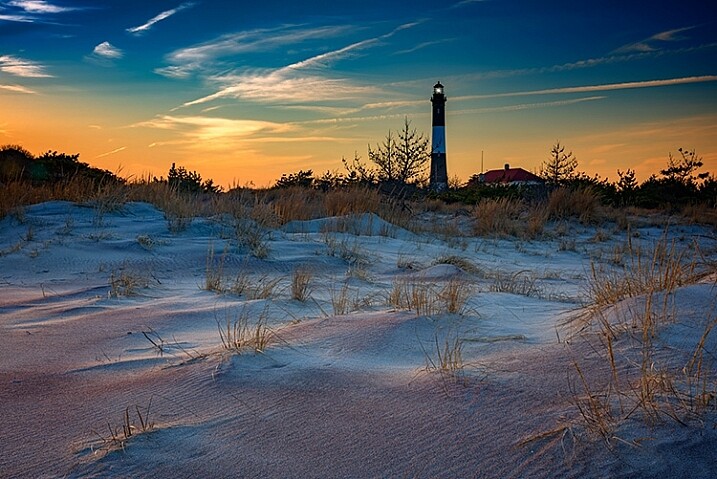
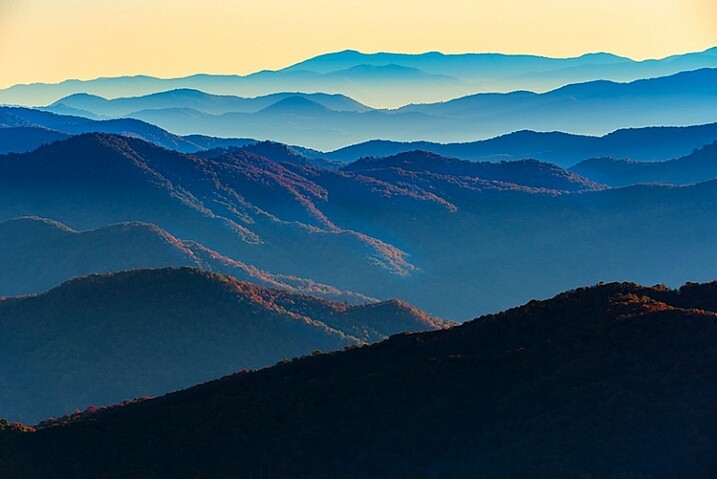
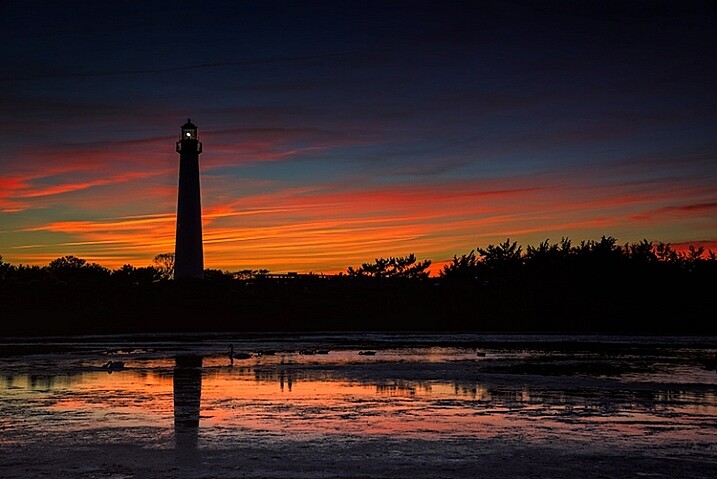
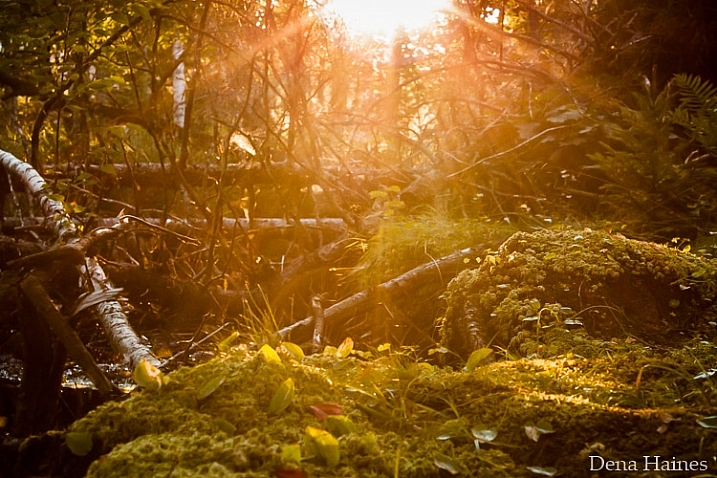
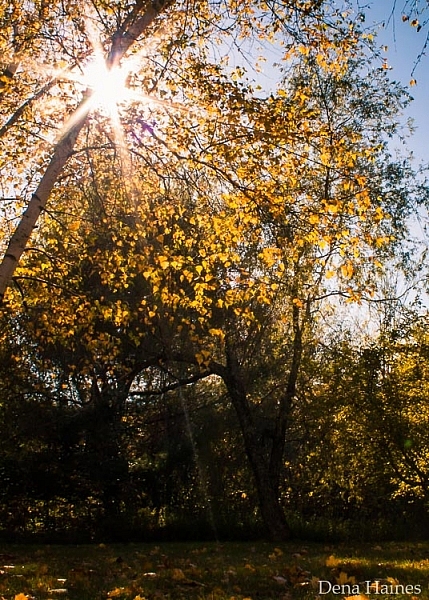
Blue hour happens twice a day, just before sunrise and just after sunset. It lasts between 20 to 40 minutes, depending on the weather, and your geographical location. During this time, the sky can turn different shades of blue and reflect orange, yellow, purple and pink.
 |
 |
To catch the blue hour, look up your local sunrise/sunset times and plan on being there early. There is also a great website that tells you exactly when the blue hour is, based on the date and your location.
5 easy tips for blue hour photography
Blue hour photos look amazing! While they might appear complicated to create, they aren’t. Blue hour photography is easy, the hardest part might be getting there before it’s over. These tips will help beginners get started with blue hour photography.
By Howard Ignatius
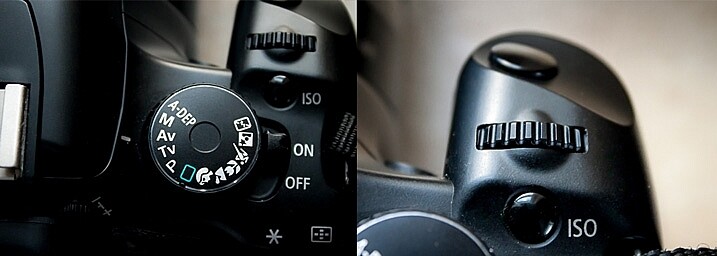
1. Shoot in Shutter Priority mode
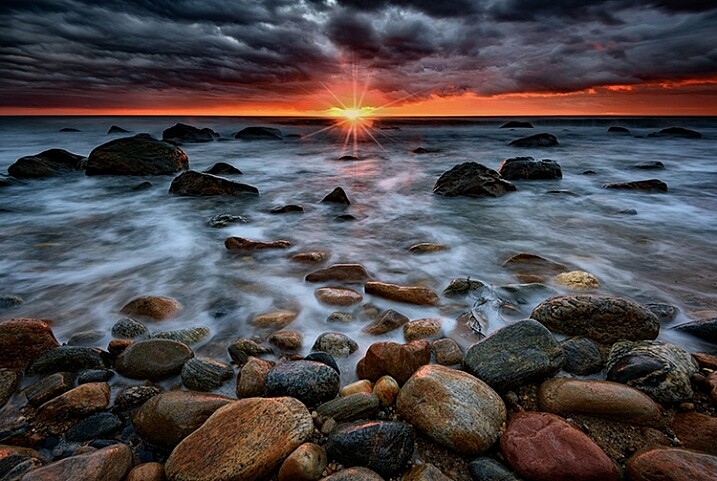
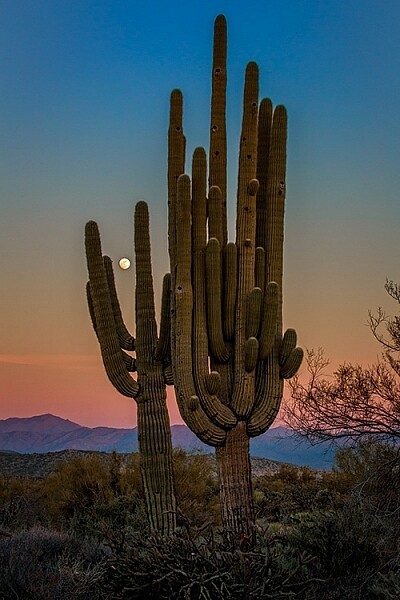
During the blue hour, the sky will be relatively dark because the sun is below the horizon. You’ll need a long/slow shutter speed to let in enough light for properly exposed photos.
Putting your camera in Shutter Priority mode allows you to manually choose your shutter speed. A shutter speed of one to six seconds should get good results. For the photos in this post, I used a six-second shutter speed in Shutter Priority.
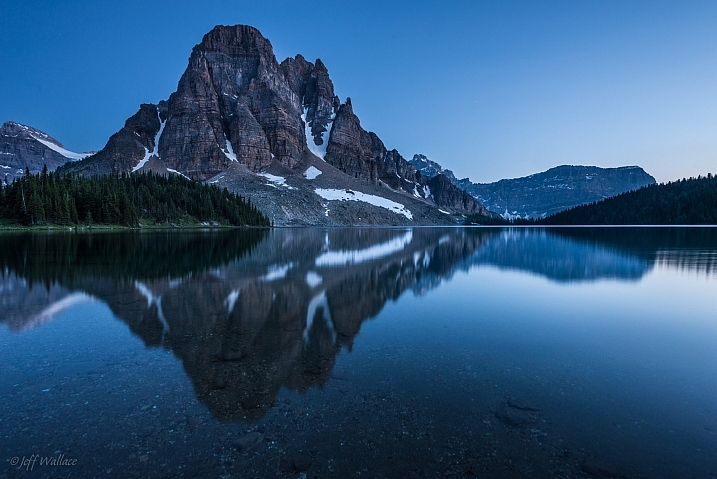
By Jeff Wallace
In Shutter Priority mode, your camera will choose the aperture and ISO (if your ISO is set to auto) automatically. This makes things easier when you’re getting started with blue hour photography.
2. Use a remote or self-timed shutter release
Pressing the shutter release button can cause camera shake, which will create blurry photos. To avoid this, use your remote or set the camera’s self-timer to two seconds.
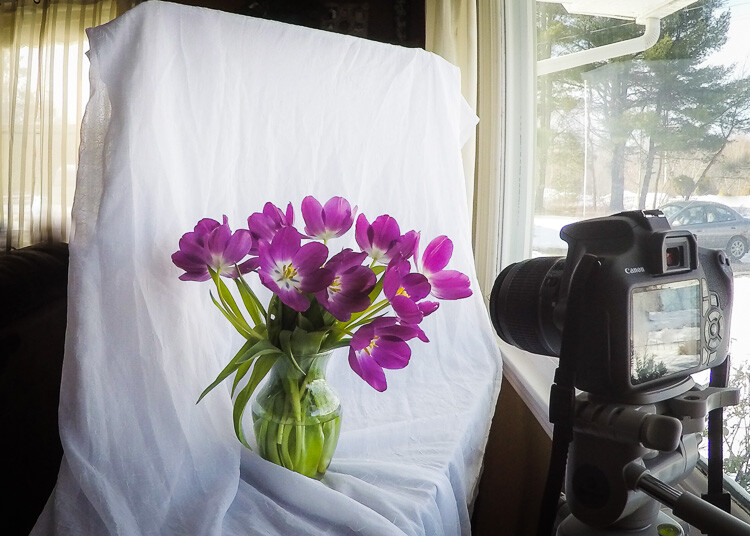
3. Use a tripod
As mentioned above, you’ll be using a slow shutter speed, so a tripod will help you capture a sharp image. If you hand hold your camera during a slow shutter speed, your photos will be blurry because of camera shake.

Image by dPS Managing Editor – Darlene Hildebrandt
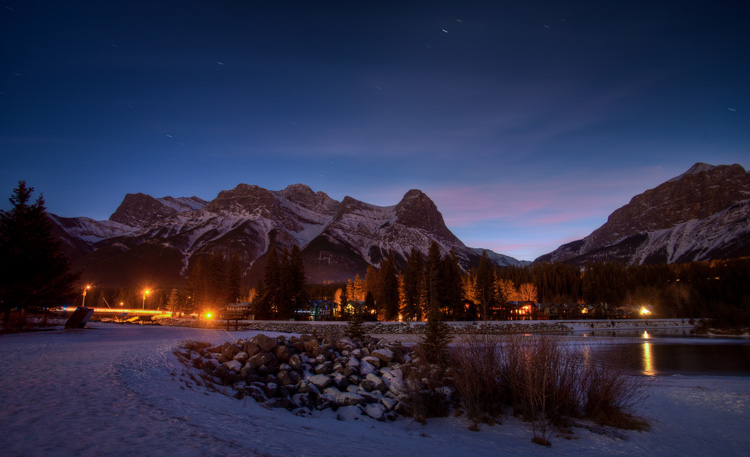
Image by dPS Managing Editor – Darlene Hildebrandt
4. Shoot in RAW
It’s best to capture RAW files when shooting the blue hour. This will give you the highest quality capture, and the best advantages when editing. One nice advantage of shooting in RAW is that you can adjust the exposure compensation in editing. This way, if your photos came out a little too dark or light, you can adjust them up or down accordingly.
But if you have a point and shoot that only captures JPEGs, don’t worry – you can still get great blue hour shots.

Image by dPS Managing Editor – Darlene Hildebrandt
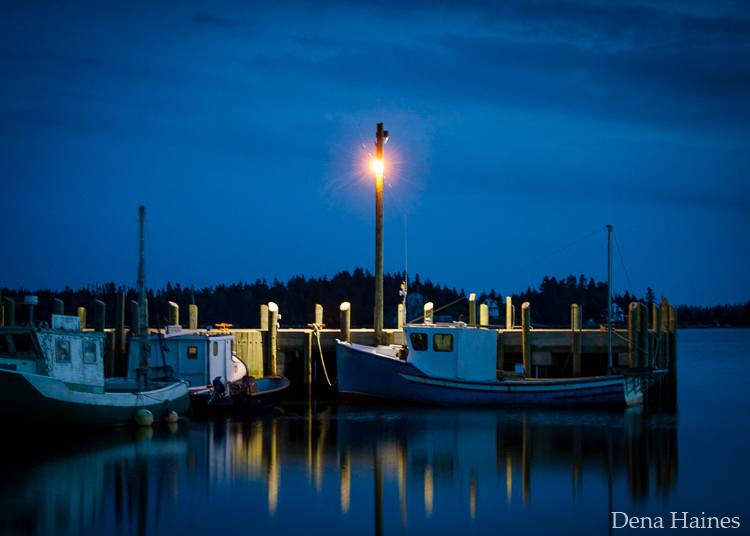
5. Include electric lights
Your blue hour photography will be easier if you choose a location near electric lights. This extra light may also add drama and interest to your photos.
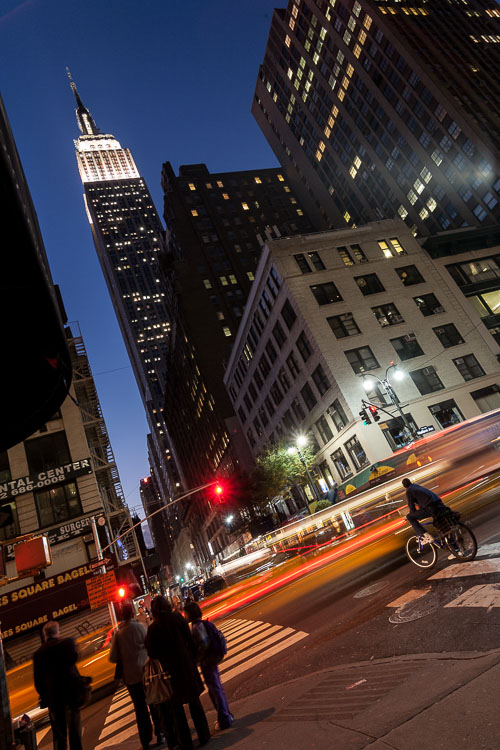
Image by Darlene Hildebrandt |
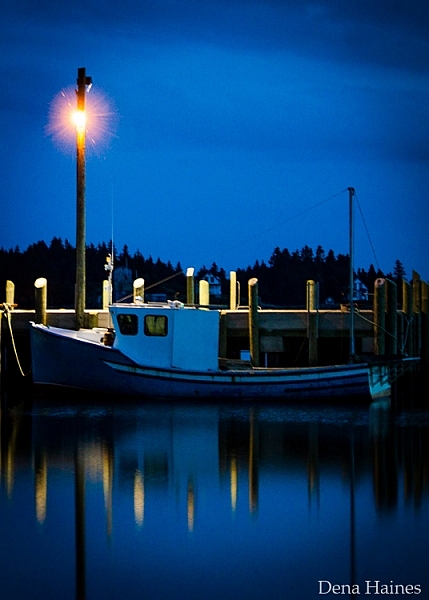
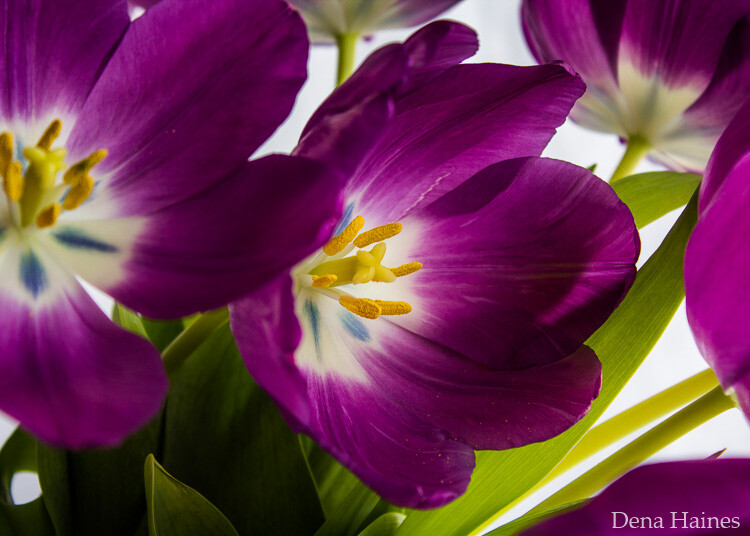
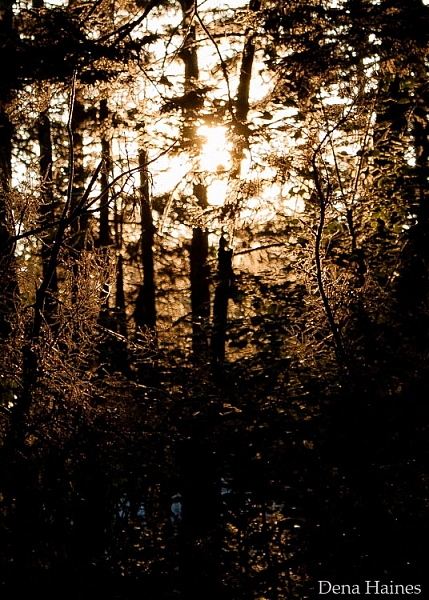
Image by Dena Haines |
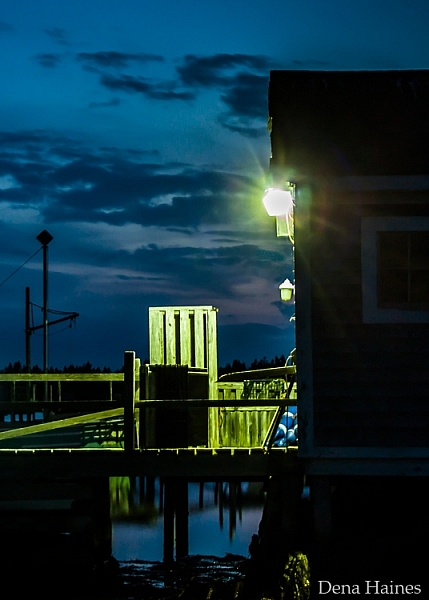
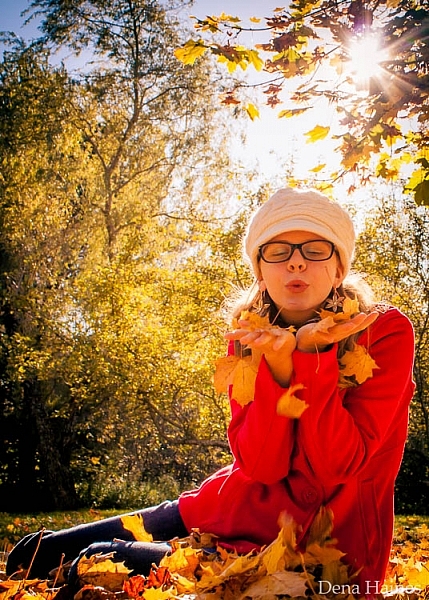
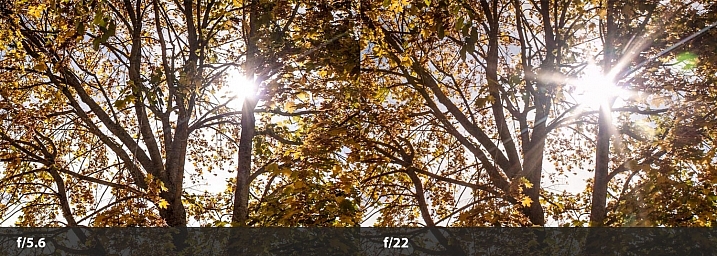
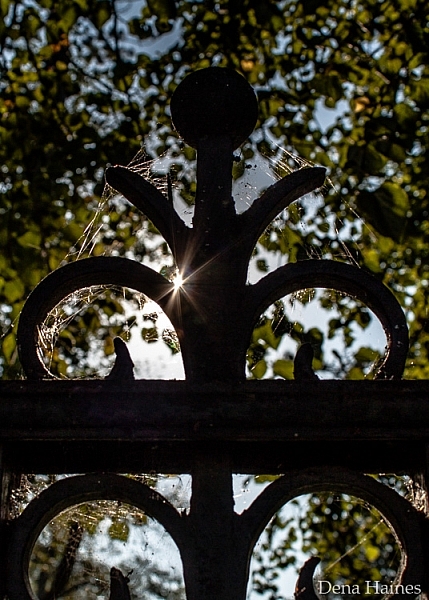
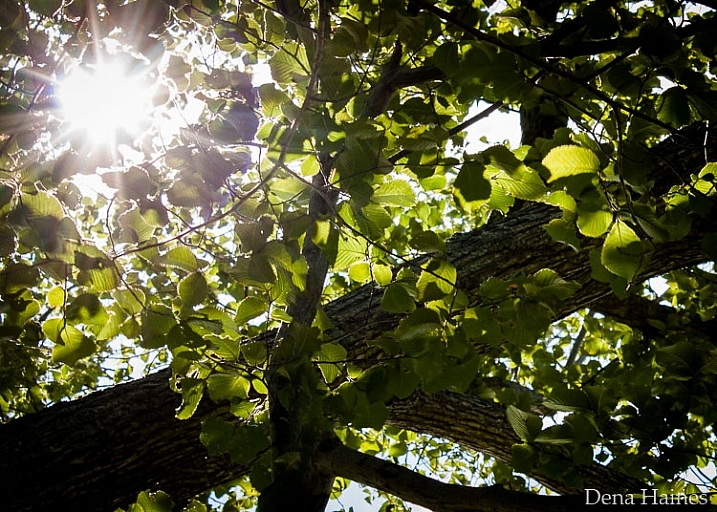
While you want electric lights in your photos, don’t shoot too close to them. If you are standing too close to the light source, lens flare could be a problem. You could get unwanted, randomly placed, light spots in your photos.
What to photograph during the blue hour
The easiest subjects to get started with are landscapes that include electric lights.
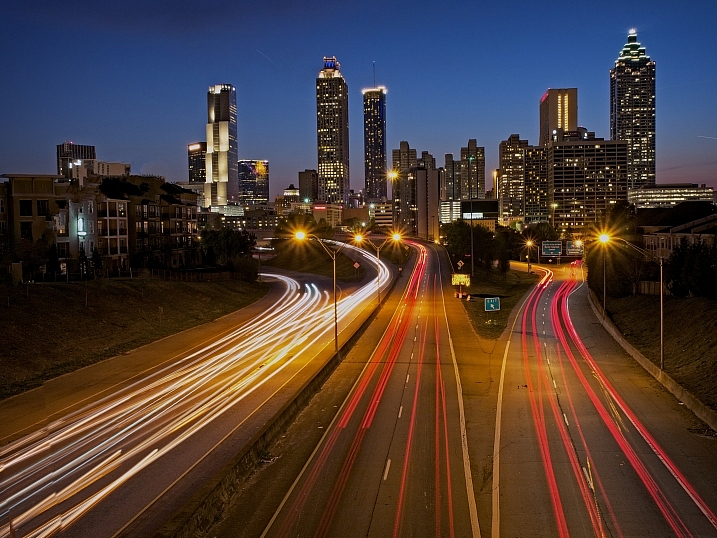
By Mike Boening Photography
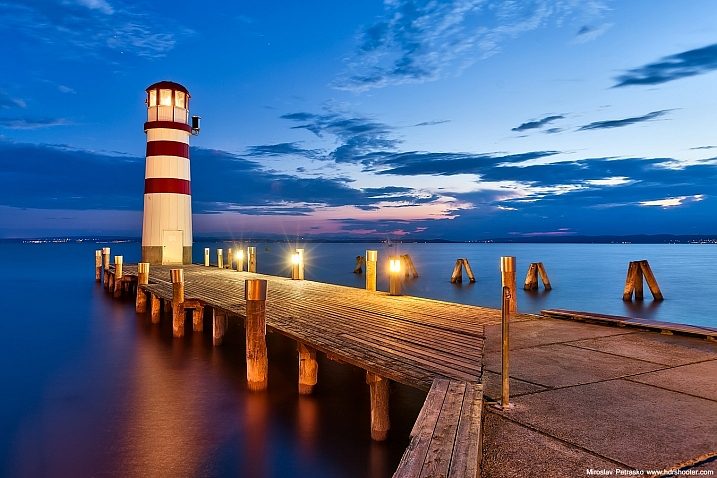
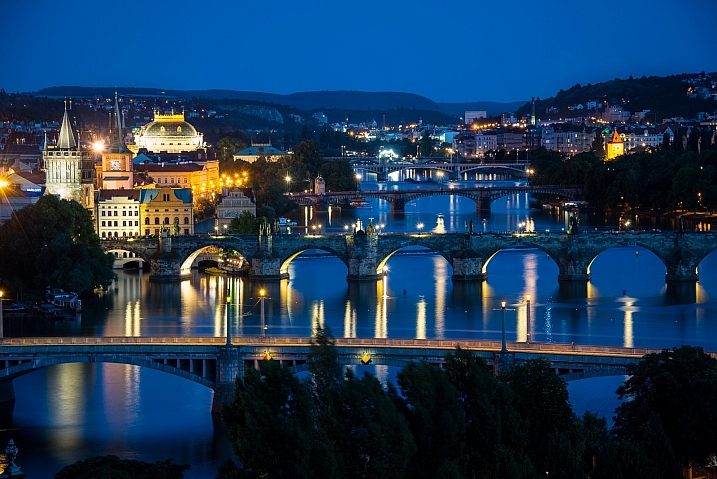
By Miroslav Petrasko
Some blue hour landscapes to consider include:
- Cityscapes
- Busy winding roads
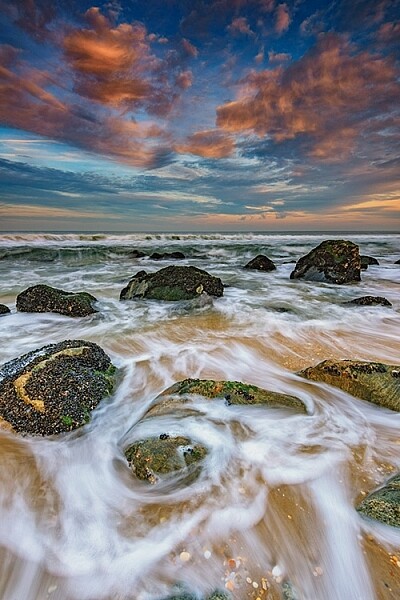
- Beaches
- Wharfs
- Bridges
- A fair or circus
- Marinas
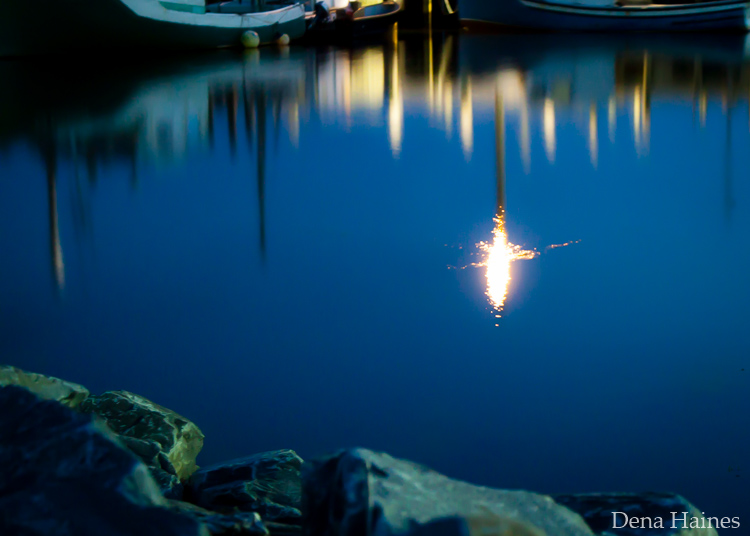
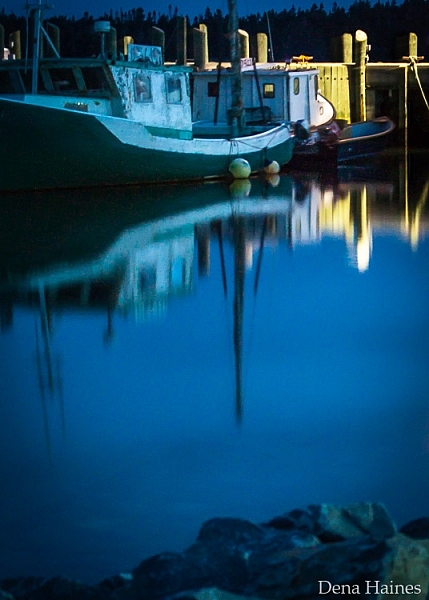
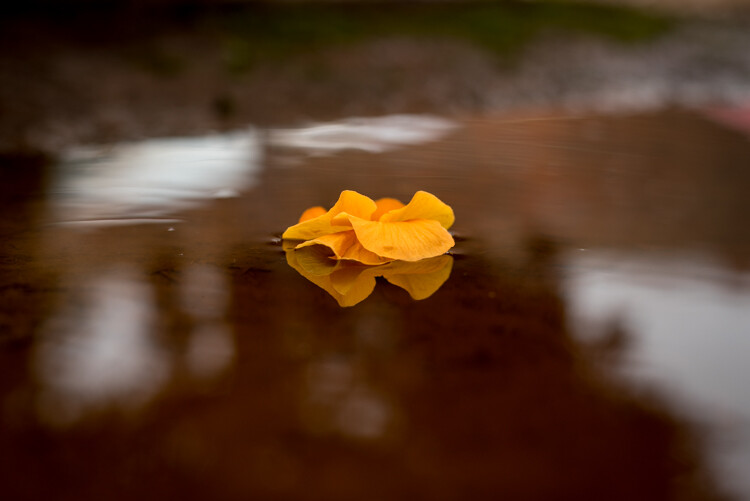
I love blue hour photos that include water reflections.
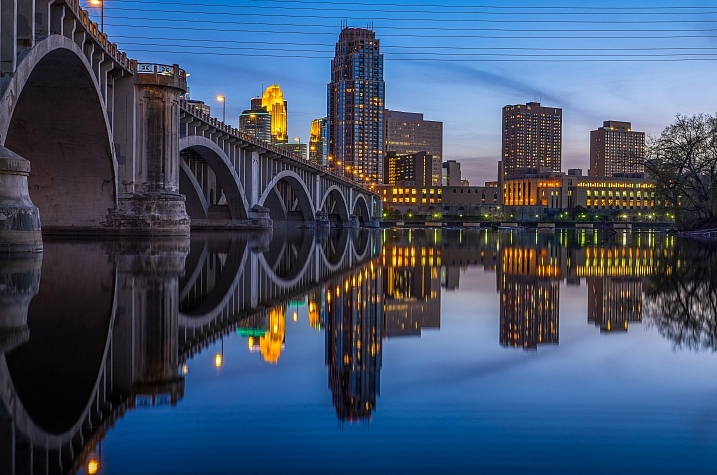
By Mac H (media601)
What are your favorite blue hour subjects? Let me know by commenting on this post. And if you have any tips for blue hour photography, please share as well as your images.
googletag.cmd.push(function() {
tablet_slots.push( googletag.defineSlot( “/1005424/_dPSv4_tab-all-article-bottom_(300×250)”, [300, 250], “pb-ad-78623” ).addService( googletag.pubads() ) ); } );
googletag.cmd.push(function() {
mobile_slots.push( googletag.defineSlot( “/1005424/_dPSv4_mob-all-article-bottom_(300×250)”, [300, 250], “pb-ad-78158” ).addService( googletag.pubads() ) ); } );
The post 5 Quick Tips for Better Blue Hour Photography by Dena Haines appeared first on Digital Photography School.


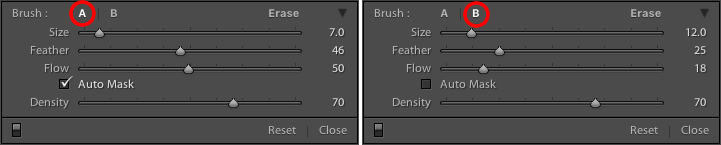
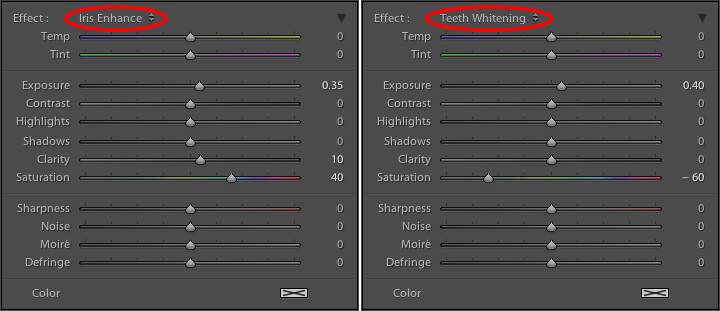

 After you have brushed in a particular set of edits, click “New” on the top-right of the Brush panel to create a new brush, but notice that all your sliders and adjustments remain unchanged. To reset all your parameters to their default values, hold down the alt key (option on a Mac) and you will see the Effect label at the top change to Reset. Click on that and everything will be set back to zero for you to start creating a fresh set of edits.


You must be logged in to post a comment.