Lightroom can be an intimidating program. Even longtime users sometimes find themselves confused at all the options or unsure of exactly what to do to achieve a specific type of look for their pictures. Fortunately much of this can be mitigated by learning new things slowly and carefully, and taking the time to master just one new tool, option, or set of sliders at a time. The first thing I usually recommend to beginners is the Basic panel because, as its name implies, those sliders can go a long way towards improving your pictures. However another set of sliders in the Develop module, called the Adjustments panel, can take your images to a whole new level if you learn to use it properly.
What is the Adjustments panel?
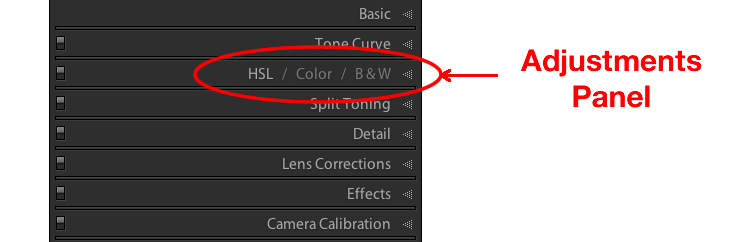
While the Basic panel allows you to adjust global settings on an image related to things like white balance, overall tint, and highlights/shadows, the Adjustments panel lets you get much more specific with selective color editing. To access this panel click on the Develop module and then look on the right-hand side of your screen. If you do not see it (it’s the third one down), right-click (ctrl-click on a Mac) on any of the Develop panels and make sure the Adjustments option in the pop-up menu is checked.
Right away you might be a little confused because the options have odd-sounding acronyms with no explanation. But once you understand how they are related it should get a little easier. For starters, here’s a brief explanation of the three main categories of HSL / Color / B&W.
- HSL: Allows you to control the Hue, Saturation, and Luminance of all the main colors that make up a picture (Red, Orange, Yellow, Green, Aqua, Blue, Purple, and Magenta)
- Color: This is essentially the same thing as the HSL panel, as you will see shortly, but the options are organized in order to help you focus on specific colors, and then specific types of adjustments within those colors.
- B&W: This panel is often the most misunderstood, but one of the most powerful tools available in Lightroom when it comes to converting your images to black and white.
The HSL tab
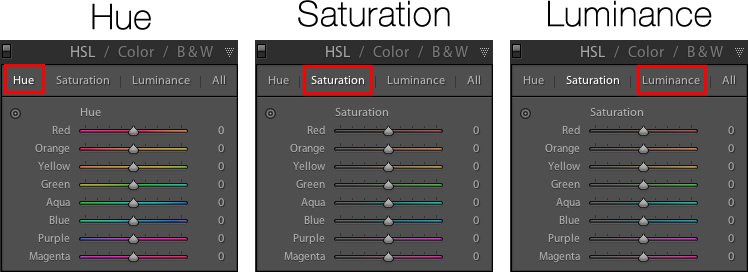
This abbreviation stands for Hue, Saturation, and Luminance and allows you to control these parameters all at once for the various colors in your image. When you click the HSL option in the Adjustments panel you can then choose each of these three options to control, or you can click the “All” option and have access to all of the parameters at a glance.
Hue sliders
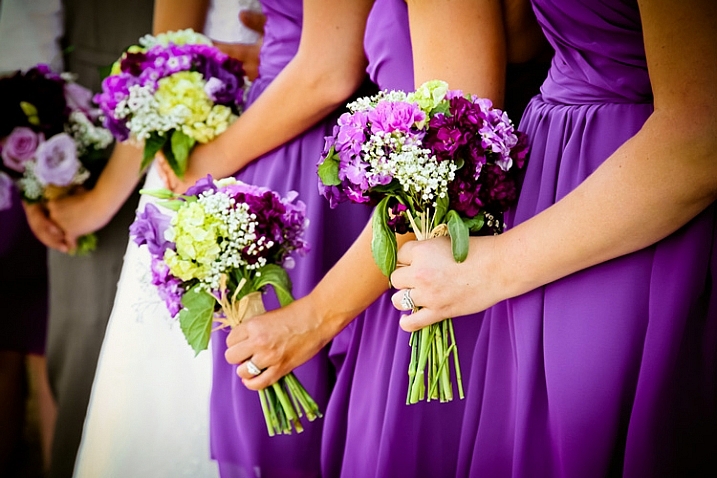
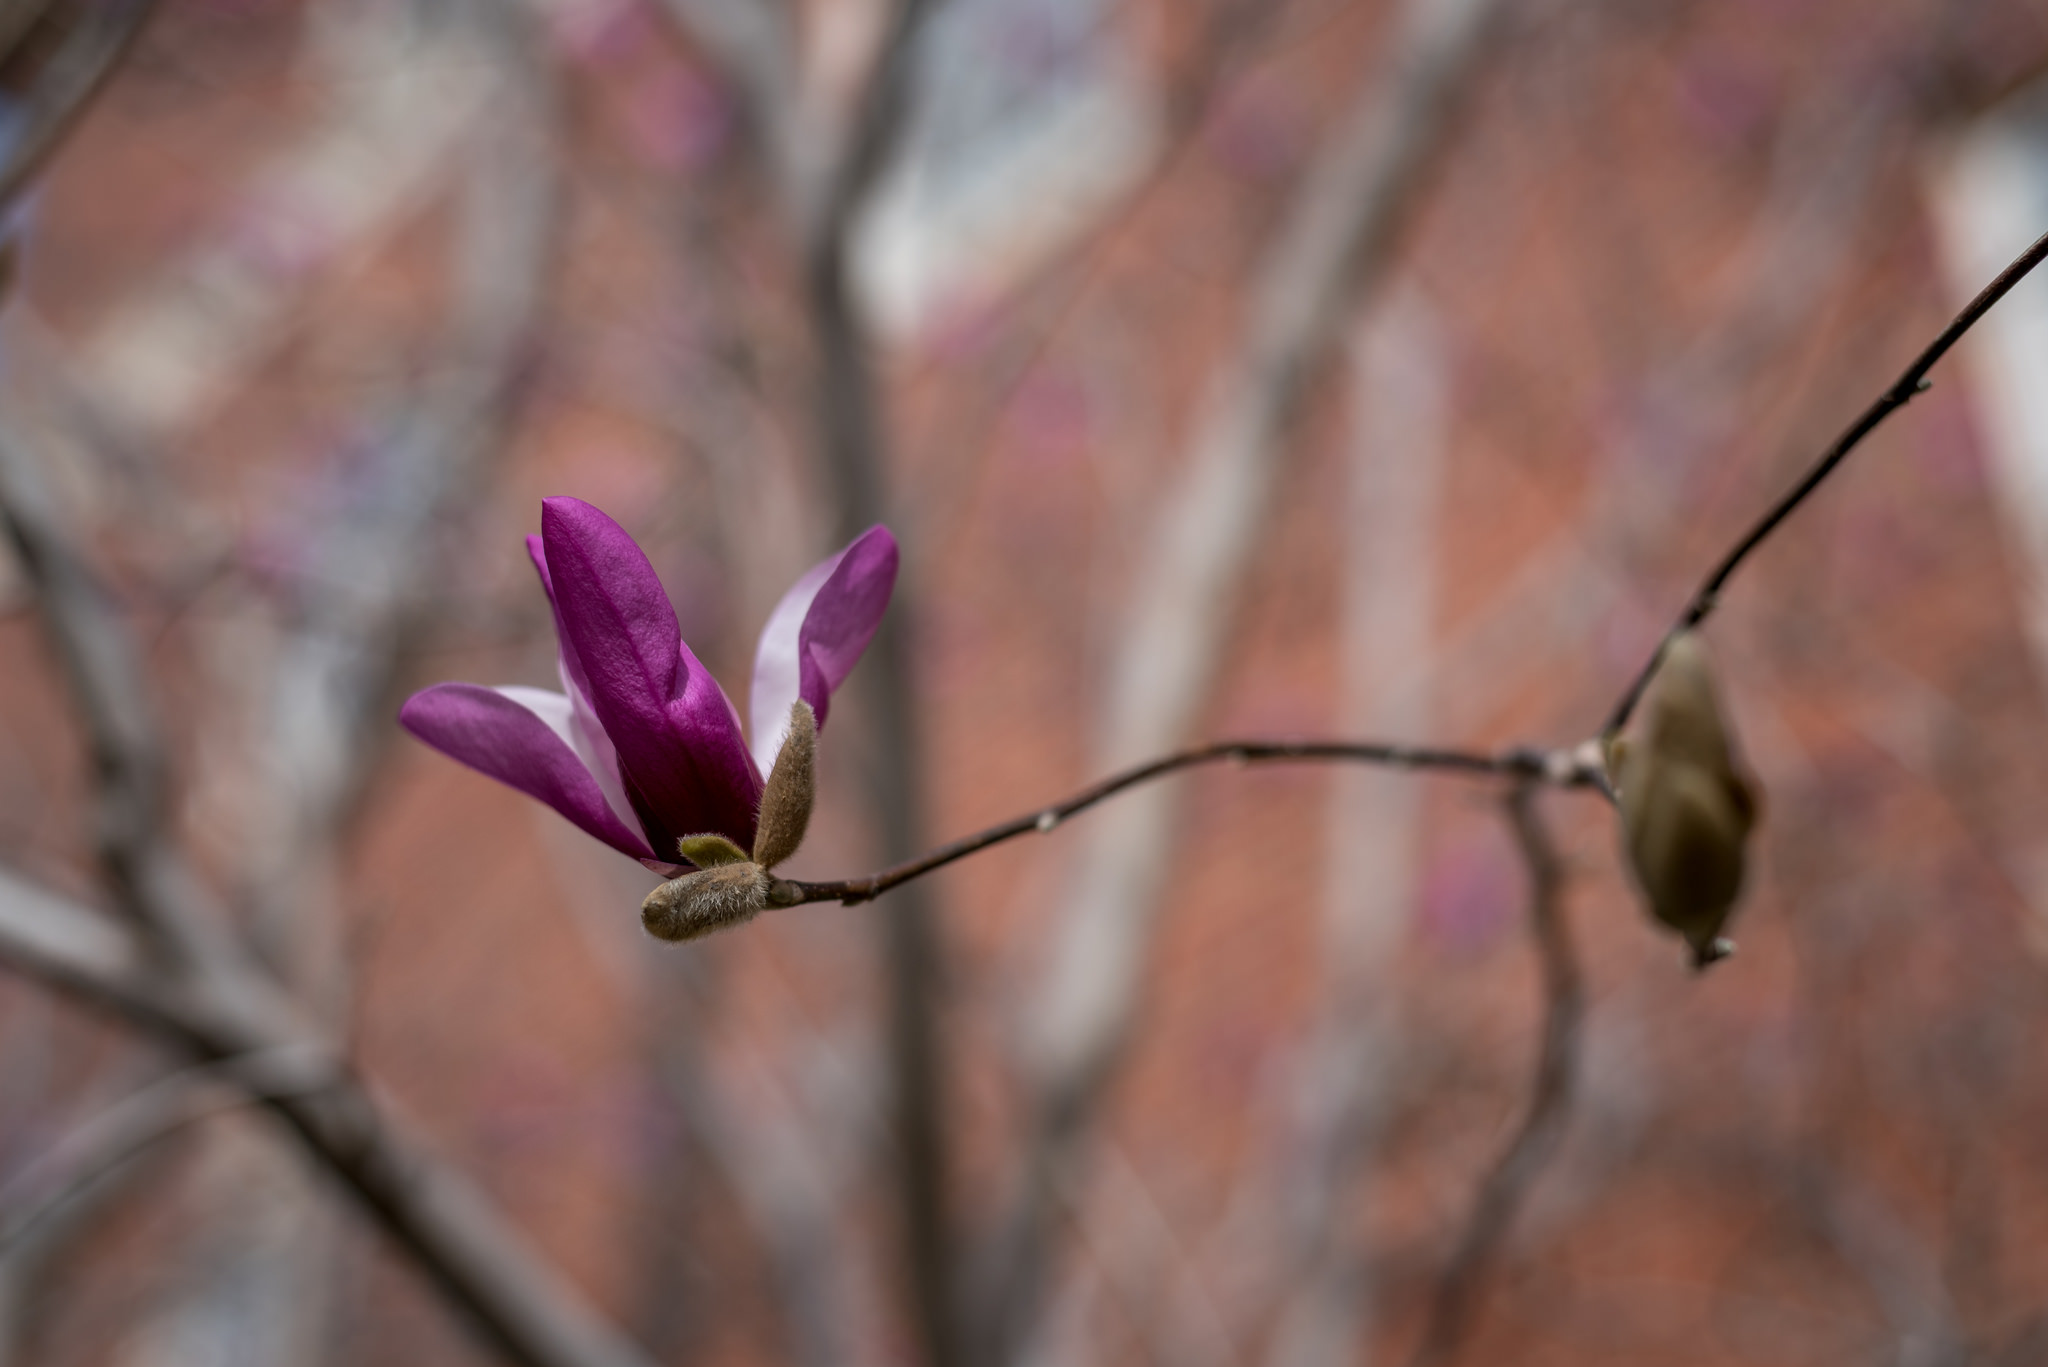
Click the Hue option and you will be able to change the look of specific colors such as Red, Green, Yellow, etc. for the entire image. For example, you could make your greens have more of a yellow tint to them, or make them look almost fluorescent just by changing the Green slider. You can give your skies a deep, rich blue or tone it down to make them look a bit pale. Your purples can be anywhere from reddish to deep violet, all with the click of a mouse button.
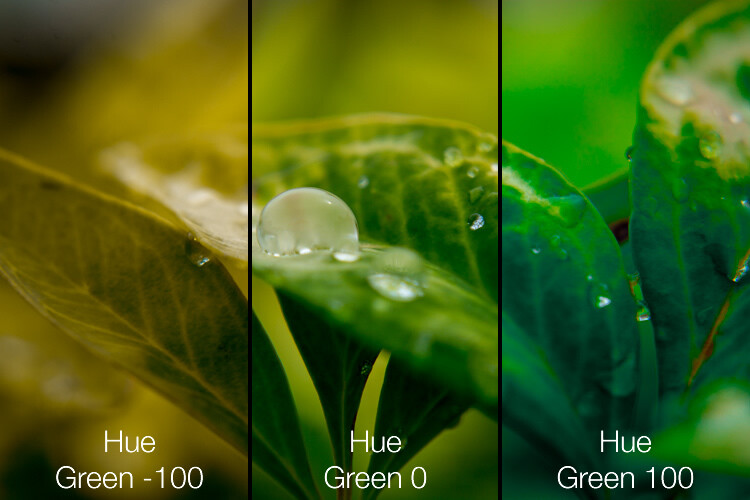
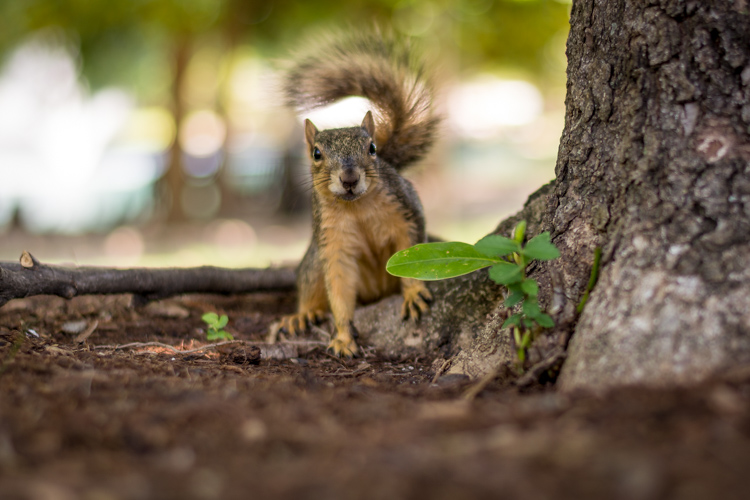
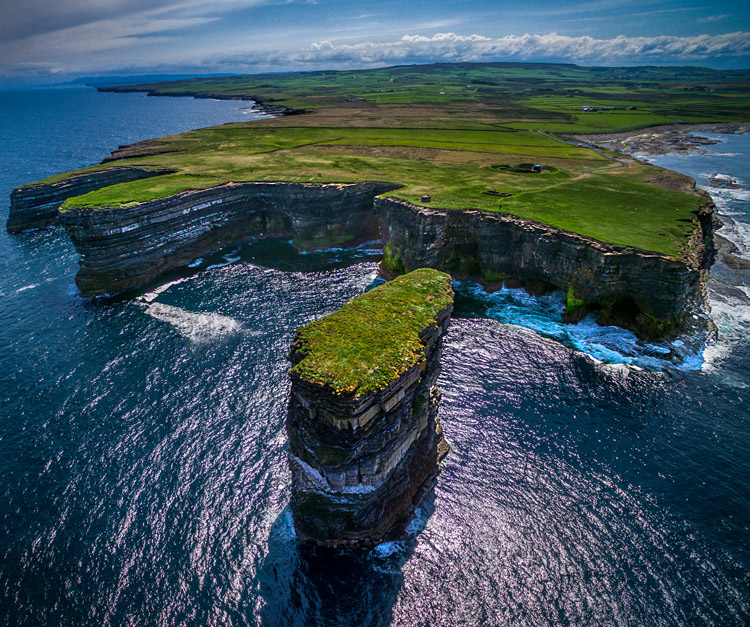
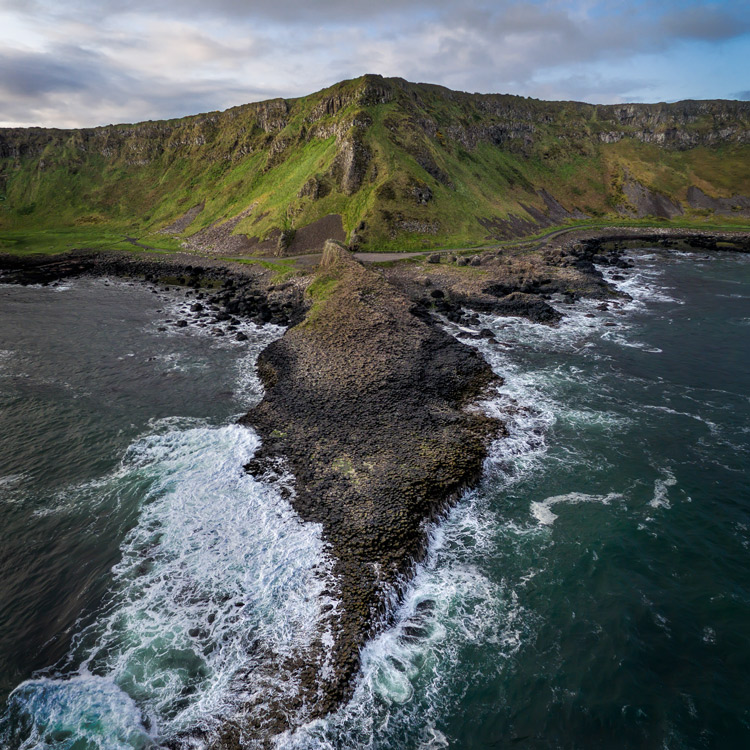
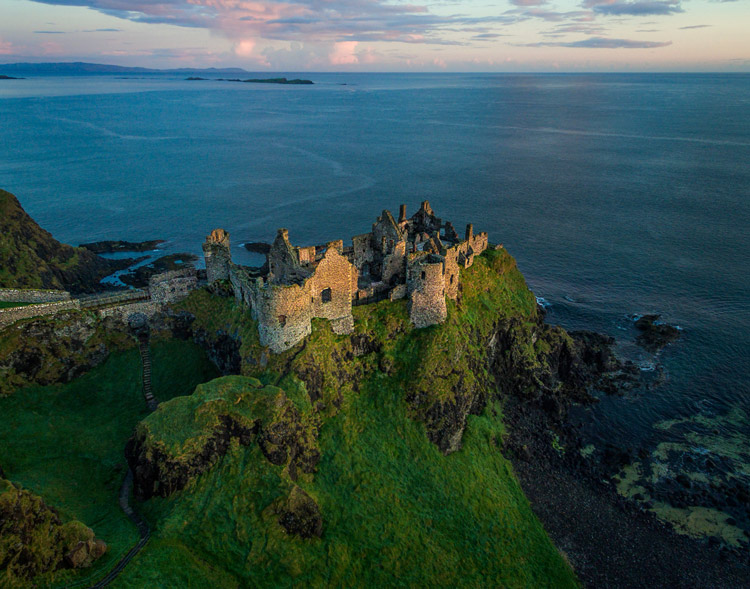
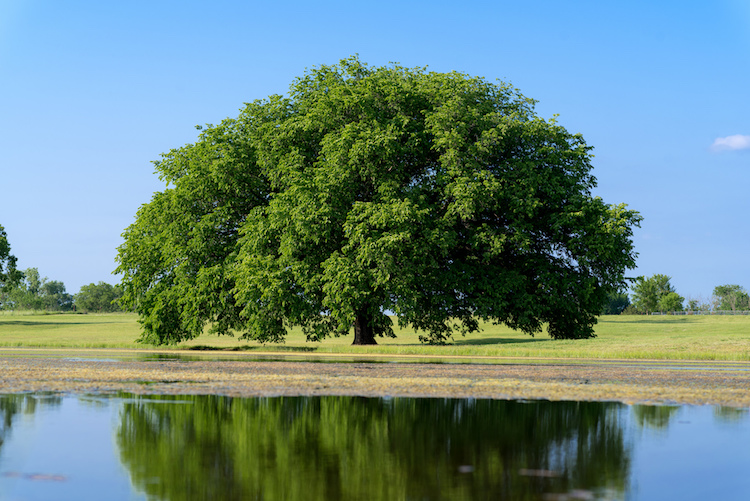
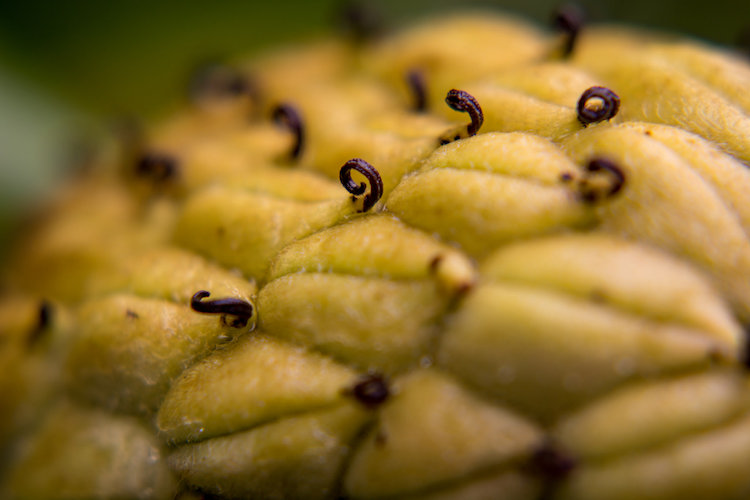
Simply adjusting the green hue can give your nature photos an entirely different look and feel.
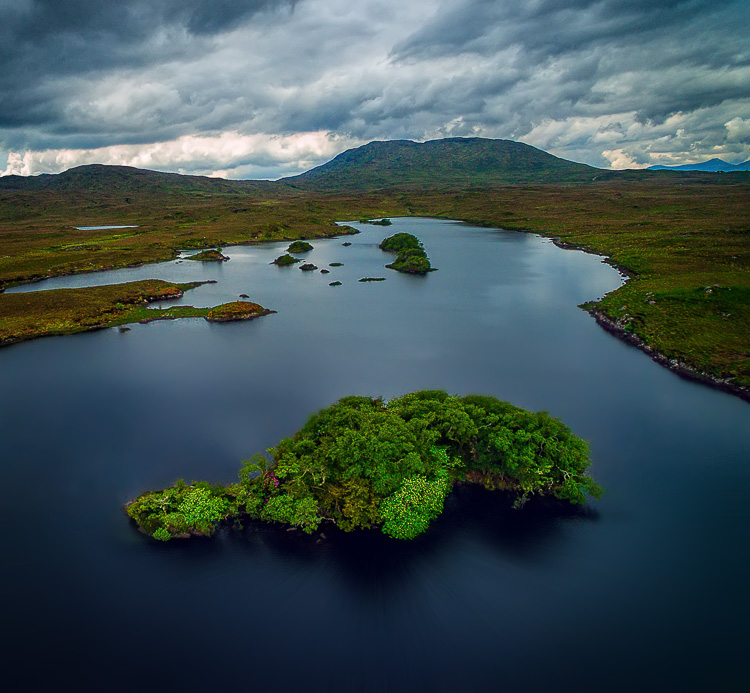
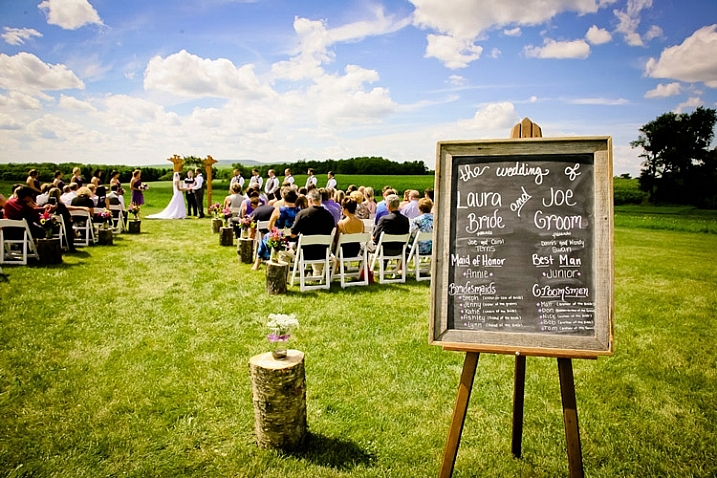
Adjusting the hue, as is the case with many editing decisions, can be most effective when used subtly and in combination with other options such as the tone curve or white balance. Too much editing can come across as obvious and give your images a look that seems overly processed, especially when it comes to portraits. Still, it’s a powerful and valuable adjustment that can greatly affect your pictures.
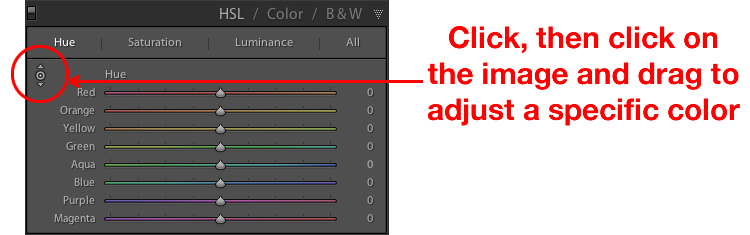
If you are not sure exactly which color option to select from the ones that are available to you, you can click the target button in the top-left corner of the Hue panel (circled in red below) then click and drag on a specific point in your image. This will adjust the hue that matches the target area, and all similar colors for your entire photo.
One tip I like to use when adjusting the values is to click on the 0 and enter numerical values using my keyboard. I’ll start with something small like 5 and then press the up and down arrows on my keyboard to raise the value in increments of 1. Or you can hold down the shift key while tapping the arrows to raise and lower values in increments of 10. It’s a good way of making more precise adjustments rather than moving the slider with your mouse.
Saturation and Luminance
The Saturation and Luminance tabs function in much the same way. You use sliders or enter numerical values in order to adjust how much of each color is present (Saturation) or the brightness of each color (Luminance). Finally, clicking “All” will let you edit all three parameters at once. I find that a bit overwhelming but others can think is quite useful. See what works best for you.
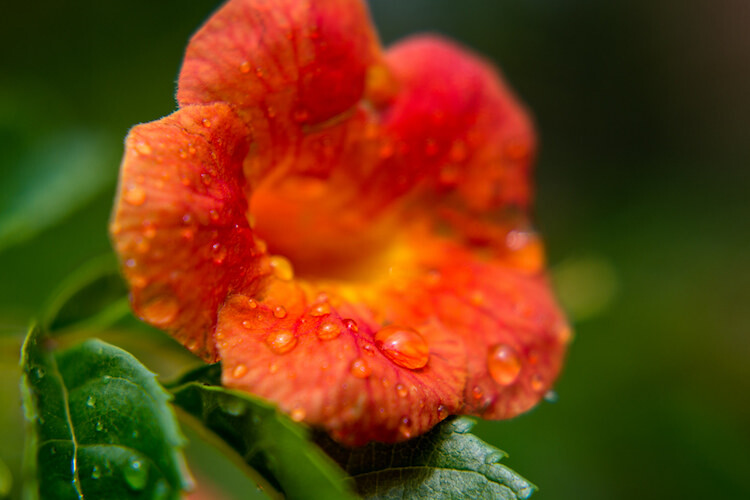
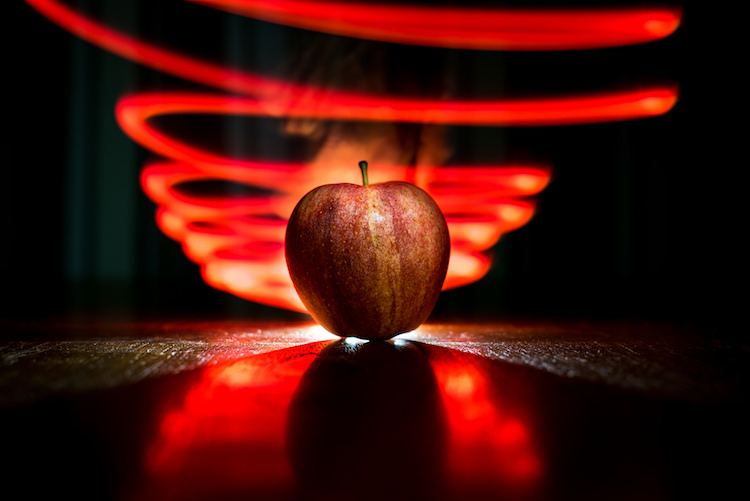
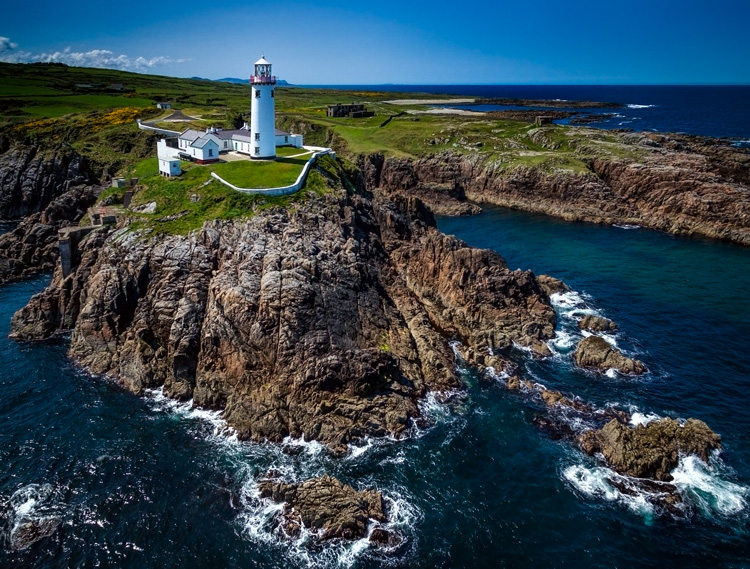
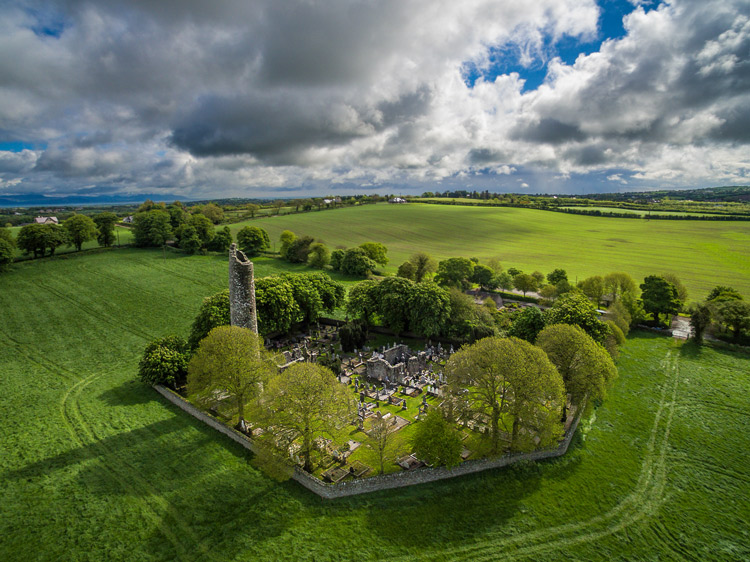
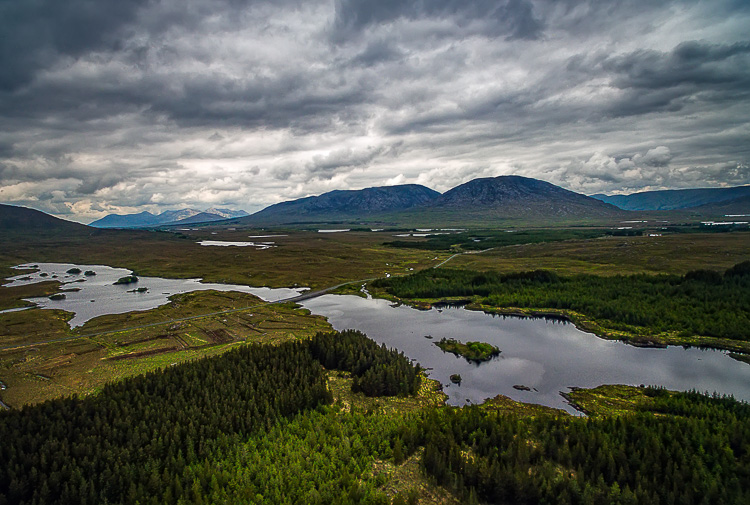
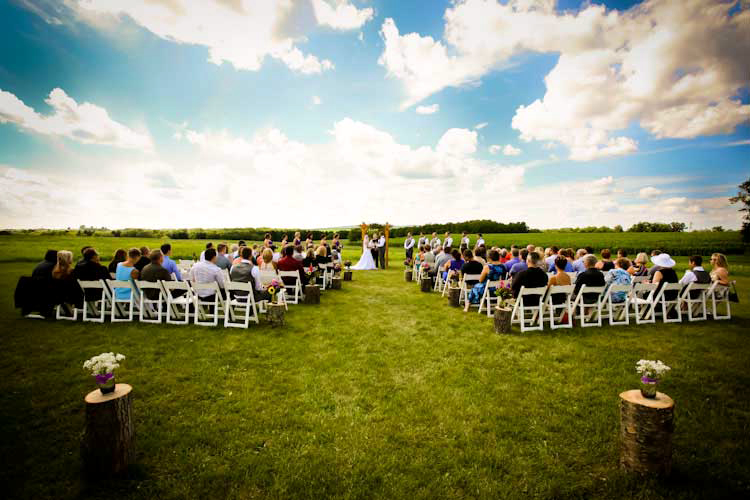
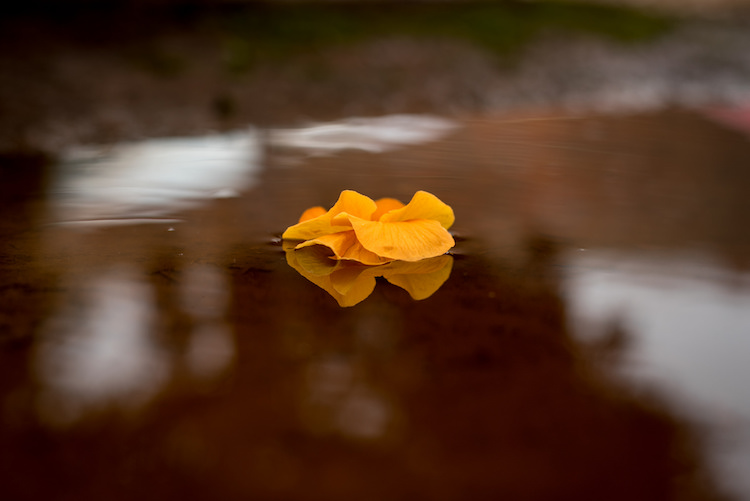
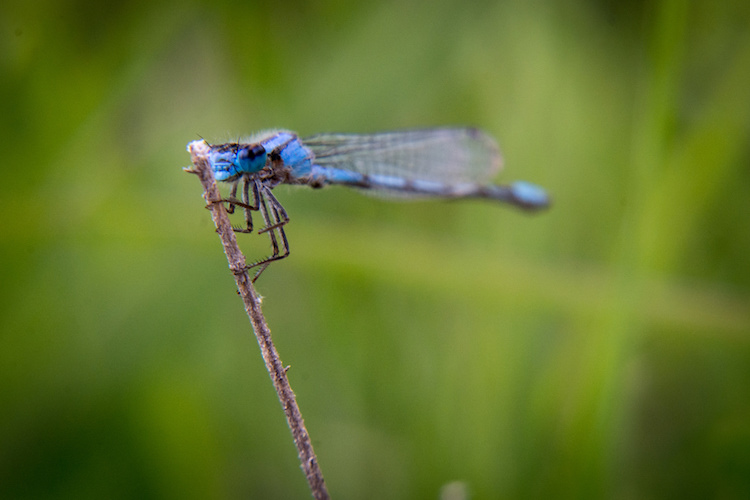
Subtly editing the HSL values on this picture helped me bring out more vibrant colors and produce the final image I was really going for.
The Color tab
At first when you click on the Color tab of the Adjustments panel you might be hit with a feeling of déjà vu. The options look remarkably similar to what you might have already seen in the HSL tab, in that you can once again change the Hue, Saturation, and Luminance. The difference here has to do with how things are organized, and it’s why I find myself working more often in the Color tab than the HSL tab.
Here all three adjustments are available to you at the same time for each individual color, which makes it very easy to work with your image on a per-color basis as opposed to a per-adjustment basis. If I’m shooting portraits and want to tweak the color of my subject’s purple shirt I will probably want to adjust all three parameters at once, but just for the color purple. This tab gives me the option to do exactly that, and once again you can click on the All option to see all the colors, along with all their corresponding adjustment options, at the same time.
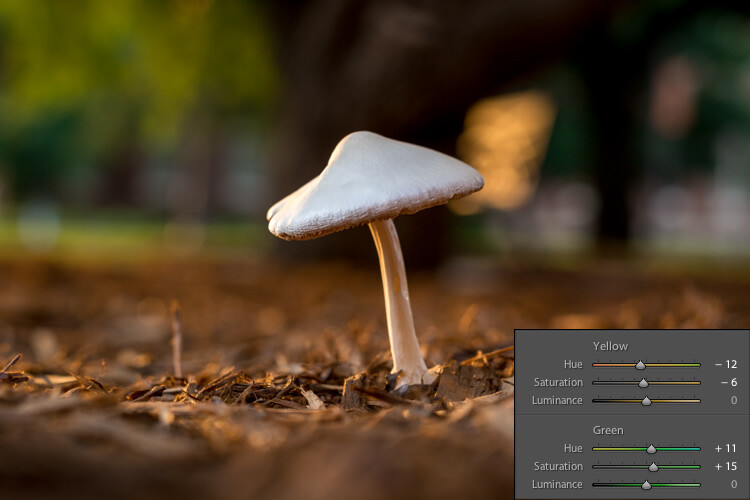
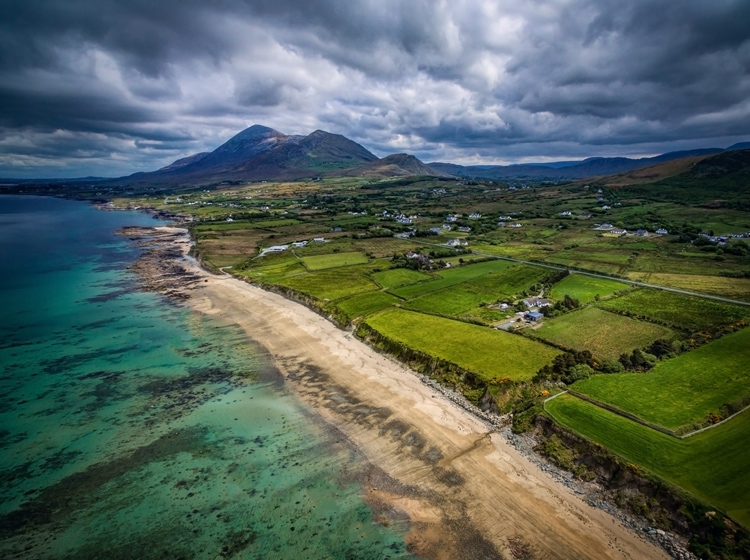
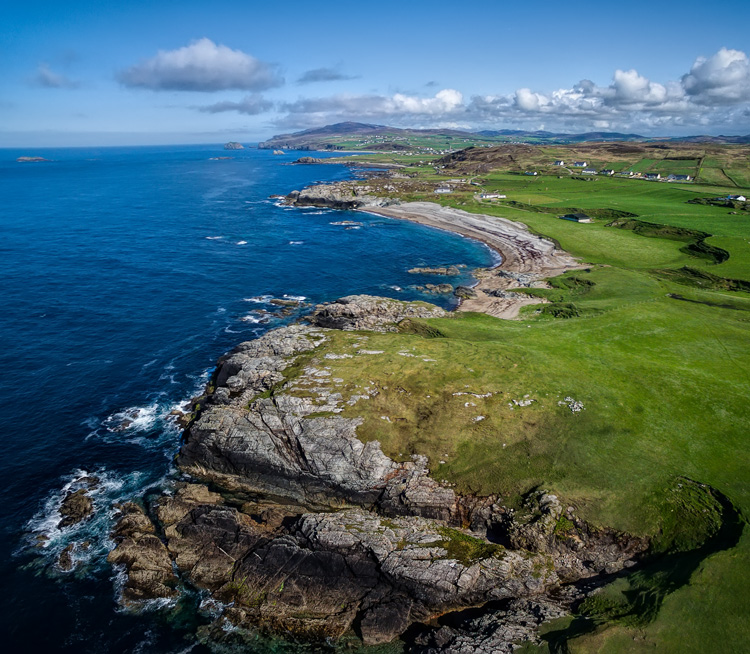
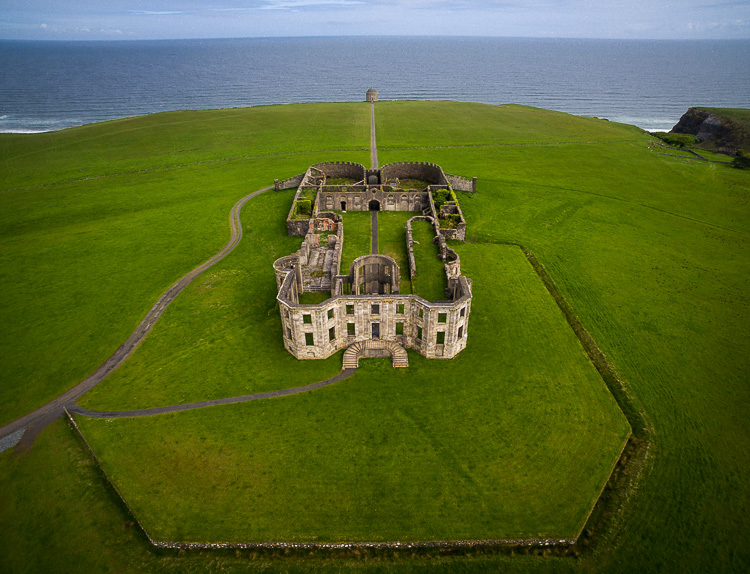
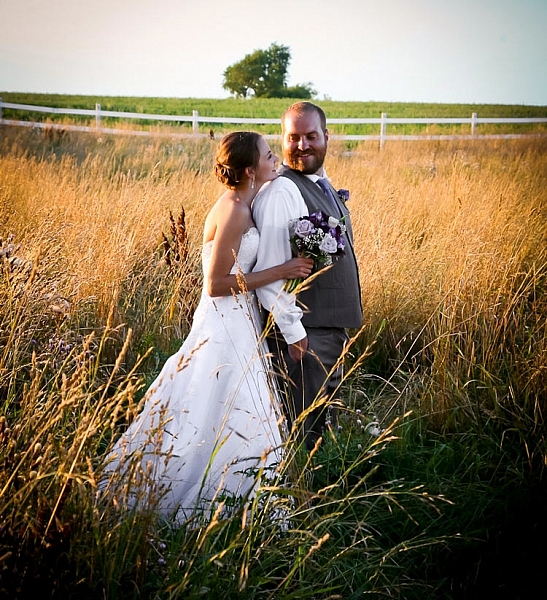
Working in the Color tab of the Adjustments panel let me tweak various parameters of the greens and yellows to get the final image I was going for.
The B&W tab
 This part of the Adjustments panel is often the most confusing because as soon as you click on it, your image turns grey, and yet you still have all the same color sliders as on the other tabs. What’s going on here?
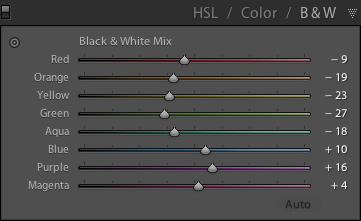
The answer lies in how Lightroom essentially tries to mimic the effect of black and white filters on color pictures. What you are doing with this panel is turning your image into a grayscale version of its colorized counterpart, then adjusting the tone of each of the individual colors as the image is processed. Incidentally, if you open this panel and then click on one of the Black and White filter presets in Lightroom (in the presets panel on the left side of LR) you will see the sliders move around because they are really just specific values for the sliders you see here.
An example B&W conversion to see how the sliders work
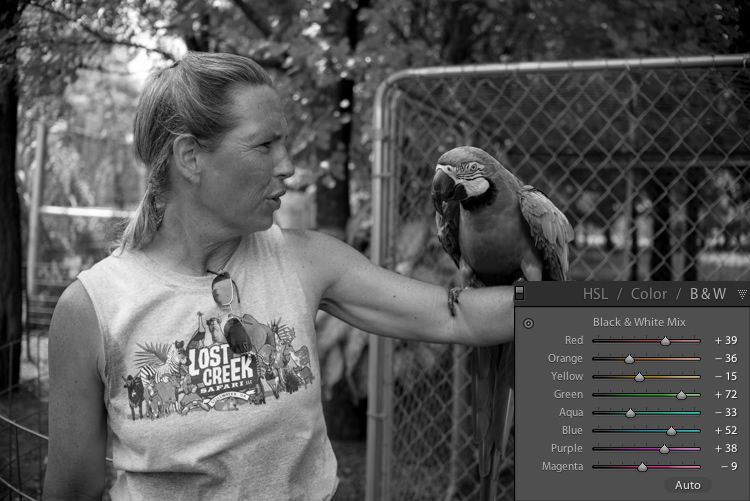
To demonstrate how these Adjustment options work, here’s an image of a woman who owns a wildlife refuge in Oklahoma holding a macaw.
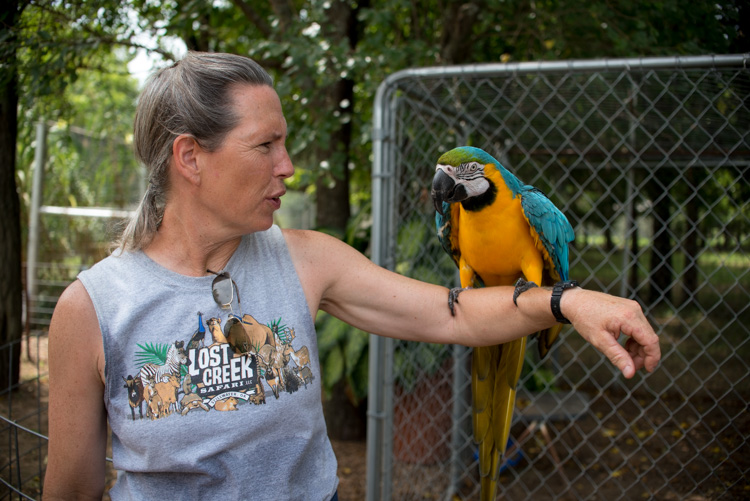
There are several distinct colors in this image such as yellow, aqua, and green, which makes it an ideal candidate for understanding how the B&W adjustments work. In this first example I have clicked the B&W filter and left all sliders at their default values, but changed the yellow option for two different results.
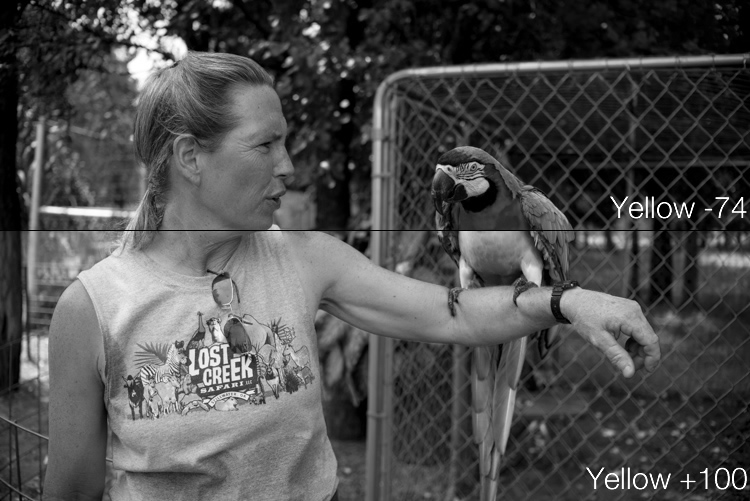
Most of the image remains unaffected except for the bird’s bright yellow chest, which is starkly different depending on the values I have selected for the Yellow slider. Increasing the numerical value of yellow has made the corresponding areas much lighter, and decreasing it has made them appear significantly darker. Once again you will likely find that in this B&W panel the best edits are the most subtle, and you can use the sliders to creatively adjust the look and feel of a monochromatic image. To further illustrate the effects of these sliders, compare the following images. The first one has higher values of colors that correspond to the skin tones of the woman and the chest plumage of the bird, and darker greens for the foliage in the background.
Be careful not to go too far
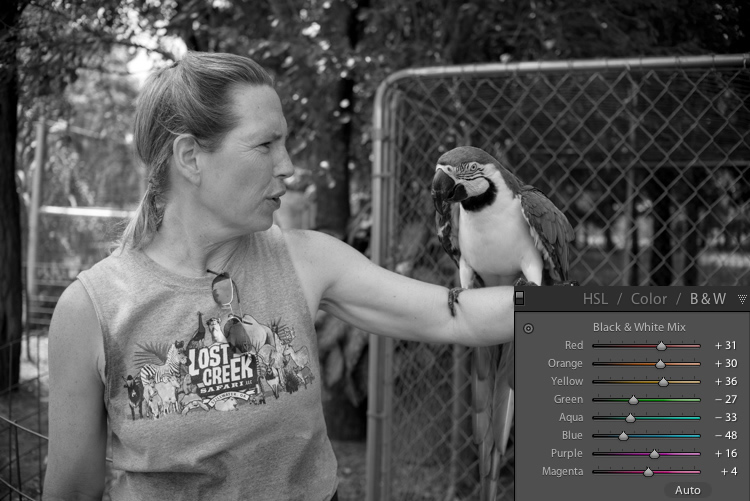
In the next example, the colors of the bird’s chest have been significantly darkened while the background is much lighter, and the woman’s skin tone has been toned down quite a bit as well. I find the top image much more natural and pleasing, whereas the bottom one significantly alters the appearance of the bird and makes the woman look almost as though her face has been burned, particularly if you look where her jawline meets her neck.
As you play around and experiment with the B&W sliders you will start to get a feel for how you might prefer various adjustments in your images. If you are the type of person who likes to try black and white photography this panel is significantly more useful than just clicking on a preset or using built-in filters in a program like Instagram.
Conclusions
I hope this article has helped you understand a bit more about some of Lightroom’s useful editing options. If you have never used the Adjustments panel before go ahead and try it out! Lightroom is non-destructive which means your edits are not permanent and can be undone at any time, so it never hurts to try something and see what happens.
If you find the Adjustments panel to be useful, or have your own tips to share, please leave your thoughts in the comments below. I’m sure other readers would enjoy hearing them.
googletag.cmd.push(function() {
tablet_slots.push( googletag.defineSlot( “/1005424/_dPSv4_tab-all-article-bottom_(300×250)”, [300, 250], “pb-ad-78623” ).addService( googletag.pubads() ) ); } );
googletag.cmd.push(function() {
mobile_slots.push( googletag.defineSlot( “/1005424/_dPSv4_mob-all-article-bottom_(300×250)”, [300, 250], “pb-ad-78158” ).addService( googletag.pubads() ) ); } );
The post Tips for Understanding the Lightroom Adjustments Panel by Simon Ringsmuth appeared first on Digital Photography School.


 For most of us, the joy of photography goes beyond taking a great image, to being able to share our pictures and experiences with our friends and family. To do storytelling with images.


You must be logged in to post a comment.