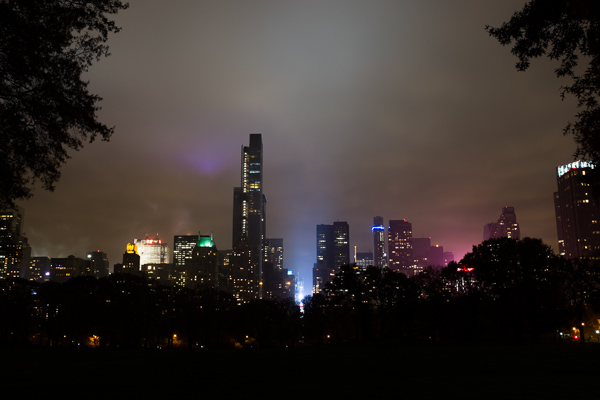
Central Park South.
How many times have you captured an amazing image only to view it on your computer, or as a print, and realize that you screwed something up along the way.
Unfortunately, the only way to stop doing a lot of these easy-to-make mistakes is to have an image ruined by them. Once you screw up an image you’ll quickly learn not to make the same mistake again.
Here are the most frequent ways I see photographers ruining their images. Avoid these 10 mistakes that can ruin your images
1. Leaving Image Stabilization on when using a tripod
Everyone learns this tip too late. Image stabilizers (in your lens) usually make your images sharper by reducing camera shake. However, when your camera is on a tripod and perfectly still, the motor can actually cause shake! I know a few of you are shaking your head right now as I did when I learned this. If you couldn’t figure out why your tripod images weren’t perfectly sharp, this is usually the reason, although a strong wind or touching the tripod or camera while shooting can do this as well.
2. Not using a fast enough shutter speed
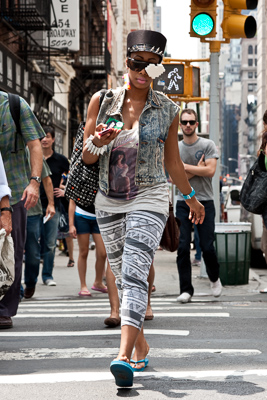
Lego Girl, SoHo.
Unless you are on a tripod, to achieve a sharp shot your shutter speed needs to be at least 1 over your focal length. So if you are shooting at 50mm your shutter speed needs to be at least 1/50th of a second (and I like to add a little leeway to that to be safe). If you are on a cropped sensor, remember that a 50mm lens might be the equivalent of an 80mm or 100mm view, so make sure to adjust for that.
For moving subjects, 1/320th of a second is my ideal speed to freeze motion. For fast moving objects such as cars or sports, I prefer an even faster shutter speed.
Be especially careful when shooting on Aperture Priority mode or in the auto settings, because it is easy for the camera to set the shutter speed to a setting that will introduce blur into your image without you noticing. For this reason I frequently like to shoot in Shutter Priority mode.
3. Not focusing exactly on the most important object, especially when shooting with a large aperture
If you are shooting with a small aperture, such as f/8 and above, you will often have leeway, but especially when shooting with a large aperture (like f/2), you need to make sure that the most important element in the image is the sharpest. If this is not the case, it might not always be noticeable on the monitor, but it will show up when you make a print.
This is especially important when doing portraiture. Missing the sharpness on the eyes often means ruining the image.
Be especially careful when the element you are focusing on is small, because it will be very easy for the camera to focus on the area behind it instead. This is a mistake that is frequently made by newer photographers. In these tricky situations you need to pay attention to whether the autofocus is picking up the small element.
4. Not raising your ISO up higher when needed
In situations where the light is not strong and you need a fast shutter speed and a large aperture, don’t be afraid to raise your ISO. I see too many people afraid to go above ISO 200. I use ISOs of 800, 1600 and even 3200 a significant amount. Many digital cameras, especially ones made within the last four years, can handle these ISOs. Yes it will add noise to your photos, but in many cases you will notice that despite the noise, the technical quality of your images will be better. Noise can look very pleasing, especially on the newer digital cameras.
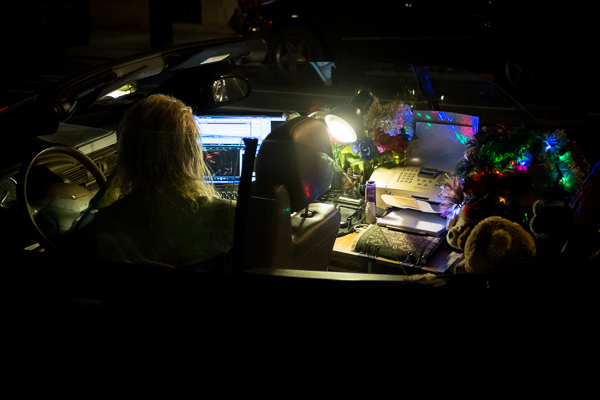
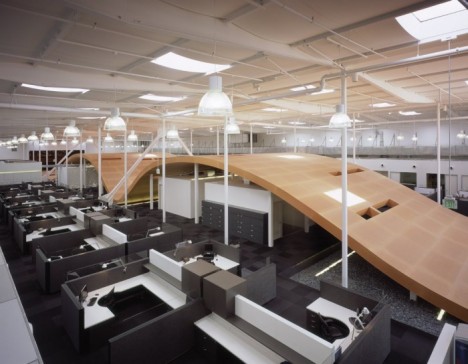
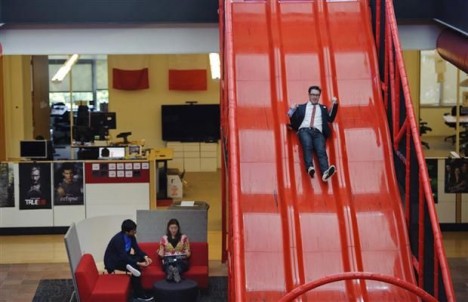
Mobile Office, Midtown. ISO 3200
5. Moving while you shoot
This is my biggest pet peeve, by far. I am normally a very calm person, but when I see this it makes me want to grab the photographer and shake them silly. I see so many people that take photos without breaking their stride. Stop your motion every time you take a shot, if even for a second! Keep your hands still! It’s not difficult. Respect every image that you take enough to stop and think about it for a second, and your images will ultimately respect you when they turn out well in print. Sorry, that is the end of my rant for the day.
6. Over-sharpening
Be careful of over-sharpening your photos. I see this happen all too often. Particularly with high resolution cameras with the right settings, your images often will only need a minimal amount of sharpness. If you overdo the sharpness it will actually have the reverse effect, making your image look fake or as if it was blown up to a larger size.
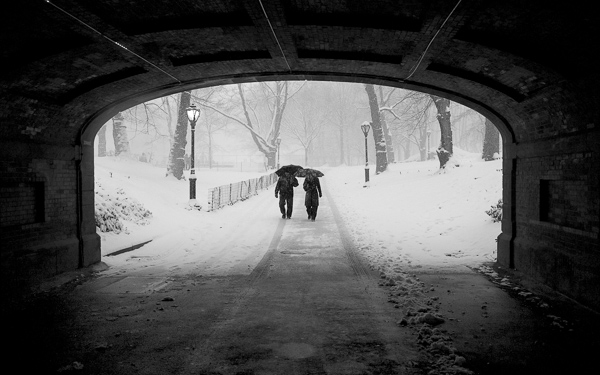
Couple in Snowstorm, Central Park
7. Resizing your images after you sharpen them
Sharpening should be the last step after you have sized the image to your final print size. If you sharpen your image and then resize them it will negatively affect the quality of your photo.
8. Not using the correct color space: ProPhoto RGB > Adobe RGB > sRGB
You should always keep your digital photo in the largest colorspace possible. While digital printers cannot yet print all of the colors in ProPhoto RGB, and many printing services prefer you to send them your files in Adobe RGB. When processing my RAW images to Tiff files I always convert them to the ProPhoto colorspace because it is the largest. Why not save your files with the most amount of color information possible? Many cameras will allow you to set this in the settings.
However, did you know the sRGB is the best colorspace to show your images on the web? Yes, when printing your images it is best to keep them in ProPhoto or Adobe RGB, but when rendering them for viewing over the web, convert them to sRGB.
When you convert an image to a different colorspace, always make sure to do it as a copy of the original image. If you convert a ProPhoto image to sRGB and save it, you will not be able to retrieve that color information if you then convert it back to ProPhoto.
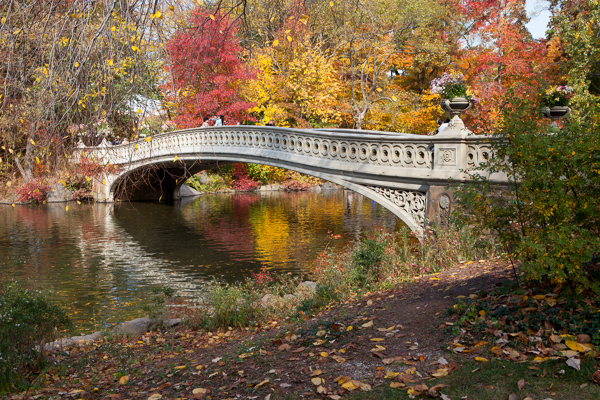
Bow Bridge in Fall, sRGB.
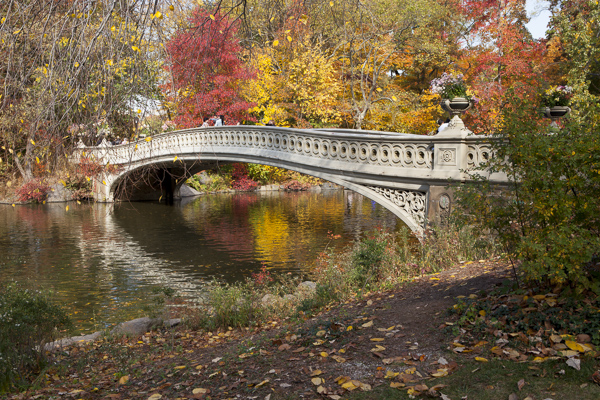
Bow Bridge in Fall, Adobe RGB. A subtle but noticeable difference.
9. Not using exposure compensation (+/-)
When shooting in overly light or dark situations in Aperture Priority or Shutter Priority mode, the light will fool the camera’s sensor. For instance, if you photograph in a dark alleyway, your camera’s sensor will try to overly brighten the scene, while if you capture an image with a lot of bright sky or white snow, the camera will try to overly darken the scene.
This is where your exposure compensation comes in. It is a vital tool for any photographer, especially in tricky lighting situations.
10. Not resetting your camera
Take a look at your camera settings at the beginning of the day and frequently throughout a day of shooting. Some of the most common settings to forget to reset are a high ISO from the night before, your exposure compensation, your white balance setting, and checking your autofocus switch.
Final thoughts
A few final notes that must be mentioned. With digital images, you can always fix many problems later in post-production. However, there is still no substitute for getting the image perfect in camera. Processing is necessary in some way for every digital image, but the more extreme, the more you can damage the quality of your images.
It is tough to notice the effects of many of these mistakes when viewing the images on the web or on a monitor, but when you zoom in close to the details or make a print, especially a print of a decent size, these effects with be very noticeable.
The post Avoid These 10 Mistakes That Can Ruin Your Image Quality by James Maher appeared first on Digital Photography School.

Digital Photography School


You must be logged in to post a comment.