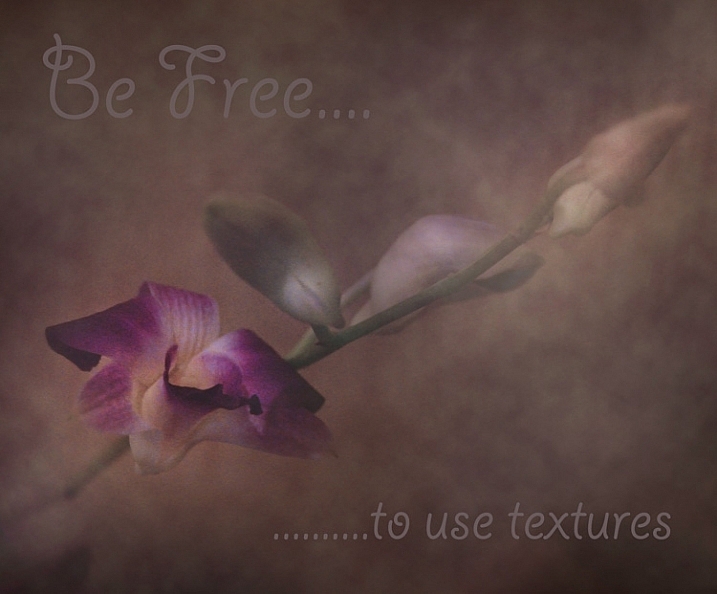
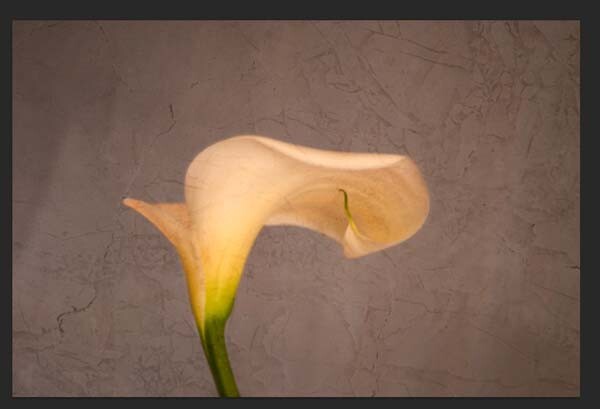
Adding a texture overlay to your images is an amazing creative tool. It adds another dimension of depth in the image; it makes it dreamy and adds a painting flavor. It also creates a timeless feeling, especially useful when you want to give a vintage look to your pictures.
You will really love this effect, it can be used in your personal work, and also sometimes in your commissioned work when you have some creative freedom over the result.
Adding a texture overlay is very easy. In this article I will explain how to create your own textures, then how to edit them to have infinite creative possibilities.

First – shoot your own textures
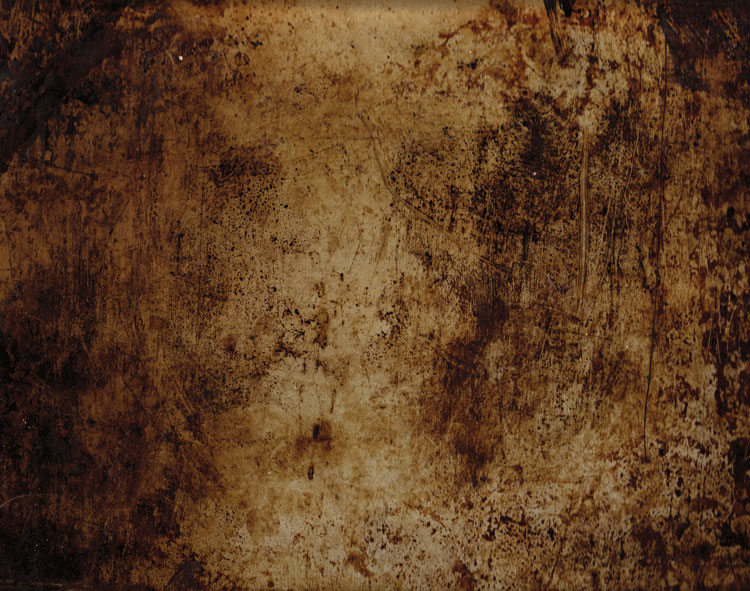
You can find many free textures online, for example on Deviant Art, or on any stock photo website. This is east, and sometimes helpful, although you can have copyright issues. The textures you will find online for free, are not always at high resolution. You will mainly find small files, not always the best to work with. But, I must say that so far I have never had any issues regarding textures size, even when printing my work in large format.
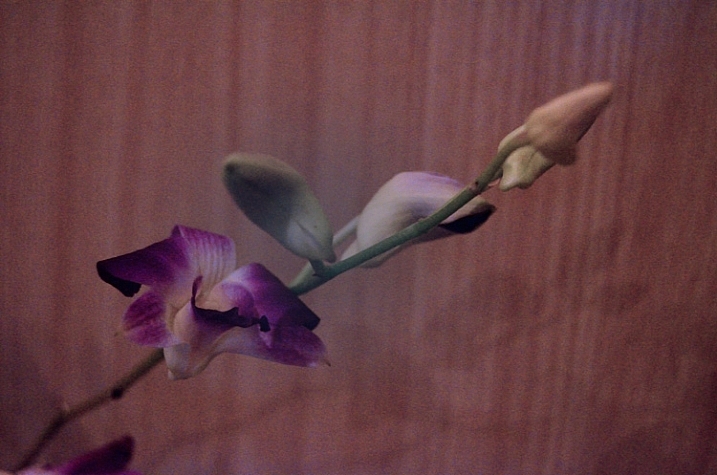
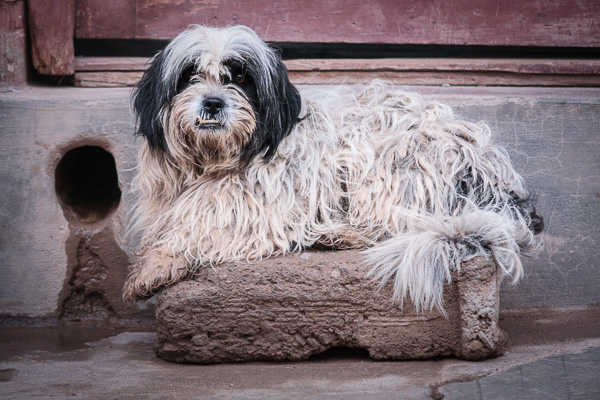
Shooting your own textures can be very fun, and a great creative exercise. Okay sometimes you will feel weird because people will not understand what you are shooting down on the pavement, nor they will see the point in photographing an old and dirty rain gutter. But it is well worth it.
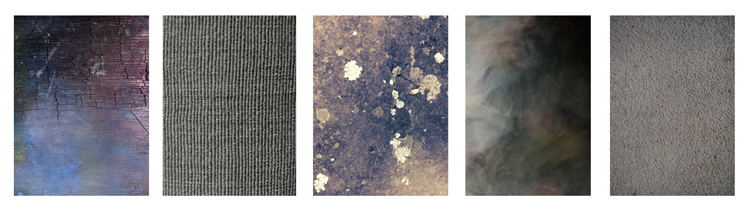
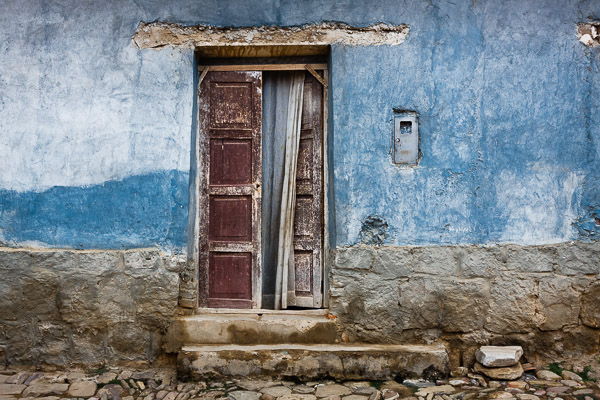
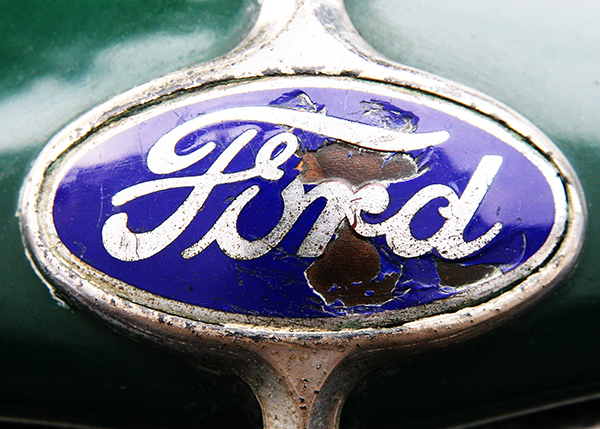
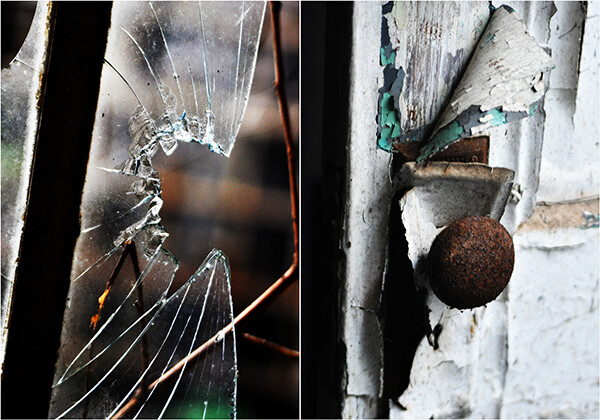
It is very easy to find great textures around you and build you own texture stock. You only have to take a walk with your camera to find textures. Look for some old painting on the walls, wood on the doors, or any bench in the street. You can also find metal objects with great texture and colors. You are looking for whatever has scratches, and can add an organic and natural feeling to your work. You can use stones, such as marble or granite, but also canvas or any other fabric with a nice texture as well.

When shooting your texture, pay attention to your exposure compensation, as you want to have a contrasty, image to get more difference between the darks and lights. Also, you want to make sure everything is more or less sharp, so pay attention to your focus, depth of field, and angle from which you are shooting. This way the texture will be more homogeneous on your final image (and as you will see later in this same article you can adjust the texture in many ways).
To help you start your own textures library, you can find a link to download some textures you can use for free at the bottom of this article. I found many good textures for free online, so it is my way to pay forward this kind of generosity I found among photographers.
You can create your own textures at home
In Brussels it is freezing cold and rainy during the winter, so maybe you are the same as me, you do not want to go outside.

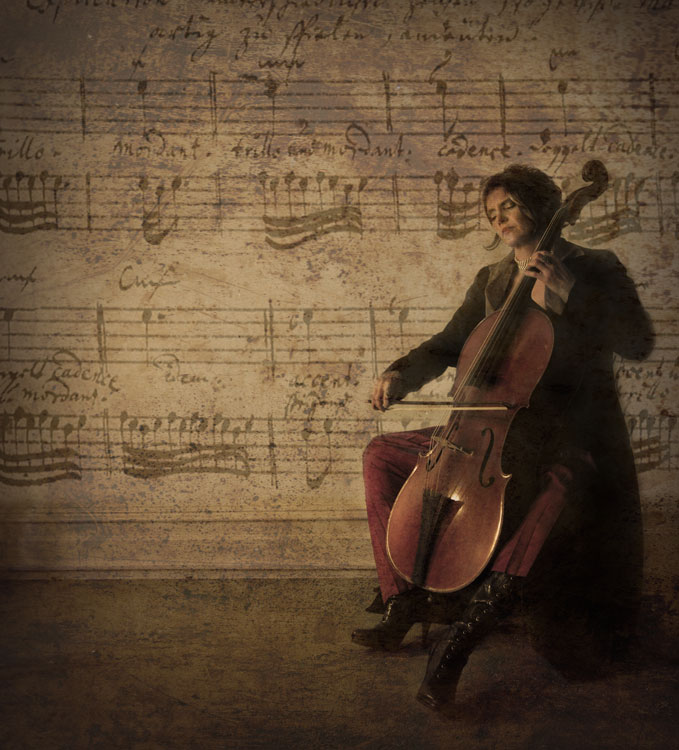
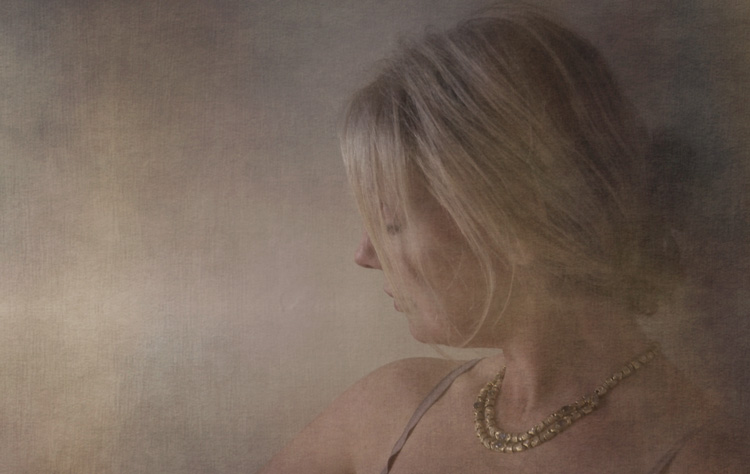
When you look for a specific effect you can make your own specific textures. For example, in the picture A Blue Tale (above) I wanted to play with a pencil color effect. Therefore I created the following texture to be added to the clouds.
I simply colored a piece of paper with a blue pencil crayong to have those lines and a texture effect. In this case, the preparation of the texture is fully part of the creative process, to put all those details together to create the image.


You can also play with paper, painting, burn some paper (although I recommend being very careful).
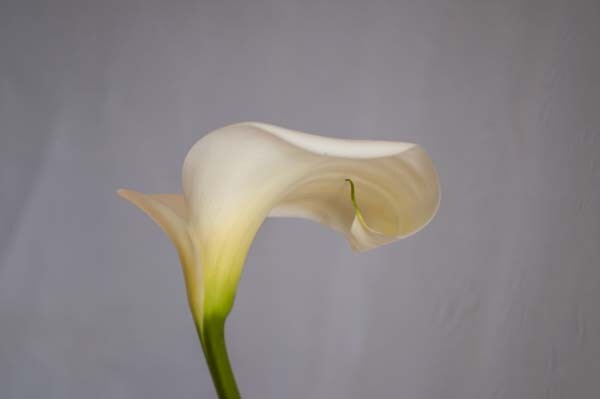
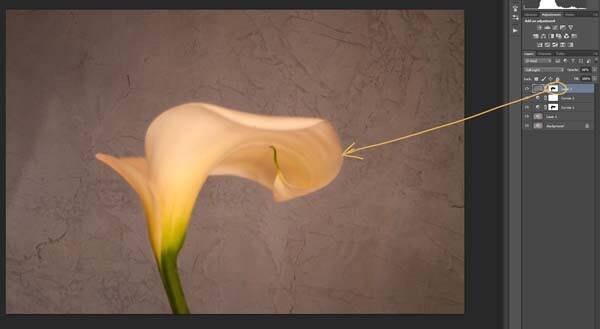
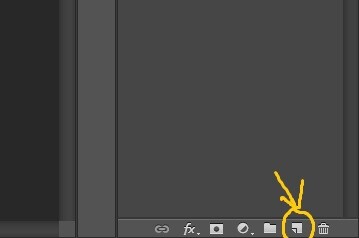
Now that you have your textures ready to be used, let’s open them in Photoshop. You can also use the ones that I shot for you down my street. To add a texture you can simply grab your moving tool and drag and drop it on your picture – or by doing copy/paste on your image.
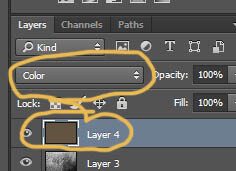
Play with the Blend Modes
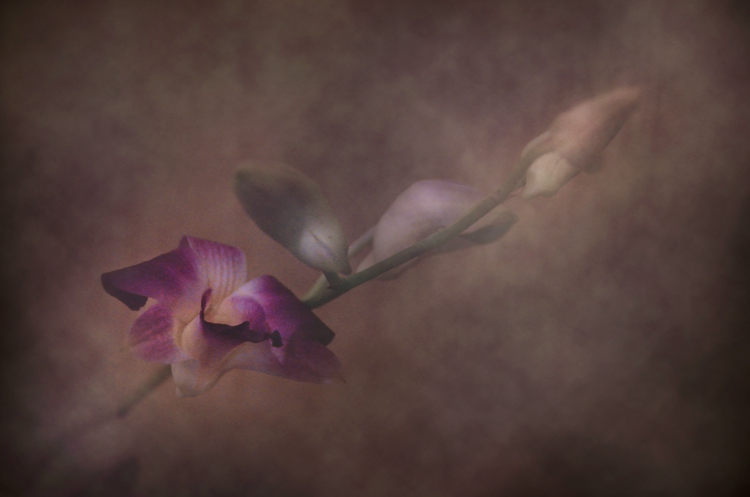
You can change the Blend Mode to change the look. When you add a texture to your image it will first look as follows, you see only the image of the texture on top of your image.

Play around with all the options Photoshop offers. Some texture/image combinations it will look weird, and others will look amazing.
Select your texture and hold down the Shift button, and + or –, to change quickly Blend Modes to go through them one by one, and test on your image. It allows you to see what every single Blend Mode will do to your texture – great way to quickly learn which one you like best.
- The darkening group will help you to get rid of all light tones.
- The lightening group will allow you to get rid of your darks.

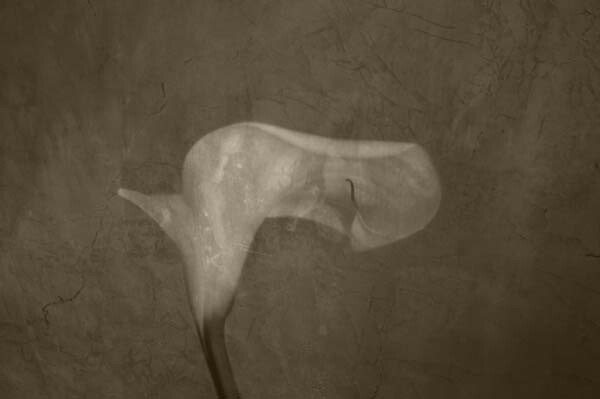
Most of the time, I choose the Soft Light Blend Mode – but you can choose any option, depending on your taste and the sought-after effect.

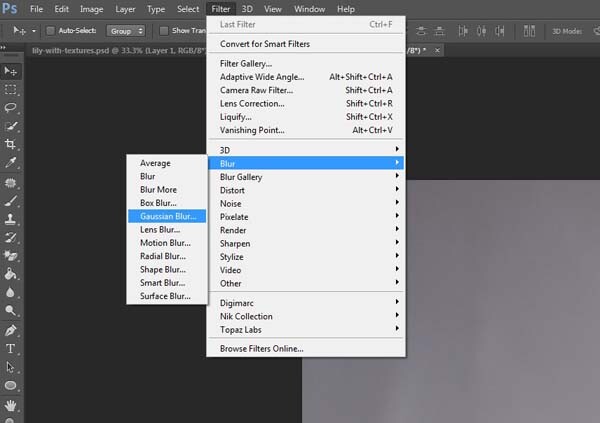
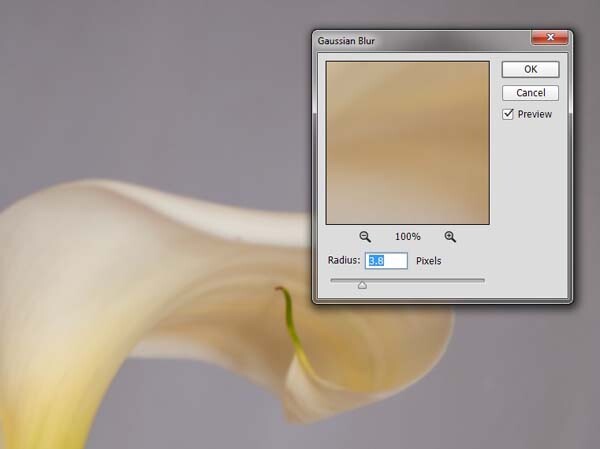
Modify your texture
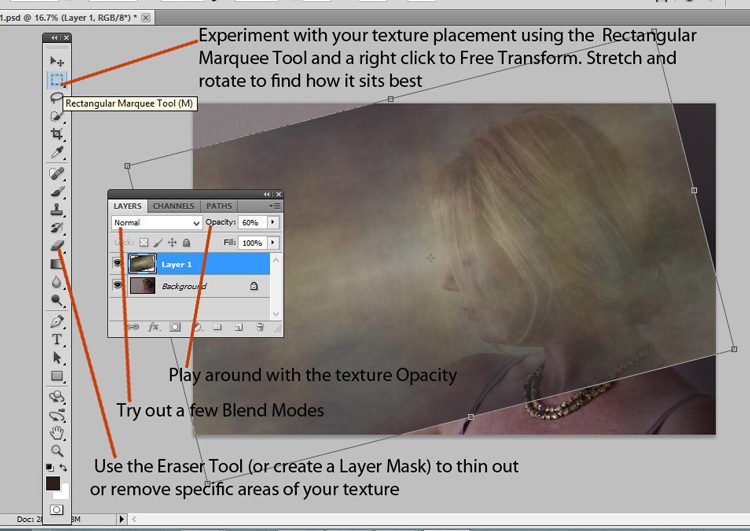
Move and resize the texture layer. Grab your Move Tool to place the texture as you wish on the image. Use Cmd/Ctrl+T to activate the Free Transform Tool and resize the texture layer, or flip it, to adjust it to the underlying picture.
You can add a Levels Adjustment with Cmd/Ctrl+L, to add some more detail contrast in your texture. You can also adjust the color. Usually I add the color in my image and prefer a desaturated texture. Hit Cmd/Ctrl+U to play with its color – if you want to desaturate it or change the color tones.
Play with the layer opacity
Turn down the opacity to see what best suits the chosen texture and image, in this case we’ll turn it down to 82%. Once you have found the right opacity you can always go back and change it whenever you want.

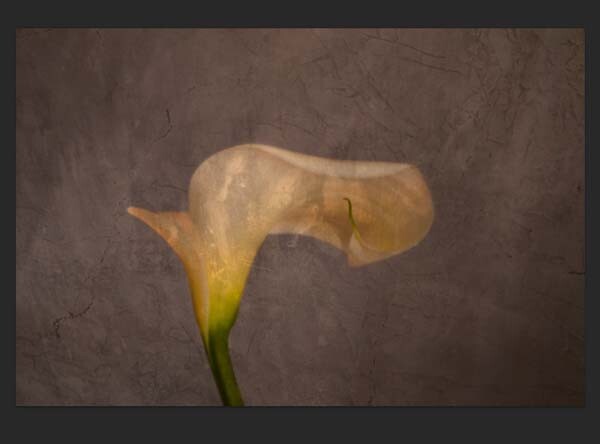
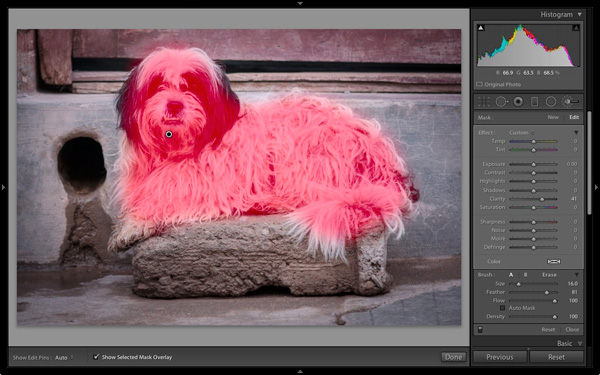
Add a layer mask on the texture layer
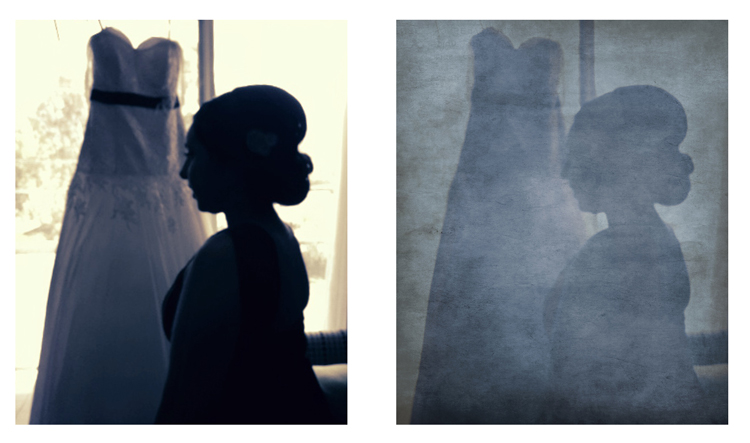
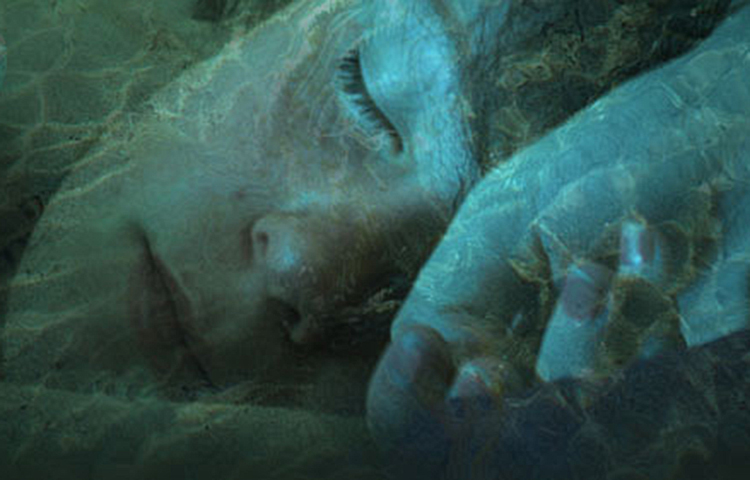
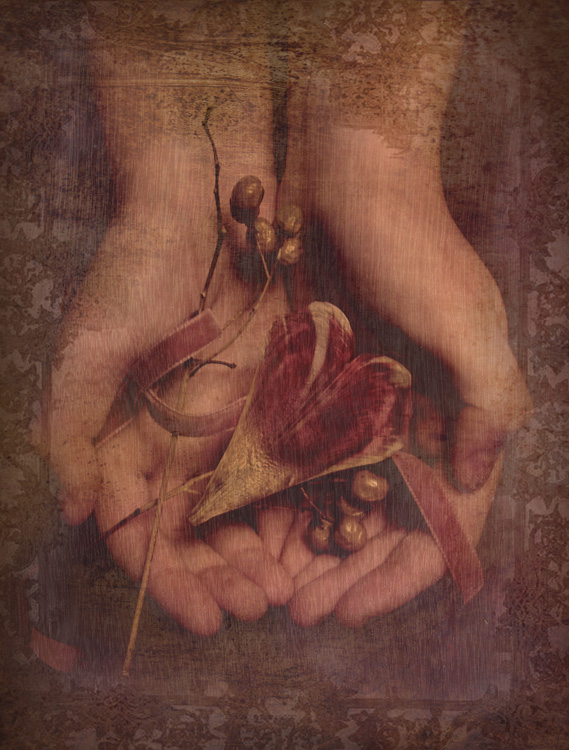
Applying texture over the whole image is great to give an artistic feel when the person is far away or it’s applied on a landscape. But, usually you want to avoid strong texture on your main character, especially if it is a close-up portrait, so you will want to soften the texture, or to erase it completely on areas such as the skin and eyes.

Add a layer mask on the texture layer and paint in black, playing with your brush opacity, size, and hardness to erase the texture where you want. Paint white your layer mask with a very soft edge brush, and low opacity, to bring back some texture on the subject edges to blend it with the background.

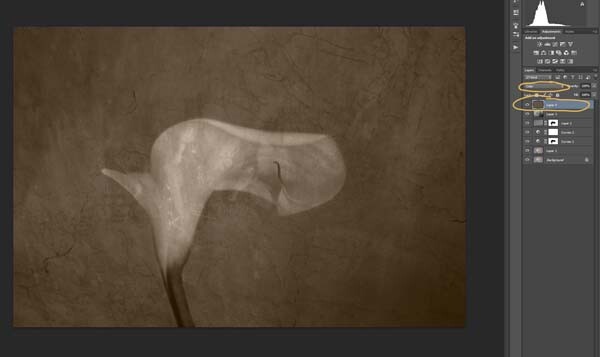
Add some more textures
You can lower the opacity of your textures and add as many of them as you whish to get the visual affect you want. If you want to see the full edit of this picture you can have a look at my speed editing video below:
I hope you will now want to add texture overlays to some of your work, or at least give it a try. It’s a great technical and creative exercise.
You can start with the free textures I prepared for you (click here to download them), and with some time start to shoot your own. Feel free to share the results or your technique in the comments below.
Editor’s note: if you have questions or issues downloading the textures, please contact Amelie on her site as they are not being hosted here on dPS so we cannot sort that for you. Thank you.
googletag.cmd.push(function() {
tablet_slots.push( googletag.defineSlot( “/1005424/_dPSv4_tab-all-article-bottom_(300×250)”, [300, 250], “pb-ad-78623” ).addService( googletag.pubads() ) ); } );
googletag.cmd.push(function() {
mobile_slots.push( googletag.defineSlot( “/1005424/_dPSv4_mob-all-article-bottom_(300×250)”, [300, 250], “pb-ad-78158” ).addService( googletag.pubads() ) ); } );
The post How to Add a Texture Overlay to Your Images for a Stunning Effect by Amélie Berton appeared first on Digital Photography School.
 Next you are going to change the colour of the highlights. You don’t have to do this, but it is a nice touch and it helps create a warmer feel to the image.
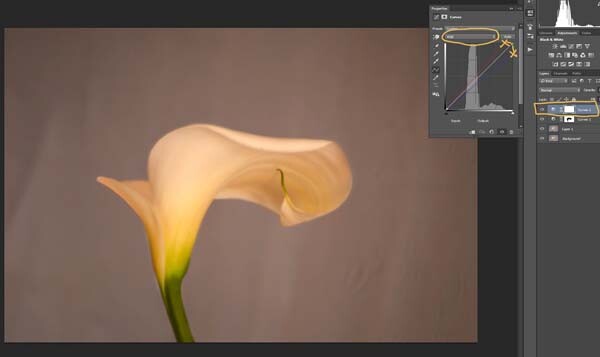

 My Mastering Lightroom ebooks are a complete guide to using Lightroom’s Library and Develop modules. Written for Lightroom 4 and 5 books One and Two take you through every panel in both modules and show you how to import and organise your images, use Collections and creatively edit your photos. Book Three shows you how to create stunning black and white images in Lightroom.
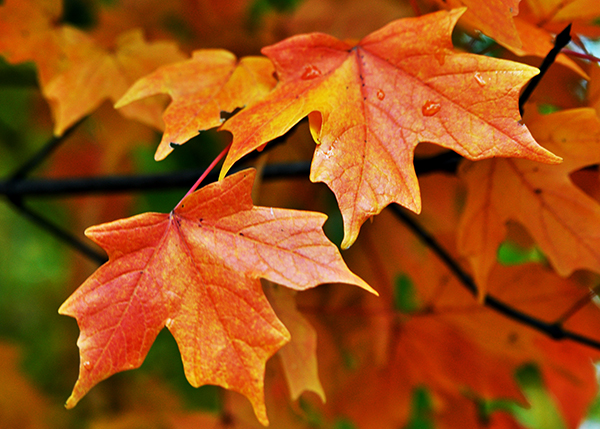


You must be logged in to post a comment.