Filters are wonderful little tools that help modify the light coming through your camera lenses, and alter what is recorded onto the sensor or film, whichever the case may be. Different filter types exist for varying purposes; polarizing filters deepen sky color and remove glare and reflections from shiny surfaces, a UV filter screens out ultraviolet light and adds a protective surface over the camera lens, while a graduated neutral density (GND) filter allows you to expose a foreground properly while avoiding a bright, blown-out sky.
The Vü filter system represents the higher-tier of camera accessories in this segment of hardware, and I was fortunate enough to have a couple of weeks using them.
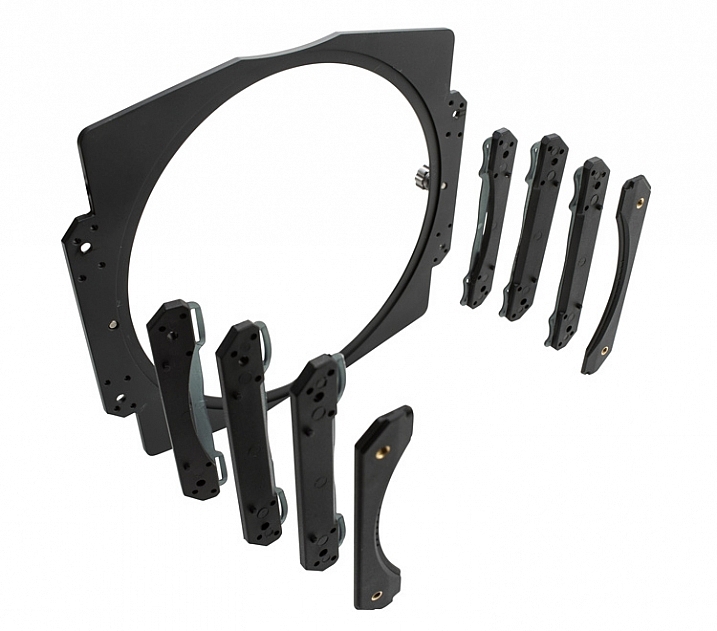
Image courtesy of Vü Filters
Upon opening the complete set of the company’s filters, the first thing I noticed was the quality and attractiveness of the packaging. All of the boxes were constructed of very sturdy material, clearly marked, and conveyed a great sense of style.
The set I received consisted of several filters and accessories, including a filter holder, drop-in filters, and lens adapters for the lenses I specified when ordering (in this case, a Canon EF-S 50mm f/1.8, and Canon EF-S 24mm f/2.8 STM). As my time was limited, I restricted my use to the screw-on Circular polarizing Filter ($ 59-126 depending on filter size)), the 10-stop Neutral Density (ND) Filter ($ 144) and Drop-in Filter Holder ($ 150).
If you’re looking for a quick, overall thought on the system, it’s generally good. The filters are high-quality and are very well constructed.
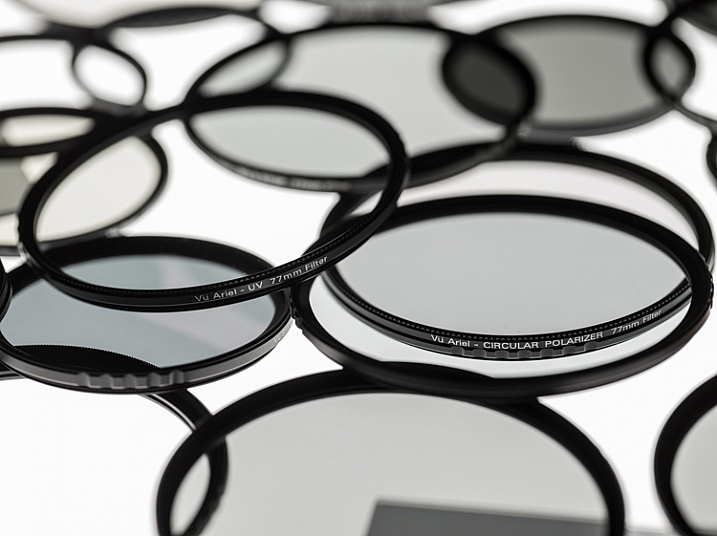
Circular Polarizing Filter
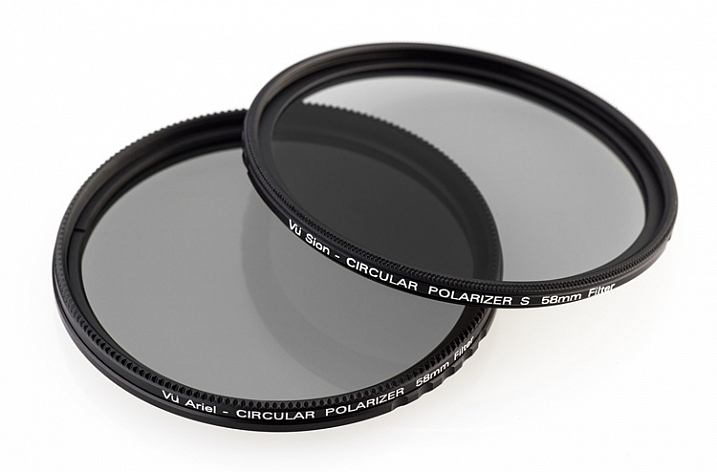
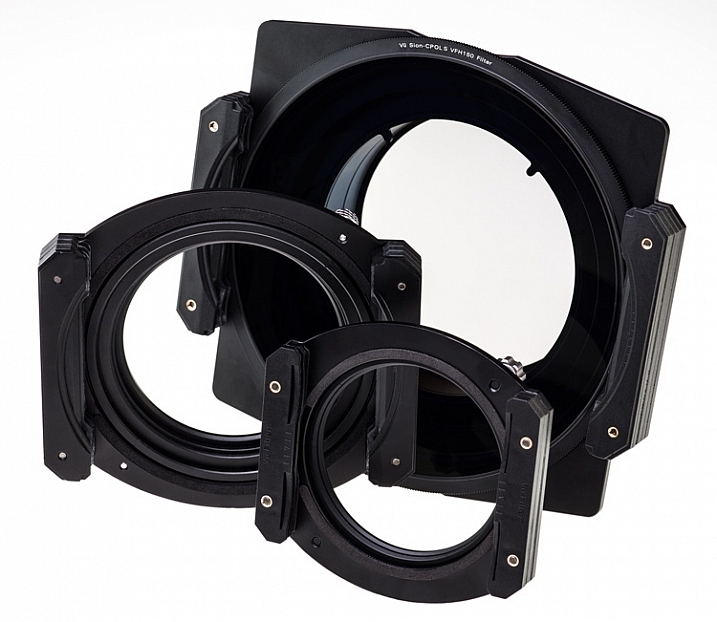
Image Courtesy of Vü Filters
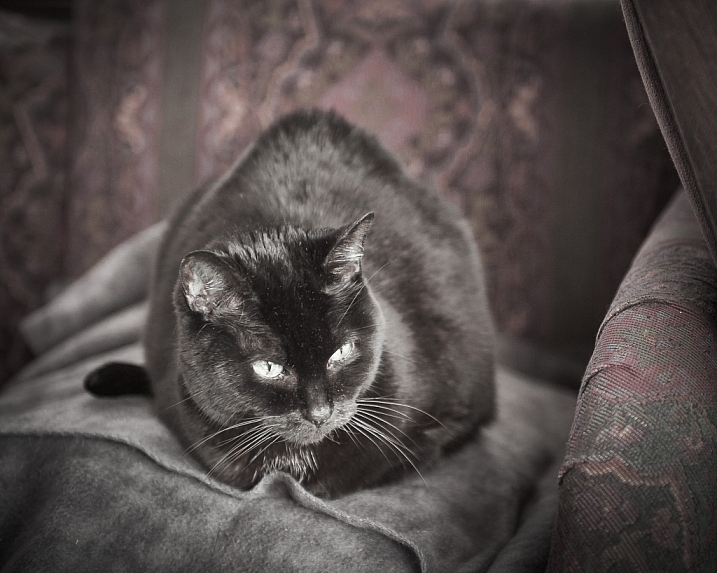
The circular polarizing filter did just what I expected. It darkened the desired areas in my photo, removed any extra shininess from the image, and generally smoothed the photo over, giving it a look that is hard to discern or describe, but which definitely exists.

The circular polarizer tends to smooth out rough points, darkens skies, and removes some of the reflective properties of shiny surfaces.
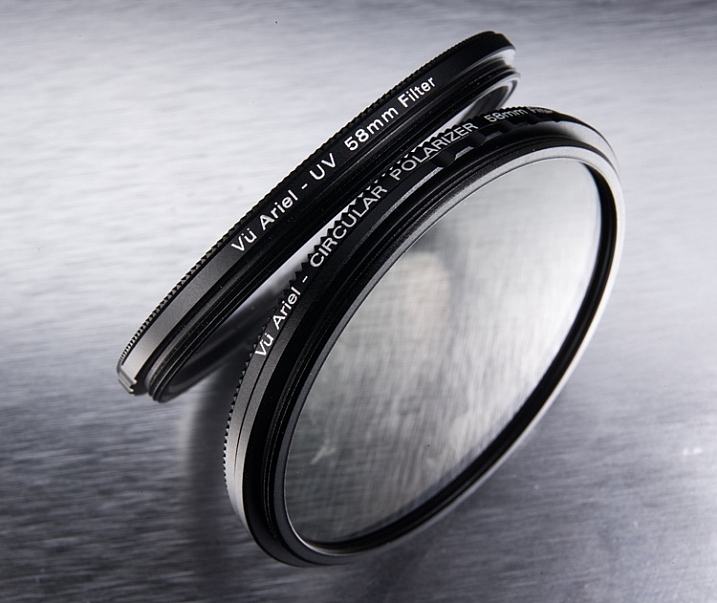
Using this filter was the easiest, as it only required I that connect it to the step-down adapter for my particular lens size, and then screw that assembly onto the lens itself.

Image courtesy of Vü Filters
As with all polarizing filters, this one works best when light is coming from the right angle, in this case, about 45 degrees. Using it when light is directly in front of, or behind you, won’t yield much or any of an effect on your image.

Again, the polarizer helped darken this sky a bit more, to where I wanted it.
10-Stop Neutral Density Filter
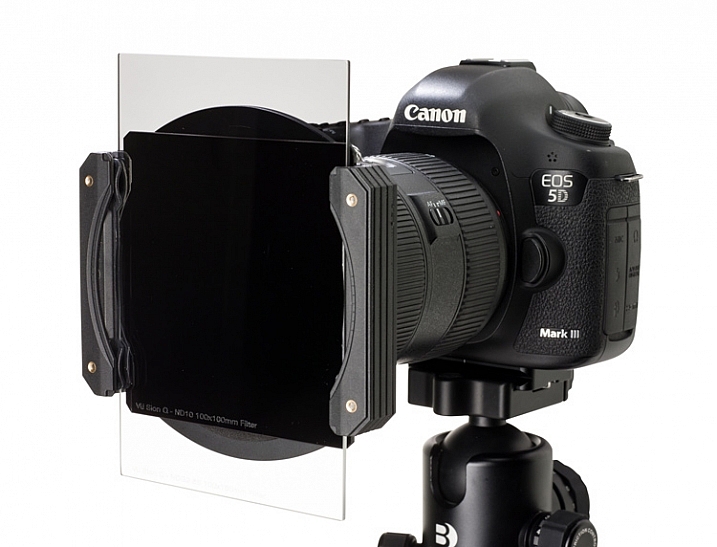
Image courtesy of Vü Filters showing the filter holder, 10-stop ND, and Graduated drop-in filters mounted on a Canon lens.
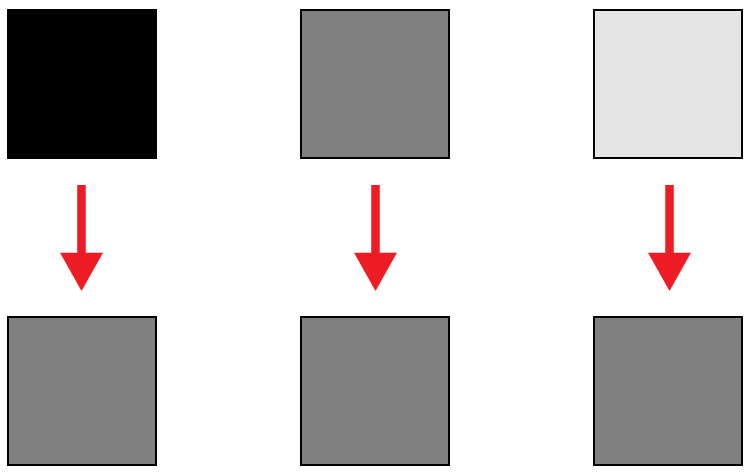
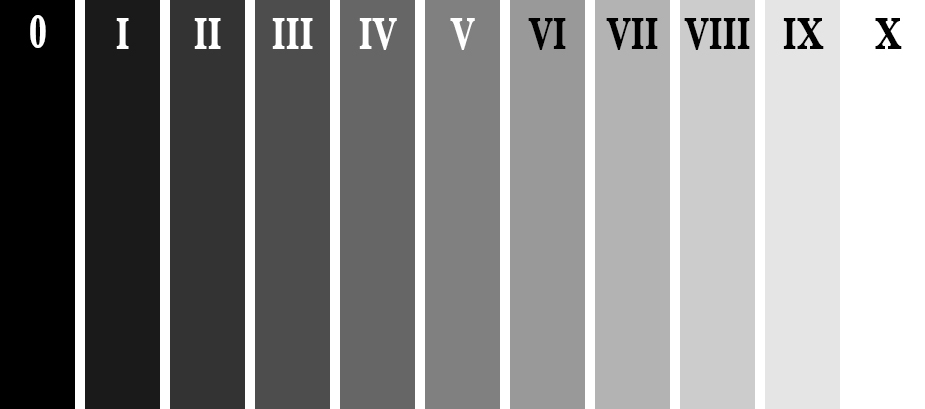
I was most excited to try the 10-stop neutral density filter. The purpose of this filter is to reduce the amount of light coming through the lens. As you might imagine, this particular filter reduces that amount by 10 stops of light, which is quite a bit. The beauty of it, is that you can use a much slower shutter speed in daylight, and capture long exposure images when it would normally be impossible.
I tried this myself using the Vü 10-stop ND filter, and was extremely happy with the results. I was able to capture the ebb and flow of the ocean waters at our nearby beach, well after the sun had risen. With the filter, 25 and 30 second exposures were possible, which produced shots that I would never have thought possible.

The 10-stop neutral density filter allows you to take long exposure shots when there is still plenty of light available.
The Vü ND filter fortunately does not suffer from common ailments of other dark, lower quality filters, such as color shifting near the corners of the lens. Tones remain faithful and consistent across the entire image.
To me, that’s the grand measure of the usefulness of this system; shots that would have been impossible, or extremely difficult to create, can now be accomplished using these types of accessories. As a photographer, it opens up a multitude of ideas and situation I can now explore.
Drawbacks of the system
Of course, everything can’t be roses, and I did have a couple of complaints about the Vü system.
First and foremost, as wonderfully performing and artfully constructed as the system is, I’m afraid that some novices may get a bit lost figuring out how to use them, creating a barrier to entry that could easily be avoided.
The boxes of filters, and bags of adapters, come devoid of any instructions, inside or out. An advanced user that has experience with different filter systems will figure it out rather quickly, but someone who lacks this experience will likely fuddle around until they eventually understand how everything fits together.
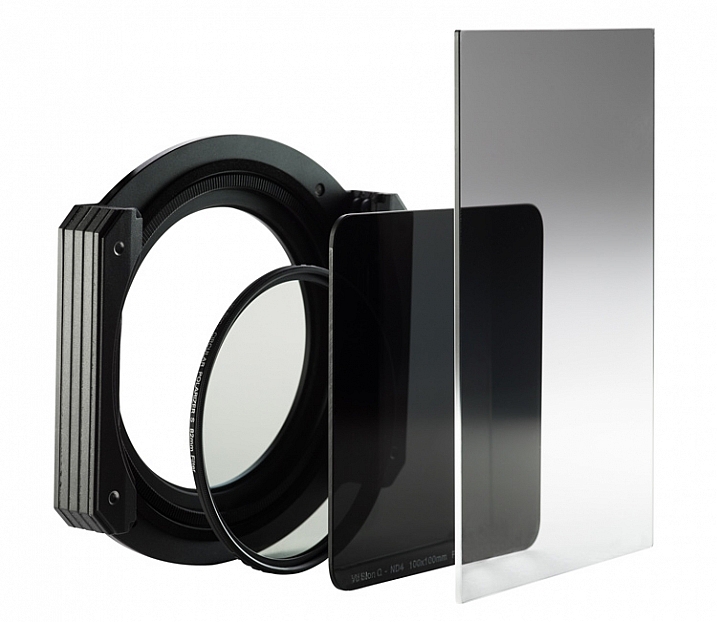
As an example, attaching the 10-stop ND filter to my camera’s lens (a Canon 60D with the Canon EF-S 24mm 2.8 STM) was a bit of a chore. The large metal filter holder was required, since this particular filter is the drop-in type, meaning the filter is a large square piece of thick glass. The filter slides vertically into the holder attachment, which is then attached to the lens via an adapter ring, suited for your lens’s filter size.

Another example of long-exposures at daytime with the neutral density filter.
It took several tries to get this right, and in the end was no small feat. I wasn’t positive after I was done that I had attached it correctly, but it functioned without any issues, so I’m assuming I did. A simple set of instructions for each piece would negate this problem altogether in my opinion.
The Vü website gives details and information about the products themselves, but I couldn’t find a support section where a user could quickly fetch instructions.
Once you figure out how to attach the product to your camera, and put them together, the filters and holder feel very solid and well constructed. Several sizes of adapter rings are available, to ensure the filters will fit almost any lens, and additional accessories for the system are also available. The holder, as I mentioned before, is large and a bit unwieldy, and using it without a tripod would be difficult.
My contact at the company was very helpful and knowledgable, and made sure everything got to me as quickly as possible.
Editor’s note: the video below was provided by the supplier when we discussed this issue with them. This should help solve the problem.
Summary
At the end of the day, regardless of any assembly difficulties I might have experienced, I found the filters very attractive from several standpoints. The filters were obviously made with the serious photographer in mind, and didn’t skimp on materials, strength, or quality.
Pricing is, in my opinion, below what you would expect for this level of craftsmanship. Ordering their whole line would be expensive, but picking and choosing individual filters within the system, would prove affordable for most photographers.
Most importantly, the filters themselves work fabulously, and produce very good images. Some in the industry still consider filters to be a degradation to image quality, but after seeing the images these filters can produce, I slide off the fence into the more positive side of the field, and would use these accessories in all of my work.
Have you given Vü filters a try? Sound off below and tell us your experience!
Learn more about Vü filters, including the full product line, and you can purchase them online at Amazon.
googletag.cmd.push(function() {
tablet_slots.push( googletag.defineSlot( “/1005424/_dPSv4_tab-all-article-bottom_(300×250)”, [300, 250], “pb-ad-78623” ).addService( googletag.pubads() ) ); } );
googletag.cmd.push(function() {
mobile_slots.push( googletag.defineSlot( “/1005424/_dPSv4_mob-all-article-bottom_(300×250)”, [300, 250], “pb-ad-78158” ).addService( googletag.pubads() ) ); } );
The post Review of the Vü Professional Filter System by Tim Gilbreath appeared first on Digital Photography School.

Digital Photography School
 It’s day 2 of our Summer Sale and today we have a special Adobe Lightroom Presets Travel pack* for you with a 72% Saving.


You must be logged in to post a comment.