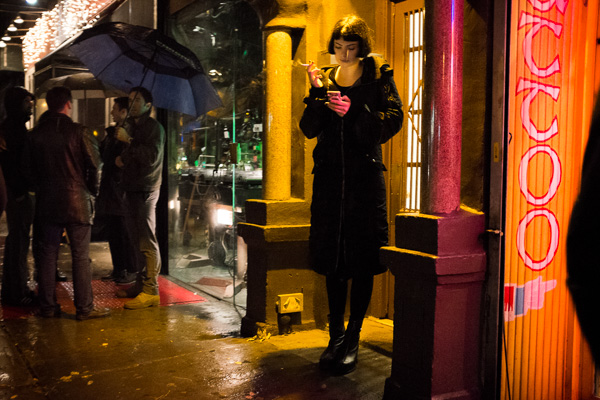
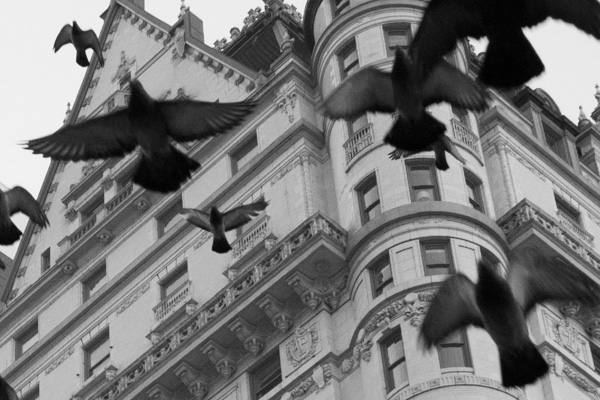
Fuji X100s: 1/125th at F2, ISO 6400.
The most common photographic fear that I come across these days is when people are afraid to raise the ISO setting on their cameras.
Just a handful of years ago, these fears were justified. Raising your ISO to 1600 or 3200 was a no-go for a majority of cameras.
But no longer. Things are changing.
Some Reasons Why to Shoot High ISO
The improvements in camera technology have been such that you can now photograph at ISO 1600, 3200, and even 6400 with many of the newer SLRs, micro four-thirds, and mirrorless cameras.
Before you move on, if you are unclear about what ISO is, read more on the subject here:
- Introduction to ISO
- Photography 101.7 – ISO
- Moving Toward Manual Settings: Understanding ISO (a beginner’s guide)
But doesn’t a lower ISO mean better image quality?
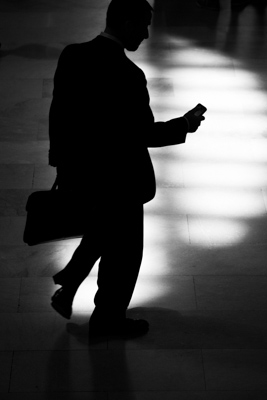
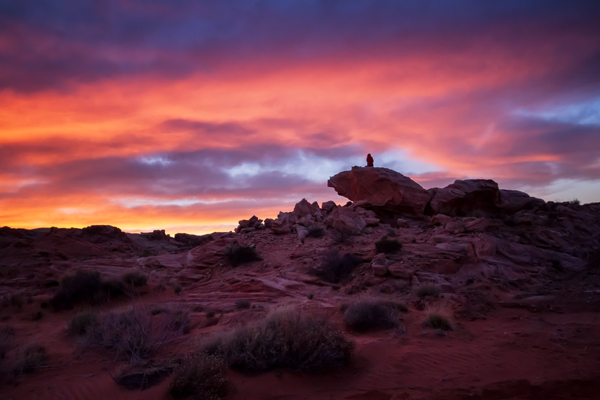
Canon 5D Mark II: 1/320th at F6.3, ISO 1600 (135mm). The high ISO allowed for a 1/320th shutter speed to account for both the motion in the scene and for the long focal length used.
Well yes – and no.
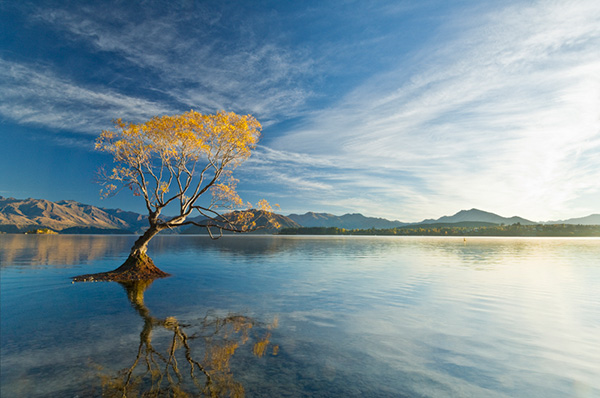
Yes, if you are setting up a studio shot and controlling the lighting. Yes, if you are using a tripod, if you are a landscape photographer, or if there is very strong natural light. Yes, if you don’t have to compromise your shutter or aperture settings to expose the shot correctly. ISO 200 will always create a significantly sharper and cleaner image than a shot at ISO 1600 when the aperture and shutter settings are the same.
In every other case the answer is no.
Raising your ISO will give you the ability to capture a higher quality photograph in many situations because it gives you the ability to use a faster shutter speed and smaller aperture (a larger aperture number) to get a sharper scene. Getting the aperture and shutter settings correct are much more important than using a low ISO in creating a technically great photograph.
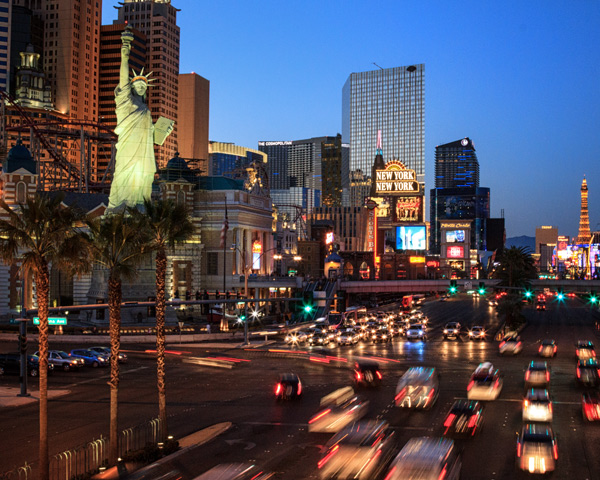
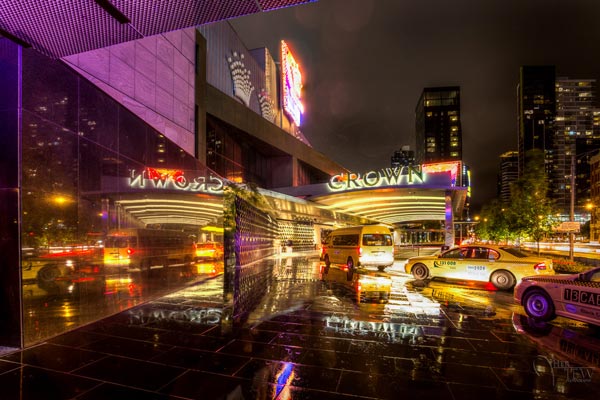
If you want to know how great event photographers consistently create such bright and beautiful images, it’s not only because they use fast lenses and flashes. It’s because they are not afraid to raise the ISO to very high levels to capture the natural light in a scene.
In addition, the look of grain at high ISOs in digital cameras has become more pleasing. The newer camera models have not only reduced the strength of grain (noise) at high ISOs, but they have given that grain a more pleasing look.
ISO has now become a luxury instead of an obstacle. We can photograph in dark areas while handholding the camera when we need to.
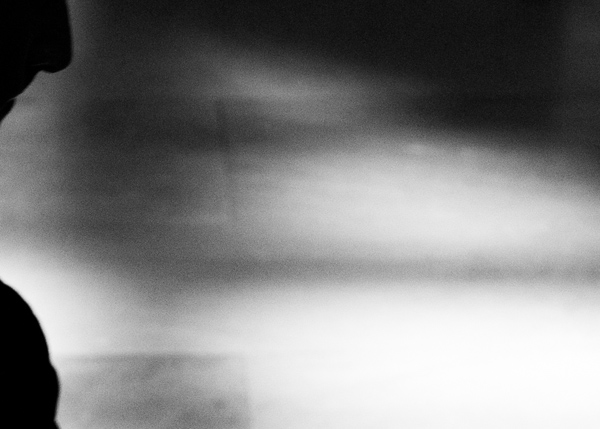
Detail Shot of the 5D Mark II (released in 2008) at ISO 1600. Minimal, pleasing grain.
When shooting at a high ISO, get the exposure right
The major problem with photographing at a high ISO is that raising the exposure in post production significantly will ruin the look of the grain. Raising the exposure a small amount is usually okay, but if you are photographing with a high ISO, you need to be even more diligent than usual about exposing your images correctly in the camera.
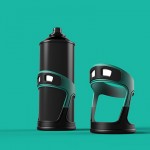
Pay attention to colour noise versus black and white noise
You also want to pay attention to how your camera handles the look of noise in your colour images. The Fuji X100S, for instance, handles colour noise exceptionally well, where as other cameras do not do so well with colour noise at very high ISO levels. However, in many cases, the problem can often be solved by simply turning the photo into black and white.
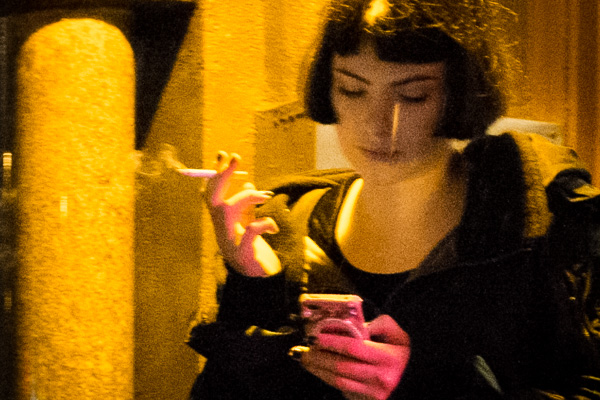
Fuji X100S, detail shot at ISO 6400. Very significant grain but excellent colour noise.
Take a look at the image detail above. This was taken with a compact mirrorless camera at the very extreme end of its ISO range, 6400. Yes, there is a lot of grain but it still looks good. I prefer not to go over 3200 with this camera when I can avoid it, but without using ISO 6400 here I probably would not have been able to capture this image.
How do I test my camera’s ISO?
I wish I could talk about specific cameras here, but the list is too long. I use the Canon 5D Mark II (released in 2008) and Fuji X100S and regularly shoot at ISO 1600, 3200, and even 6400 when capturing the city streets at night. The Canon 5D Mark III does an even better job with noise at high ISO.
Each camera has different noise (grain) levels, so the first step is to research reviews on the noise levels of your camera or potential purchase.
If you own the camera already, the next step is to test it out yourself. Make sure you are using a fast shutter speed and an aperture of somewhere between F8 and F16, so that each image you take is guaranteed to be sharp. Then take the same shot at ISO 200 all the way through 6400. Look at the images zoomed in to 100% (1:1 in Lightroom) on your monitor in both black and white and colour.
If you have a photo printer, I highly suggest printing out those images to see how the grain looks in real life and to see the differences between each image.
It is also important to remember, if you are regularly printing at smaller sizes, such as 5×7 or 8×10, then you will likely not notice a significant difference between ISO 200 and 1600. If you prefer to print at larger sizes, such as 13×19 or 20×30, then there will be a noticeable difference. So test it out.

Canon 5D Mark II: 1/500th at F9, ISO 800 (28mm).
Zoomed in – insignificant grain at ISO 800

Fuji X100S: 1/250th at F9, ISO 1600.

Zoomed in – insignificant and pleasing grain
Grain is beautiful!
Do you remember the last old, grainy photograph that you saw in person? It was gorgeous, right? Digital technology is getting there. Now is the time to get over your fear and try out shooting at higher ISO!
The post Some Reasons Why to Shoot High ISO by James Maher appeared first on Digital Photography School.

Digital Photography School


You must be logged in to post a comment.