
The rotation180 Panorama from MindShift Gear is designed around the needs of outdoor photographers.
Last time I checked, I think I had something like 14 camera bags. I think it was when I got #8 or #9 that my wife asked me how many would be enough. I made the egregious mistake of replying with something along the lines of, “I don’t know. How many pairs of shoes will be enough?” Thankfully, I have quick reflexes and was able to dodge the flying stiletto and we’ve never spoken of our addictions again.
Seriously, though. Regardless of whether you are a professional photographer or an avid enthusiast, at some point along the way it becomes abundantly clear that a single camera bag is simply insufficient. Sometimes the bag that gets the gear to the gig is too big and cumbersome for the actual assignment. Sometimes you need to travel light with a bag that can handle a few essential pieces of equipment. Two of my bags don’t hold cameras or lenses at all, having been reconfigured for lights and cables. The point is, there’s no shame in being a camera bag addict. Between my shoulder bags, rolling bags, backpacks, and belt systems, I’m fairly well-covered for every eventuality. There is one type of bag, however, that I’ve wanted for a very long time. Unfortunately, it didn’t exist until just recently.
Photo backpacks are great for travel and location shooting, but they are rarely designed to allow room for anything but camera gear. Even when they are, though, you still have to deal with the inconvenience of stopping, taking off the backpack, getting the camera out of the bag, taking the shot, putting the camera back, closing the bag, putting it back on, etc. The backpack I’ve been craving can handle both the gear for a day’s photography outing, as well as plenty of room for a jacket, lunch, gloves, or other essentials…without having to stop and take the pack off my back.
Enter MindShift Gear and their rotation180° backpacks. Founded just a couple of years ago by the creators of Think Tank Photo and conservation photographer Daniel Beltrá, MindShift currently has two backpacks– the rotation180° Professional and the rotation180°Panorama– that solve the problem of accessing the gear without taking off the backpack or even missing a stride.

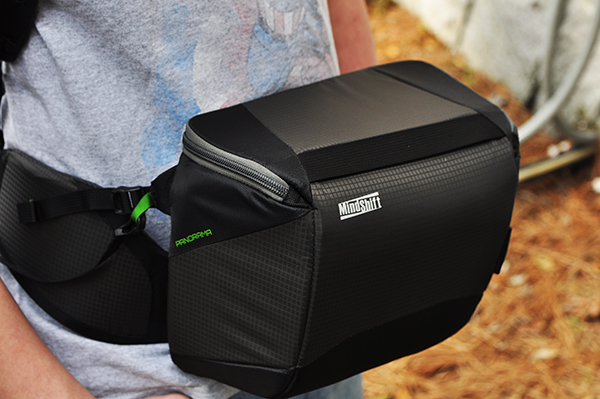
Panorama beltpack, containing Nikon D90 (85mm prime attached), 16-35mm lens, spare cards and batteries, lens cloth, and Hoodman Loupe (not shown).
rotation180° Panorama Backpack – the Specs
Weight
- Backpack: 2.o lbs (0.9 kg)
- Beltpack: 0.9 lbs (0.4 kg)
- Total: 2.9 lbs (1.45 kg)
Dimensions
- Backpack Exterior: 9.8″ W x 20.5″ H x 8.3″ L (25 x 52 x 21 cm)
- Beltpack Interior: 9.4″ W x 7.5″ H x 4.7″ L (24 x 19 x 12 cm)
- Beltpack Exterior: 9.8″ W x 8.2″ H x 5.1″ L (25 x 21 x 13 cm)
Volume
- Backpack: 329 cubic inches or 5.4 litres
- Beltpack: 1013 cubic inches or 16.6 litres
- Total: 1342 cubic inches or 22 litres
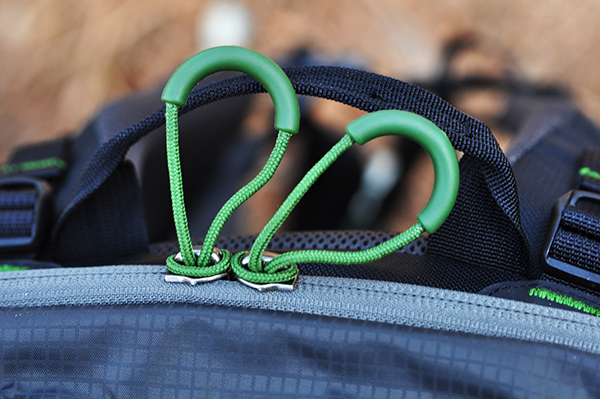
The zipper pulls are definitely high-quality and built to last, but got a little awkward while wearing gloves. Just took a little getting used to.
First Impressions
It’s obvious as soon as this bag comes out of the box that it boasts the same high-quality construction and attention to detail as its cousins at Think Tank. The all-fabric exterior is treated with a durable water-resistant coating, while the fabric underside is treated with polyurethane for superior water resistance when you put it down on a wet trail. While I’m not a huge fan of the zipper pulls on this bag – they were a little tough to grip with gloves on – the YKK zippers themselves are fairly indestructible, which is a huge plus. Available in either Charcoal or Tahoe Blue, it’s nice having a bag that goes beyond the basic black that takes up most of the space in my gear closet. With plenty of pockets and storage space, this bag seems to address every aspect I’ve been looking for in a photo day pack – especially the fully rotating beltpack and dedicated hydration pocket that can hold up to a three-litre reservoir.
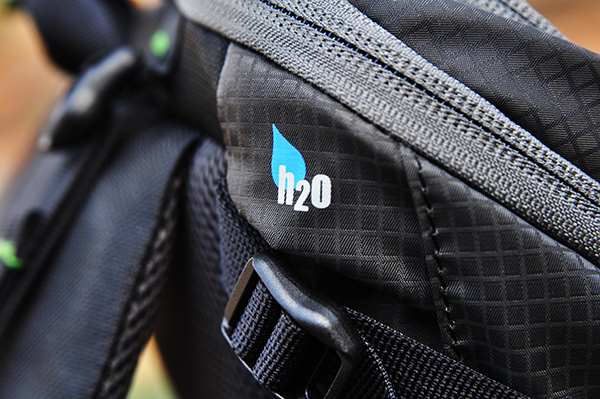
The dedicated hydration pocket can hold up to a three-litre reservoir (not included)
The Beltpack
It’s the rotating beltpack that makes this bag really special. Without it, it’s just another camera backpack that doesn’t fully address my needs. Secured in the lower section of the backpack with a sliding magnetic clasp, retrieving your camera, binoculars, maps, or other essentials is as easy as unhooking the clasp and pulling the beltpack around to the front. As an added bonus, the beltpack can be completely removed and used by itself for shorter outings or location shooting.

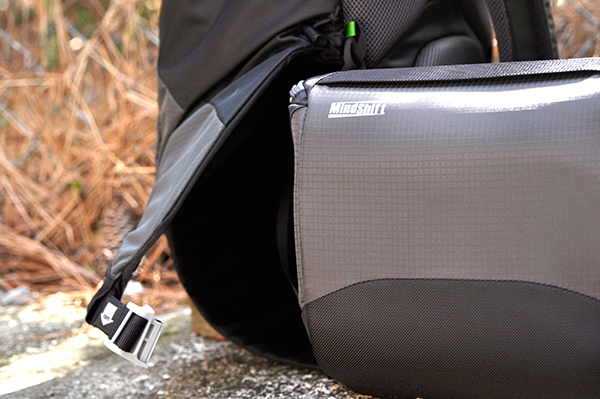
The sliding magnetic clasp is easy to release, but holds the beltpack securely in place.
Hitting the Trails
Beyond the quality of its materials and components, it’s once the Panorama is loaded and on your shoulders that you realize just how comfortable it is. Obviously, this is a pretty important factor. If a bag is designed around the concept of not having to take it off as often, it had better be comfortable. Starting out at a lightweight 2.9 pounds empty, the Panorama includes load-lifter straps on both the beltpack and shoulder harness, as well as a breathable padded airflow harness and curved back panel for increased stability. All this translates into a bag that can hold a lot of stuff, while keeping the load balanced, comfortable, and secure.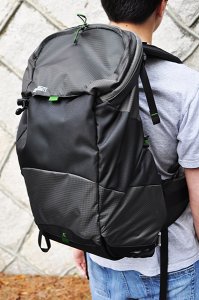
Additional Accessories
While the Panorama is an awesome bag straight out of the box, MindShift has obviously given a great deal of thought to the needs of outdoor photographers. There are several accessories available which have been designed to enhance the overall experience of this bag. Each is sold separately, including:
- Photo insert that fits the upper compartment of the bag. providing additional padded gear storage.
- Two-piece rain cover for the main bag and beltpack
- Tripod suspension kit
- Filter Hive
- Lens Switch Case
- Contact Sheet ground tarp
- For more information on the rotation180° Panorama and accessories, check out the MindShift website.
Wrap-up
The best thing I can say about any product I review is that it does what it says it does, and does it well. The rotation 180° Panorama Backpack from MindShift Gear is just such a product. Designed around the special needs of outdoor photographers and enthusiasts, this bag is going to set a new standard–one that takes into account not only how you transport your gear, but also how you use it along the way.
Have a favorite bag? Or a wish list of features in your ideal bag? Share your comments with us below.
The post MindShift Gear’s rotation180 Panorama Rotating Backpack – a Review by Jeff Guyer appeared first on Digital Photography School.

Digital Photography School


 On the one hand, I could make this article one of the shortest I’ve ever written– a rousing recommendation of only three words: “It’s Joe McNally!”


You must be logged in to post a comment.