The other day I was in the city and I was watching the clouds because they were moving so fast. It was a sign that bad weather was on the way, but I also knew the clouds would be a good opportunity to try some time lapse photography.
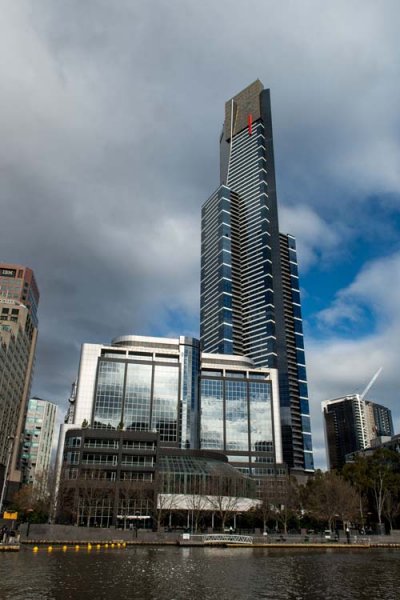
There are many ways of taking a series of images to use for time lapse photography. My camera was setup on a tripod and set to take a photo every five seconds over 10 minutes. In total 120 images were taken, however that number is up to you. The other day I took 300 images to use for one.
You can do this in various ways and it is best to check your camera manual to see if you can take photos at intervals. If you can’t then you may have to use something like an intervalometer or just manually take a photo every five seconds or whatever interval you choose.
When I got home I did some research and found a fairly easy way of putting the images together to get a quick time lapse. Follow along a I show you how you can do this as well.
Lightroom
The 120 images were imported into Lightroom. If you are unsure of how to Import photos then look at this article: Quick Tip: Importing to Lightroom Made Easier.
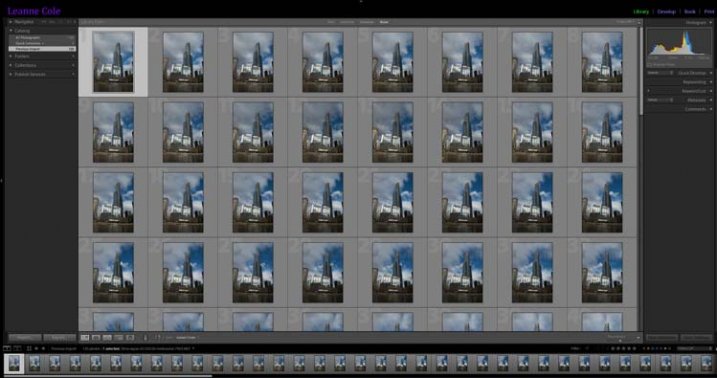
The images for the time lapse in Lightroom
Choose the first image and you do some basic processing to it in the develop module. I straightened, then cropped, a bit of a building out of the side of it, brought out the shadows and highlights.

Processing done to the first image.
Select all images for the time lapse and click Sync, in the bottom right of the Develop module.
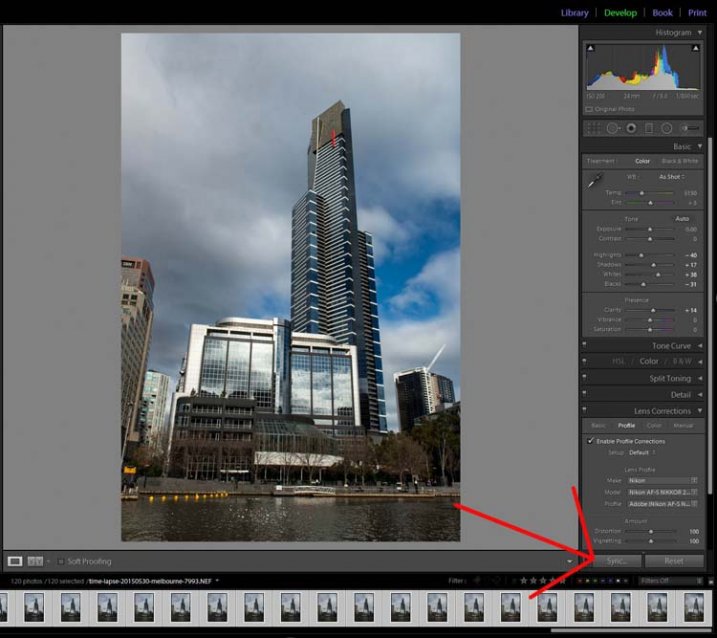
The Sync Button
When the window to Synchronize Settings comes up, tick the box at the bottom to Check All. You want all the changes that you made to the first image to be applied to all of them. They are basically all the same image except for the changes that you want to use for the time lapse.
Press Synchronize in the bottom right of the window. You will see that all the images change and are now ready to be exported.
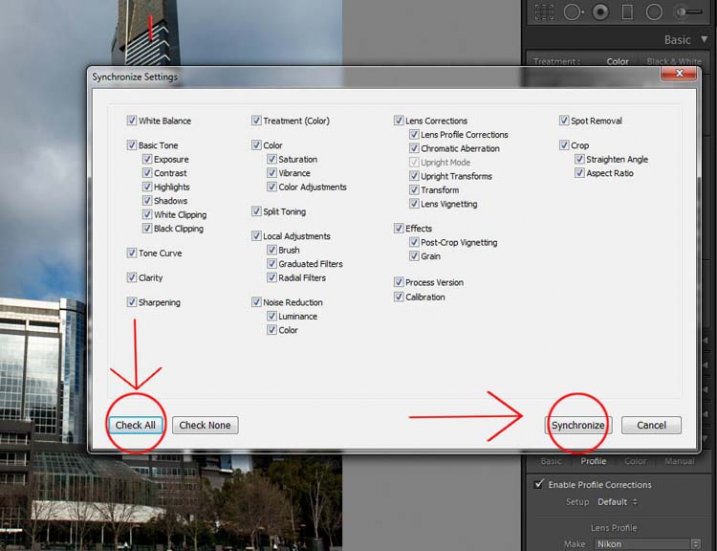
Synchronizing the images.
Exporting the Sequence
There are a few things to consider when you export them, one is the way you rename them. If the number or sequence isn’t at the front of the file name then there may be software problems to put them in the right sequence. It doesn’t make a difference with Photoshop CC.
The images should be changed to jpeg. It is only for the internet so you can use a low resolution, 72 dpi is okay. The size of the image was changed to 1980 pixels for the longest side, which is a good size for videos and for HD.
In the following image you can see which export settings I used for the Time Lapse sequence images.
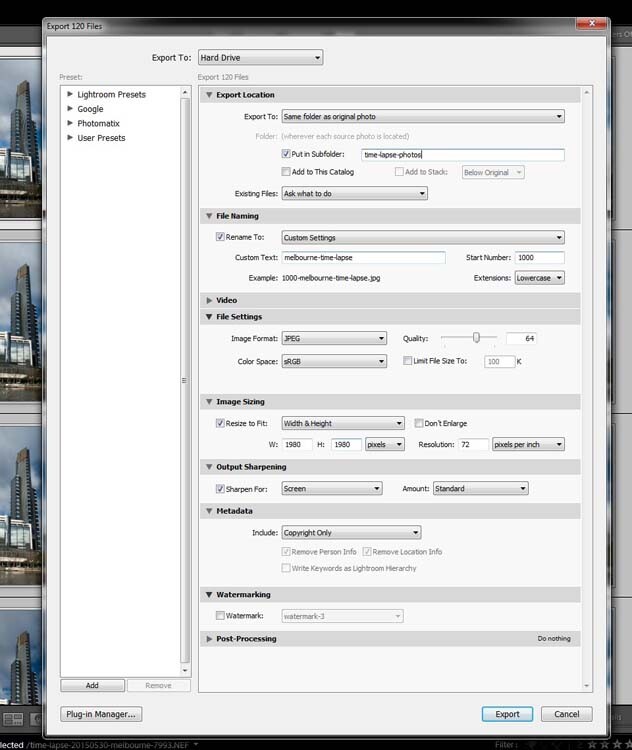
Exporting the images.
Press Export. Then, to put the images together to make the time lapse you will need to move into Photoshop.
Photoshop CC
In Photoshop you need to go to File and Open. (File > Open) Go to the folder with the exported images and select the first one in the sequence. In the same window, before you press Open, make sure you check the box that says Image Sequence which is down near the bottom.
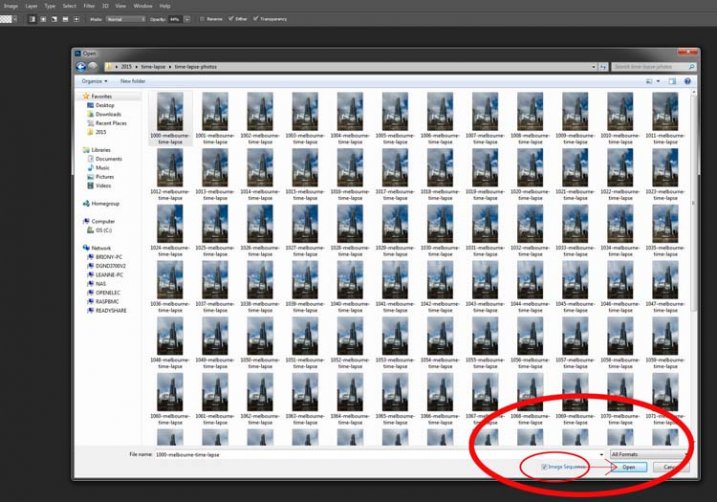
Getting the images ready for the time lapse.
Once you have checked it, select Open.
Before Photoshop opens them a new window will come up asking you how many frames per second you want to use.
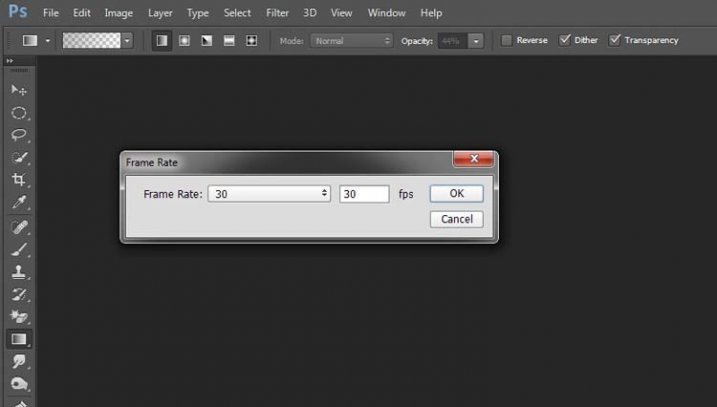
Setting the frame rate.
At this stage you can just click OK; you will have a chance to change it later on if you want to make it slower or faster.
To make it a time lapse you need to open another window in the Photoshop main window. Go up to Window in the main menu at the top, and then down to Timeline and select it. (Window > Timeline)
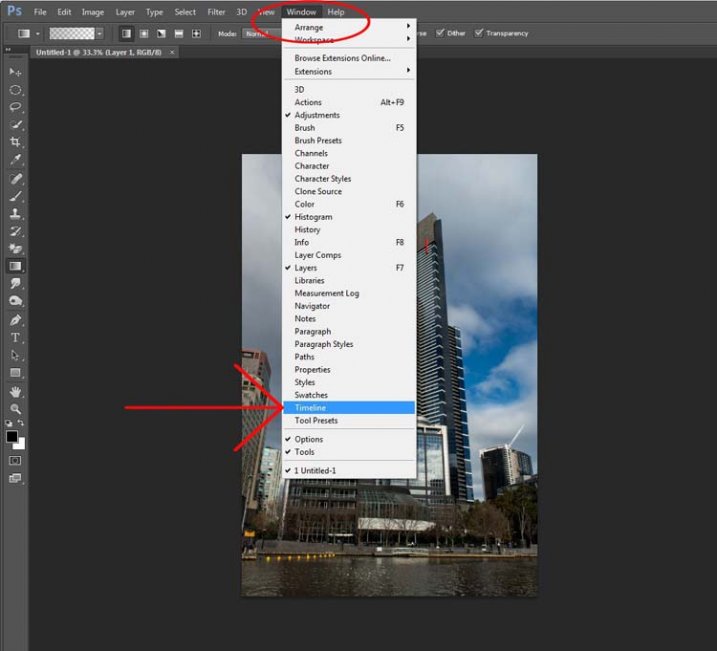
Opening the Timeline.
You will see a new window appear down the bottom. Look at the following image:
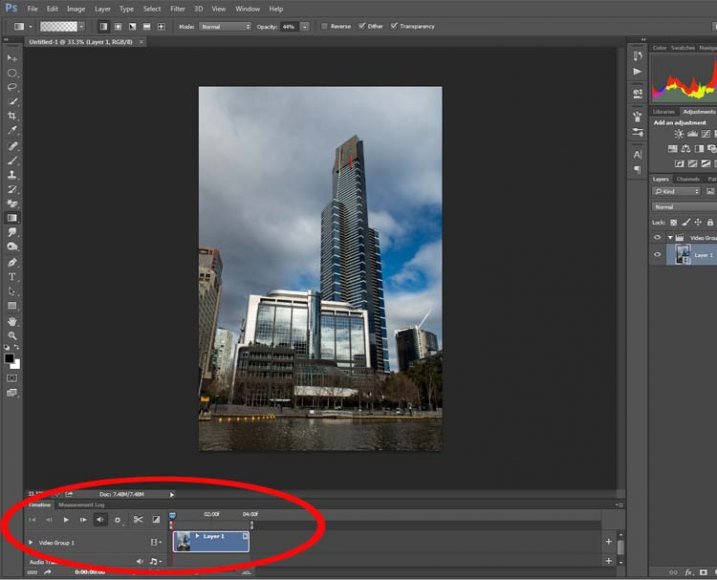
Looking at the Timeline.
If you press the play button you will see your time lapse run.
If you want to change the Frame Rate this is the time to do it. In the Timeline Window, up in the top right corner, you should be able to see a down arrow with lines next to it, click on that and a drop-down menu will appear. Go down and select Select Timeline Frame Rate…
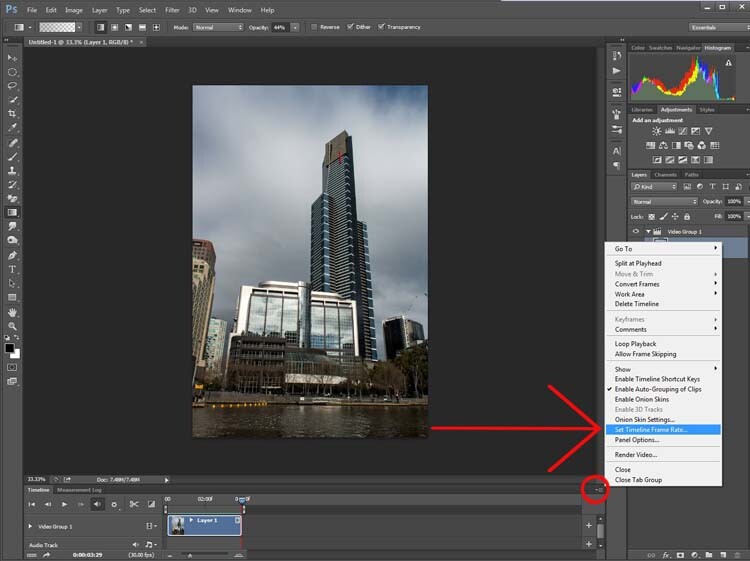
Changing the frame rate.
You can change this as many times as you like. Keep doing it until you get a frame rate you like. Once you are happy with how long it runs for, you can render the video.
Go up to File, then select Export. In the drop down menu choose Render Video. (File > Export > Render Video)
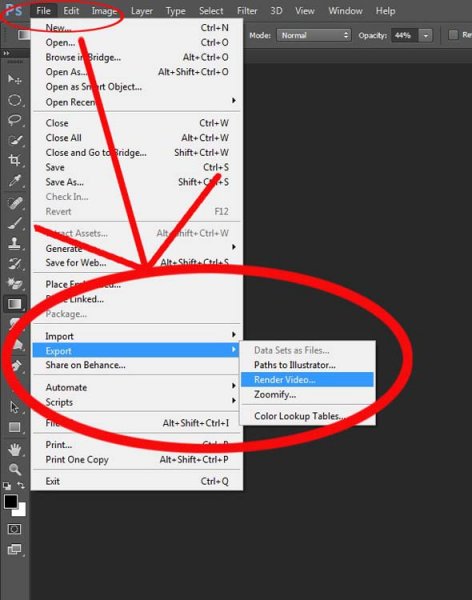
Exporting the video.
After initializing, the Render Video window will come up. In this Window you can name your video and decide in what format you want it saved.
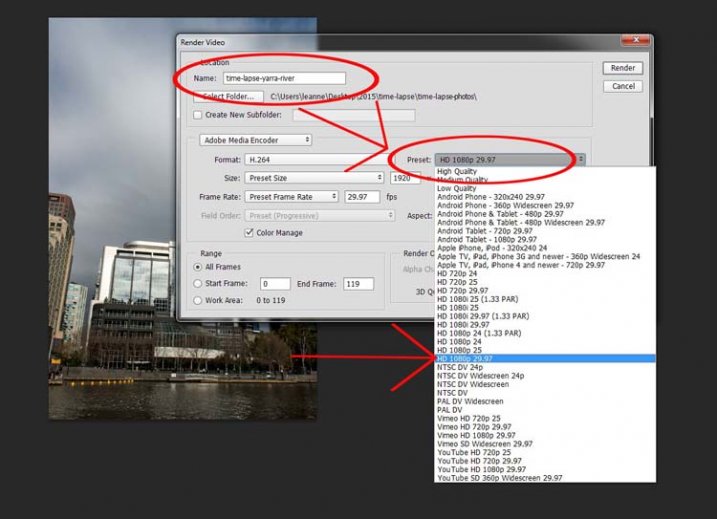
Working out the video type.
Set it on one of the HD settings and you will get an MP4 video. It gives you quite a good video.
If you decide you really like doing them there are lots of other methods, this is just a quick way to do time lapse movies using Lightroom and Photoshop CC.
googletag.cmd.push(function() {
tablet_slots.push( googletag.defineSlot( “/1005424/_dPSv4_tab-all-article-bottom_(300×250)”, [300, 250], “pb-ad-78623” ).addService( googletag.pubads() ) ); } );
googletag.cmd.push(function() {
mobile_slots.push( googletag.defineSlot( “/1005424/_dPSv4_mob-all-article-bottom_(300×250)”, [300, 250], “pb-ad-78158” ).addService( googletag.pubads() ) ); } );
The post How to Shoot and Process a Time Lapse Movie – Quick Method by Leanne Cole appeared first on Digital Photography School.

Digital Photography School


You must be logged in to post a comment.