I love birds. In fact, I’ve dedicated much of my adult life to the study of birds. In college, I spent days exploring the beaches, forests, and wetlands surrounding southern Puget Sound, strictly in the interest of finding and watching birds. Birds lured me north to current home in Alaska, when I took a job banding songbirds in Denali National Park. My interest in migrant birds carried me into graduate school where I spent several years studying the spring migration in the Sierra de Los Tuxtlas of eastern Mexico. After grad school, I took a job as a Research Biologist here in Fairbanks, where I looked into all kinds of questions about breeding and migrating birds around the state.
Now, though I no longer work as a full-time research biologist (writing, photography, and guiding now rule my life), my passion for feathered creatures is no less strong.
I give you these biographical tidbits, because I want you to understand something about me: I care about, and understand birds. Knowledge and passion are the two most important tools I know of for better wildlife photography.
Ask someone what a wildlife photographer needs and the first thing you are likely to hear is a big lens. That helps, make no doubt, but it’s hardly the most important. No, the most important thing is an understanding of the critters you want to photograph. It doesn’t matter if your lens is as long as your leg, if you can’t find the animal you’re after.
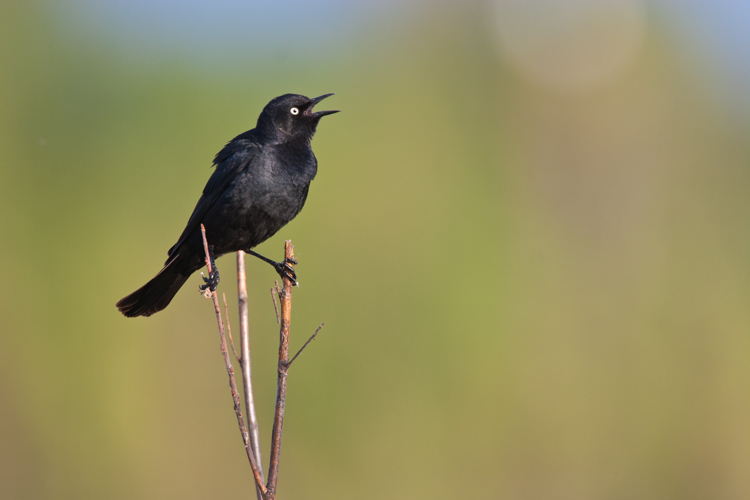
An example: During my years as a Research Biologist, I spent several seasons studying an imperiled species of songbird that breeds in the wetlands of the Boreal Forest, the Rusty Blackbird. This species has been declining in abundance across its range for the past 50 to 100 years, and no one really knows why. In the winter, they are easier to find, when they mix with flocks of other blackbirds in the south-central United States, or forage in small groups in the wetlands of the southern Mississippi basin.
In summer, however, when the males are attired in their crisp, shiny, black plumage, they are very difficult to find. Rusty Blackbirds nest in some pretty unpleasant places: thick, mosquito-infested swamps in the northern forest of Alaska, Canada, and the northeastern states.
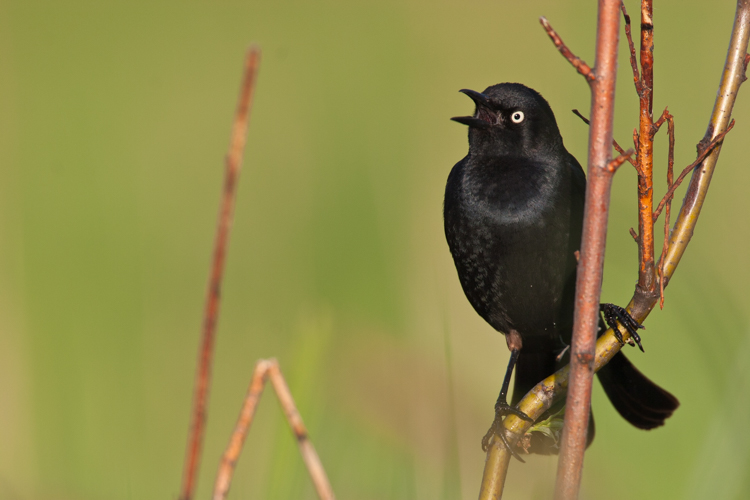
Having studied them for years, I had a distinct advantage when I set out to photograph this species. I knew where to find them, right down to a specific pair of birds, and I knew where to position myself for the best chance of getting foraging birds to appear within the range of my camera.
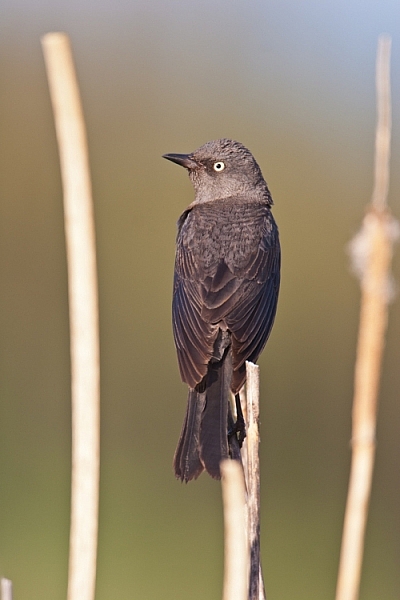
Thanks to that personal knowledge, I got some great photos of both males and females in breeding plumage, and the rarity of these images has made them some of my most published wildlife photos.
Though it helps, you don’t need the extensive personal knowledge that I was lucky to have of Rusty Blackbirds. You do, however, need a basic understanding of your quarry.
Some things to consider:
Seasonality
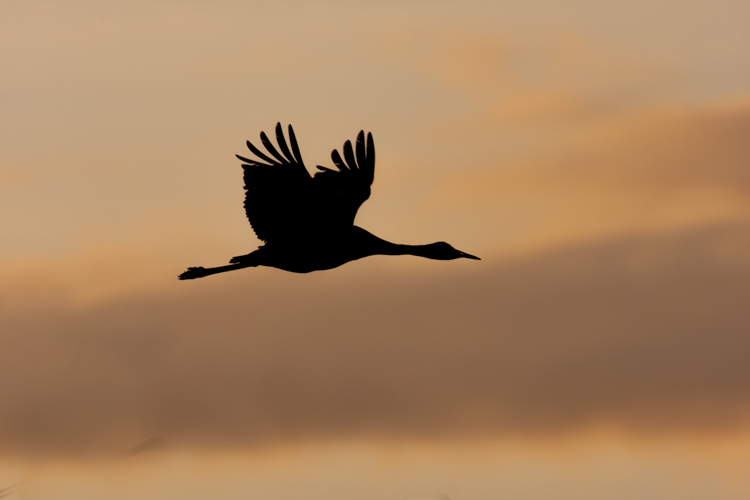
Many species migrate, or are difficult (or easy) to find during certain times of year. Birds are an obvious example. If you want to photograph congregations of migrating Sandhill Cranes and waterfowl, then you need to know when the birds are going to be present. A hint: It isn’t during the summer.
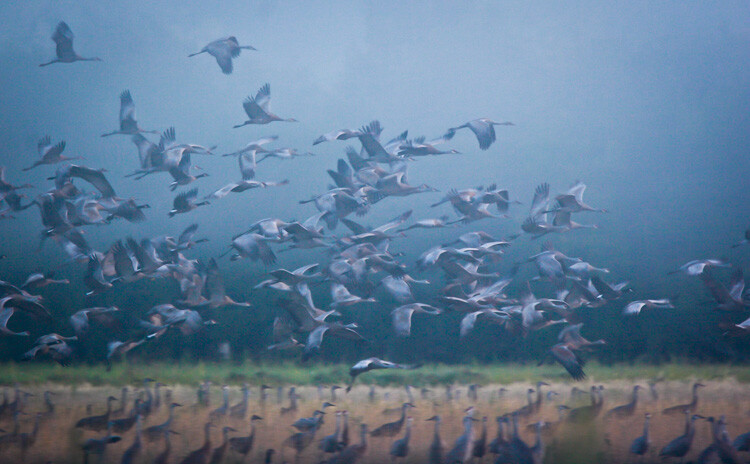
A flock of Sandhill Cranes during migration. You only get a few weeks each years to catch big flocks of this species, so you need to be ready.
Seasonality isn’t limited to birds, many mammal species may only be available during a narrow time window. The Brooks River in Katmai National Park, Alaska is a famous spot to photograph bears. Though bruins are present in the area just about anytime from May to early October, if you want to photograph them catching salmon at the falls, you are likely to be disappointed if you schedule your trip in any month but July.
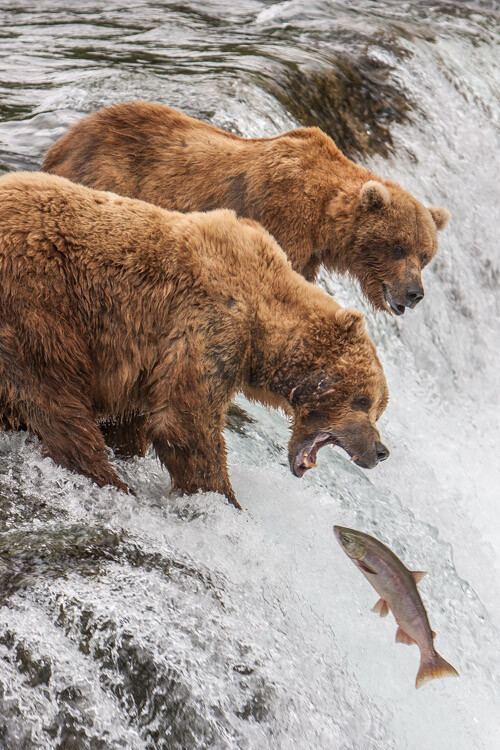
Red Salmon, which run up the Brooks River and leap the falls, are most abundant in July. If you don’t catch the run, you won’t see the bears trying to catch them like this.
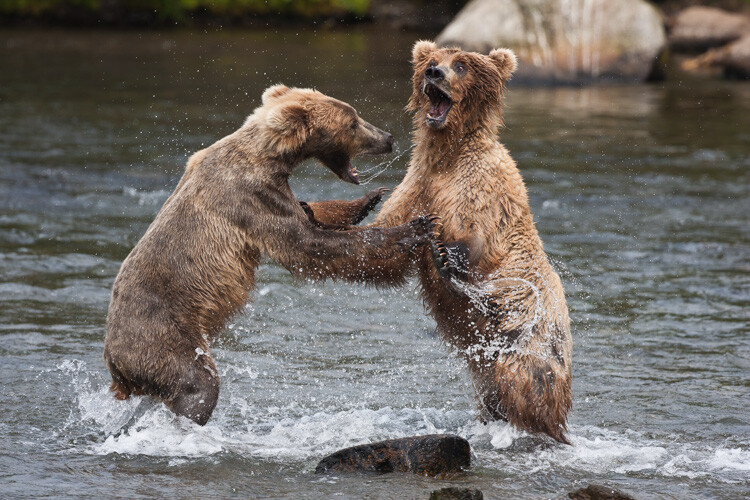
During the salmon run, the bears get close together, and juveniles like these are forced to bicker for a good fishing spot.
Range and habitat
Some species have a continent-wide distribution, others may be extremely limited. Almost all wildlife has preferred habitat that will dictate where, within their larger range, they are likely to be found. The range of Pronghorn includes the better part of the American west, but their habitat, intact grass and sagebrush prairie, is much less abundant. Pronghorn habitat also changes with the season, so you can see how range, habitat, and seasonality, all interact to guide you to the best place at the best time.
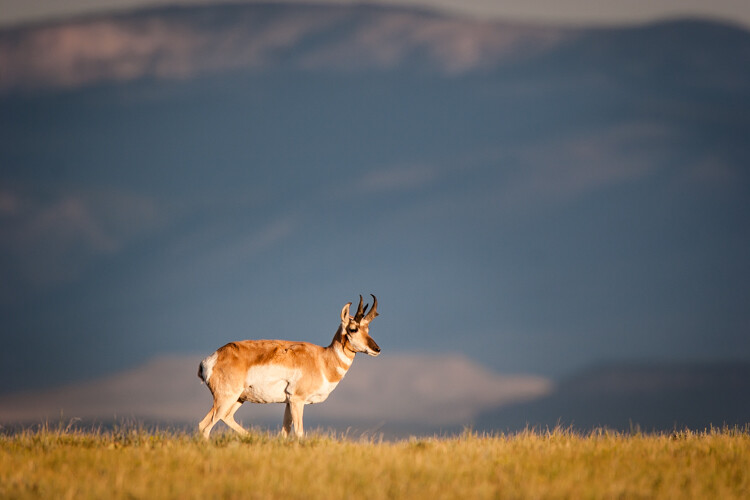
A Pronghorn in southern Wyoming, first light.
Behavior
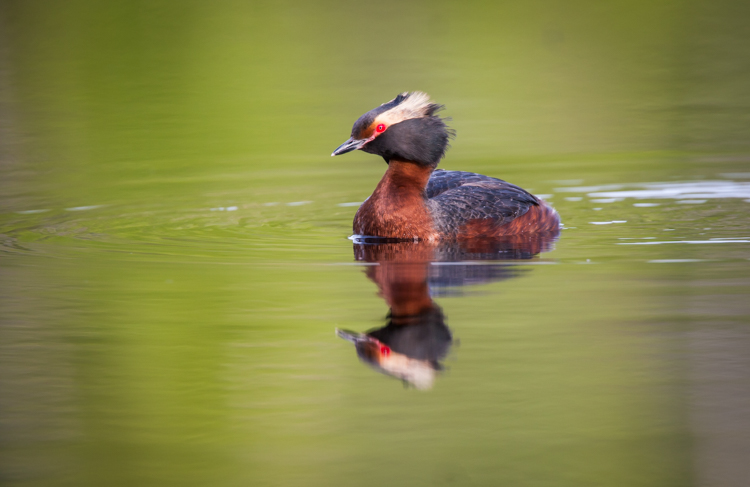
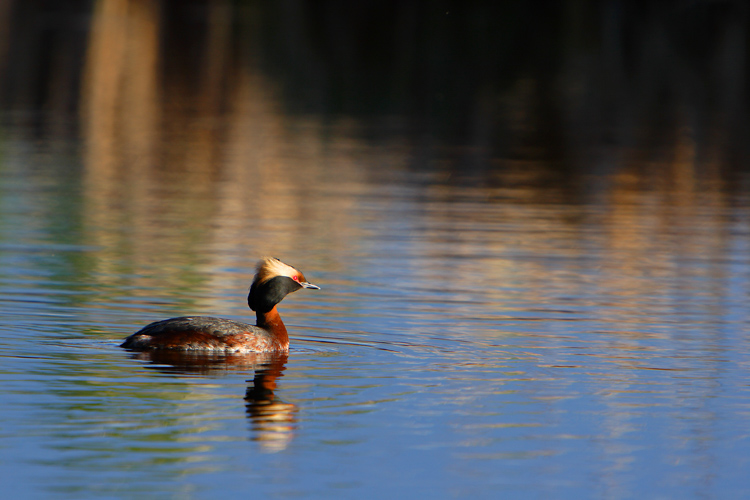
You may have particular behavior that you’d like to observe or photograph. Many bird species look their best, and are most active during the breeding season, but for some species, that season can be very, very short. Where I live in the interior of Alaska, the courtship period is extremely short, lasting only a few days to a couple of weeks depending on the species. Birds like the Horned Grebe are commonly found on small boreal forest ponds near my home, but they are most easily photographed during a couple of weeks in late May, when the males are setting up territories.
Resources
Thanks to the internet, most of the information you need to explore your target species is available right at your finger tips. In fact, they are so numerous, that there isn’t nearly enough space here to list them all, but I do want to make not of a few of my favorites:
- eBird: This site, run by the Cornell Lab of Ornithology is a citizen science site where you can document your sightings of birds. While great for birders, it is also a useful tool for photographers. You can explore data here submitted by birders from across the country and world. The mapping function allows you to look, in very close detail, about where different species are found during the year.
- iNaturalist: Though put together in a similar way to eBird, iNaturalist is not limited to birds. Here you can find sighting and identification information on plants, mammals, insects, birds and just about everything else.
- Field Guides: Classic paper, or digital field guides are still one of the best sources of information on distribution and behavior of wildlife. I’ve got dozens in my collection, and I use them all.
- Experts: You can outsource your research by hiring an expert guide to get you where you need to go. If you want to photograph bears or caribou in Alaska, or the wildebeest migration in Africa, there are people who can help you decide on the best time to do it, get you where you need to go, and even point your camera in the right direction for you. Local expertise is very valuable, and though it saves time, it costs money, and may not be as rewarding as learning about, then finding and photographing your target species on your own.
Ethics
Though a discussion of ethics in wildlife photography warrants a post of its own, I want to emphasize the importance of being respectful of the animals you are trying to photograph and the people with whom you share the view. Don’t disturb the animal, if it moves away, bolts, or flushes, you have gotten too close. Such impacts, when they occur again and again, can cause stress, low reproductive success, nest abandonment, or any number of other problems for wildlife. The animal’s welfare matters more than your image, so please, please, please be careful and respectful.
Conclusion
I take great pleasure in being a naturalist. I’d say I’m a naturalist first and foremost, and a photographer second. That might sound strange, but for me, the two go hand in hand. I find a greater understanding of the creatures I photograph leads to better images, and just as importantly a much more rewarding experience. To be a better wildlife photographer, put down the camera, and pick up a book.
googletag.cmd.push(function() {
tablet_slots.push( googletag.defineSlot( “/1005424/_dPSv4_tab-all-article-bottom_(300×250)”, [300, 250], “pb-ad-78623” ).addService( googletag.pubads() ) ); } );
googletag.cmd.push(function() {
mobile_slots.push( googletag.defineSlot( “/1005424/_dPSv4_mob-all-article-bottom_(300×250)”, [300, 250], “pb-ad-78158” ).addService( googletag.pubads() ) ); } );
The post How to Take Better Wildlife Photos: Be a Naturalist First by David Shaw appeared first on Digital Photography School.

Digital Photography School


You must be logged in to post a comment.