
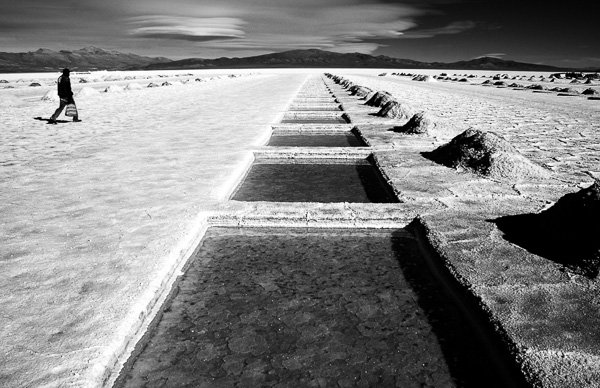
Slash from Guns N’ Roses
In my last article 6 tips for budding concert photographers I explained the basics (and camera settings) of how to start your career as a concert photographer. I would like to say a big thank you for your awesome feedback and your ongoing comments on that post. It really means a lot to me and shows how many talented and hard working concert photographers are out there.
This article is a follow up, and I will go into more details about the “anatomy of a concert photography shoot“. Especially when you are new to concert photography, it can be overwhelming to stand in the photo pit all alone with your camera. The venue lights go out, the band enters the stage and you have only three songs (average 10 minutes) to get your awesome shots. Honestly, in the beginning it was also scary for me, but trust me, after you have shot some concerts you’ll feel much more comfortable in front of the stage and you’ll learn to know your camera settings by heart.
One of the points that are often undervalued is the fact that a band consists of various individuals. It is tempting to only shoot the lead singer (the key person), but this would be just one out of the whole band. There’s also a guitarist, drummer, bass player and additional musicians that are worth taking a closer look. Hence, it is more difficult to photograph the other band members, but you definitely should try to catch everyone on stage.
Let´s break it up:
The Lead Singer (The celebrity of the band)
This guy is the one whose name is often linked to the bands name such as Iggy Pop, Morrissey, David Bowie, Neil Young or Leonard Cohen.
They are the celebrities and will be shown on every VIP party and on TV. So, to photograph this person is a must have. From a concert photographers perspective, this is the easiest member to photograph. They are always at the front of the stage and get the best lighting. I always focus on the lead singer first and once I’ve got some awesome shots, I will follow up on the other band members.

Iggy Pop
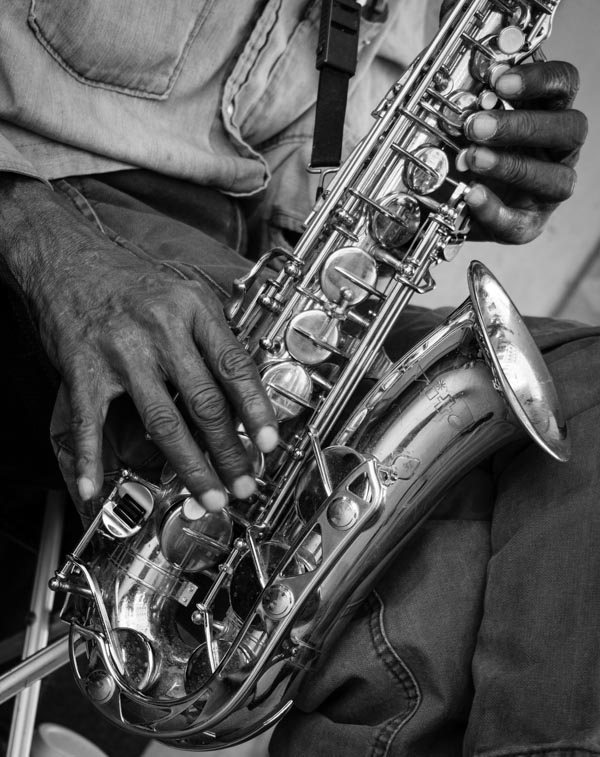
The Guitarist and the Bass Player
Next I focus on the guitarist and bass player. Both of them are standing on one side of the stage, either behind the singer or on the same level. I’ve shot concerts where the bass player was standing in total darkness, so I won´t have a chance (even with a full frame sensor DSLR, f/1.4 lens, and ISO 6400) to get a decent picture. These are the hard times of a concert photographer and you just have to accept it sometimes. However guitarists and bass players provide great shots when you catch them e.g. posing when playing a solo or jumping around.
(See photo below of Flea from the Red Hot Chili Peppers and Slash from Guns N’ Roses top of the article)

The Drummer
The drummer is the “heart“ of the band and the pulse generator. A rock band without a drummer doesn’t work, but photographers tend to ignore them in their pictures. The drummer is also the one who gets you awesome action shots if you catch them in the right moment. However, these guys are almost always in the back of the stage and therefore you need a telephoto lens like the 70-200mm to capture his presence. On bigger stages (like festivals) it can happen that the drummer is so far away, that it is not always possible to reach him with your basic lens kit. But try your best, and your efforts will be rewarded.

Chad Smith, Red Hot Chili Peppers
The Band
Also try to get a picture of the entire band. Your best bet is the use an ultra wide-angle lens such as a 14mm lens. This will allow you to get the whole stage in one picture. If you are allowed to shoot the complete show (you have to ask the band first), try to get other viewpoints such as from a balcony, from the back of the venue, or on stage.

Fink
The Audience
In addition, you can also take pictures of the audience. Just turn around in the photo pit and you are facing the screaming fans squeezed into the first row. This is a tricky one, because there is lack of lighting there and you need a ultra wide angle lens to capture some good action shots. Try to catch them when they are ecstatic about the band.

Some general notes for you as concert photographer:
- I always try to get the musicians with their instruments. So when I shoot the lead singer, I take care to include the microphone. When shooting the guitarist, get the guitar in the shot and the drummer needs to show his drumsticks, otherwise it looks strange when someone sits behind a huge drum kit, but you can’t actually see him playing.
- In general I try to frame my pictures in a way that I don´t chop off guitar necks, bass bodies or keyboards. For a close shot of the drummer you need to crop the drum kit. Thats fine, just try to get a clear framing.
- Shooting famous bands like Metallica, Iron Maiden, Red Hot Chili Peppers, they always provide good lighting on stage. It gets more difficult in smaller clubs where you are confronted with poor lighting conditions.
- Try to get some details shots too. Shoes, tattoos, fancy stage outfits such as lamps, visuals or flags. Some bands can be very creative.
Summary:
- Get to know your gear by heart first (camera settings, lenses)
- Even though the lead singer is the celebrity of the band, try to also get the other band members
- For the drummer, you often have to use a telephoto lens
- Show the context in your pictures e.g. The singer with a microphone, drummer with drumsticks, etc.
- Frame your pictures to avoid cropping off the instruments
- Get pictures of the band, audience and details on stage
- The more famous the band, the better lighting on the stage (rule of thumb)
The post Anatomy of a Concert Photography Shoot by Matthias Hombauer appeared first on Digital Photography School.


 My ebooks Understanding Lenses Part I and Understanding Lenses Part II will help Canon EOS owners decide what lenses to buy for their cameras. They are both filled with lots of tips to getting the most out of your Canon lenses. Click the links to learn more.


You must be logged in to post a comment.