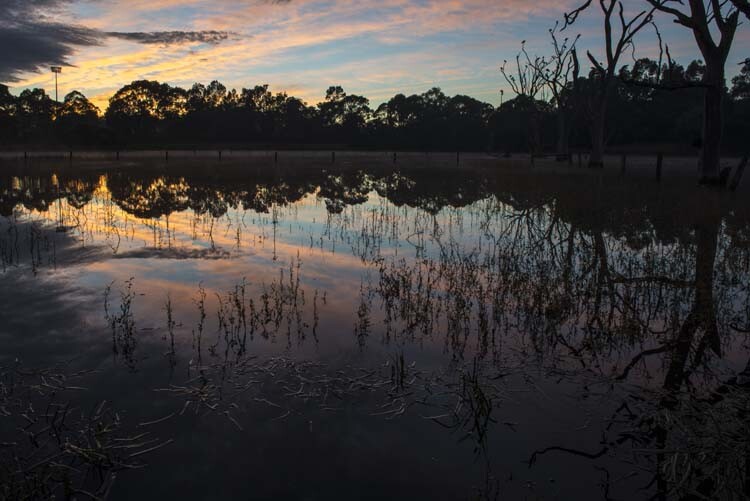
As photographers, we know that there are literally hundreds of small things that need to be done in each scene, that add up to the final magnificent shot. Sometimes when we get behind the camera, and the light becomes amazing, it’s very easy to forget one or two things, and the result is that the shot is not as good as it could have been. There are lots of details to remember, but there often some obvious things that have been forgotten. These are the common mistakes I see in many landscape images. If they were corrected at the time, the image would have been much more dramatic and powerful.
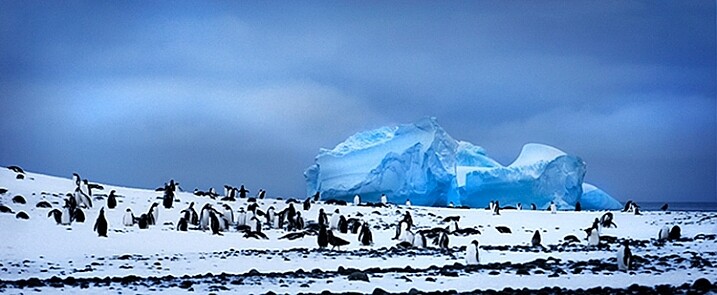
Penguins and iceberg in Antarctica.
So here are the eight top landscape photography mistakes make so you can avoid them and improve your images:
1. Stability – use a tripod
In creative images, blurriness can be very interesting. In landscape images however, you usually want your image to be sharp all the way through. The best way to be sure that your image is sharp is to use a tripod. If you are shooting in low light (you mostly will be if you are shooting landscapes) then you absolutely need to be using a tripod.
Now, there are tripods and there are tripods. For landscape photography, you might want to invest in a more heavy-duty one. The small light-weight tripods might do the trick for a while, but if you are shooting on a location and it’s windy, your tripod may get blown over, or might move because of the strength of the wind. A good tripod will also last a long time and take a beating, so buy the best tripod you can afford, and make sure you keep your camera as still as possible when shooting.
Another good piece of equipment to buy is a cable release. You don’t need to buy one of the expensive ones with the intervalometer built-in, no, just a simple cable release. Once you are set up and ready to take your shot, step back from the camera and press the button. There will be no vibration from you pressing the shutter release and your image will be nice and sharp. If you don’t have a cable release, you could use the built-in self timer to release the shutter too.
2. Get the horizon straight
This almost goes hand-in-hand with using a tripod. Many a good landscape image has been damaged by a skewed horizon. Fortunately, this can be easily fixed in Photoshop or Lightroom, so it’s not a very big worry, but you might have to crop out some details to get that right. The idea however, is to get the shot right in camera first, then edit.
You can use a few different tools to make sure your horizon is straight. Firstly, switch on the grid in your camera viewfinder, line up the horizon with the horizontal line, and you should be good. Some tripod heads have a built-in spirit level, make sure this is level and your horizon should be fine. Lastly, use the live view function on your camera, and if you have it, bring up the false horizon dial on the back of your screen, level your camera, and you are done.
I prefer levelling my horizon in camera, as it helps to save time in post production. If you need to straighten the horizon afterwards, you will need to crop the image as I noted earlier, which means your composition may change slightly. I prefer not to crop as far as possible, so getting it level in the camera is a good goal.
A crooked horizon is distracting.
Looks better now that the horizon is straight.
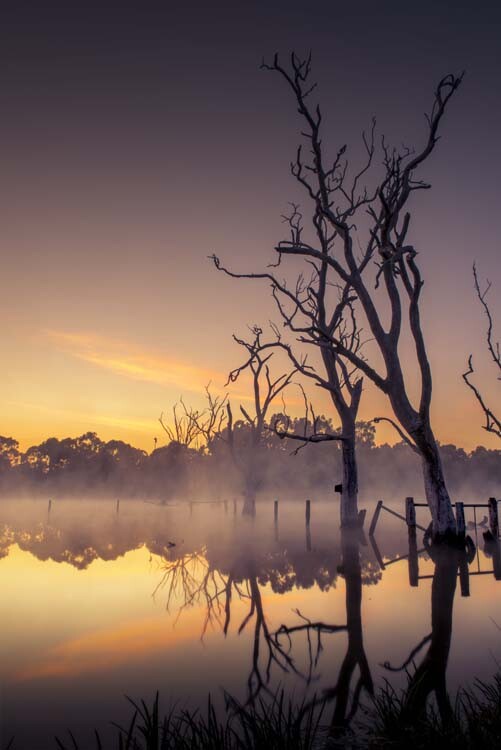
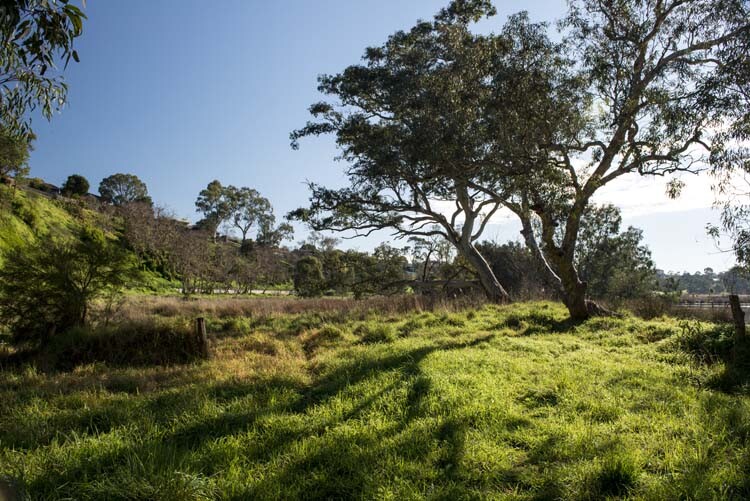
3. Shooting only in landscape format
Many photographers assume that they should shoot a landscape scene in landscape (horizontal) format. This is normally not a bad idea, but in some cases, a portrait orientation (vertical) can work really well. Think of a forest or mountain scene. If the subject shape is more vertical than horizontal, try it in the portrait format, it can add a dynamic feel to the scene.
Shoot in portrait format too!
4. Not thinking about the aperture
I truly believe that aperture is a composition tool. When you are setting up a scene, you should be thinking about your depth of field. Do you want everything from the foreground to the background to be in focus? Generally, in landscape photography, this will be the case.
If that is what you want, make sure your aperture is f/8, f/11 or higher. That way, you will ensure that everything is in sharp focus. If you are at f/2.8, and you focus on the foreground, the background will be out of focus, and the middle of your scene will be soft. This should be one of your key checkpoints when you set up the shot. If you are using a wide aperture and the mountains in the distance are out of focus, this cannot be fixed afterwards in Photoshop…not yet anyway!
In a landscape image, you will likely want everything in focus.
5. Shooting using the camera’s landscape mode
Yes, you may have a landscape setting in the scene modes on your camera. As much as possible, try not to use it. Why? Well, it’s not great at making the exposure look good for your scene. What it will do is set your aperture to f/8 or even f/11, but it may not render the scene as effectively as you could do using manual settings. The scene settings are designed to work within certain parameters and in low-light conditions, they are not always the best choice. Try and shoot your landscapes on manual settings as far as possible, that means that you control ISO, shutter speed and aperture.
6. Standing next to other photographers
If you see a group of photographers standing on the top of a hill, it might be a good idea to shoot from somewhere else. This is not to say that other photographers have got it wrong, rather what I mean is, you want to go home with a different image to the others. Sometimes, the best composition or vantage point is at one particular spot, that’s fine, take a shot from there, but look for other places to get a great shot too.
It’s a good idea to scout a scene before you shoot it. Go and take a walk around the day before, look at where the sun will be setting, and decide on your position. Don’t simply follow the crowd, then your images will look like the rest of the images taken there.
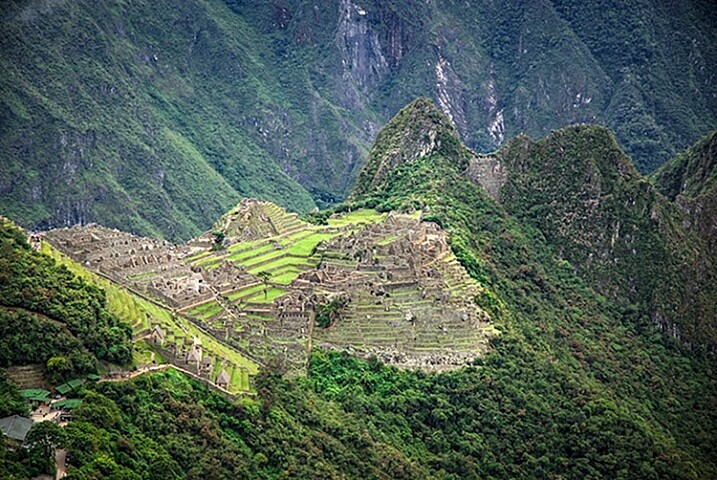
A different vista of Machu Picchu.
7. Uninteresting negative space
Negative space is the space that surrounds your subject. This space can truly make, or break, your image. In most cases, the sky is the negative space in a landscape scene. A clear blue sky looks great, but some wispy soft clouds can really make the scene dramatic. If the sky has no clouds and is clear, this can make the scene seem uninteresting.
If you find that in your scene, make the sky a smaller portion of your image, if there are some great looking clouds, give it more space in your scene. Sometimes, you don’t have a choice, you may only be able to get some shots on a particular day. In that case you need to get what you can. If you don’t have this constraint, try to go back on another evening, when there are some clouds in the sky. Clouds give the sky detail, they reflect the sunlight, and can look yellow orange against a blue sky. This makes for a much more interesting scene.
The sky had no clouds, so I made it a small part of the image.
8. No clear subject
It sounds crazy, but it is very easy to have an unclear subject in landscape photography. Most often, landscape photography is of a natural scene, mountains, forest, river, seascape, deserts, etc. Whichever one it is, make sure that it is clear to your viewer.
If you are photographing a mountainous scene, make sure you use a lens that works for that scene. Landscape photographers are tempted to think that every image needs to be taken with the wide angle lens. Sometimes, this can cause the mountain range in the background to seem small and insignificant. The same can be true in any of the other types of landscape photography. Be sure that your viewer knows what they are supposed to be looking at, and show them that, and the beauty that surrounds the subject. Get close to your subject, as close as possible, and if it’s not close enough, maybe you need to use a different lens to get closer. A 50mm lens can be used in landscape photography, so can a 200mm lens, it all depends on what you want the viewer to see.

The iceberg in front of the ship is clearly the subject here.
Next time you are planning a landscape photo shoot, run through these points quickly and see how it works out for you. If anything, you will be more mindful and deliberate about what you are shooting, and that will immediately improve your images. Enjoy.
googletag.cmd.push(function() {
tablet_slots.push( googletag.defineSlot( “/1005424/_dPSv4_tab-all-article-bottom_(300×250)”, [300, 250], “pb-ad-78623” ).addService( googletag.pubads() ) ); } );
googletag.cmd.push(function() {
mobile_slots.push( googletag.defineSlot( “/1005424/_dPSv4_mob-all-article-bottom_(300×250)”, [300, 250], “pb-ad-78158” ).addService( googletag.pubads() ) ); } );
The post 8 Common Landscape Photography Mistakes by Barry J Brady appeared first on Digital Photography School.

Digital Photography School


You must be logged in to post a comment.