We all know that one essential ingredient to a great photograph is beautiful light, and that some of the best light happens during sunset. But what truly makes a great sunset photography location?
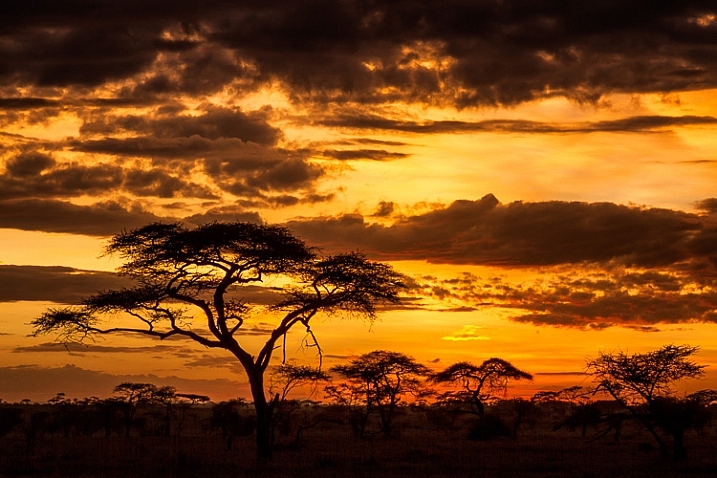
Acacia tree or umbrella thorn in Serengeti National Park, Tanzania.
In my experience, the best locations are ones where you can find two different compositions, that will work under different lighting situations, to double your chances of making a spectacular sunset image.
To understand what I’m getting at, first think about the direction of light. As the sun descends in the sky and approaches the horizon, the last of the sun’s rays have a wonderful warm hue, that can light up the tips of mountains, and cast a golden glow on the land in the direction opposite the sun. Then there’s usually a lull for a few minutes when nothing much happens, giving you a chance to change position to face the sun. When the sun falls below the horizon, you’ll have an opportunity to make backlit or silhouette photos.
Finding Your Location
It’s best not to leave location scouting for the last minute, or you won’t have enough time to find a spot with two good compositions, in both directions. Scouting a location is a good activity for mid-afternoon, when you’re probably not going to be photographing anyway, due to the harsh light. Leave your gear at home, or only take minimal equipment to record the scene, so you don’t have a heavy load and you can move quickly and easily.
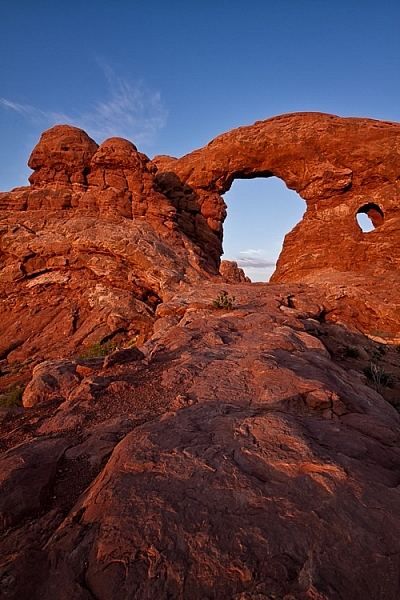
Arches National Park, Utah
Before you go scouting, don’t forget to find out the exact direction where the sun will set. This is easy to find with a quick internet search and a compass, or using an app on your phone or tablet.
When you are scouting, what you’re looking for is a good composition for both a front-lit scene and a backlit scene. They don’t necessarily have to be at the exact same spot, but it should take you no more than a few minutes to walk between them.

Sunset at Arches National Park, Utah.
Composition Tips for Front-lit Scenes
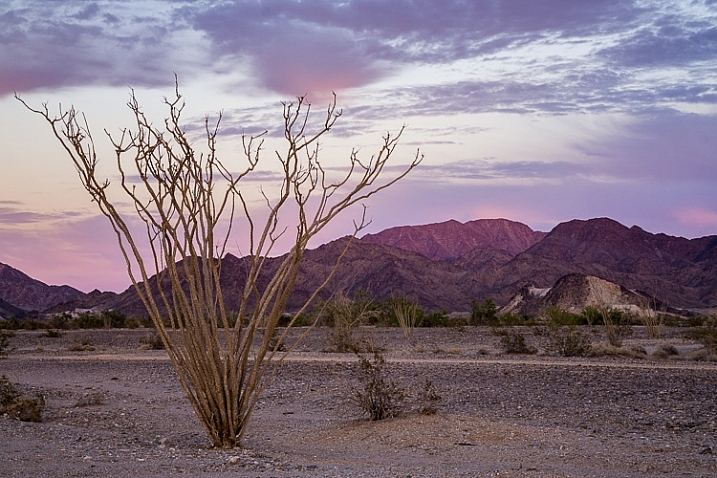
For your front-lit scene, you are going to have nice golden light throughout the landscape, and if there are any mountains in your frame, they will have dramatic bright light on the top. What I usually look for in this kind of a scene is depth, by using foreground elements to emphasize the distance between foreground and background.
Try to find some leading lines that will guide the viewer’s eye through the image, and ideally lead to something in the background. Or, find other interesting features, such a plant or colourful rocks, to place in the foreground of the scene.
Composition Tips for Backlit Scenes
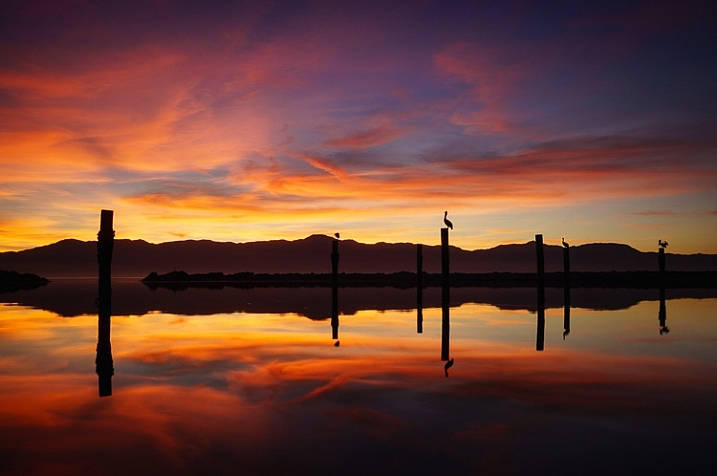
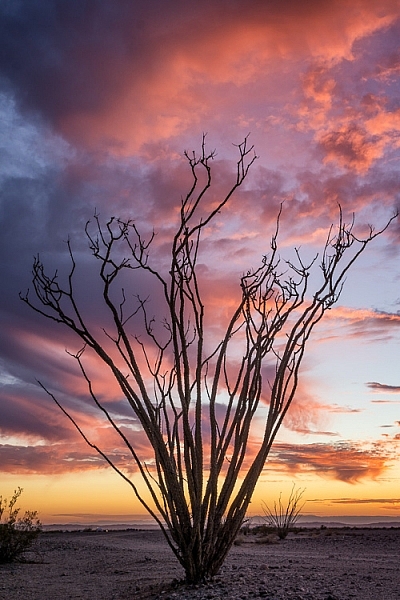
Once those final rays have disappeared from your front-lit scene, you’re ready to change positions and get ready for the backlight. In a backlit scene, everything on the ground is going to be in shadow, so you no longer need to worry about depth – it’s all going to be black anyway. So now what you are looking for is something with a great shape, to make an interesting silhouette against the colourful sky. This can be jagged mountains, sea stacks on the ocean, a cactus, or anything else that has a really strong shape. Don’t pick anything that is going to just look like a vague blob of darkness.
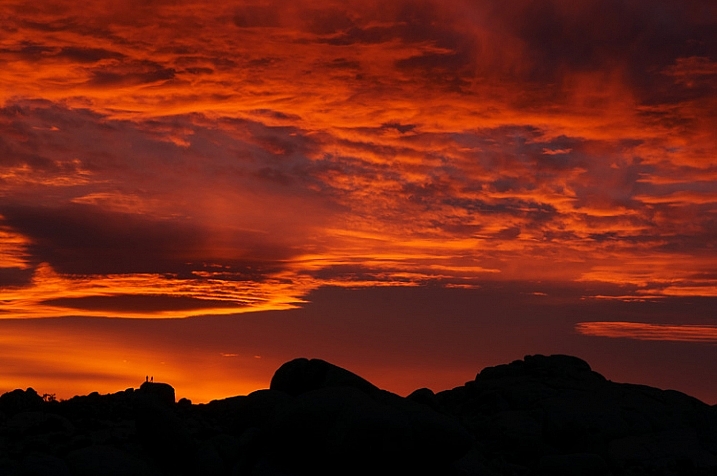
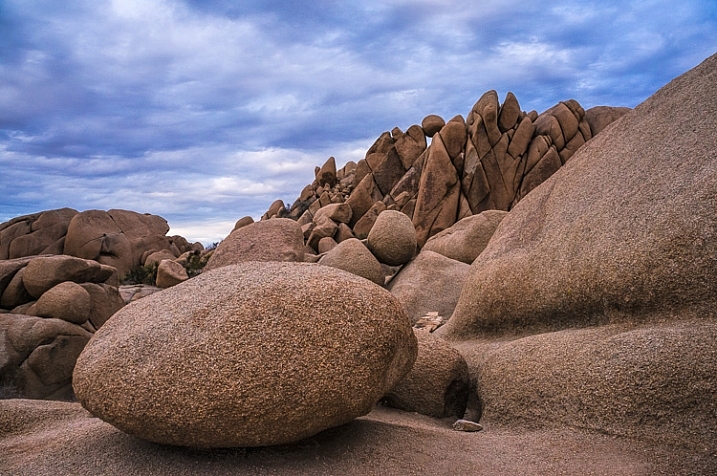
Sunset at Joshua Tree National Park, California
In the Field
Keep these composition ideas in mind when you scout your location, and if you need to, mark your chosen spots with a GPS while you are scouting, to make it easier to find your location when you return to the scene for sunset.
Go early! If there are any clouds on the horizon where the sun will set, the last rays for your front-lit scene will come sooner than expected.
Ogilby Road near Yuma, Arizona.
Exposure for Front-lit Scenes
As the sun descends in the sky and approaches the horizon, your scene will have a more even exposure than it would have earlier in the day. But you still may want to use a graduated neutral density filter, to even out the exposure between the brighter sky and the darker land.
Exposure for Backlit Scenes
When exposing for a backlit scene, it’s important not to use an exposure setting that takes the whole frame into account, like matrix or evaluative metering. Instead use spot metering, and meter on a sky portion of your image, which will capture the dramatic colours in the sky, while allowing your subject in the foreground (the one with the great shape) to become a silhouette.
Conclusion
You can only plan so much when it comes to sunset photography, the rest is up to mother nature. You can only guess what is going to happen with the clouds and the light. When you get there, you may only have clouds for your front-lit scene and not the backlit one. But at least if you plan out two different shots, you’ll double your chances of coming home with a stunning sunset photo.
googletag.cmd.push(function() {
tablet_slots.push( googletag.defineSlot( “/1005424/_dPSv4_tab-all-article-bottom_(300×250)”, [300, 250], “pb-ad-78623” ).addService( googletag.pubads() ) ); } );
googletag.cmd.push(function() {
mobile_slots.push( googletag.defineSlot( “/1005424/_dPSv4_mob-all-article-bottom_(300×250)”, [300, 250], “pb-ad-78158” ).addService( googletag.pubads() ) ); } );
The post How to Find a Great Sunset Photography Location by Anne McKinnell appeared first on Digital Photography School.


 Mastering Lenses
You must be logged in to post a comment.