One of the triumphs of digital photography is that it has become accessible to more people, across more and more devices. Cameras are no longer standalone devices; as the technology allows the camera to be smaller and smaller, it can be built in to other devices that you may have on you more often than a dedicated camera, such as a smartphone. Cameras in smartphones, and other devices like tablets for example, are producing images of an increasingly higher standard. Their low-light performance is improving, and manufacturers are constantly improving upon the dynamic range, autofocus, and lens quality.
Photographer Chase Jarvis said that, “The best camera is the one that’s with you” – so why not use your smartphone or tablet camera more often? There are restrictions on smartphone cameras over their DSLR or mirrorless camera brethren – their low light and AF performance still have quite a lot of catching up to do, the lenses cannot be changed, and you also have far less control over what settings (ISO, shutter speed, aperture) are used. But it is also these very restrictions that can help you improve your photography when you are using your DSLR, mirrorless, and even compact cameras.
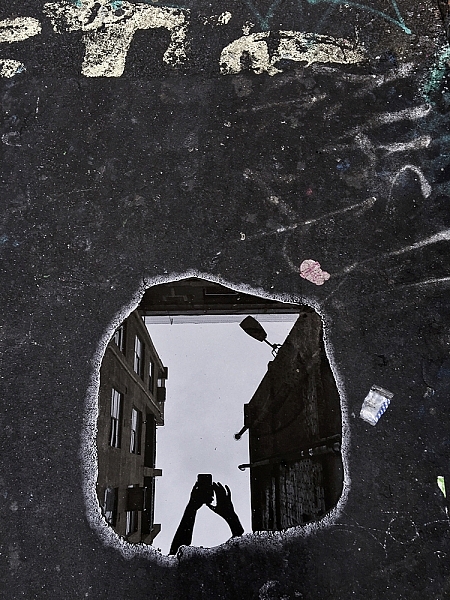
Puddles, and other reflections, can make for interesting subjects.
So how can these restrictions help your photography? Simple, you have less to think about! You no longer have to worry if you have the correct settings dialled into get the exposure you want – you’re phone will work that out. You do have some say in the overall exposure; you can control how bright/dark the image turns out, but that’s it! Worried you don’t have the right lens for the photo you want? Too bad. With your phone you can’t change it, even if you wanted to. There’s another thing you don’t have to worry about.
You can’t control the camera settings. You can’t change your lens, and you generally have poor Autofocus (at least, poor continuous AF). So how can you take great photos with a smartphone? You need to think less about what you cannot control and more about what you can control. For example, no matter what camera you have, you can always control the composition. You can decide from which angle you take a photograph – will you take it down low, looking up or up high, looking down – and which direction you stand in relation to the light. Photographing toward the light can create stunning silhouettes, so looking for striking shapes will help here. You have full control over how close, or how far, from the subject you stand. You dictate what you include in the frame, and what you omit. All of these elements work to make images more interesting, and by removing the control over some of the more technical features as mentioned earlier, you now have more time to consider the compositional elements.
Controlling Focus and Exposure

Focussing and exposing on the candle has made the background go very dark. This works well to isolate the subject more.
Across most smartphones, touching the screen on the area you want in focus, will make the phone focus on that area. In addition, this is also where the phone will take its exposure reading. There are some camera apps available that will allow you to focus on one area and have the phone take its exposure reading elsewhere. You may also be able to increase or decrease the exposure of the image. How to do this will depend on the phone you are using, but for iPhone users, after tapping the screen to focus, sliding your finger up/down will alter the exposure compensation.

Another image taken with the sun behind the subject. This time, the light makes the bottle glow.
Creating Shallow Depth of Field
Despite many newer smartphones having fast apertures (the iPhone 6 and 6s use an f/2.2 lens), their tiny sensor sizes make getting that nice creamy background bokeh a little more challenging, than with other cameras. If you’re unaware, generally the larger the sensor, the easier it is to create stunning bokeh. However, if you have a little understanding of depth of field, then you can create images from your smartphone with a blurry background. You can achieve this by reducing the distance between your subject and the phone, and increasing the distance from your subject to the background.
Make Your Images Pop
Post-processing is another tool that we have in our arsenal as photographers to make an image more striking. Introduce that to your phone photos. There is a plethora of apps available that give you varying levels of control with the post-processing phase.
Some apps, like VSCO, have a vast range of filters that you can apply to images, and allow you to tweak areas, such as highlights and shadows, to get a different look. Other apps like Adobe’s Lightroom works much like the desktop variant, allowing to develop your images with a more natural touch. Photoshop and Photoshop fix (Note: it is called Photoshop Mix for Android) are both from Adobe and offer varied editing options that are fantastic at polishing up images in the final stages. Personally, I use Lightroom and Photoshop fix on my content now. However, in the past I used SnapSeed and found that to be great fun to use, too. It’s up to you which editing app you decide to employ, and how involved with it you become.

Looking for clean shapes to create a striking silhouette in an airport.
Other Tips to Consider
- Take a lot of photos: Sometimes things happen fast. Don’t be afraid of taking a lot of photos. The perfect shot isn’t going to come with every single click. The trick is to take more photos than what you really need, then pick the best one from the bunch. If you do this, then you will have more to choose from, and a higher chance of getting one that stands out.
- Learn how to see light and how it interacts with its environment: Light is the most important object in a photograph. It doesn’t matter what camera you’re using, how well you know how to use it, or how amazing your subject is; it all counts for nothing without light. You’ll often hear photographers talking about the Golden Hour, which is early in the morning and again in the evening when sun is lower, softer and the light is more directional.
- If you’re photographing with the sun behind you, know how that will make your subject look. Do you want to light up their entire face, for example? Or do you want to shoot from the side? If you move so the sun is behind the subject, then consider photographing them silhouetted. If the light source is behind the subject, the foreground will always be darker than the background. The way you position your subject – or wait until the light is right for your subject – is how you make an image more creative and stand out.
- Watch your background: Something that is often overlooked in an image is the background. A bad background can bring a great subject down. You need to think about your photo and what makes it interesting. If the subject you’re photographing is to be the only thing in the photo, then you should use a nice clean background, that isn’t going to draw away people’s attention from the main subject. However, backgrounds can also add to an image, and are great for environmental portraits.

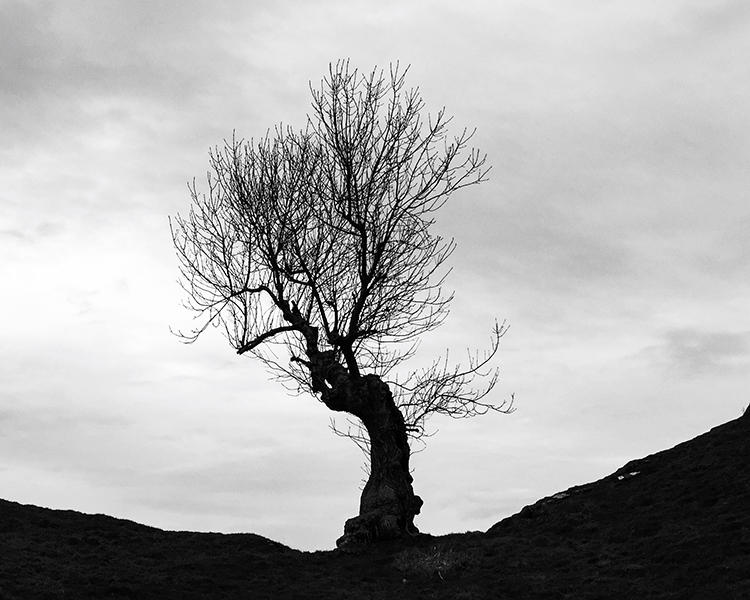
I loved the peacefulness of the light here and the silhouette of the palm tree.

Here, I photographed toward the light and decided to include the flag on the right to add a little more interest.
Conclusion
Whilst there are many limitations to using the camera in your smartphone, or indeed a tablet, it can help teach you how to work around limitations, and still create striking images. Their quality is clearly not going to be as high as a dedicated camera’s quality will be, however, it’s still a lot of fun to be able to capture a great image on a device with such limitations.
Below are some more images that I have taken with my iPhone. Feel free to share some images you’ve taken on your smartphone or tablet in the comments below, as well as your favorite camera and processing apps.

I found the leaves of this plant to be quite striking. By photographing from a very low perspective, I was able to make my subject pop out more against a plain blue sky. The position of the sun also creates interest as the light kicks off edges.
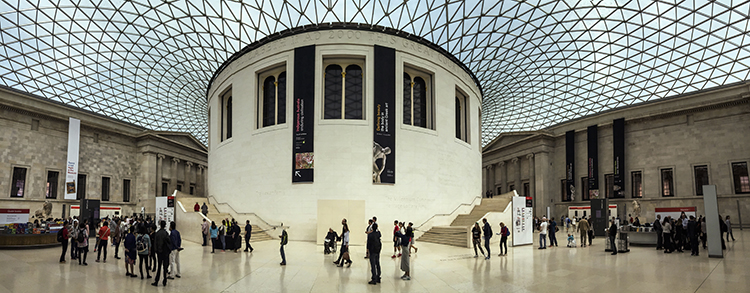
The in-built panorama feature of my phone worked well to create this image.

Another image where the panorama mode worked quite well.
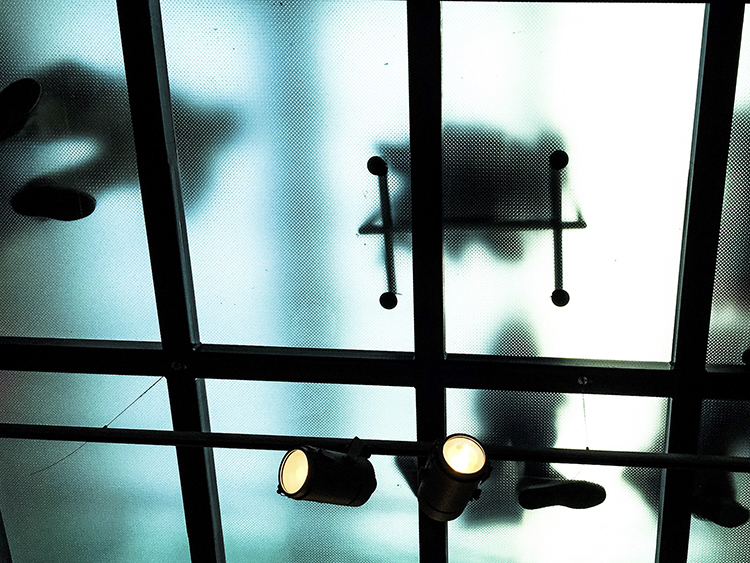
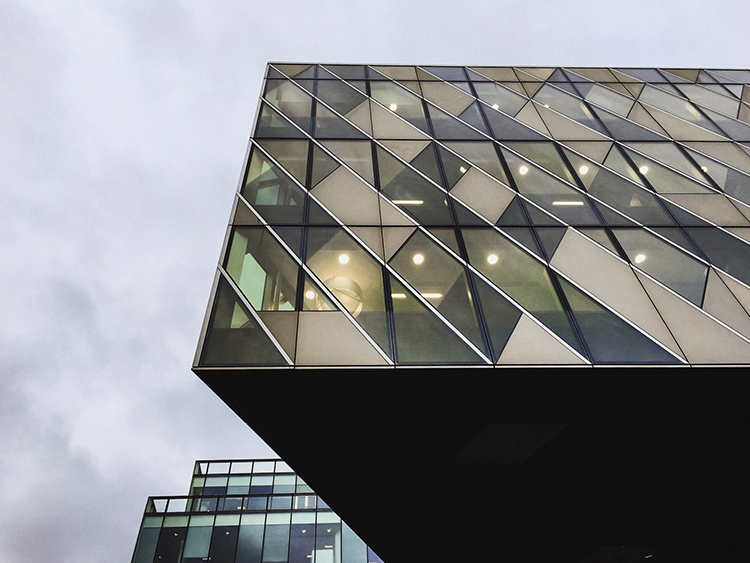
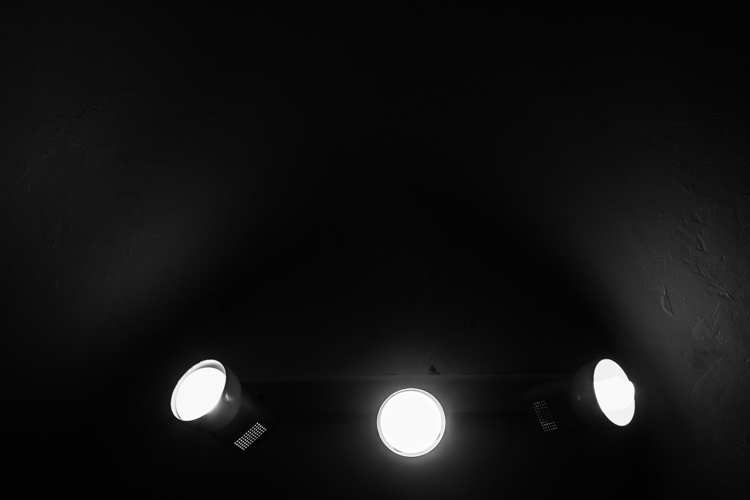
Don’t be afraid to look up! In this image, the floor above me was frosted glass and made for some interesting shapes.
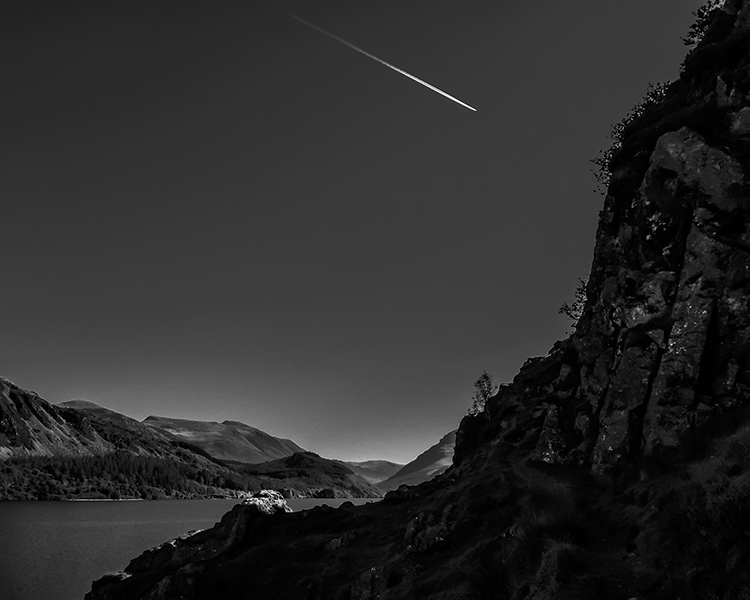
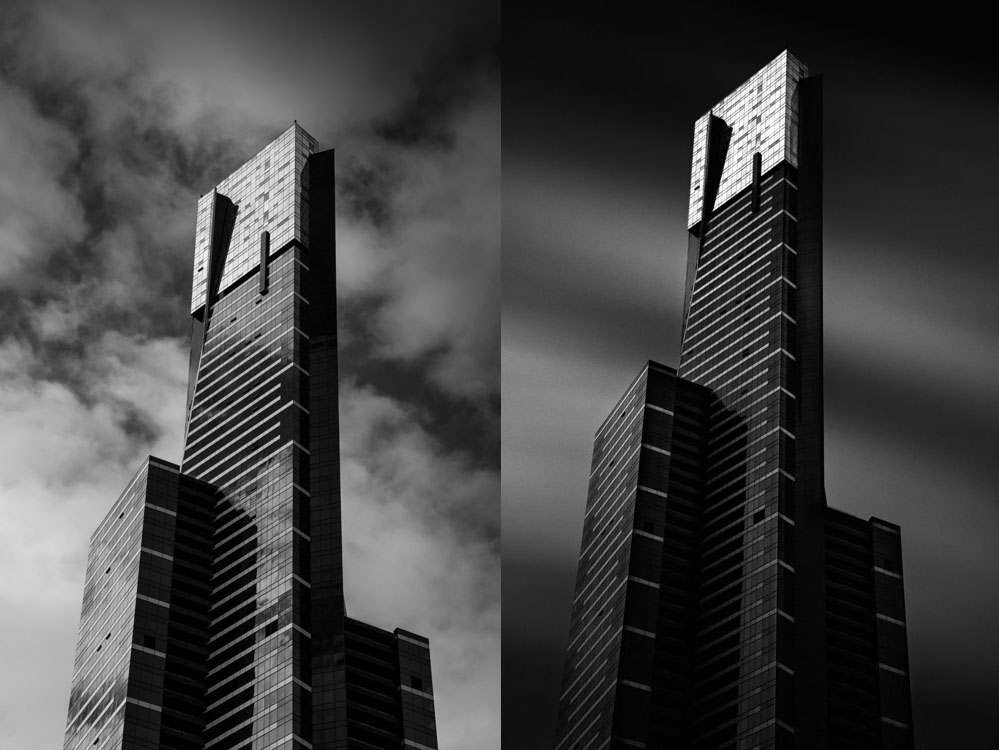
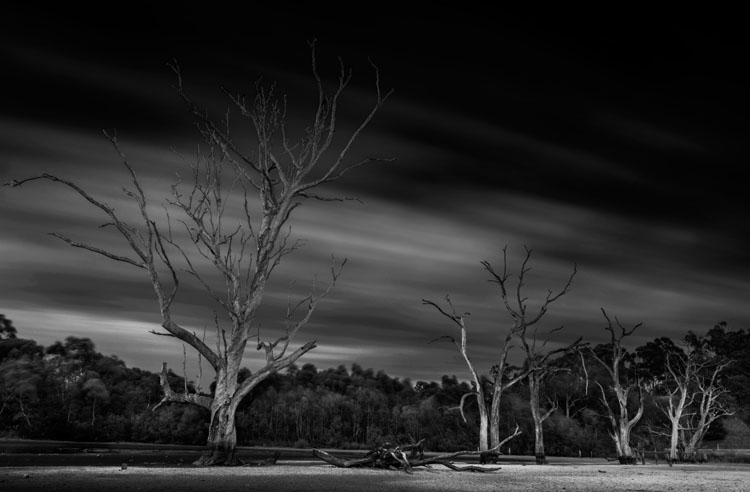
Converting this image to black and white has given it an almost unearthly feel to it.

Photographed looking straight down. Simple images often work best not just with smartphones, but in photography in general.
The clean lines of these buildings create some interest.
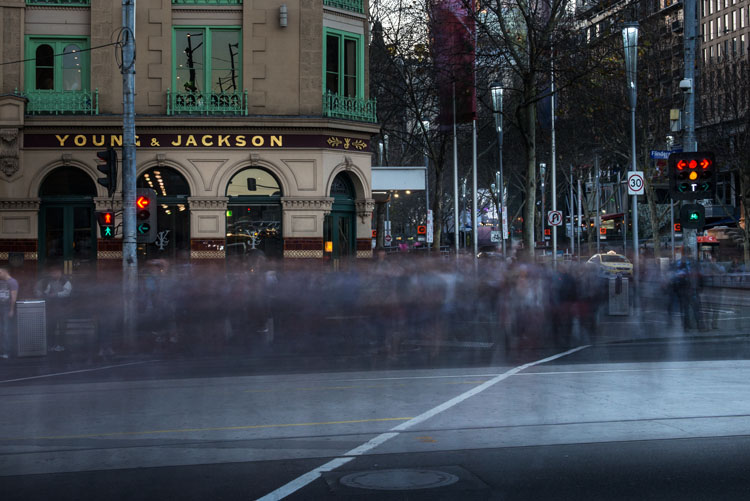
Again, photographing down low I was able to show an every day scene from a different perspective.

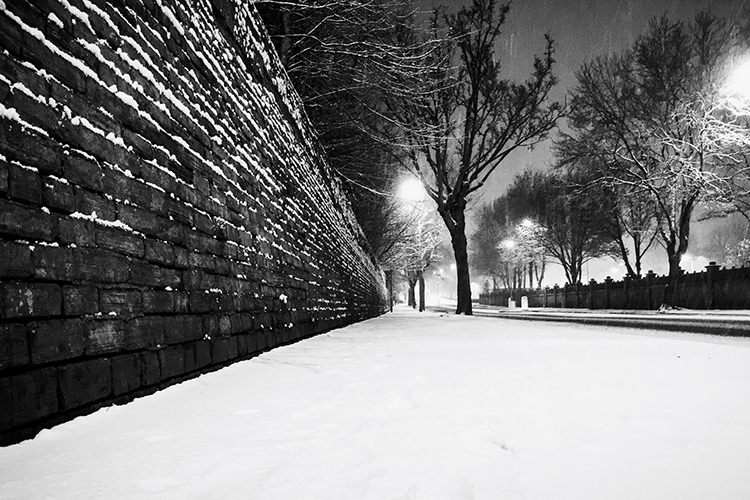
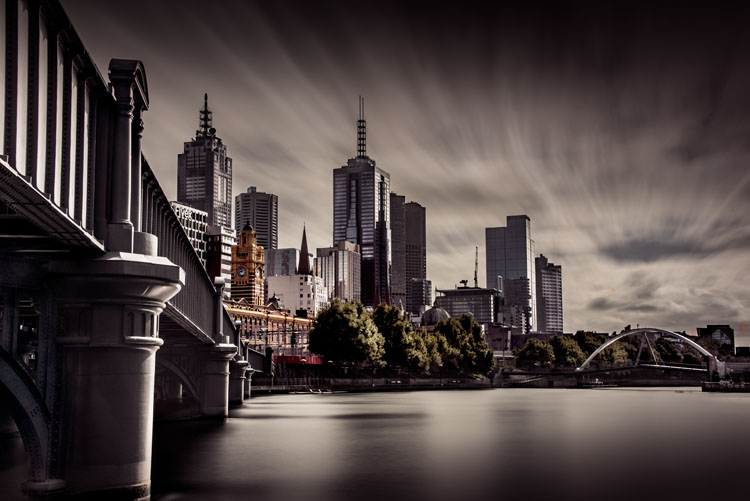
The same principles used in this image will work very well on any camera. The road in this image creates a sense of depth.

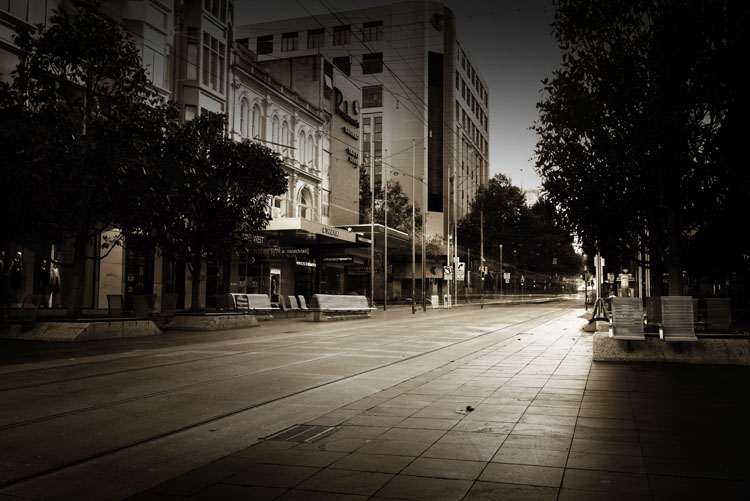
The quality and direction of light help make this image. These are qualities you should always look for; no matter what camera you are using.

googletag.cmd.push(function() {
tablet_slots.push( googletag.defineSlot( “/1005424/_dPSv4_tab-all-article-bottom_(300×250)”, [300, 250], “pb-ad-78623” ).addService( googletag.pubads() ) ); } );
googletag.cmd.push(function() {
mobile_slots.push( googletag.defineSlot( “/1005424/_dPSv4_mob-all-article-bottom_(300×250)”, [300, 250], “pb-ad-78158” ).addService( googletag.pubads() ) ); } );
The post How Using Your Smartphone Camera Can Help Improve Your Photography by Daniel Smith appeared first on Digital Photography School.


You must be logged in to post a comment.