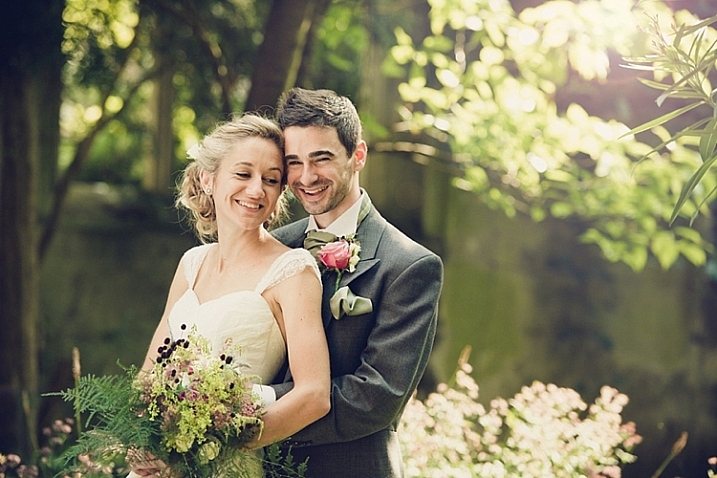
You may have seen a lot of candid photography all over the Internet and wondered, what is it all about? If you’ve never tried it before, or only have a bit of experience, I am going to lay out a roadmap to help you get started and improve your street photography.
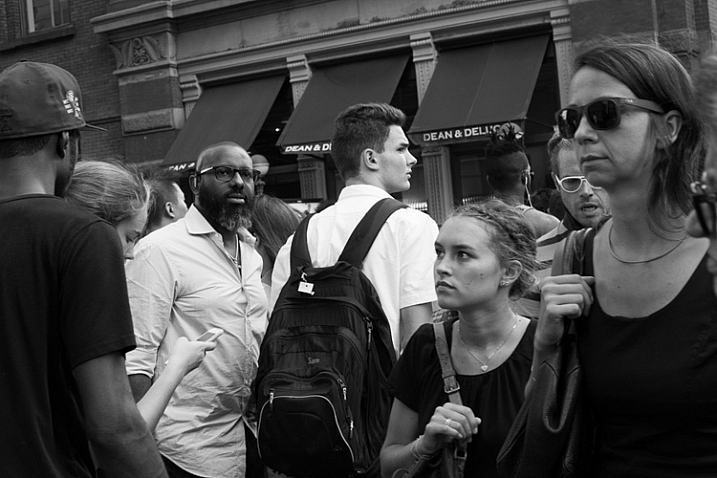
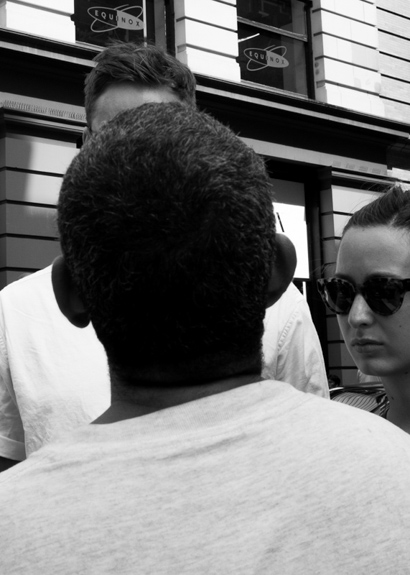
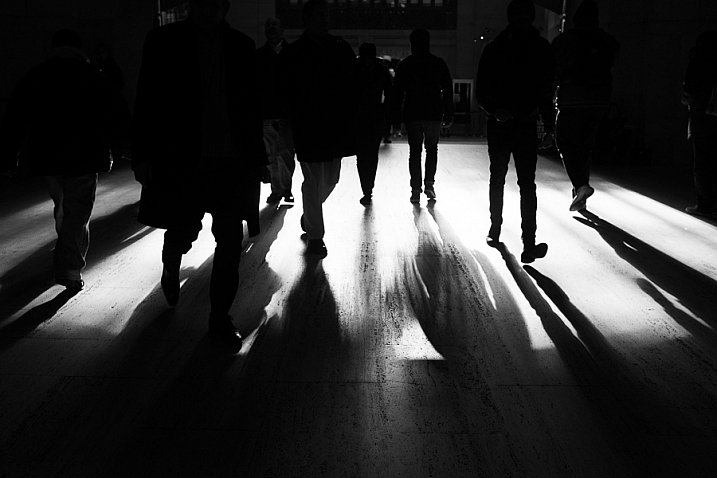
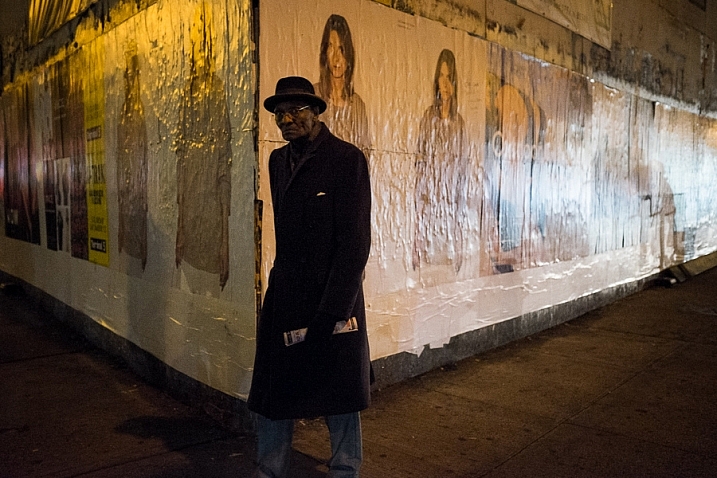
Street Corner, SoHo, NYC.
Street photography is the art of capturing life, culture, and humanity, in a candid manner. It is fascinating because a small percentage of photographers seem to be naturally drawn to it. Even before hearing about the phrase street photography, which can be a clunky term anyway, there are many photographers who prefer to point their cameras in the direction of culture and people that they’ve never met before, over mountains, sunsets, and landscapes.
However, if you haven’t done it before, street photography can be very intimidating to actually pull off. It’s one thing to admire it from afar, but it’s another to get in there and get your hands dirty. I promise though, that it’s a ton of fun and is a very rewarding art form to practice.
Here is list of my favorite tips to get you off and running.
1. Just do it
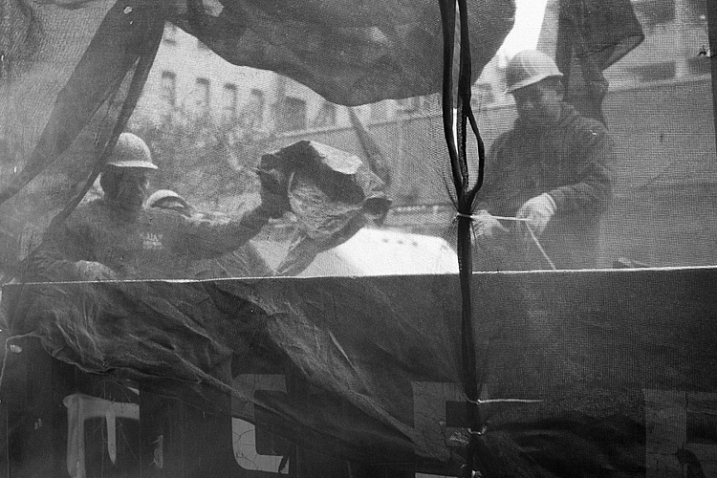
Construction Workers, Lower East Side, NYC.
You can have all the tips in the world to get started. I can explain all of the techniques that I have learned from others and found so helpful over the years, and I will cover them here, but nothing beats pure, unbridled enjoyment and enthusiasm. No matter how much you learn, nothing beats the experience gained by being out there.
Street photography is one of the most difficult forms of photography, because it is so unplanned. A world of content is out there for you, and it is your job to go find it. You must develop your own visual language, to be able to see interesting moments, then to figure out how to capture them all in a quick, spontaneous instant. This takes regular practice. I’ve been doing street photography for nearly 15 years, and any time I take a month off (usually in the depressing February winter in New York), I feel very rusty when I grab the camera again.
Put in the hours, experience trumps everything. Enjoy the feeling of being out there, because it’s necessary to love it, to be able to put in the time to be successful.
2. Technical skills
Here are a few of the technical skills that are most important for street photography. I try to have my camera set up in a way so that I almost forget it’s there. So, it’s just me, and what I am seeing, and the camera doesn’t get in the way.
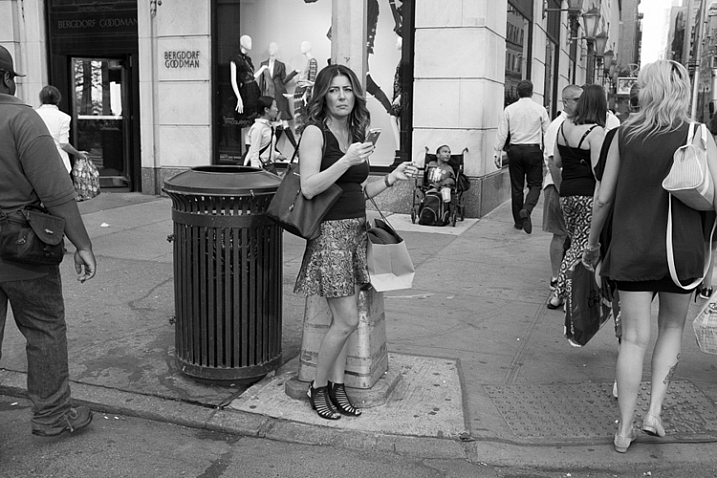
Bergdorf Goodman, 5th Avenue, NYC.
There are many different ways to set up your camera, but I prefer to shoot in Shutter Priority mode with a shutter speed around 1/250th of a second. That is a good minimum, to make sure you can freeze the motion of your subjects. In dimmer light, you can go to 1/160th and even 1/125th and still be okay. In strong sunlight you can go all the way up to 1/400th or 1/500th, but 1/250th is the number to keep in mind (as a good starting point).
Raise your ISO. There is no reason to go below ISO 400 for street photography, and I suggest staying between ISO 800 and 3200 when you’re not in bright sunlight. The reason is because, if you want to shoot at 1/250th, and you also want to use as small an aperture as possible, then something has to give, and that is the ISO.
You might be asking why it’s good to use a small aperture for street photography. That’s a creative choice of course, and sometimes the light is so low that you must shoot with as wide an aperture as possible. There are street photographers that prefer the look of a shallow depth of field for all their work. However, there are a few reasons why I believe a small aperture, and a lot of DOF is preferable. Because of the spontaneity, you never know where your subject is going to be, or if you are going to have multiple subjects at different depths. In addition, if you happen to miss the focus a bit, your subject will still be sharp if you are using a larger DOF. Finally, context is important. You are capturing culture, and surroundings are a part of the story. Do you really want to blur the surroundings away? The environment is a major part of street photography.
Greene Street, SoHo, NYC.
While a prime lens is not necessary, it can be very important for street photography, for a few reasons. First of all, zoom lenses are heavy and large. A small, light prime makes your camera a pleasure to carry around, and it looks much less imposing to your subjects. In addition, it can be a big advantage to get used to using a single focal length. You will start to learn how your camera sees, in a faster, and more intuitive way. I can’t overstate the previous sentence. When I wrote about forgetting that the camera is there, a prime lens is very important for this.
I prefer to use wide-angle primes, with 35mm and 50mm being my favorite. I like the wide-angle view because it will make you get closer to your subjects. In addition, the viewpoint will allow your foreground subjects to be more prominent and larger in the frame, while still being able to fit in more of the background, since it will be proportionally smaller. It’s a great look. If you are using a cropped camera, remember that a 35mm lens might not actually be a true 35mm view because of the crop factor, so try one that is the equivalent of a 35mm view.
3. Take photos for yourself
It is certainly important to see other people’s viewpoints and to pay attention to the images that they like, but I want you to focus on photographing for yourself. Capture an image that you love, first and foremost, and don’t worry if other people don’t get it. Street photography is still a niche genre, compared to other photography forms such as landscape, and because of that there are a lot of people that aren’t used to it.
Take weird images, take personal images, take ugly images, and take risks with what you capture. Be creative and have a good time. The more your images become a reflection of your voice and what you like, the better your work will be.
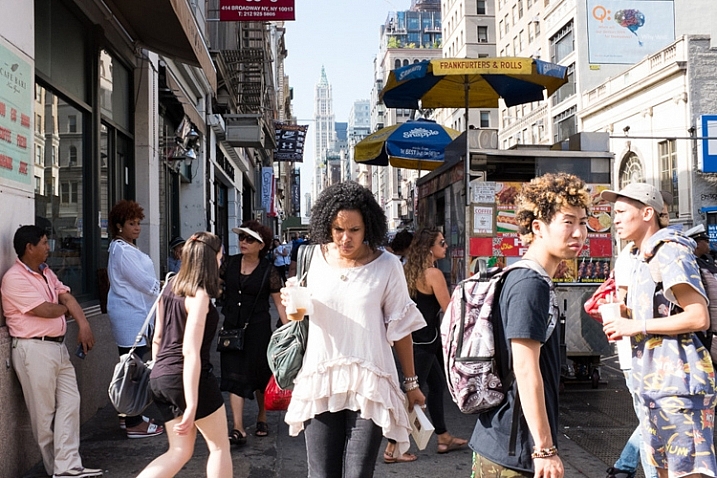
Panhandler, Broadway, NYC.
4. Shoot in a variety of locations and show us your area
A busy street corner in New York is usually the first place that comes to mind when people think about street photography, as it should be. New York has such a diversity of content, and that’s the reason why it’s one of the great meccas for street photography, but it is also only a very small part of the entire street photography world.
Street photography can, and should, be done anywhere. It can be done indoors, in coffee shops, at events, along country roads, or in small towns – you name it. Street photography is about culture and life. It is an idea, and a feeling. It doesn’t even need to have people in the images, just the hint of people.
The more you are able to capture images in the course of your daily life, the better you will become at it. Your images will be more personal and unique. For this reason, I suggest considering eventually trying a smaller camera, such as a Fuji X100T, a micro 4/3rds or mirrorless camera, or even a mobile phone camera, for the times where you don’t feel like bringing your large SLR. These cameras make it fun to capture images on a daily basis. You might bring one of these smaller cameras on a trip to the corner store, whereas a larger SLR would be more cumbersome for that situations.
5. Pick a location and wait there
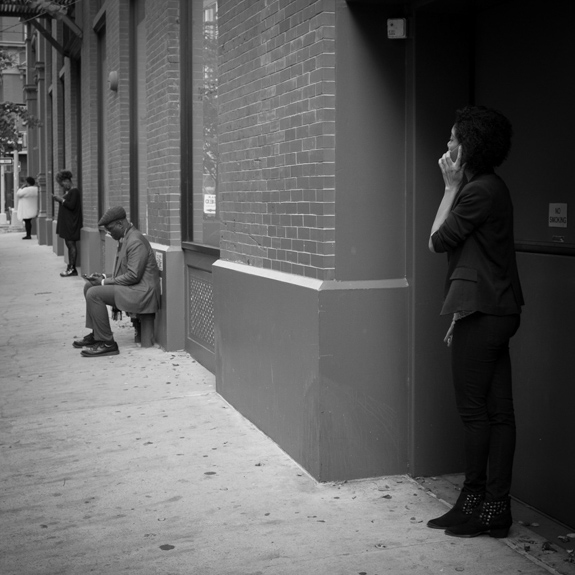
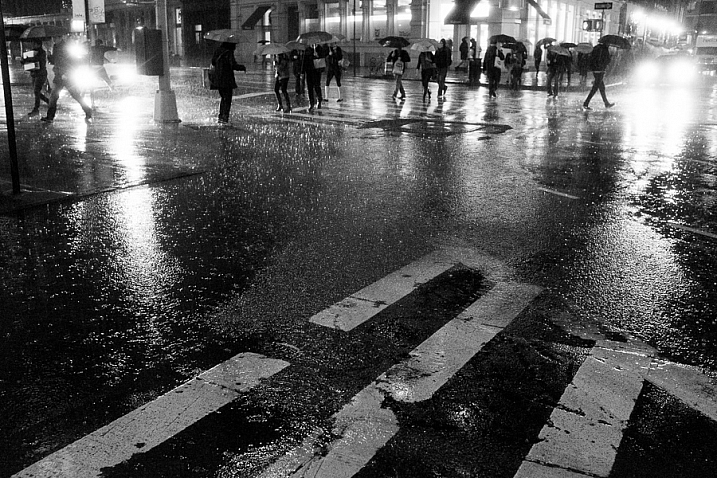
Canal Street, NYC.
It can be intimidating to photograph people candidly. I still feel pretty intimidated, depending on the situation. To offset this, one of my favorite techniques is to pick a location, and just hang out there for awhile. Find a spot where you think an interesting moment could happen, and then wait for it to unfold.
By waiting and not walking, you will spend more time looking around and watching, as opposed to moving. Then, when that moment happens, you will already be in position, and ready with your camera to capture it. Also, your subjects will be entering your space, instead of you encroaching on their space. If you are walking down a street and see someone that you want to photograph, it’s much tougher to get in their space, and still take a good candid photograph. By stopping and letting them come to you, not only will you be ready with your camera, but you can make it look like you are just photographing the surrounding area and they happened to enter your scene.
Go back to the same locations, over and over again at different times, and in different light. The more you get used to a location, the more you can anticipate what will happen there, and the more comfortable you will become photographing in the area. Also, people will start to get used to you being there.
Of course you should still walk around, but I prefer to break up long walks, with periods of waiting in good locations.
6. My favorite trick
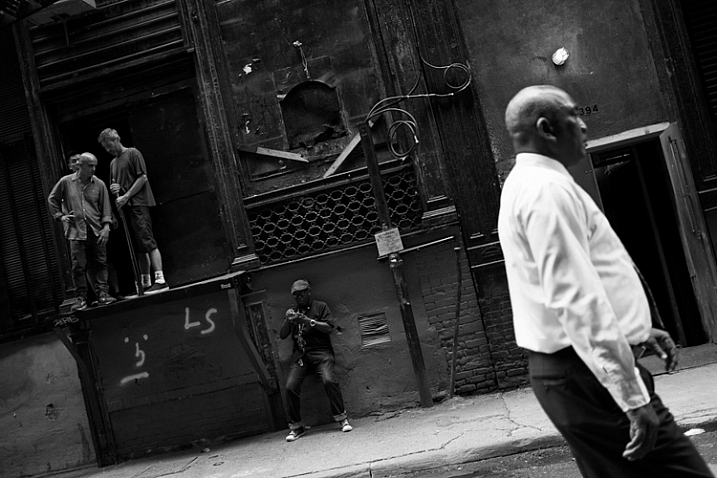
Cortlandt Alley, NYC.
A natural reaction after you take a photo is to immediately take your camera away from your eye briefly. Take a picture and see. This is the number one thing that will tip someone off that you’ve taken their photograph. We don’t want to be too sneaky and creepy, but we also don’t want every person we’ve photographed to know, and stop us to figure out what we’re doing. That’s just tedious.
Whenever I capture an image of someone, I try not to remove the camera from my eye. I leave it there as they walk through the scene, as if I was trying to photograph the background and they got in the way. If you watch other photographers do this, you will see that sometimes the subjects will first think, “Hey did that person take my photo”, they will look back, and when they see the photographer with the camera still at their eye they will likely keep going, thinking that they were just in the way.
The flip side to this is when you are in an empty area, instead of a busy one. It is tougher to do this trick when there are only a couple people around, so what I will do in these situations is to aim up above, or to the side of the person, like I am photographing a building or a nice background. I will pretend to take an image or two, and then at the last second I will move the camera so that they are in the scene, in the right composition. I will quickly take the picture and remove the camera from my eye. When done right, it looks like you photographed the area above or next to them.
7. Don’t be too creepy
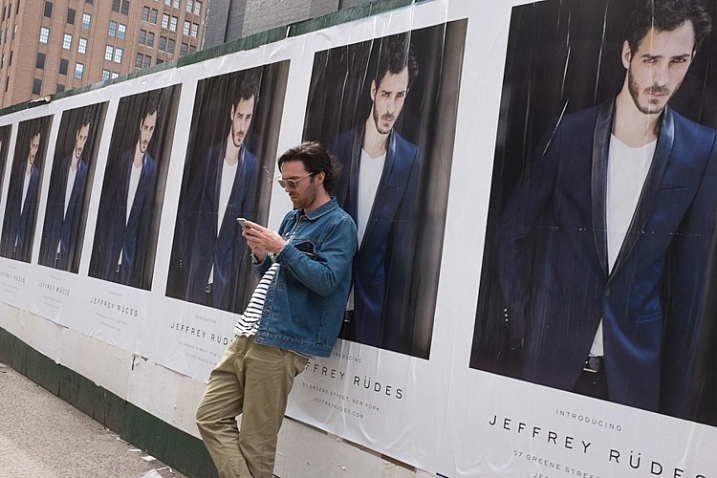
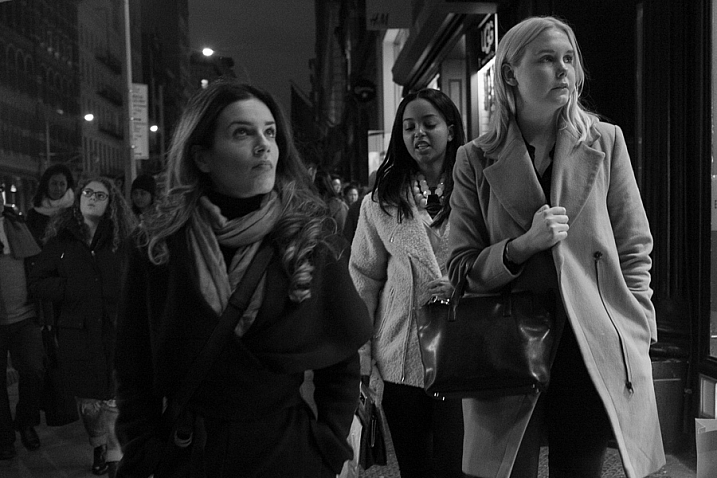
Cellphones, Nolita, NYC.
When I teach people street photography for the first time, there are inevitably those who will take five or six, or even twelve photos of one person. If you see a scene improving while you are photographing it, of course you should continue to capture the scene, but taking five or six candid photos of a person can get down right uncomfortable.
What we are doing, in my opinion, is a good thing. We are capturing and immortalizing culture and people. We do this because we like people, and unfortunately even when done as respectfully as possible, it is still a little bit creepy. We just have to accept that this is a worthy endeavor that offsets the slight creep factor. However, when you go to full on creep, it just gets uncomfortable for everyone. You don’t need to capture seven photos of a person. You don’t need to point your camera at a person for 30 seconds straight, while still pretending that you are not photographing them. If you want to do that, go up to them and ask for a portrait instead.
Take an image or two, then stop and reassess. If you see the scene developing further, put your camera down for a second. Act like you’re looking around for a way to capture the background, or pretend to play with your camera, and let the scene develop. Then, take another picture or two as it does. Just try not to point your camera at one person for too long.
8. Smile and carry a business card
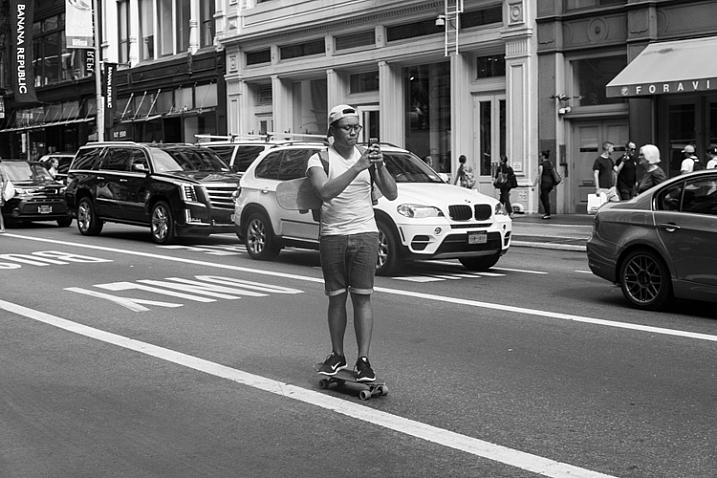
Skateboarder, Broadway, NYC.
The more confident you act, the less people will notice you and care. If you look at master street photographers who have done this for a long time, many of them look almost invisible out there. This is not because they are necessarily sneakier, it’s because they carry themselves like they belong. They seem comfortable. When people see someone comfortably photographing in an area, they instinctively think that person belongs there. When they see someone who looks uncomfortable, like they are sneaking around, they will instinctively think they are are up to no good.
Whenever someone stops me and asks if I took their photo, I smile, say yes, and tell them that I’m a photographer doing a cultural project capturing daily life, and I thought they looked fabulous and had to capture them as part of the project (flattery goes a long way). I tell them I didn’t mean to make them uncomfortable, but it was just how I had to go about capturing the images. I carry cards to show them that I am a legitimate photographer and tell them to email me and I will send them the photo. After this, if they still seem very uncomfortable, I will offer to delete it. I’ve only ever had to delete two photos after a couple people asked me nicely. I’ve never had a bad interaction.
Of course, that doesn’t mean that others haven’t. Some photographers have certainly had bad interactions. You should make sure to pick the people that you photograph wisely, perhaps staying away from capturing someone that looks like they had a terrible day, or someone that looks angry or disturbed. Those are the situations where you are more apt to get yourself in trouble. Street smarts are important.
9. Capture images without people
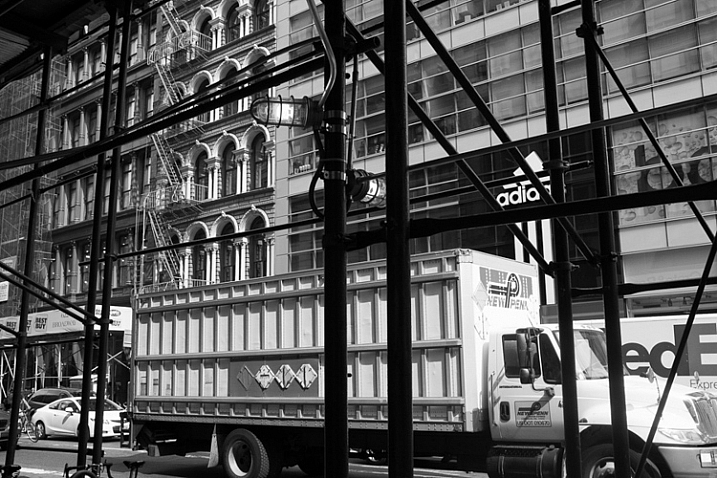
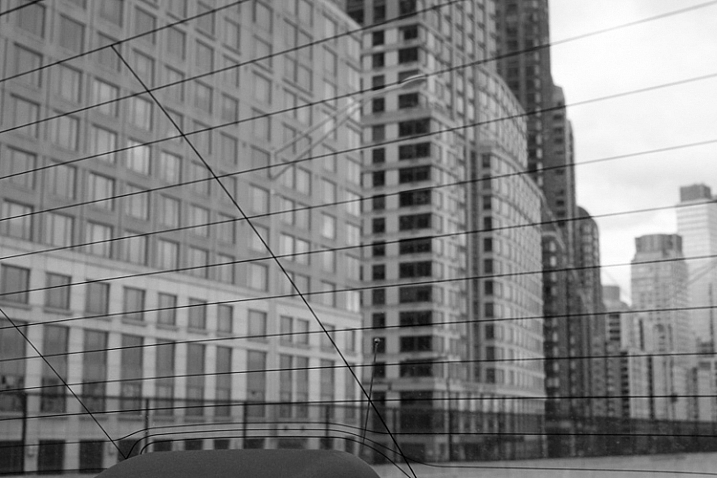
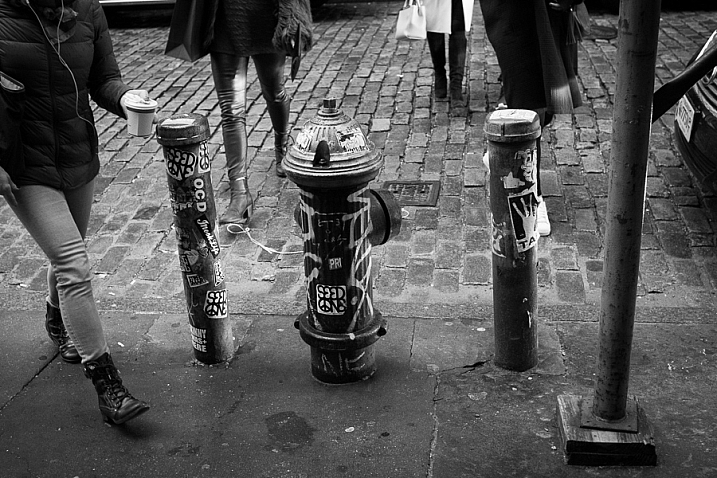
Scaffolding, Broadway, NYC.
Usually the first thing that comes to mind when street photography is mentioned, is an image of an interesting looking person, walking down the street. That is a part of street photography, but there is so much more to it.
Capture environmental images in ways that still have the feeling of a traditional street photograph. Show culture and people in ways other than just capturing them directly. Figure out how to show stories, capture ideas, and foster feeling and mood in an image. Photograph in locations where others may not think to take pictures.
10. Capture expressions
One of the skills that all the great photographers have is their ability to capture expressions. This applies as much to street photographers, as it does to portrait ones. Look to capture people’s emotions. Do they look happy, sad, pensive, or angry? I always try to look at my subject’s eyes, and wait for them to give a look that exposes something going on in their head. Usually that look doesn’t come, but when it does, I’m ready for it. This is one of the most difficult things to both notice and capture, and it comes with experience. Try hard to notice it.
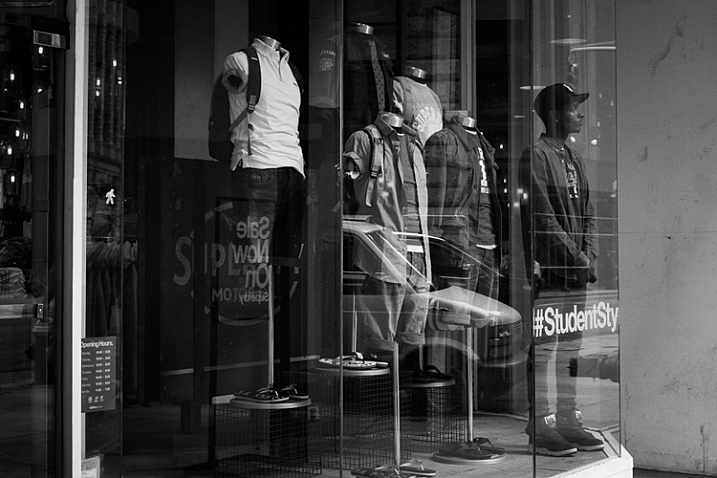
Student, Broadway, NYC.
11. Edit and sequence your photos
Editing is just as important for your success as a photographer, as going out and shooting. Download and learn Lightroom, and learn to organize your photos well. I mark my best photos with three and five stars, to choose the decent and best photos from the day. Spend a lot of time reviewing, and narrowing down your photos, to the best of the best.
Start grouping your photos together. Learn which images work together, and figure out the reasons why. What are you trying to say and show? Can a sequence of your images create an interesting narrative? Use collections in Lightroom to group images together, without actually moving their location on the computer. Over time, you will start to identify themes, and ideas in your work, and it will help you figure out which images are your best. It will also help you know where you need to improve.
You will find that doing this will quickly help you improve when you are out shooting. The more time you spend organizing and thinking about your work, the more in-tune you will be to notice images that fit in, when you are out shooting. This is a way to help develop your voice in your photography.
12. Look at the work of other photographers
Spend a lot of time exploring the work of other photographers. This will both train your eye, and give you inspiration. It will quickly become a humbling experience. As a photographer, you don’t need to reinvent the wheel. So much has been done before, by photographers who spent decades doing it. What you need to figure out, is how to give your images a personal and modern take.
Look at both modern photographers, and go through lists of the old masters. Look at work done on busy street corners, and in quiet towns. Take it all in, then figure out what you relate to most, and build on that in your work.
13. Perfection is overrated
Greene Street, SoHo, NYC.
As a photographer, you need to become technically proficient with the camera. You need to learn to take sharp photos, that are well composed. You need to learn to see the light well. It is absolutely necessary for your growth. This is similar to a painter learning the fundamentals, before eventually gaining their voice, and going off in their own direction.
Once you have done this, is when you start to see that perfection in an image can sometimes be overrated. Your images don’t all have to be perfectly sharp, or perfectly composed. Sometimes a technical mistake will ruin a photo, but other times it may make it. Each image is completely different, and will work for completely different reasons. It is obvious when an image is ruined technically because a photographer didn’t know what they were doing, whereas it is different when it is just due to the situation presented to the photographer. If you take a look at the work of Garry Winogrand, so many of his images were slightly off-kilter. These days photographers might have decided to straightened them up a bit in Lightroom, but when you look at Winogrand’s work all together, that slight off-kilter look adds a sense of realness and spontaneity, and actually improves many of the images. The lack of perfection seems to make them better.
Have fun. Think of street photography like jazz and go a little off-kilter. Improvise and experiment. Just figure out how to find and capture, interesting and intimate moments.
googletag.cmd.push(function() {
tablet_slots.push( googletag.defineSlot( “/1005424/_dPSv4_tab-all-article-bottom_(300×250)”, [300, 250], “pb-ad-78623” ).addService( googletag.pubads() ) ); } );
googletag.cmd.push(function() {
mobile_slots.push( googletag.defineSlot( “/1005424/_dPSv4_mob-all-article-bottom_(300×250)”, [300, 250], “pb-ad-78158” ).addService( googletag.pubads() ) ); } );
The post An Introduction to Street Photography for New Photographers by James Maher appeared first on Digital Photography School.

Digital Photography School
 Hi there everyone,
 5 Killer Reasons Why Photographers Need Social Media After all of my client’s photography businesses I’ve helped improve, one thing is common across each and everyone one of them, they wanted to have a presence online and they wanted to be on social media.
 How To Enter Photo Of The Week Contest Hi there FashionPhotographyBlog.com readers. Over the months of posting the winners’ photos from FPBlog’s Photo of the Week contest and I have been continually getting emails asking how to enter the contest that runs on the site. Rather that replying to every email with the same details I thought that I would be able to cover the instructions in a…
 Photo of The Week – Valentines Thanks to everyone who contributed to this week’s Photo of The Week. We’re so glad that we brought back this back to because it reminded us that there is so much talent out there. We are want to say a big congratulations to…
 Make Your Online Portfolio Stand Out You’ve assembled all your best work in an online portfolio, but is that site getting you noticed? Taking great pictures is not enough sometimes. Your portfolio is on line to showcase your career, it should be creatively appealing but also concise, focused and easily found through the clutter of the internet. FashionPhotographyBlog.com invited Julian Dormon, the founder of BigBlackBag to…
 J’adore With Tina Wong Tina Wong’s entry won out on our Facebook Photo Of The Week Competition. There were votes across the other finalists but it was her photo of youthful beauty that took the crown. We are proud to present Tina Wong as the winner of our Photo of The Week competition. As the winner of this week, Tina’s winning photo is being…
 Don’t Believe In Heroes With Addie Mannan FashionPhotographyBlog.com sat down with Photo of the Week winner, Addie Mannan after winning her round. The theme of the week was “Fashion Warriors” and no doubt, her winning photo from her series “People Don’t Believe in Heroes Anymore” was the people’s choice that best represented the theme. As the winner of Photo of the Week, I caught up with Addie…
 Fashion Clown With Tim Engle FashionPhotographyBlog.com is delighted to have Tim Engle joining us today. The Sacramento based commercial, fashion and beauty photographer started his photography journey during his school years and since has turned his passion into a full-time occupation, getting paid to do what he loves to do. Transitioning between commercial photography, to portraits, fashion to avant-garde, he prioritizes his dedication firstly to…
 Pretty In Pink With Nicole Luneburg It was an interesting week when Nicole Lüneburg aka Peppermunk won Photo of The Week. Not only there very mixed and competitive voting, there was a bit of a mix up as well. Remind me not to do Facebook posts at midnight lol. I was very relieved that the confusion didn’t affect the week’s polling at all because the public…
 Trina Turk On Growing A Fashion Business
 Tribute To Fashion Designer Ruth Tarvydas
 Per Zennstrom’s Fashion Photography Tips


You must be logged in to post a comment.