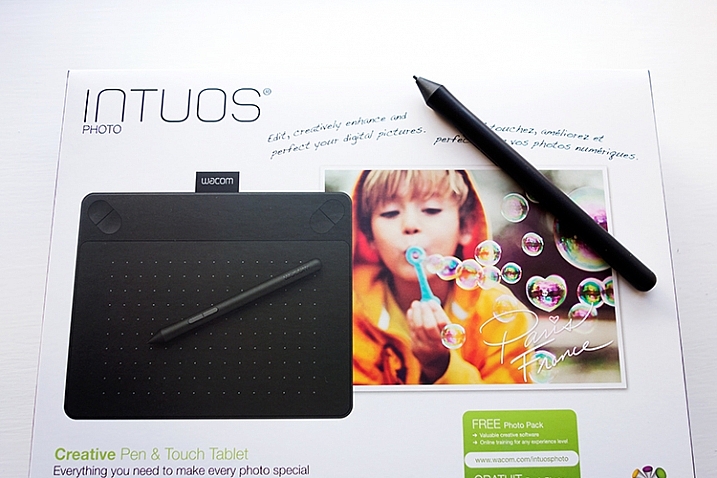
Intuos Photo Creative Pen and Touch Tablet
In this article I’ll review the Wacom Intuos Photo Creative Tablet Small. Wacom brought out this model, and three other similar ones, back in September 2015. The only difference is they come bundled with different software. Otherwise the specs are the same.
Can you benefit from using a tablet?
The short answer to this question is, yes. Do you actually need one? Possibly not. But, if your workflow demands a lot of retouching to your images, then you will indeed benefit from using a tablet. The pen (stylus) essentially replaces your mouse, and allows for more precise actions where pinpoint accuracy, especially pressure sensitivity, are indispensable.
I’ve being using a Wacom tablet for a number of years. Although, I will admit when I first got my Graphire4, I took it out of the box and thought, “Hmm that looks nice” and put it straight back into the box. Long story short, some time later, I was about to give it away when I decided I’ll give it another go. Initially, it did take a little bit of getting use to. Whereas now, I would find it difficult resorting back to a mouse for editing my images.
The Graphire4 served me well even though it had only 512 levels of pressure sensitivity. So it was time for an upgrade.
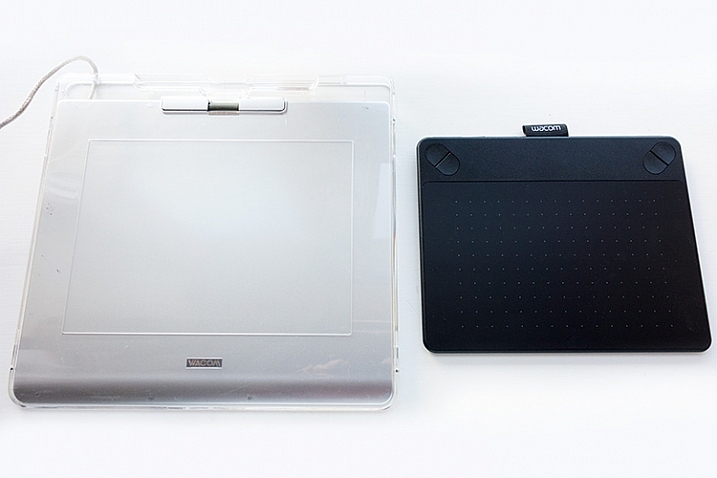
The Graphire4 tablet on the left versus the new Intuos Photo Small on the right
The new Intuos Photo has 1024 levels of pressure, which was immediately noticeable, and very responsive. It has four Express Keys (the Graphire4 had only two) which you can configure to whatever shortcuts you choose. There also two buttons on the stylus, which offer the same customization.
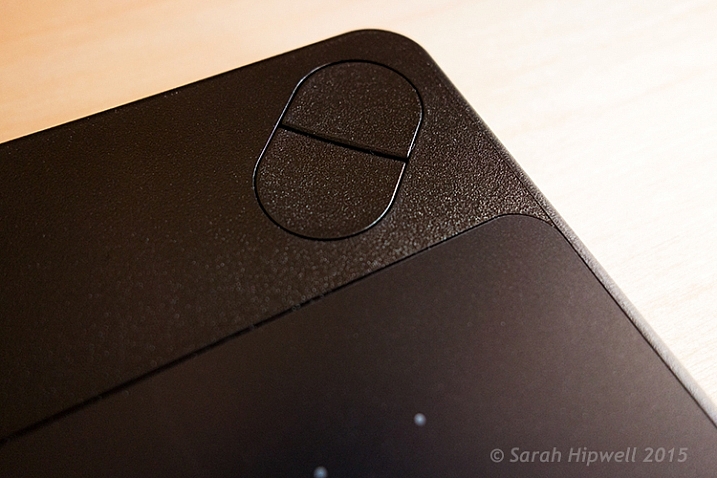
There are 4 ExpressKeys on this tablet, two on the left and two on the right, which can be customized for shortcuts.
I didn’t notice any lag time when moving the stylus across the surface, and the pen feels so intuitive, just like a real pen. It’s is very responsive and doesn’t have that scratchy feel when using broad brush strokes, you might expect because the surface is matte.
Features and design
This tablet is small, slim, and lightweight, which makes it very portable. Although it is light, it does feel solid.
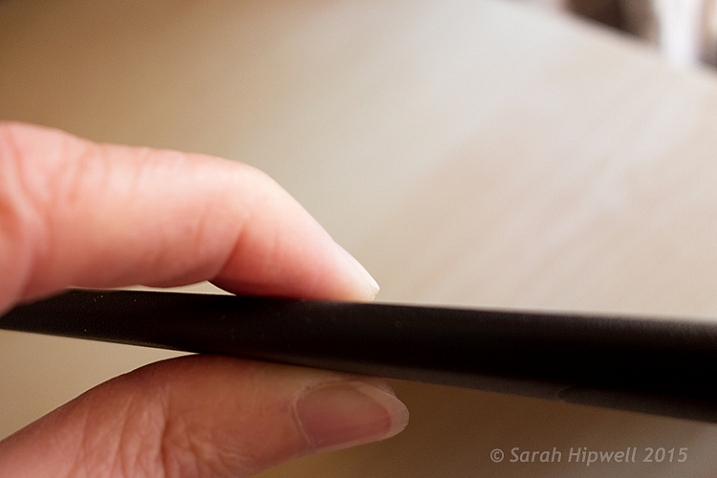
I’m holding the Intuos Photo between my fingers to illustrate how slim it is.
It has multi-touch gestures, which operate in the same manner as a trackpad. I wouldn’t use this feature, as I use my keyboard for shortcuts, but it’s cool nonetheless. There is a switch at the back to turn this feature off. My hand would activate the zoom feature, which was distracting.
If you turn the tablet upside down and slip this portion of the base off, you will find slots for the Wireless bits to go. You have to purchase the Wireless Accessory Kit separately. You get four spare pen nibs tucked away neatly, saved for when you need them.
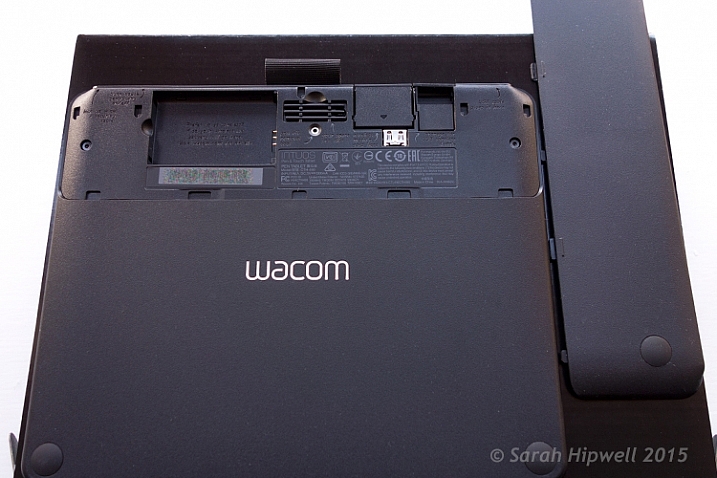
Back of the Intuos Photo where the Wireless kit goes (sold separately).
I did find the engraved instructions neat. It did appeal to my sense of aesthetics!
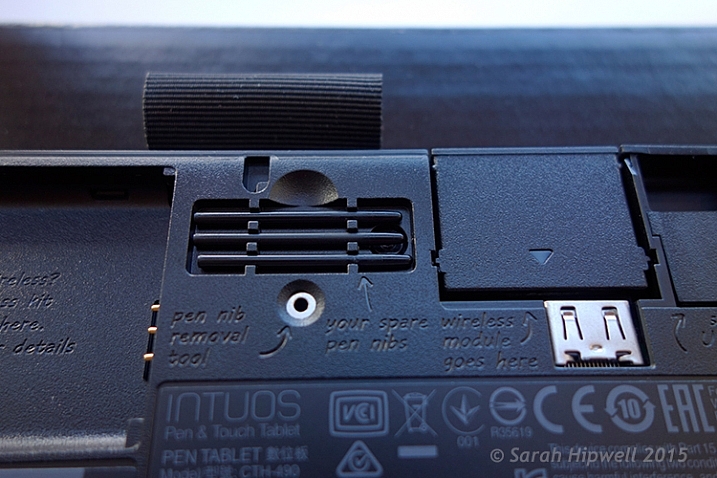
Close up to show the four spare nibs for the pen (stylus). Notice the neat engraved instructions.
Size can matter!
Before I purchased the Intuos Photo Small, I wasn’t sure whether to choose this size (6 x 3.7 inches) or go for the medium size. The medium is called the Wacom Intuos Art Pen and Touch Tablet Medium (8.5 x 5.3 inch active area). The larger model retails at $ 199.95.
The price wasn’t just the only determining factor for me. I have a 24” monitor so I wasn’t sure if this size tablet would match the monitor? I’ve found no issue, the size is good for me. However, if I had a bigger monitor, I would probably have gone with the medium tablet. Another factor to consider is how much space do you have on your desk? The Intuos Photo is small and compact.
What software is included?
- Macphun Creative Kit
- Corel AfterShot Pro (Mac)
In order to get the software, a download key is printed on the inside of the box. I have downloaded the Macphun Creative Kit (Tonality Pro, Intensify Pro, Snapheal Pro, Noiseless Pro) but that’s as far as I got. I haven’t tested out the software yet.
My verdict
Wacom tablets are a leading brand. Their Intuos Pro range are expensive. However, the Pro range offer 2048 levels of pen pressure sensitivity, wireless connectivity, and other features. So this makes the Intuos Photo Small a really good deal for the price. I find the pressure sensitivity levels suffice for my workflow.
Another plus, if you suffer from RSI (Repetitive Stress Injury) issues, especially if you spend a considerable amount of time in front of your computer editing your images, I certainly find holding a pen preferable to gripping a mouse for any length of time.
To sum up, if you have a (much) older Wacom tablet, I would recommend the Intuos Photo as an upgrade. If you haven’t used a tablet before and are thinking of buying one. This model is a good place to start and it is competitively priced.
Cons (or maybe quirks)
This is more of an observation rather than a gripe. The USB cable supplied is 148cm (58 inches) in length! Not sure of the rationale behind this…maybe a ploy to get you to buy the Wireless Accessory Kit, which is sold separately.
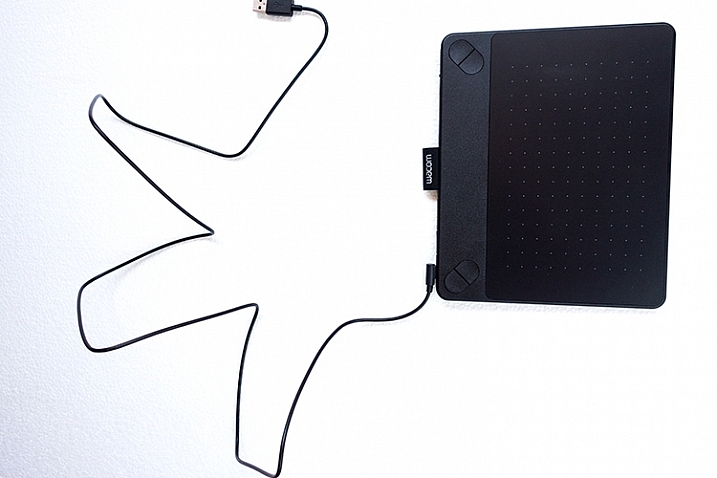
USB cable measuring 148cm(58 inches) in length.
The stylus is much lighter and slimmer compared to the chunkier and heavier model I was more use to. It does feel a little cheap.
I’ve found the pen inclined to roll between my thumb and fingers, so that at times, I had to keep rolling the pen around again to where the two buttons are at the side to access them. This was getting quite irritating. I feel a rubberised moulding would help in preventing the pen from rolling around. Similar to the rubber grip found on ordinary pens. So I came up with my own inexpensive solution to modify the pen.
DIY hack for the stylus
I bought these pen grips at a local stationary shop. I cut one in half and rolled it up until it reached just below the two buttons. This way, I can grip the pen better, and roll it more easily, so that the two buttons rest next to my thumb for easy access. The four in a pack came to less than $ 2USD.
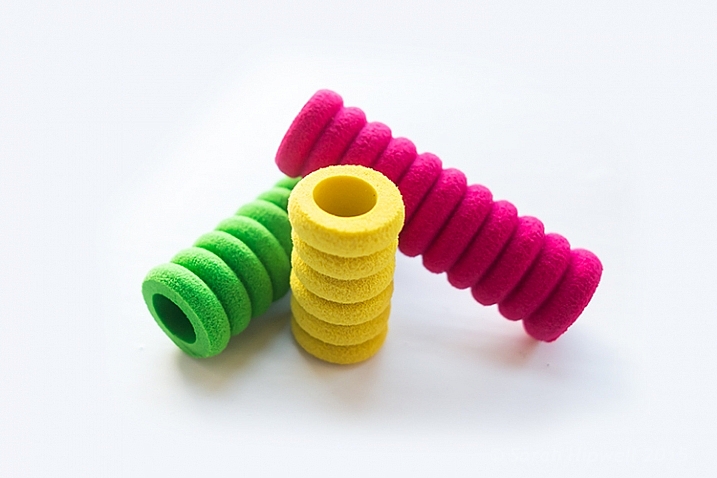
Ordinary biro pen grips that are sold in stationary shops.
DIY stylus holder hack
The Intuos Photo has a fabric sleeve to house the pen, which I presume is for when you’re transporting this tablet in your bag. The sleeve is tight fitting, so this is not practical for everyday use while sitting working at your desk. The tablet doesn’t come with a pen holder.
So, while I was in the same stationary shop to get my pen grips, I spied this pencil sharpener with eraser holder and thought that would make a great stylus holder. It was a perfect fit (see photo below). Again, this item cost less than $ 2! Just to add a little weight stability, I put fishing lead balls in the bottom part, only because I had them anyway.
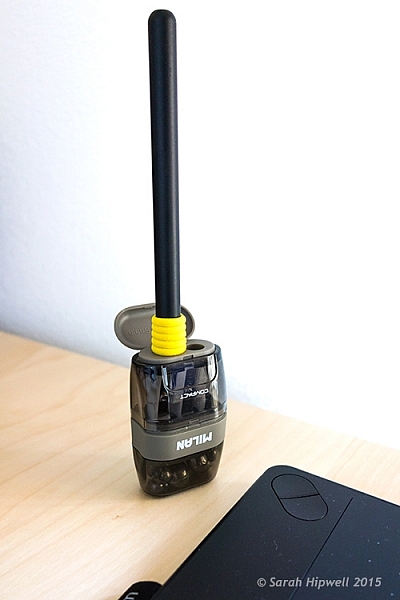
DIY stylus holder hack from a pencil sharpener with an ordinary pen grip on the stylus.
Do you use a tablet or a mouse? Which is your preference for editing your photos? Share in the comments below.
googletag.cmd.push(function() {
tablet_slots.push( googletag.defineSlot( “/1005424/_dPSv4_tab-all-article-bottom_(300×250)”, [300, 250], “pb-ad-78623” ).addService( googletag.pubads() ) ); } );
googletag.cmd.push(function() {
mobile_slots.push( googletag.defineSlot( “/1005424/_dPSv4_mob-all-article-bottom_(300×250)”, [300, 250], “pb-ad-78158” ).addService( googletag.pubads() ) ); } );
The post Review of the Wacom Intuos Photo Pen and Touch Tablet by Sarah Hipwell appeared first on Digital Photography School.

Digital Photography School


 It’s the final day of our 12 deals of Christmas and we’ve saved one of our best deals until last.
You must be logged in to post a comment.