Are you looking for a way to spice up your landscape photography? Many times when we think of making great landscapes image,s we try not to include people. Sometimes we even wait for long periods of time for other sightseers (or other photographers) to exit our view. There are many times this is the best technique for shooting a landscape photo, but adding the human element to a scene can be just the extra touch needed to create a great image. Let’s take a look at 5 reasons to add people to your landscape images.
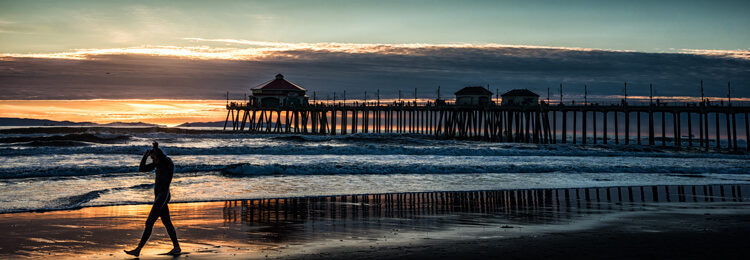
This surfer is done for the day. Normally it is preferable that a person faces into the photo, but exceptions may work too.
#1 Tell a Story
Adding a person to your landscape can help your image tell a story. People, or even a single individual, may add mystery and adventure to your landscape, causing your viewers to wonder who, what, and why about the person in your image. When your viewers ask these questions, their eyes will stay engaged with your image, adding entertainment value to the photo. An image of a person standing in front of a grand mountain range may cause the viewer to wonder what that individual is doing there. If the person has a backpack and a walking stick, the viewer may imagine a hike in the mountains is about to commence. Or maybe the person in your shot is carrying a rifle and wearing camouflage, leading the viewer to imagine a hunter heading into the woods in search of adventure. A person can be the subject of the image or interact with the landscape of the image; but either way, if the person fits into the image’s story, your landscape will draw the viewer in and the photo will tell a successful tale.
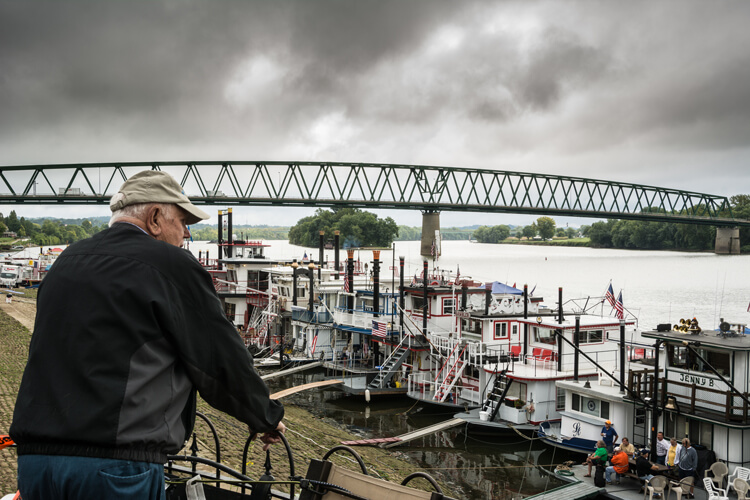
This image tells the story of a man thinking about his former career working on a river boat.
#2 Composition
Placing a person or persons in an image in negative space can add balance to your landscape. A person in the foreground, or mid-way into your scene, will help create a sense of depth in the image. When you have the opportunity to position the person, take care to place them in the image in a way that draws the viewer into the image. Place your subject off to the side, preferably on a rule of thirds point, with them facing into the open space. It is almost never a good idea to have a person looking or facing out of your image, as this will cause a viewer’s eye to leave the image rather than explore the image fully. Nevertheless, with every rule of composition there are exceptions that will work. Knowing the rules of composition, when to use them, and when to break them, will help you when adding a person to your image.
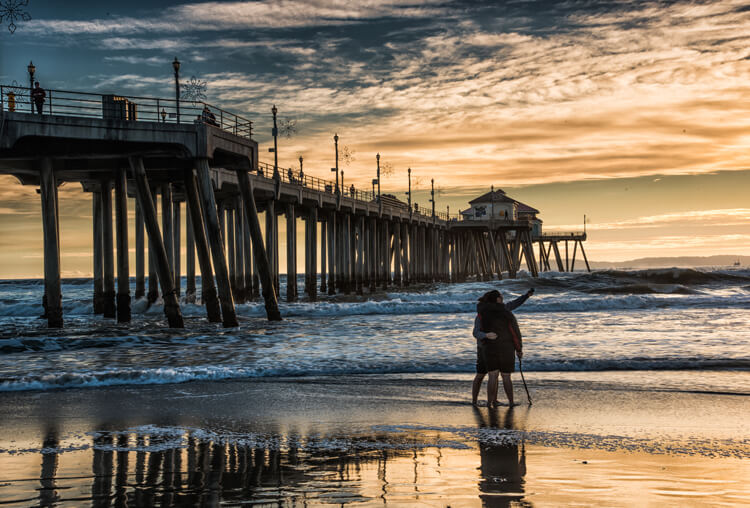
This couple taking a selfie is placed in a rule of thirds position, and fills a negative space on the beach.
#3 Scale of Size
Adding a human to an image is a great way to reveal the size and scale of objects in your image. Without the person in many images, objects like trees and rocks may lack a scene of scale. The addition of a person immediately gives your viewer a point of reference and scale to the landscape.
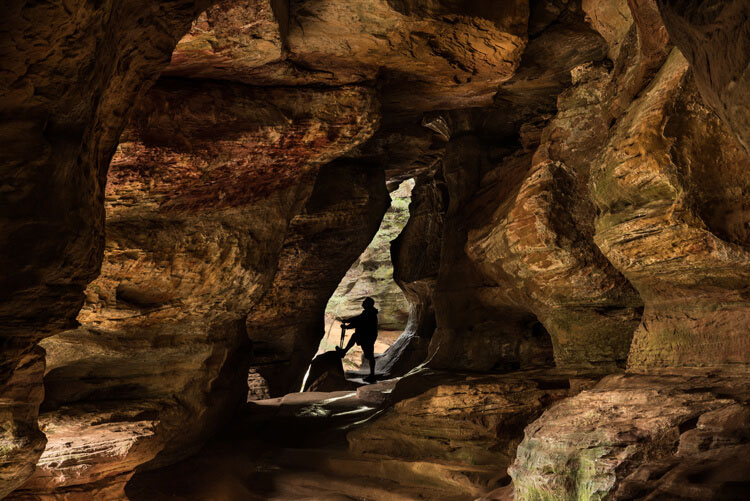
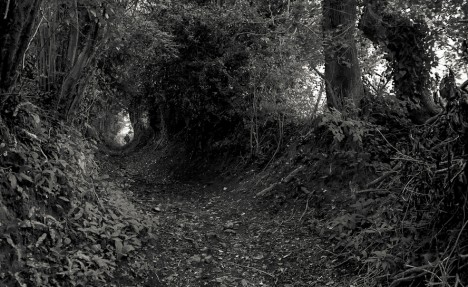
Adding the silhouetted figure at the end of the cave gives a sense of scale and also adds a focal point to the image.
#4 Drama and Excitement
Silhouetting someone against a sunset or other backlit view, is a perfect example of how a person can help create a more dramatic image. Even the simplest of landscapes can become more interesting and exciting by adding people within the image. Photographing a couple holding hands as they interact with the landscape can add the drama of romance to your image.
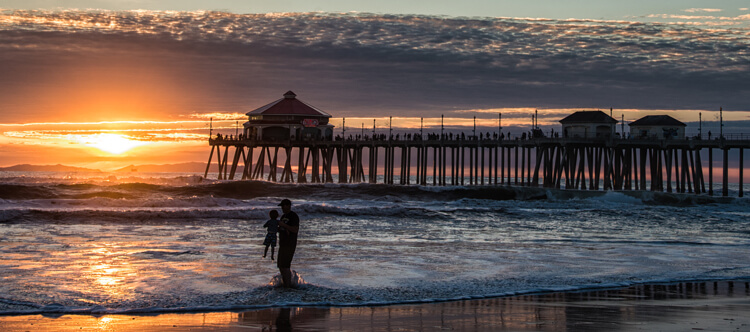
A silhouetted father and son playing in the surf at sunset add drama to an image that would otherwise be just another sunset along the shore.
#5 Focal Point
A successful photo needs a focal point that gives the viewer’s eye a place to land to hold their attention, and adding people can achieve that. It is important to add a point of interest that will change a boring landscape into a striking one. Most landscapes have natural features or buildings as a point of focus, but adding a person can sometimes make for a much more interesting image. As mentioned earlier, at times you may have negative space in the foreground of your landscape, and by adding a person into your scene that negative space is filled, and your image will benefit from the balance. As a focal point, the person in your image can be the subject of the scene, or a complement to your landscape.
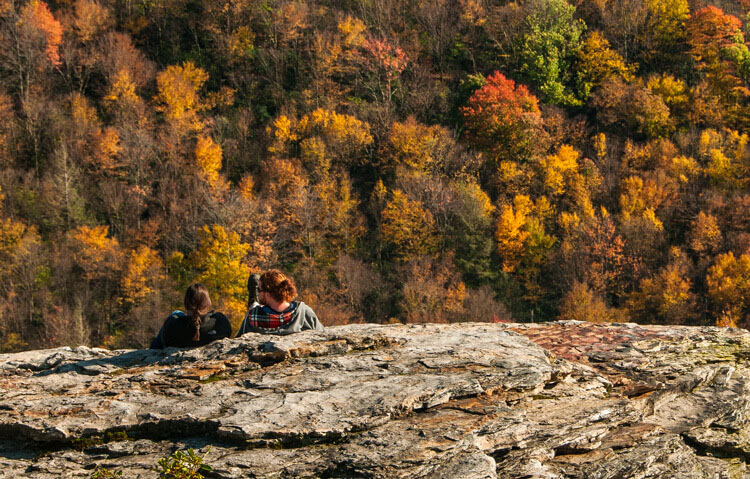
This couple sitting on a rock enjoying the fall color,s placed on the rule of thirds, creates romantic drama.
Tip: When adding a person or persons to your landscape, try to keep their face (s) obscure. This will allow the viewer to imagine themselves as the participant in the image.
Conclusion
Many times adding a person to your landscape image can be as serendipitous as people just wandering into your viewfinder, especially if you are visiting a park or popular scenic area. But if you are out alone in an interesting area, use yourself as the person in the scene. Place your camera on a tripod, set the timer, then add yourself into the image. Next time you are engaged in a landscape photo shoot, look for opportunities to add one or more persons to one of your images, and see if you like the results. You may be surprised at the difference you see.
Many landscape locations are powerful enough to stand on their own, but if your image needs a little spice, try adding a human. What other kinds of landscape scenarios do you think could benefit from adding a person to create a more interesting image? Leave your ideas in the comments below.
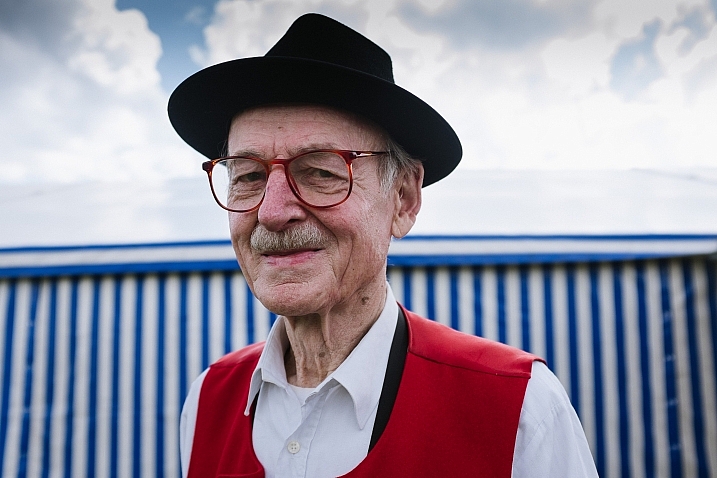
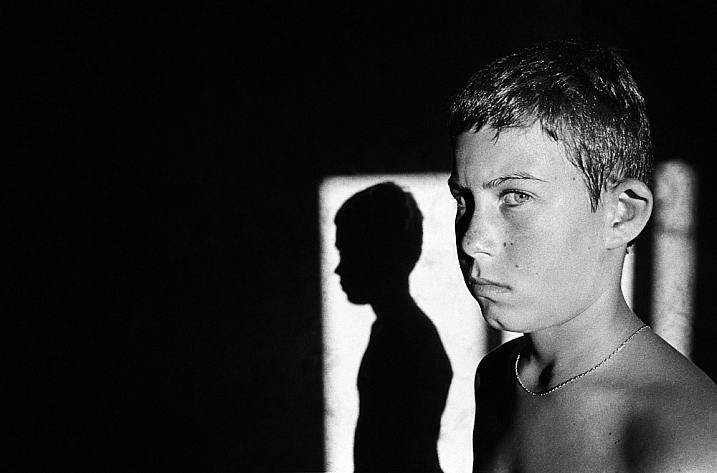
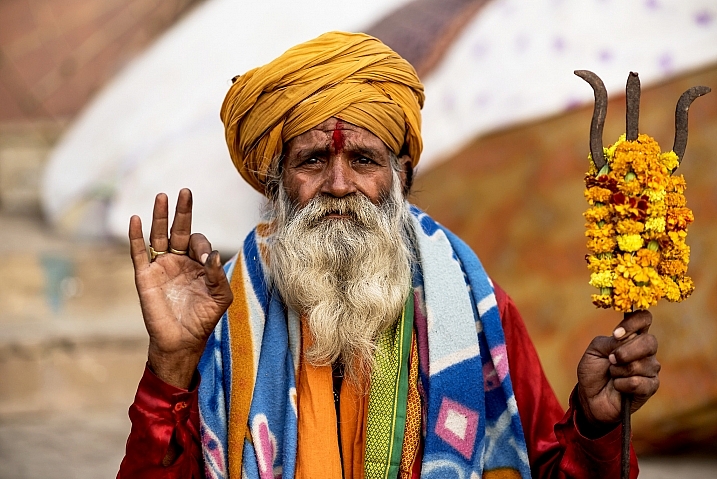
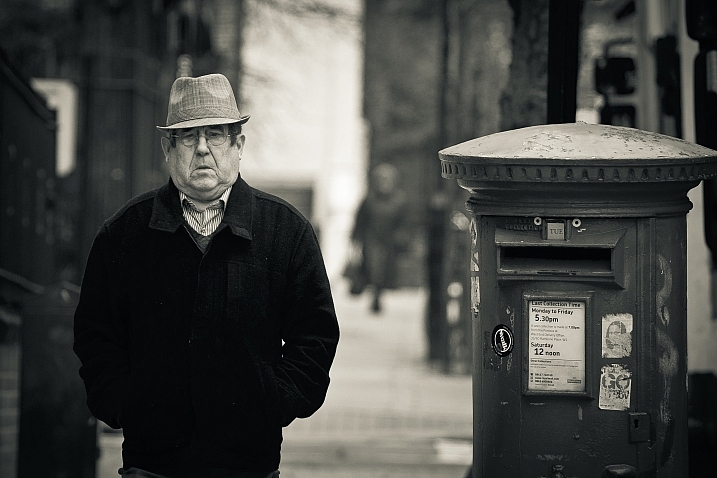
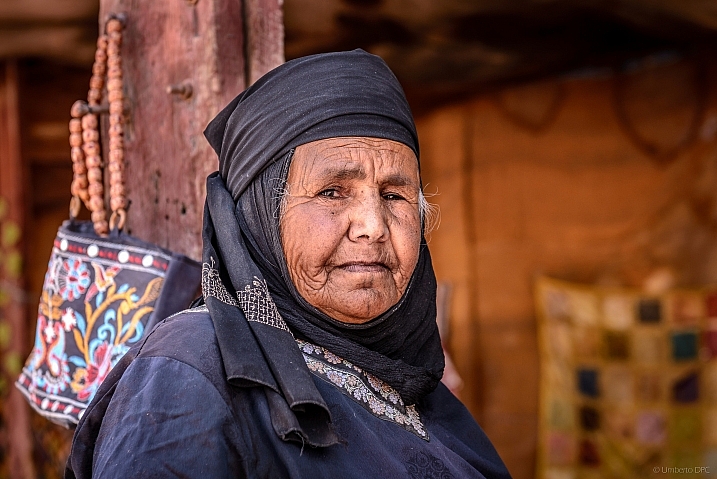
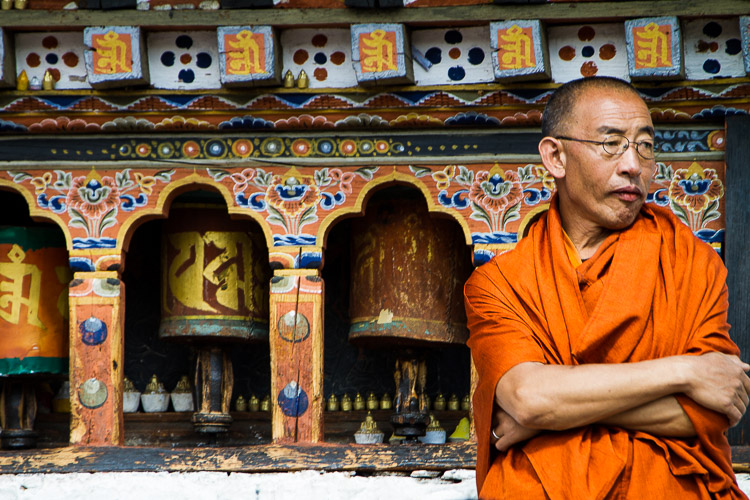
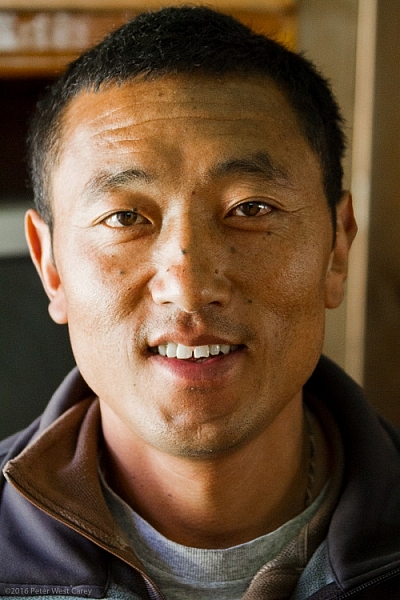
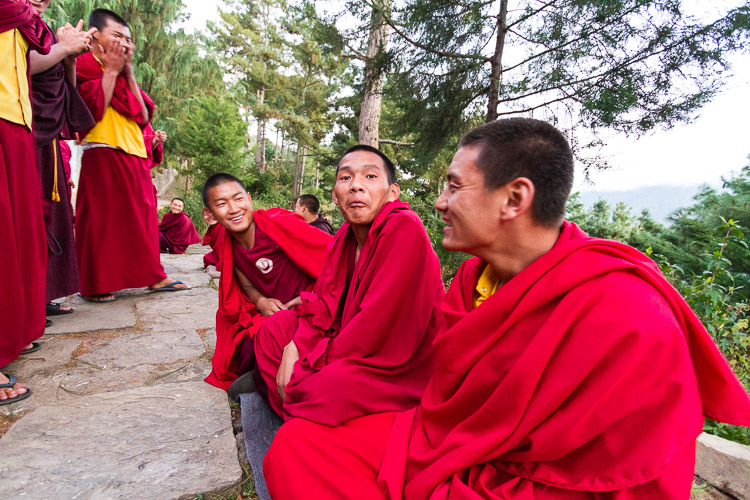
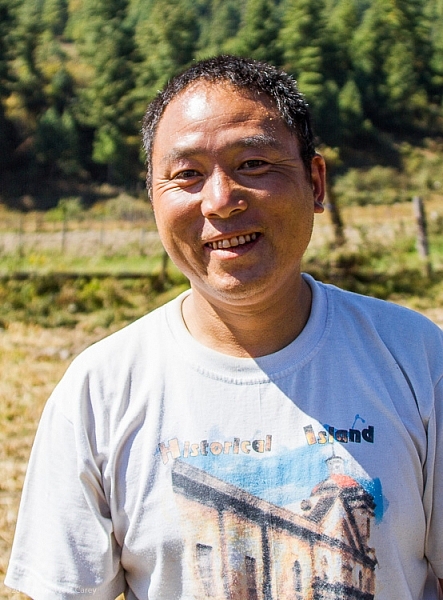
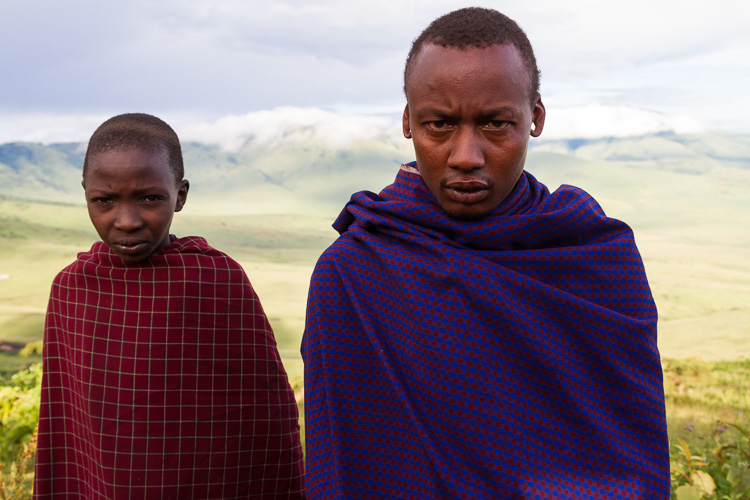
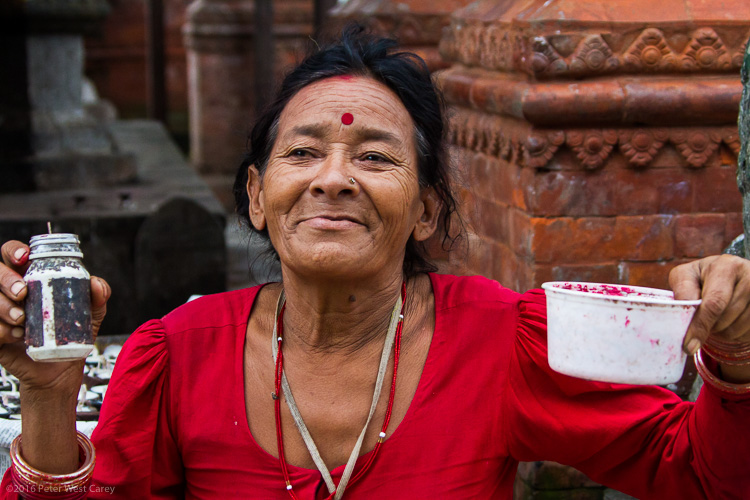
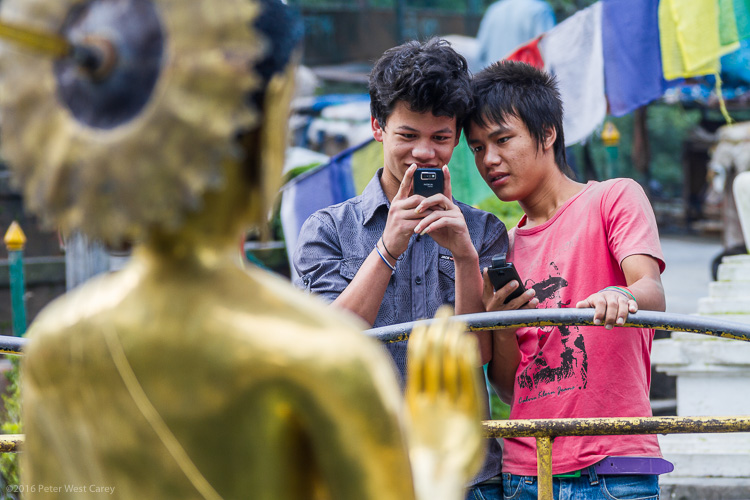
People photography week
This week on dPS we’re featuring articles all about different kinds of people photography including portrait, event and travel photography. See all the previous ones below, and watch for more people photography articles over the next few days.
- How to Take Low Key Head-shots
- How to Do a One Light Portrait Setup and Use it as Your Back-up Plan
- Travel People Photography – Tips and Pitfalls
- 8 Tips for Photographing Men
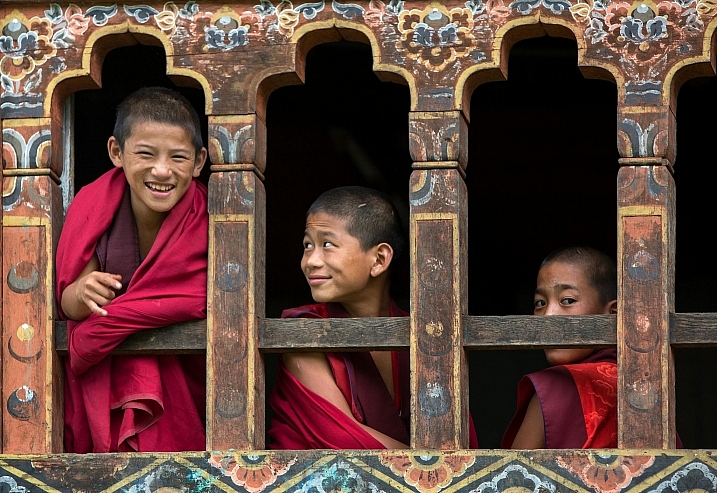
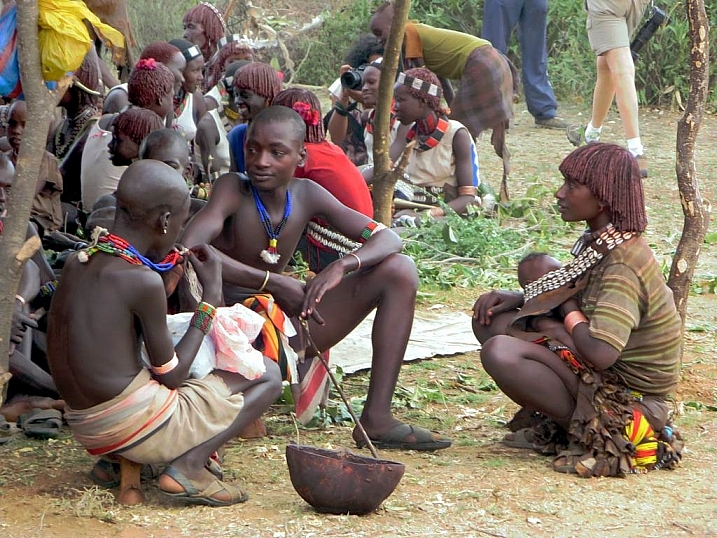
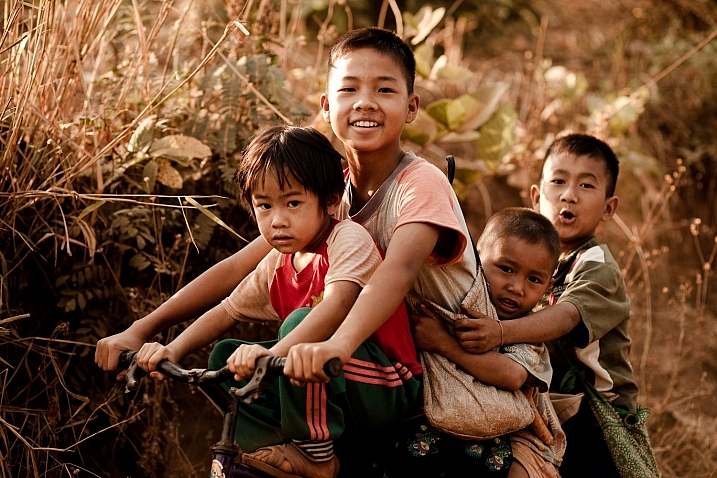
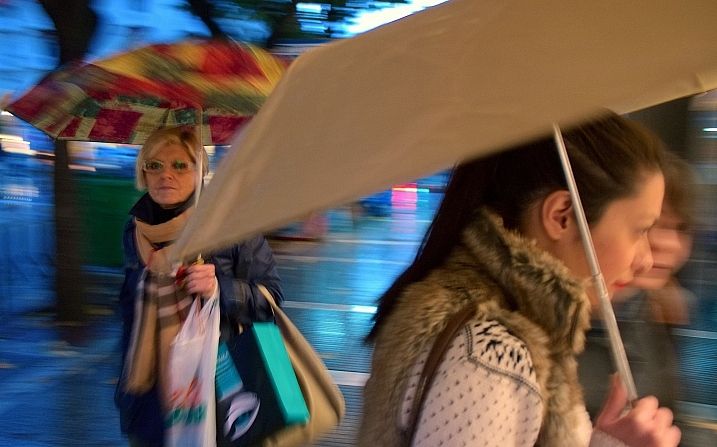
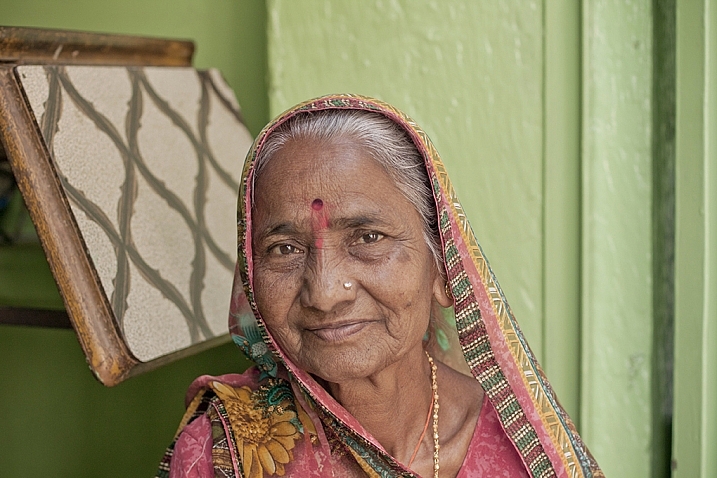
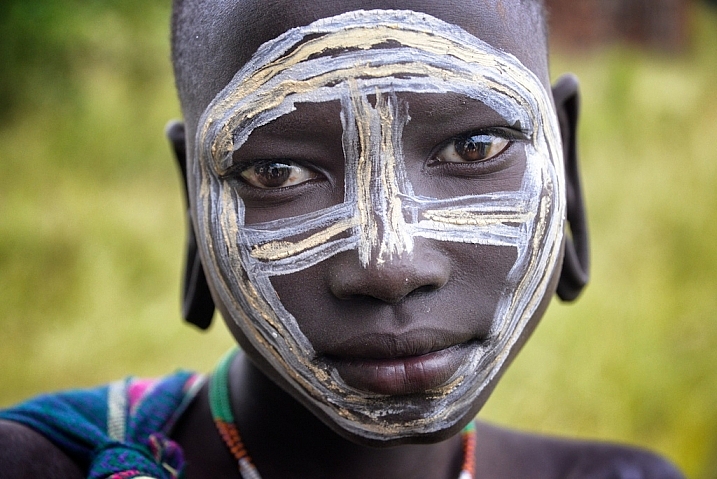
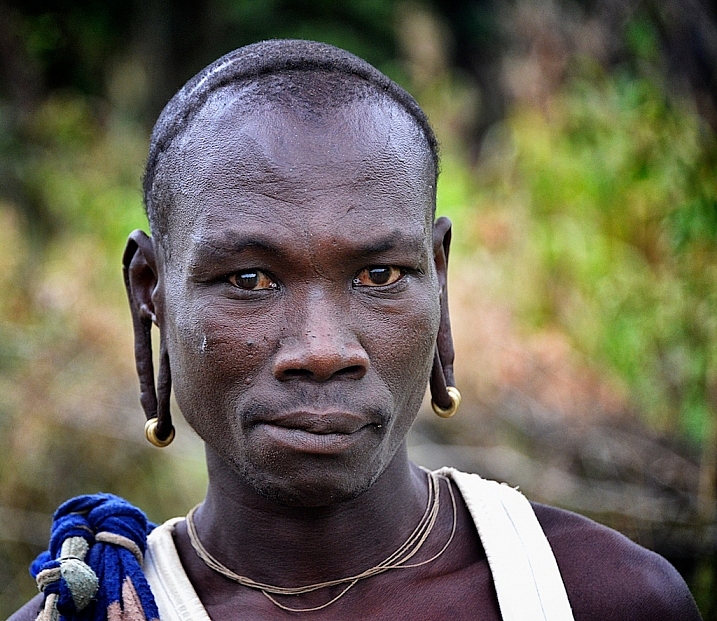
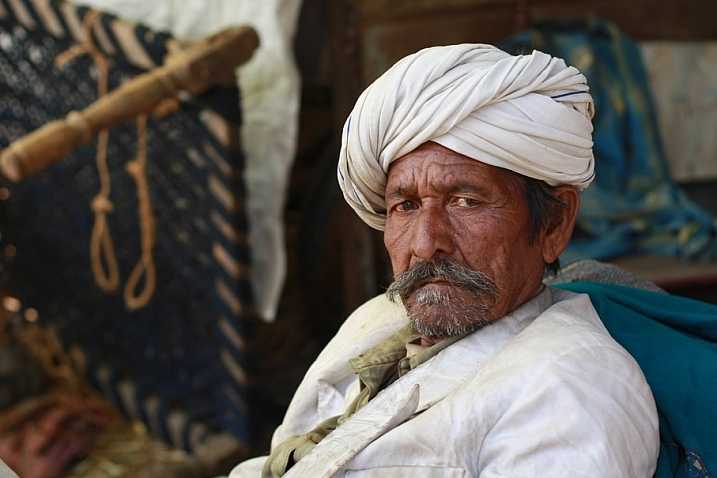
- 24 Diverse Images That Showcase People Photography
- Weekly Photography Challenge – People Photography
- Tips for Getting Yourself to Relax as a Photographer and Have More Successful Portrait Sessions
googletag.cmd.push(function() {
tablet_slots.push( googletag.defineSlot( “/1005424/_dPSv4_tab-all-article-bottom_(300×250)”, [300, 250], “pb-ad-78623” ).addService( googletag.pubads() ) ); } );
googletag.cmd.push(function() {
mobile_slots.push( googletag.defineSlot( “/1005424/_dPSv4_mob-all-article-bottom_(300×250)”, [300, 250], “pb-ad-78158” ).addService( googletag.pubads() ) ); } );
The post 5 Good Reasons to Add People into Your Landscape Photography by Bruce Wunderlich appeared first on Digital Photography School.


 If you want to learn more about portrait posing and working with people, pick up one of the dPS ebooks by Gina Milicia Portraits: Striking the Pose (left) or her brand new one called: Fast Flash for Portrait Perfection (right).


You must be logged in to post a comment.