
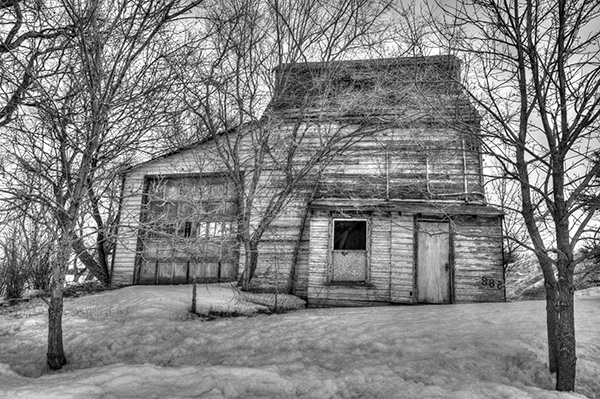
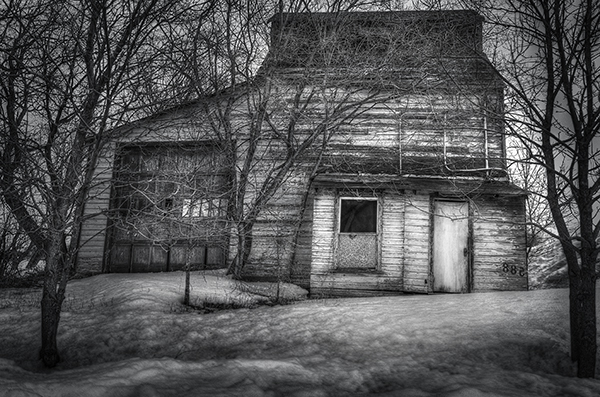
Canon Pixma MG6350 All-in-one-printer
If you like to print hard copies of your photos at home, how do you decide which inkjet printer to buy? With such a myriad of printers on the market it can be daunting which one to choose. However, similar to buying a camera, one main consideration will be how much do you want to spend.
I bought a Canon PIXMA MG6350 a little over a year ago.
As luck would have it, my local computer shop had the white version in stock for nearly 50 Euros ($ 62USD) less than the black one. The white one was my first choice.
This is a high-end, multifunction, inkjet printer. It is an all-in-one color printer with two paper trays. This means that it can print, copy, and scan and it also has WiFi and Airprint. I believe the latter lets you print from a smartphone or tablet but I haven’t tried it yet.
The lower cassette can hold up to 125 sheets of A4 (US letter) size paper, while the upper tray is for photo paper (20 sheets) of 10 x 15cm (3.9 x 5.9 inches) or 13 x 18cm (5.1 x 7.1 inches). So it doesn’t hold a great deal of paper but I only ever load one sheet at a time.
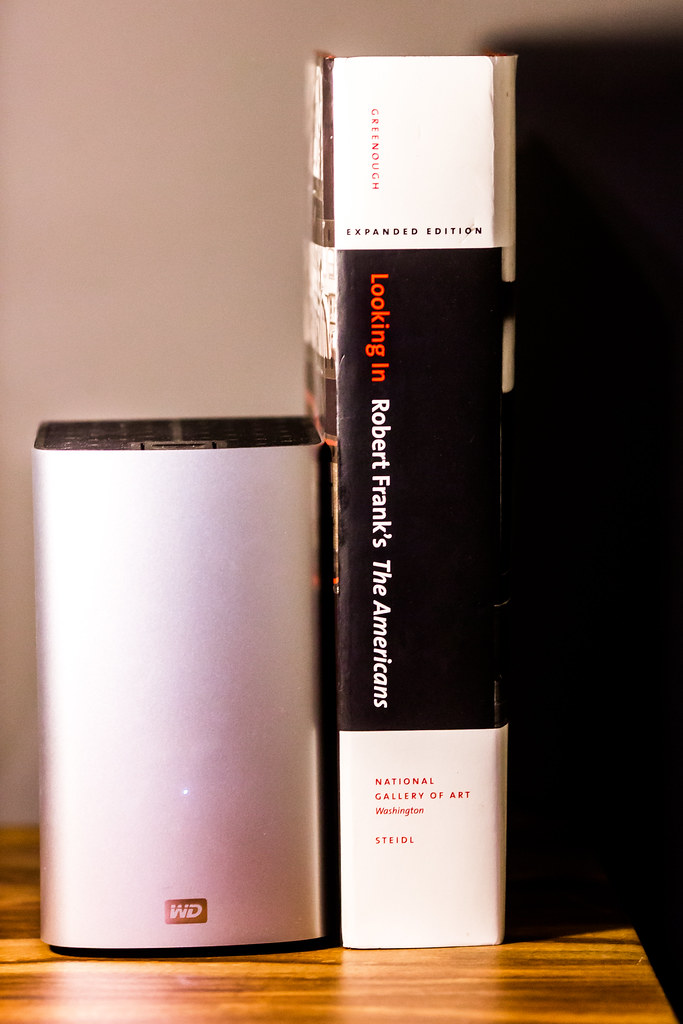
Its physical size, measuring 466 x 369 x 148mm (18.34 x 14.5 x 5.8 inches)was a perfect fit for my shelving unit. My Manfrotto travel tripod measures 18 inches when folded and this is exactly the width of the printer. It’s not small but at least it doesn’t have a top paper feed which can be awkward if the space between the shelves isn’t adequate enough.
It’s solid but it is not light, it weighs approximately 8.4 kg (18.5 lbs). Also, this printer is noisy.

Manfrotto travel tripod on top of Canon Pixma MG6350 All-in-one-printer

Canon Pixma MG6350 printer-perfect fit on these shelves
Inks
The branded inks aren’t cheap. This is often the case with home, small office printers, whereby the consumables are not cost efficient. The Canon Pixma MG6350 uses a six-tank ink system. A full set of standard 15ml tanks will cost you around 62 Euros ($ 77.50 USD). The 22ml XL versions cost around 85 Euros ($ 106 USD), and are better value for money. The Canon Pixma MG6350 has a print resolution of up to 9600 x 2400 dpi.
Generic third party inks have improved in their quality. It will be a case of trial and error to see which ones are better than others. The upside is that they can work out much cheaper. Currently, the non-branded full set XL versions cost 52 Euros ($ 65 USD) for this printer, so it is worth taking at look at them.
DPI/PPI/MP
In printing, DPI (dots per inch) refers to the output resolution of a printer or imagesetter. The more dot’s the higher the quality of the image.
PPI (pixels per inch) refers to the input resolution of a photograph or image. Although these two terms are used in the same context, they are different but are analogous to each other.
The real digital “resolution” of your photos are its pixels, the total of those is expressed as megapixels. For example, if your camera shoots 2848 x 4288 natively. Multiply these two figures and this represents the megapixels of your camera. In this case, it is 12.2 MP.
Images viewed on the web have an output value of 96dpi (for PCs) and 72dpi (for Macs). However, this is where it can get confusing. An image displayed on your monitor with a resolution value of 72dpi, and the same image saved out as 300dpi will look exactly the same on screen (the resolution on your monitor is fixed). But if you were to print these images, this is where they would look very different. The image saved out as 300dpi will be a quarter the size of the image at 72dpi but the image will be better quality and won’t have that pixelated (jaggies) look.
So why bother saving images for the web at 96/72dpi? Because they load faster and it saves on bandwidth.
The standard output resolution(dpi) for printing when using inkjet printers is normally 240dpi (good), 300dpi (better) and 360dpi (better yet).
To change the the resolution of a file in Photoshop, you first choose Image from the File menu and then Image Size. Make sure to uncheck Resample Image. If you need to make the image smaller or larger than leave Resample Image checked.
However, if you want to change the resolution and the document size (print output size) at the same time here’s what you do. In this example, I want to change this file sized 9.49” x 14.29” at 300ppi to a 4” x 6” at 360ppi.
- Choose Image > Image Size (Alt+Ctrl+I). The Image Size dialog box appears.
- Deselect the Resample Image option, and change the Resolution to 360ppi. Notice that the Document Size changes to 7.9″ x 11.9″ because you’re moving the pixels closer together.
- Select Resample Image option and change the Document Size Width to 4 inches.
- Click OK. Now you have a file that is 4″ × 6″ at 360ppi.

Animated gif illustrating how to change resolution and size of image in Photoshop
Scanning
The Canon Pixma MG6350’s flatbed scanner has an optical resolution of up to 2400 x 4800 dpi, and is Twain compatible. This means that you can scan an image through Photoshop rather than using proprietary software. What I like about this flatbed scanner is that the flap can extend upwards allowing for books and larger items.
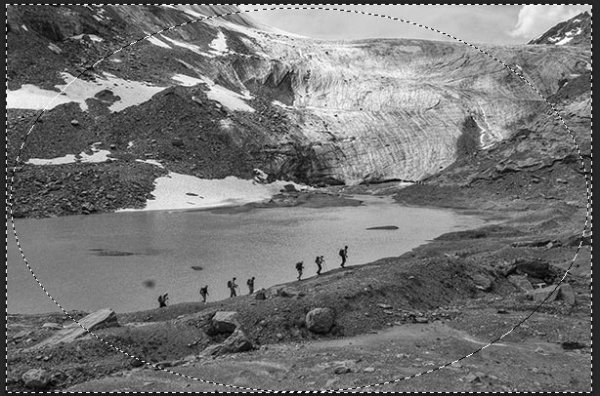
This was particularly useful a few months back, I was presented with this very old portrait image to make a copy. As you can see, the actual image is much larger than the surface area of the scanner.

Old large image on scanner bed

Old portrait image-actual size-larger than scanner bed
Tip: Scan the image in as four separate files, working from top left to top right and then bottom left across to bottom right to ensure all the image has been scanned. Don’t worry if they overlap. Depending on the size of your photo, it is better to increase the DPI.
For this image, I increased the DPI to 400. Save out the images as PNGs. This format is lossless, whereas JPEGs are a lossy compression which means that some detail is lost. The size of the image worked out at 6056 x 6983 pixels. This is a high resolution image.
You then bring the four separate images into Photoshop. Go to File>Automate>Photomerge. A dialog box appears. By default, Auto is chosen which is fine. Make sure Blend Images Together checkbox is ticked too.

Photomerge dialog box in Photoshop CS6
Photoshop usually does a fantastic job of blending images together. It also creates the layer masks. This will be a huge time saver. Then save out your file as a PSD and work on cleaning up the image.

Photomerge action completed showing scanned image with layer masks
Photo Papers
When it comes to photo papers, the better quality branded papers are excellent. They are consistent and produce much better quality prints over non branded cheaper versions. My choice is the Ilford Galerie range (especially the Prestige Smooth Pearl paper), Hahnemühle FineArt Pearl-finish, and the Canon Luster range.
However, I do use cheaper photo papers for my girls’ school projects. And if you are feeling in a creative mood, like I was, you can print up ID tags for your kids’ school bags using an old plastic gift/iTunes card, some double-sided tape, a colored cable tie and an O-ring.
Another gift idea is the iron-on transfer papers. These papers allow you to print your photo onto a t-shirt. In the past I have given these as last minute birthday presents. They have always gone down as a treat.

T-shirt+name-tag
WiFi
That fact that this printer works from WiFi is a plus. This helps prevent your desk looking like a spaghetti junction of cables from other connected peripherals.
CD/DVD Labels
A feature that I hadn’t realized came with the printer was neatly tucked under the second paper tray. This is the direct-to-disc tray for printing CD, DVD and Blu-ray labels.
This is a much more favourable option over the self adhesive labels. These are known to peel and get stuck in the optical drive.
While Apple is doing away with optical CD and DVD drives from their range of desktops and laptops. This technology is becoming defunct, especially as flash drives are getting cheaper to buy. Nonetheless, it makes for a good presentation to give someone a CD with photos and a cool label on it. This could be a potential client or gift to someone you like.
Do you have any other printer tips you’d like to share?
The post How to get more from your printer – besides good quality prints! by Sarah Hipwell appeared first on Digital Photography School.

Digital Photography School
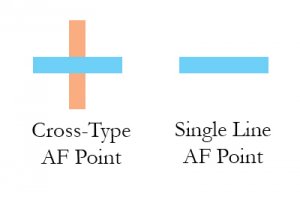 Most modern cameras have two types of AF points: Single-line, and Cross-type. Single line AF points are able to focus on lines going either horizontally or vertically. Which one it reads will depend on how the AF point is oriented. Horizontally oriented AF points can focus on vertical lines, and vertically oriented AF points can focus on horizontal lines.
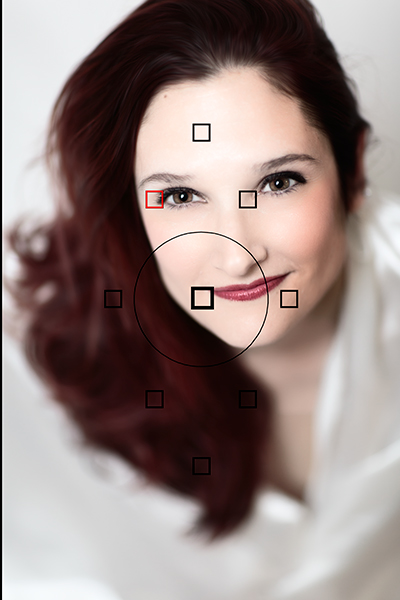


You must be logged in to post a comment.