Jay Maisel has to be one of the most interesting photographers alive today. He is 85 years old and he still makes a point of carrying his camera with him every day, everywhere he goes. I recently watched a few videos where Scott Kelby spent a few days with Jay, just wandering through the streets of New York and later, walking through Paris.
In these two different videos, Jay imparts his photography philosophy, and how he makes his images. The remarkable thing I noticed is that Jay almost never talks about photography equipment. Rather, he speaks about technique, about getting it right in camera, and making sure you spend time getting the best shot possible.
This article is a follow on from an article I did a while ago, which had a similar title to this one – 5 Ways to Create Better Images Without Buying More Gear. I now want to expand on that and add 5 more things you can do to improve your photography without buying more gear.
#1 Show the viewer something different
This is something really important that, but we don’t often think about. There are so many things being photographed every day.

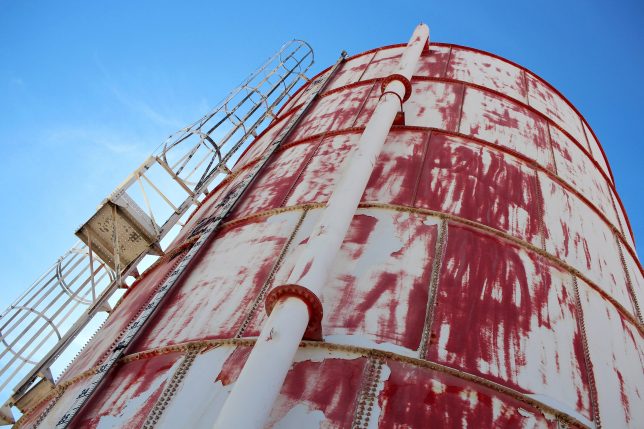
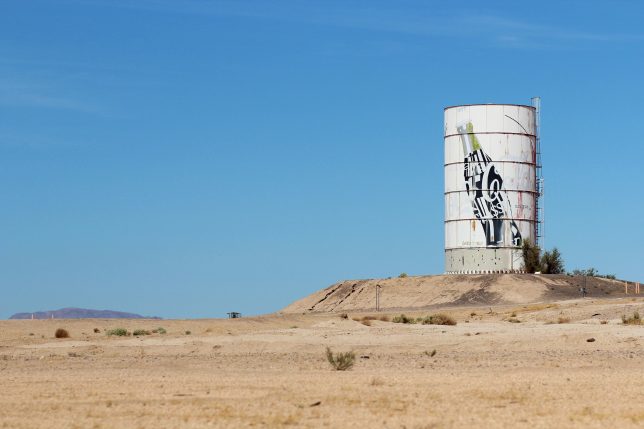
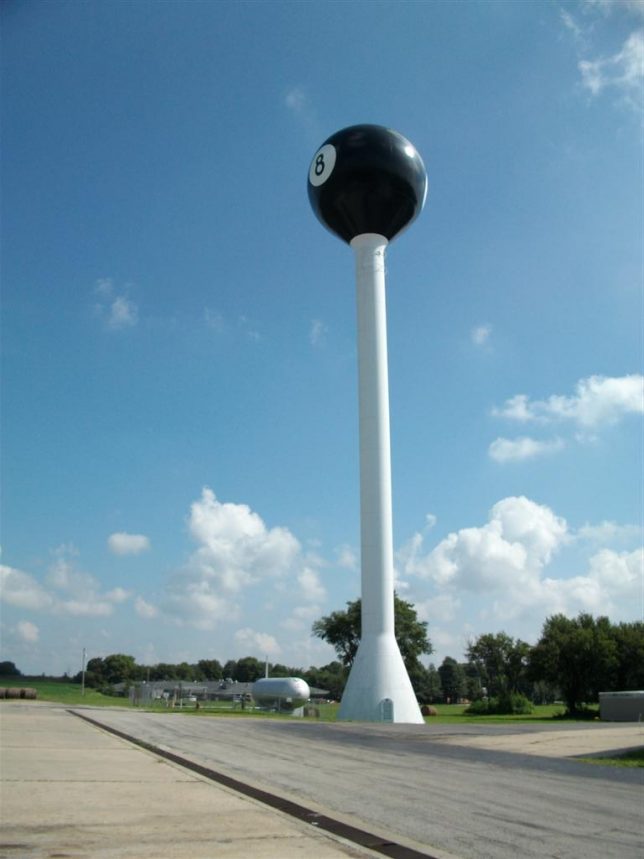
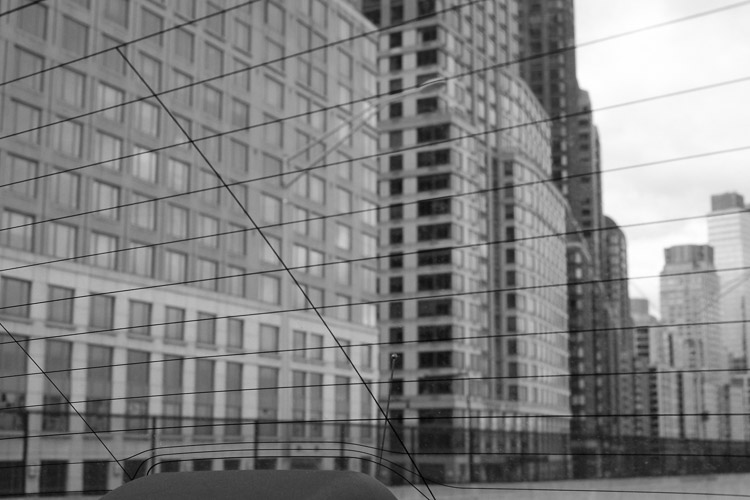
Think about this: if you go to Paris, you will no doubt want a photo of the Eiffel Tower. Of course, every photographer does. The challenge is, we have all seen photographs of the Eiffel Tower, so, how will your image be different from anyone else’s? Better still, how will you make the image look like it is taken from a new vantage point or angle.
These are the tough questions, the things that we need to think about as photographers. You could try a few things, go in really close and get some detailed shots of the metal structure, find an area of it that is looking old and grungy, maybe try and shoot it from a very extreme angle, work hard to show your viewer something they haven’t seen before.
Think of the photos you have seen of the Eiffel Tower. If your image looks like any of those shots, then you need to try something different. The goal here is not to be different for the sake of being so, but to try and be unique.
Of course, you should shoot the usual postcard shot, at least you have that, but then play around, walk around, lie on the ground, shoot straight up, put your camera lens against the structure, try anything to get an angle that you have never seen before.
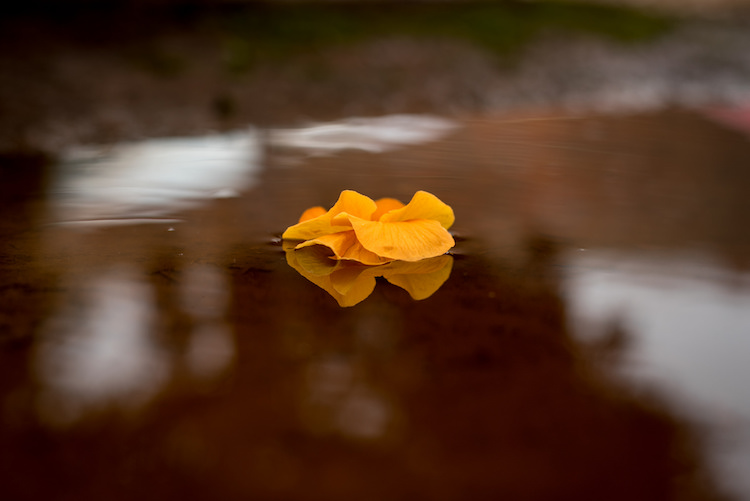
Show me something I have never seen before. – Jay Maisel
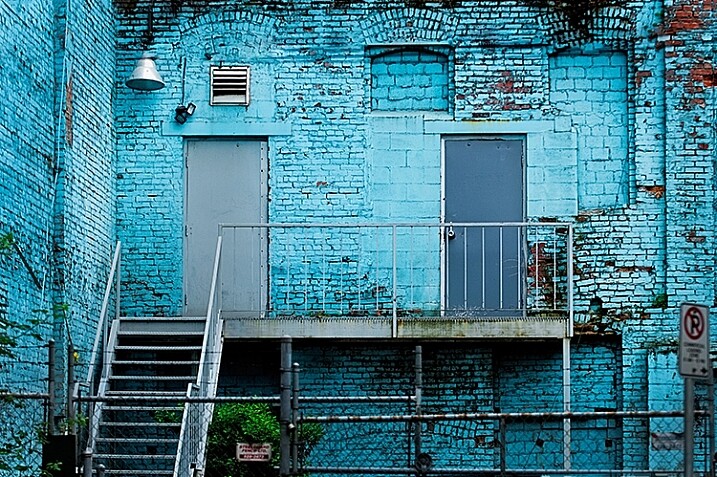
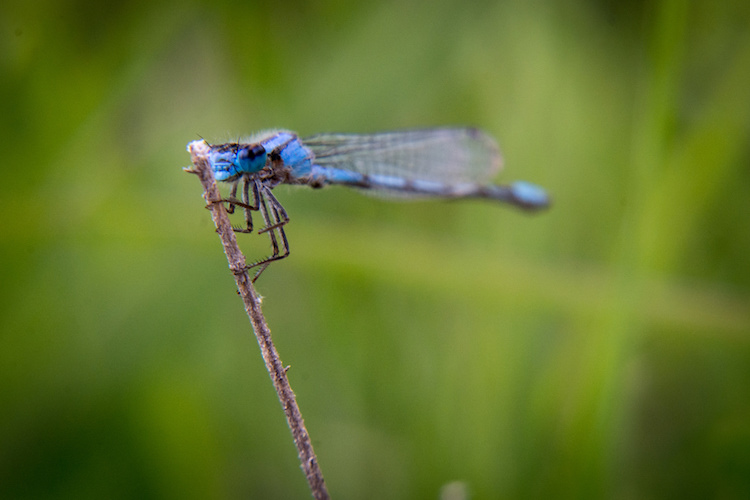
Look for something you have not seen before
This is one of Jay Maisel’s key messages, “Show me something I have never seen before”. He is not being flippant, we have all seen a car, a tree, a glass building, and people on the street. What he is looking for is to be shown these everyday subjects in a different way, that’s the key to this principle.
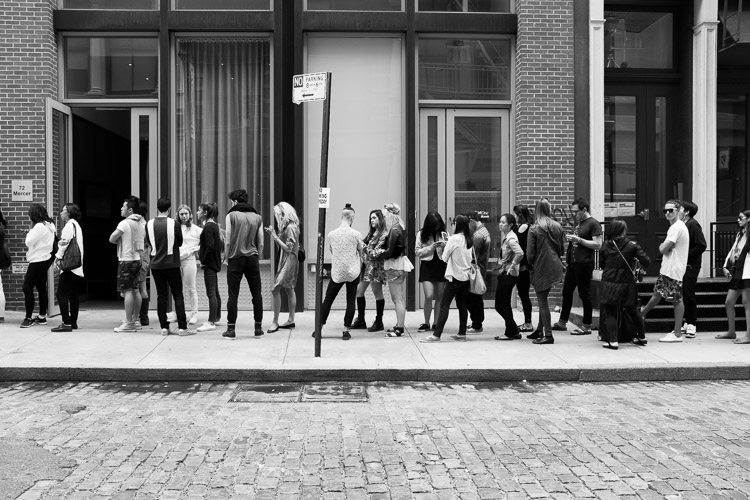
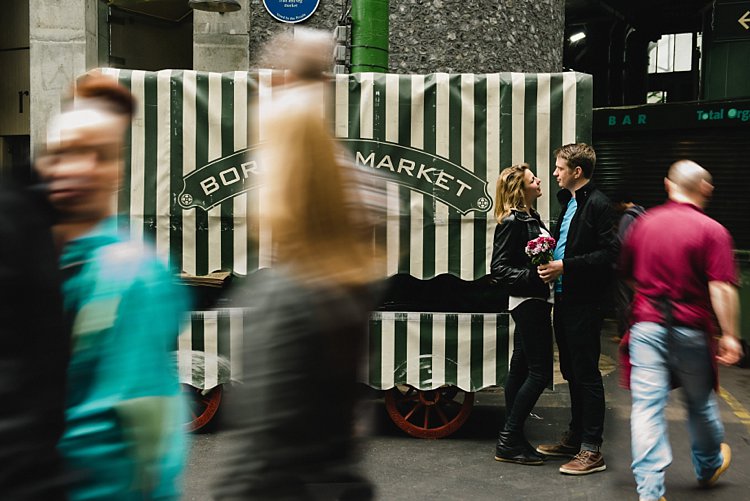
#2 Practice patience
In the video with Jay Maisel, he mentions that he was once out doing street photography with another well known photographer. As a typical New Yorker, he was walking at a pretty quick pace. After some time, the other photographer turned to him and said, “Jay, do you know why you aren’t getting any good shots? You’re walking too quickly”.
That comment caused Jay to slow down. Not only did he slow down his walking pace, but he slowed everything. He would stop in a place for five or 10 minutes. He would find a scene he liked and then, like a theatre stage, he would wait for the actors to appear, the people on the street. So he stands in a particular spot sometimes, for up to 20 minutes, and just waits for something to happen.
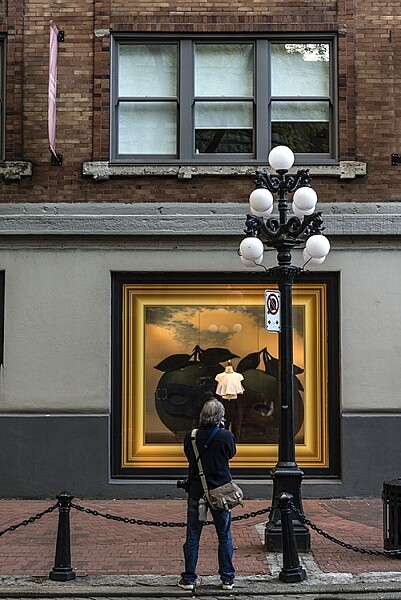
Sitting and waiting can result in some great images
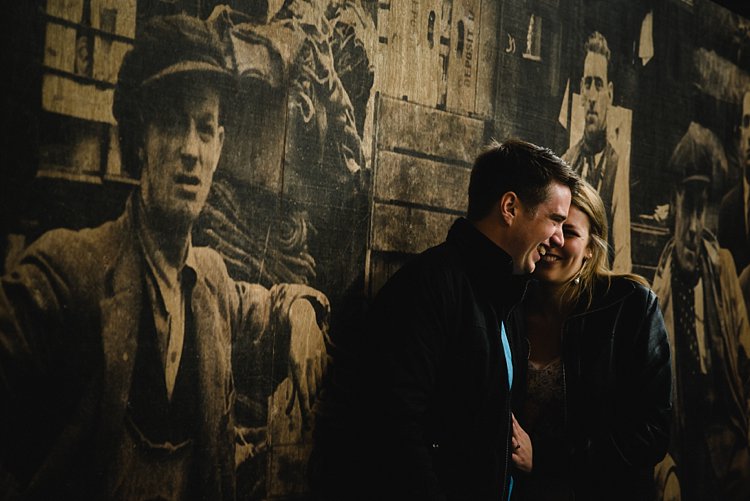
Give it a try. Next time you are out photographing in your city, stop for a while. Observe the scene in front of you. Make note of how people are moving through that scene, and start looking for an opportunity to make an image. It may take a while, if you can, sit down and just watch, pretty soon, the right person will enter your “stage” and you will have your image.
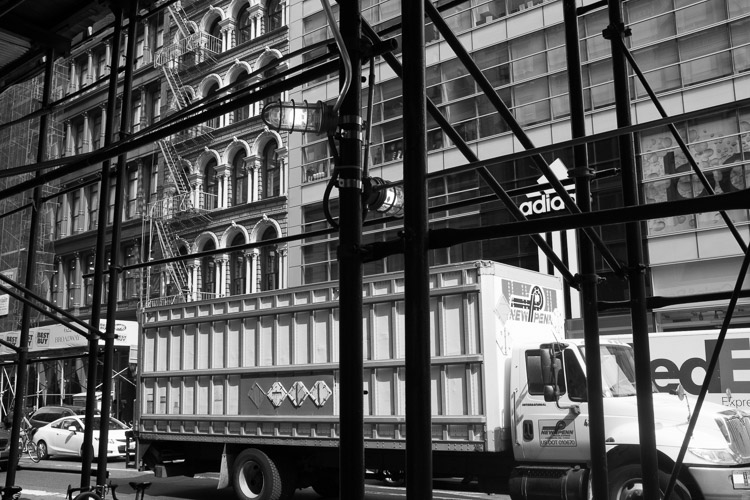
#3 Change your composition
We all know about the rule of thirds, very often it is our first introduction to composition. It’s a good starting point for creating good composition, but there are many other ways to make your images look compelling.
Composition is one area of photography that can make a vast difference in your images. Simply changing from landscape to portrait orientation for example. More than that, look a little deeper. There are some great techniques you can use to enhance your composition.
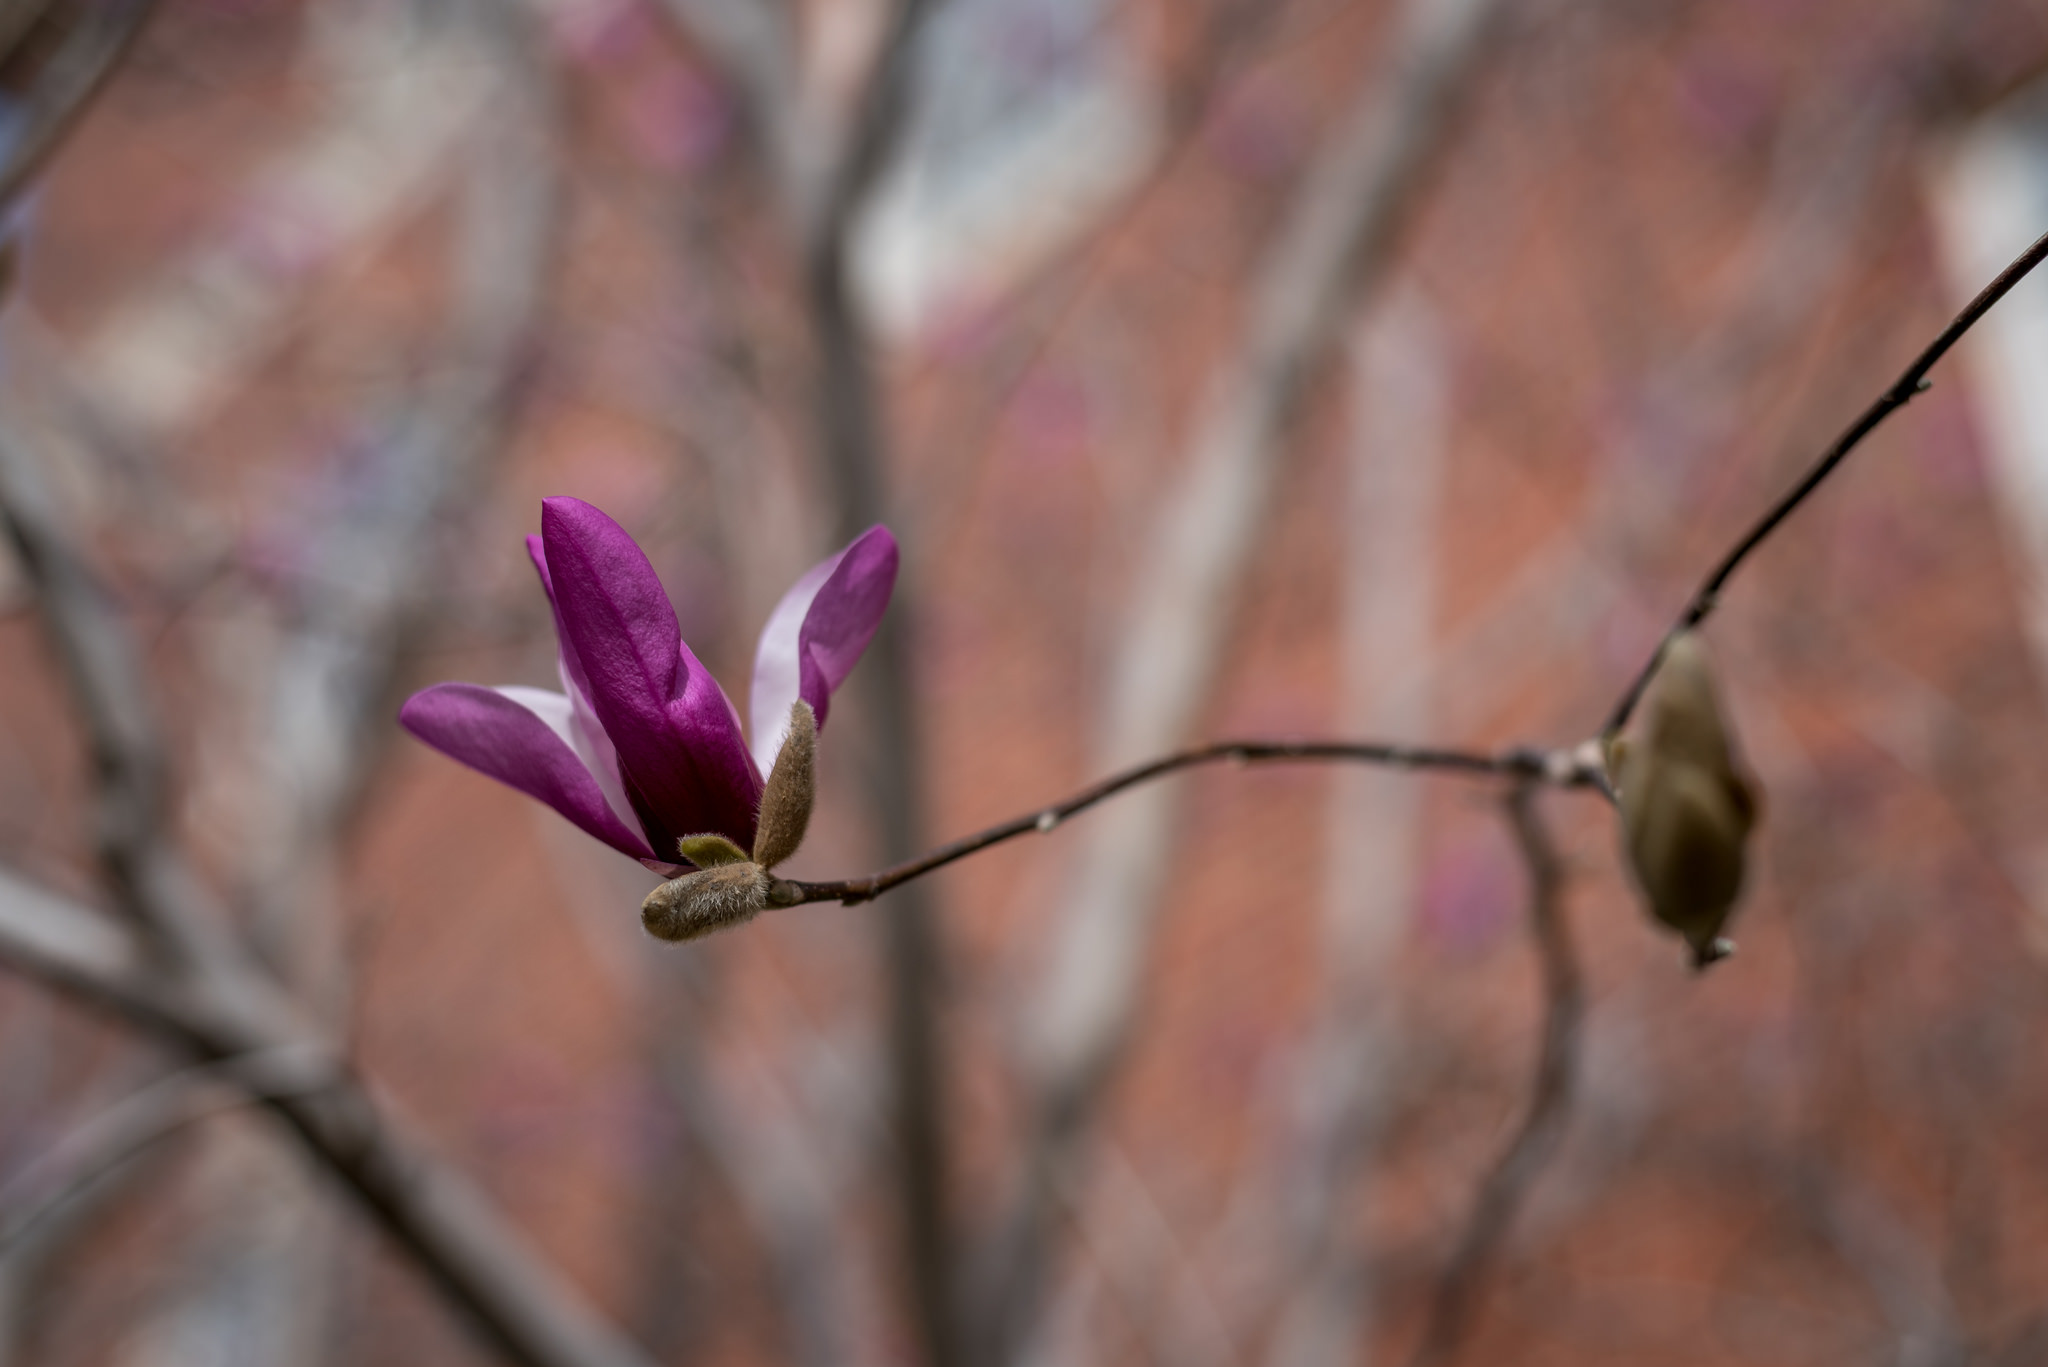
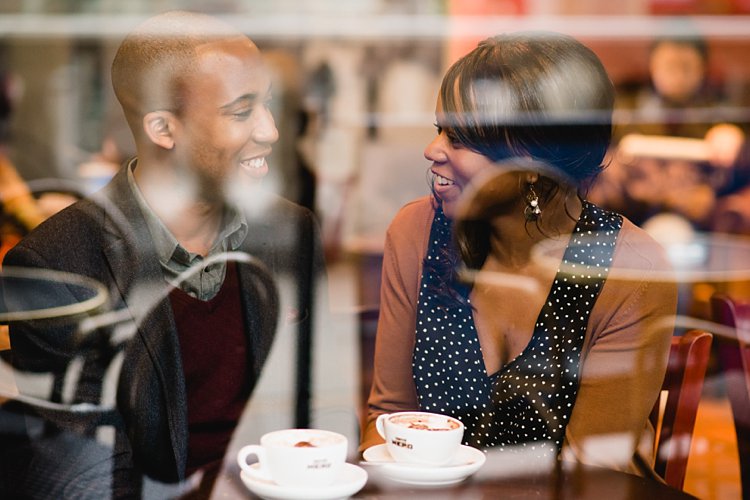
One of these is using depth of field. A shallow depth of field will isolate your subject and make the background less distracting. Speaking of backgrounds, make sure that you have looked at the background in your image and that there is nothing distracting that will take the viewer’s eye off the subject.
You could also try and frame your subject using a door frame, a window, or some overarching trees. The frame will point the viewer to the subject and, if done correctly, framing can be a very powerful compositional tool.
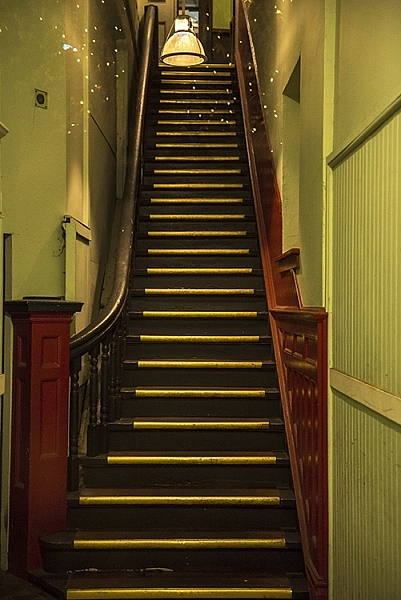
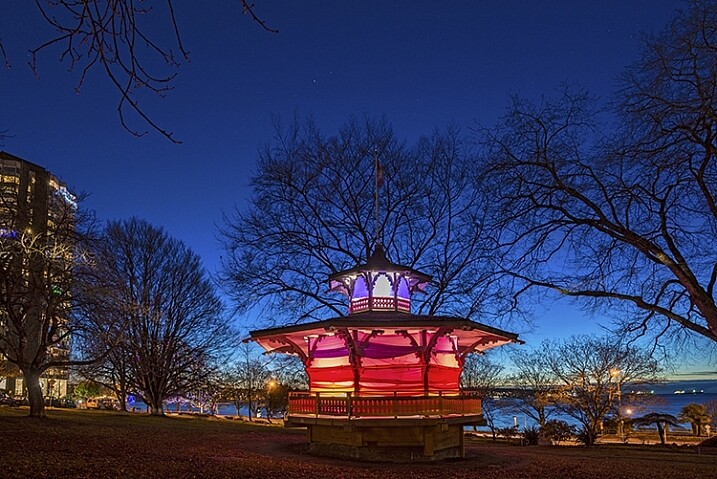
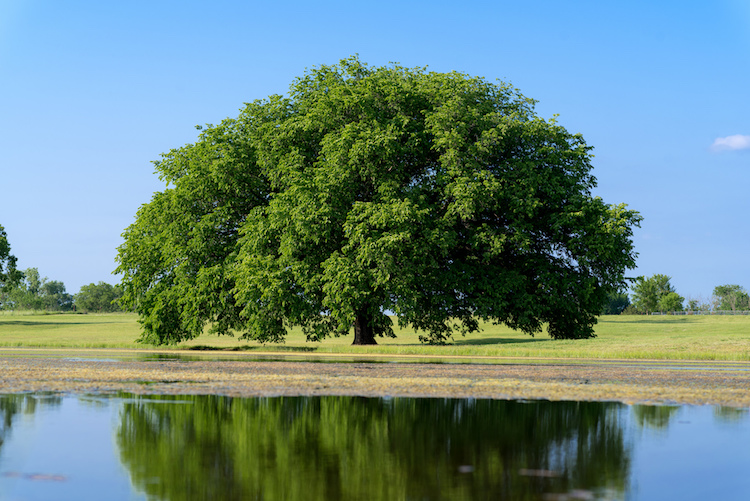
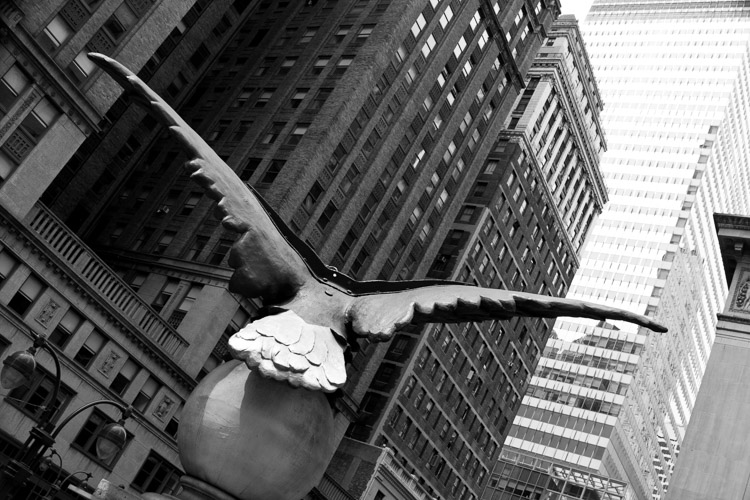
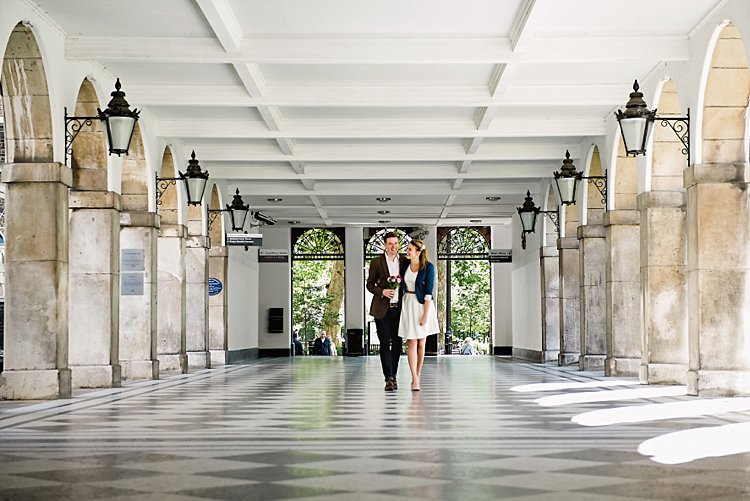
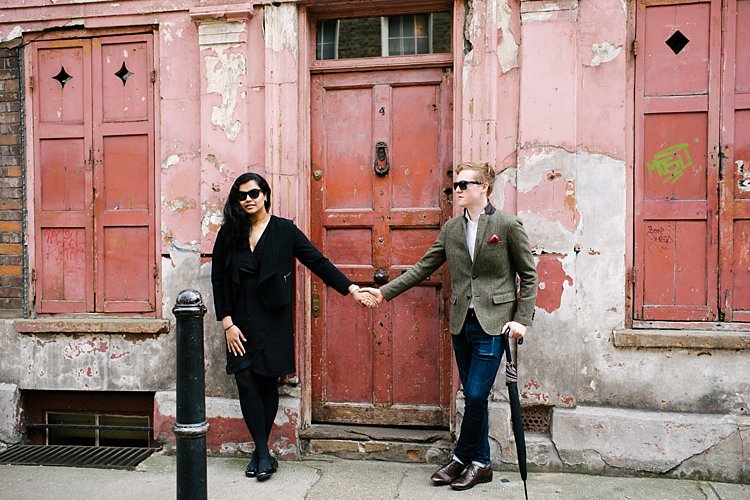
Remember to change your viewpoint. Lie on the ground, get as low as you can, or maybe get up as high as possible. If your viewpoint is unusual, your subject will benefit immensely.
Shooting from a different viewpoint can make all the difference
#4 Go out empty
Another piece of Jay Maisel wisdom is to go out empty, and let your images fill you up. What does that mean?
Very often, you may go out on a shoot and are “hunting” for a particular image. Maybe you are looking for a man with a blue shirt riding a red bicycle, which is pretty specific, and really difficult to find. The challenge is that if you are looking for only that one type of shot, you may miss all the others that are out there.
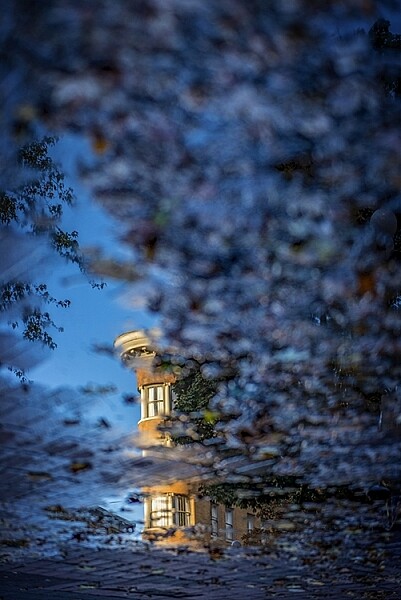
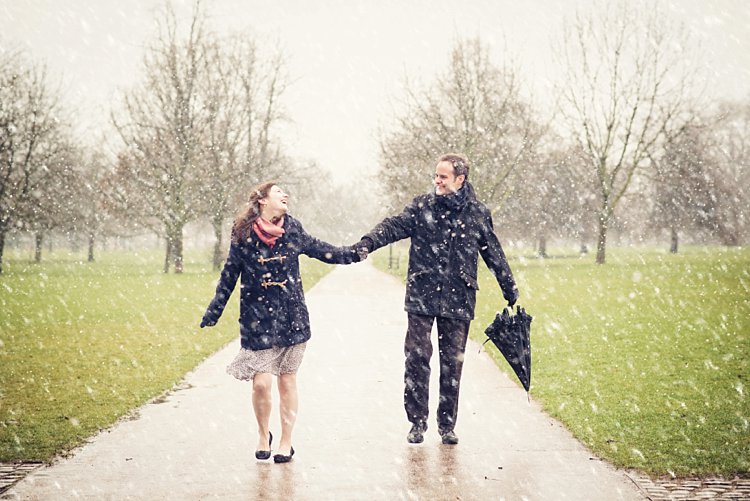
By going out empty, you are open to whatever comes into your viewfinder. You may get a shot that you never thought of before or have seen before, that’s the point. Sometimes it is good to shoot with constraints, it forces you to be creative.
By going out empty, you may be surprised at what you will see
At other times, go out without any limitations, simply look at what unfolds in front of you and shoot whatever you find interesting. That’s one way to get some great shots. Also, be open to what happens while you are out shooting.
I was photographing in an old area in the East Side of Vancouver. A lady came up to me and asked what I was doing, and I told her I was looking for some great shots of the homes in the area. She asked if I wanted to see inside her home, I am so glad she invited me. Her home was amazing, and it was a great opportunity to see inside a true heritage home.
#5 It’s not about cropping, but about framing
As photographers, we can become a little lazy. We will compose the shot, look at the scene, and realize we need to move a little to the left because there is something distracting in the shot. Many times, we might think, “It’s okay, I can crop that out later”.

Yes, that is true, you can crop it out later, but it may change the whole perspective of the shot. I might mean that you lose another important piece of information.
Jay Maisel reminds us that it’s about framing, not cropping. He says that it is the photographer’s responsibility for what is in the frame and, sometimes more importantly, what is NOT in the frame. Instead of assuming you can crop something out later, maybe move around the subject a bit, look at it from different angles, and then decide what needs to be in the frame and what doesn’t.
As Jay says, “The photographer is responsible for everything in the frame”. Make sure that everything that’s in the frame is there for a reason, otherwise, change it.
You are responsible for everything in the frame.
Of course there are no rules in photography, there are only guidelines. These ideas are simply suggestions that can help you improve your images, and to see more clearly. Once you begin practicing these things, you won’t have to think about them as much. You will do them instinctively, and that’s when your photography will change and become more mature.
So get out there and give these ideas a try, practice one of these suggestions on each photoshoot or photowalk you do. Keep making the changes and slowly working on your craft, and you may look back in a year and be astounded at how much your work has improved.
googletag.cmd.push(function() {
tablet_slots.push( googletag.defineSlot( “/1005424/_dPSv4_tab-all-article-bottom_(300×250)”, [300, 250], “pb-ad-78623” ).addService( googletag.pubads() ) ); } );
googletag.cmd.push(function() {
mobile_slots.push( googletag.defineSlot( “/1005424/_dPSv4_mob-all-article-bottom_(300×250)”, [300, 250], “pb-ad-78158” ).addService( googletag.pubads() ) ); } );
The post More Ways to Create Better Images Without Buying More Gear by Barry J Brady appeared first on Digital Photography School.

Digital Photography School


.jpg")
.jpg")
.jpg")
.jpg")
.jpg")
.jpg")
.jpg")
.jpg")


You must be logged in to post a comment.