Photography is expensive, there’s no doubt about that. Nature photographers have it bad, though, especially if you’re buying long telephoto lenses for wildlife. The Canon 200-400mm lens will set you back $ 11,000 – ouch. So it’s no wonder that many people want to make it in photography and start monetising their work. But can you make money with your nature photography?
Making money from your photography isn’t easy, and it doesn’t get any easier as a nature photographer either. There’s less demand, and more people doing it. That means increased competition for a smaller slice of the pie. If you want to make money from your nature photos, then you must realize that it’s not easy by any means – but it’s also not impossible.
I’ve been working as a professional nature photographer for about six years now. What I’ve learned over my relatively short career so far is that you need to think outside the box to stay ahead of the competition. A bit of a cliché statement maybe, but one that you’ll have to embrace – especially if you want to be a full-time photographer.
But you’re probably reading this wondering how you can make a bit of extra cash from your photos on the side, rather than an entire life-altering career move. Well, that I can help you with! Let’s take a look at some of the main ways you can start to make money with your nature photography.
Prints and Other Products
The first print I ever sold was in 2008. That’s eight years ago now, and I’ve been doing it ever since. To the surprise of some, people do buy photographs to hang on their walls. This isn’t a space reserved solely for paintings.
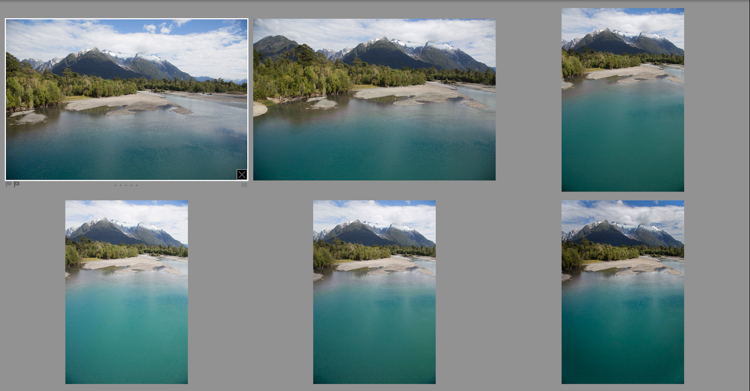
Personally, I have my photos printed and framed myself, but you can have this process automated by dedicated web hosts. Zenfolio is a popular choice amongst photographers for a website, and they offer the ability to have orders automatically fulfilled by printing labs. This means you can sit back and relax, selling prints from your website.
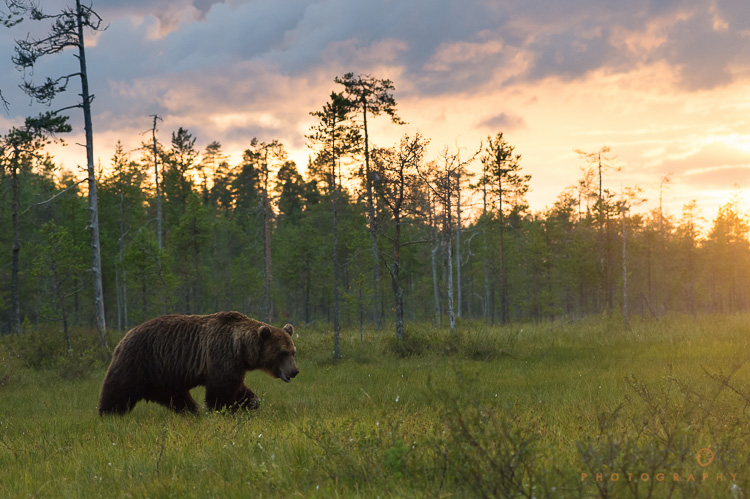
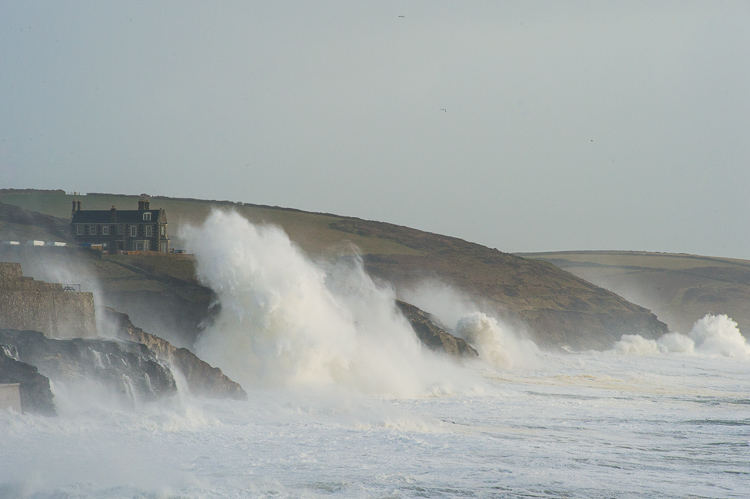
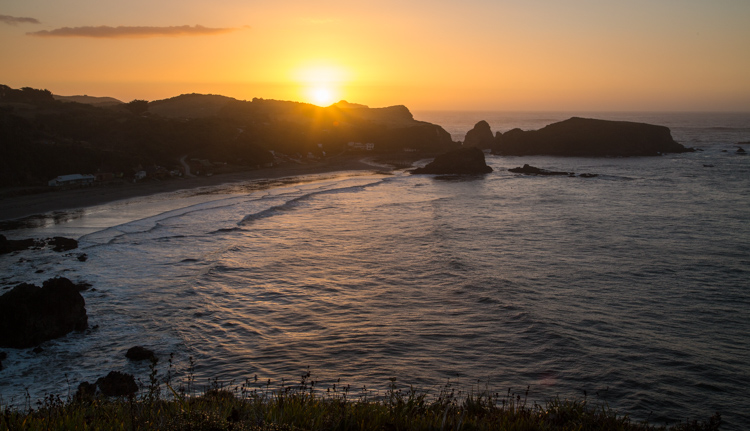
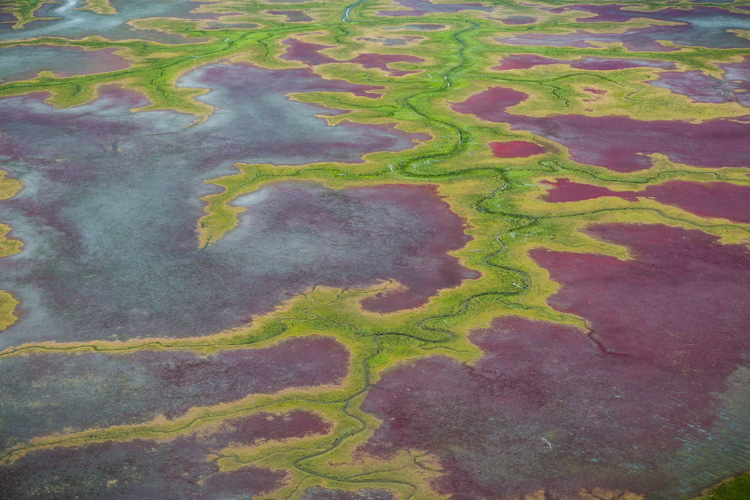
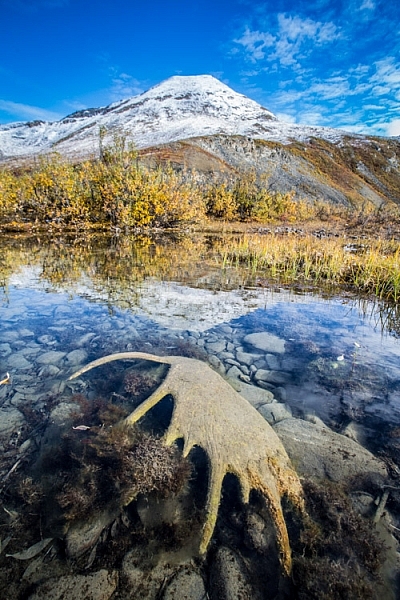
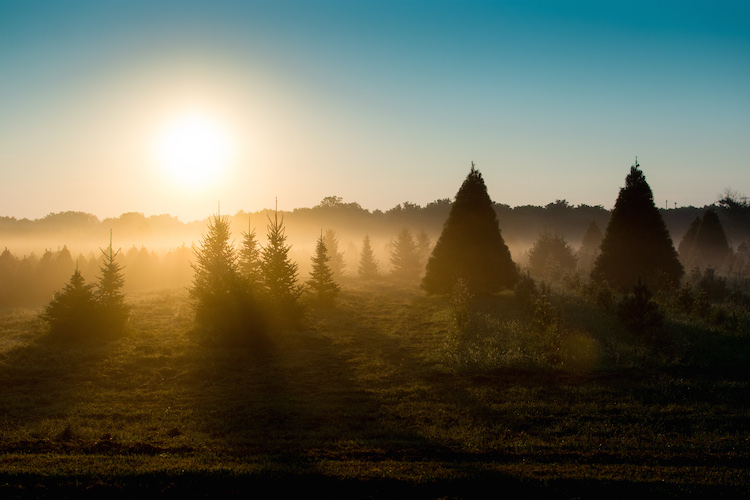
Beauty and picturesque scenes sell better as prints, rather than action-packed shots.
It’s not just online though. You can sell prints in the real world too! Head to a market or trade show, set up a stall and get selling. It’s great fun talking to customers about your work and to sell your photos this way. Doing just a couple of shows a year can buy you a new camera or lens, so that’s something to think about.
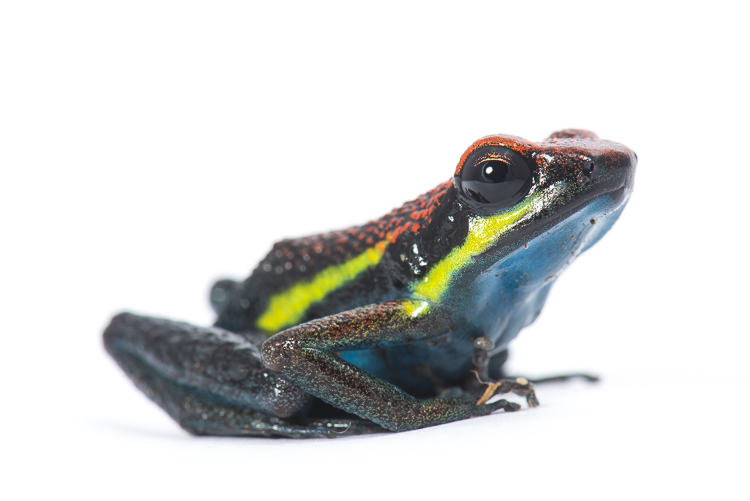
What sells best? Well, I find the more traditional wildlife photography like; clean bokeh shots, cute animals, or dramatic scenes. You’re looking for something that someone will want to look at over and over again. After all, when was the last time you moved a framed picture in your house? They stay up for a long time.
Workshops
If you really know your way around your camera and can take a decent photograph, then this is something you could consider. Day workshops offer clients tuition in photography, let them know your secrets and just help them to take a better photo and understand their equipment. It’s a popular move amongst photographers nowadays, and almost everyone trying to make a living out of nature photography is offering workshops.

The best thing about it is that you can set your own hours and choose when you work. You can fit sessions in on the weekend around your full-time job, and have a little extra money coming in on the side. All of this helps to take the sting out the costs of new photography kit.
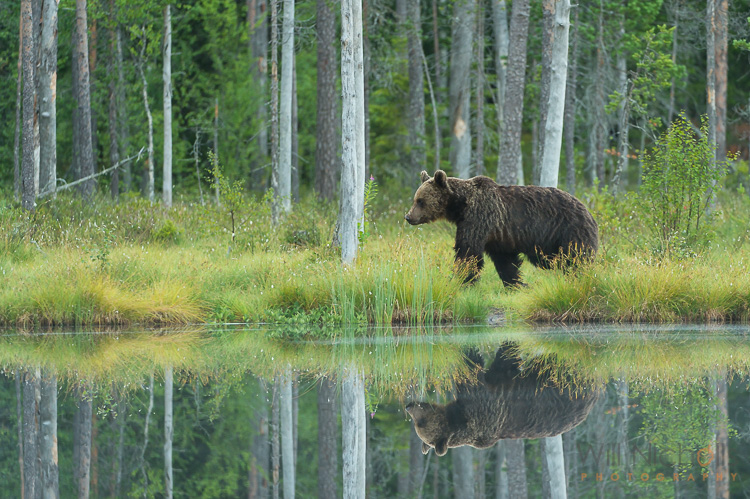
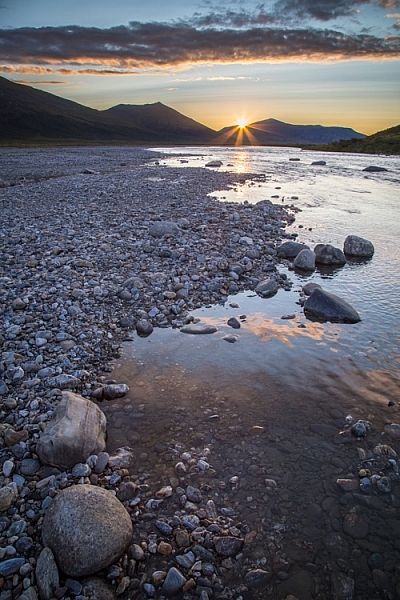
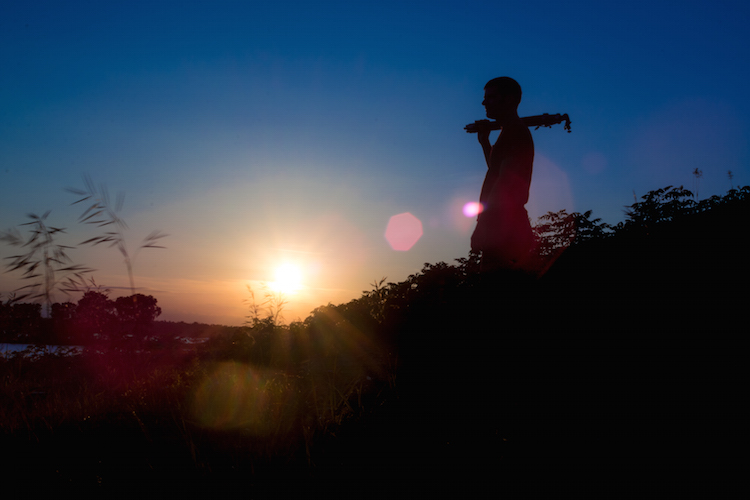
There are different types of workshops you can offer. Some photographers partake in one-to-one guiding days, showing clients different locations for landscapes or wildlife sightings while imparting photographic knowledge. Others may rent out a blind they have built to view a particular animal (see image above), something that is often in high demand by those who don’t have the time to create such possibilities themselves.
Sell Stock Images
The stock photography industry is depleting day by day, unfortunately. It used to be the case that you could make a five-figure salary, or more, from stock photography alone. Maybe not just as a nature photographer, but you could definitely make big bucks in comparison to nowadays.
But with the rise of microstock, photographers are seeing their earnings decrease. On top of that, many stock websites are taking increased percentages as a commission, leaving photographers with little left of the few sales they may still make.
Despite that bleak picture, there are specialist nature photography stock agencies you can submit to. The likes of Nature Picture Library still sell well, at least in the UK, and photographers are able to make a decent income from them. However, they are very selective about who they work with – you need something unique in your portfolio to be accepted.
Selling to Publications
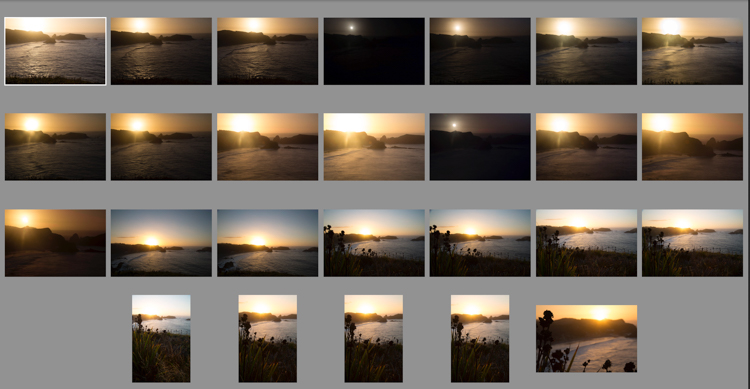
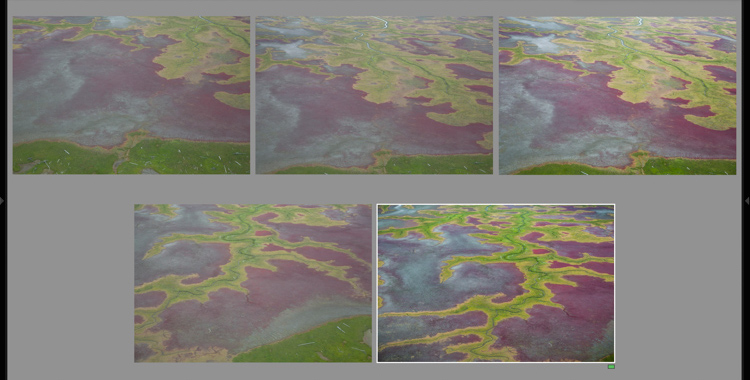
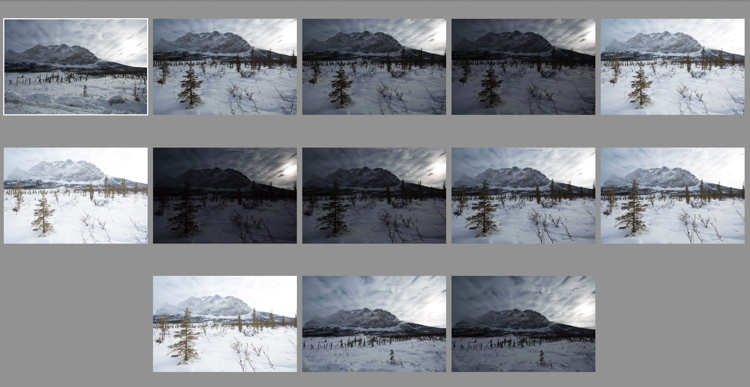
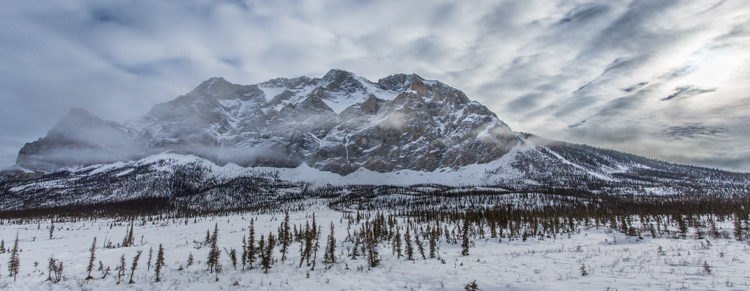
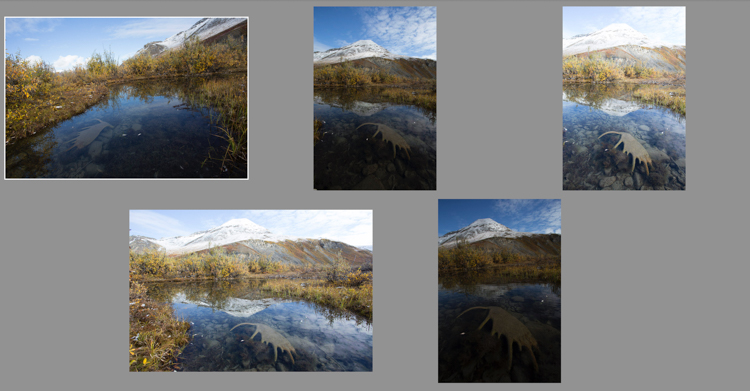
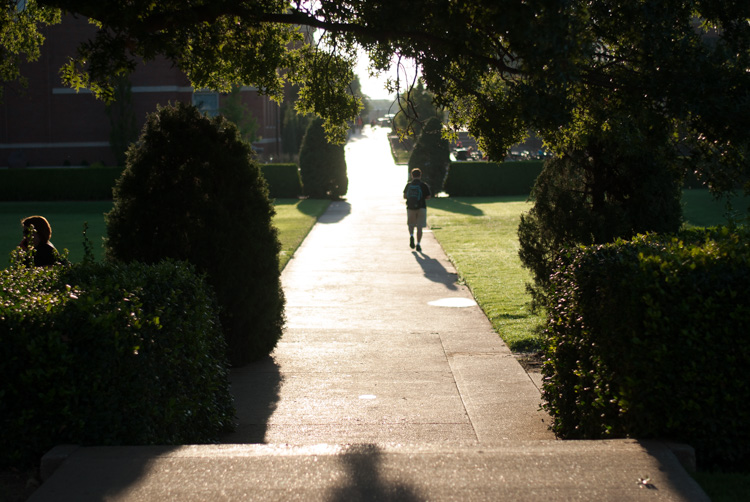
This is where there is definitely still money. Selling images to newspapers or magazines can be pretty lucrative indeed – the trick is making it a regular gig. Publications are often looking to buy not just one photo, but a sequence of photos that tell a story. That’s where your best chance to get published sits.
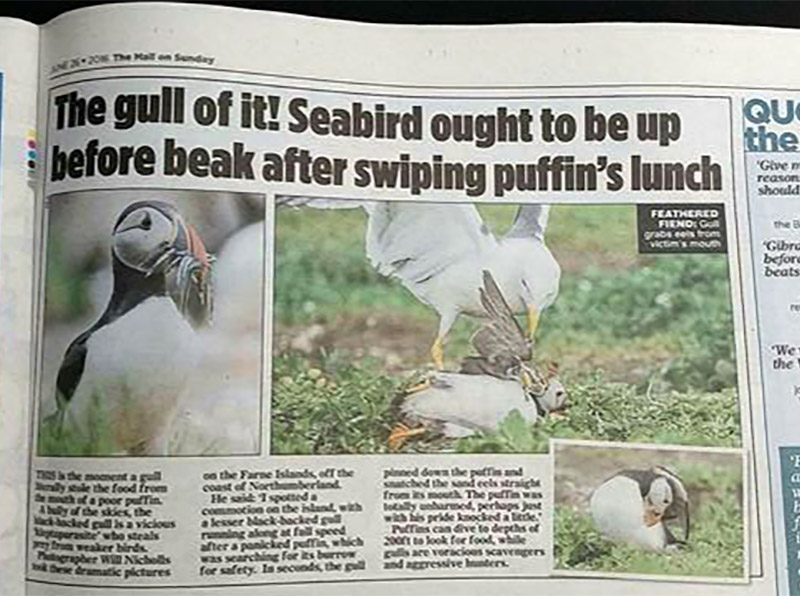
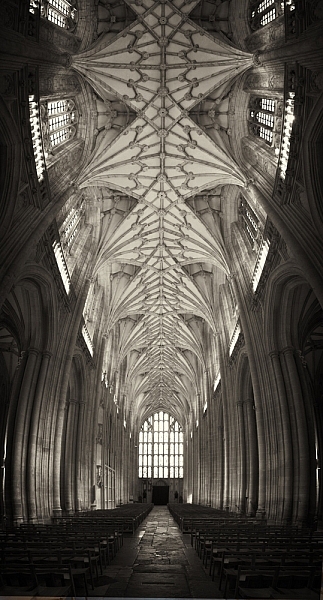
Selling to newspapers and other publications can be a good source of income.
Working with a press agency to get your photos syndicated and in front of the right people is the best way to go about it. While you can contact publications yourself, you’re likely to be ignored and if your photos are used you may have to spend months chasing them for payment. Press agents take the stress out of it. There are plenty around the world, and they’ll take a commission (usually 40-50%) of the sale price for their services. I work with
Press agents take the stress out of it. There are plenty around the world, and they’ll take a commission (usually 40-50%) of the sale price for their services. I work with REX Features, but there are plenty out there such as Caters News and Associated Press. If you think you have a good, fresh sequence of images then send some low-resolution copies over and you’ll soon find out if they are sellable or not.
In Conclusion
Here are just some ways that you can make money as a nature photographer. It takes work and dedication, especially if you want to make it a full-time job. It’s definitely not the path everyone will be able to take. But, there’s no harm in trying to make a bit of extra money at first and seeing where it takes you. You just have to take that first step.
googletag.cmd.push(function() {
tablet_slots.push( googletag.defineSlot( “/1005424/_dPSv4_tab-all-article-bottom_(300×250)”, [300, 250], “pb-ad-78623” ).addService( googletag.pubads() ) ); } );
googletag.cmd.push(function() {
mobile_slots.push( googletag.defineSlot( “/1005424/_dPSv4_mob-all-article-bottom_(300×250)”, [300, 250], “pb-ad-78158” ).addService( googletag.pubads() ) ); } );
The post How to Get Started Making Extra Money with Your Nature Photography by Will Nicholls appeared first on Digital Photography School.


You must be logged in to post a comment.