
Adobe PhotoShop Lightroom version 5 was released in June, and I’ve been digging into the new features. In this article I’ll share some tips for selective editing with the new Radial Filter tool.
The Radial Filter allows you to draw an ellipse around an area of an image, and apply edits to the area outside or inside the ellipse. This is a great technique for highlighting portions of an image.
Radial Filter Settings
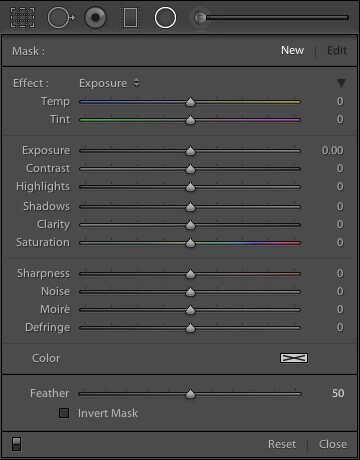 The Radial Filter tool in Lr 5 gives you the same set of standard adjustments as the Graduated Filter and Adjustment Brush. Note that this screenshot is from an image that is using the 2012 process. Read more about process versions here.
Keyboard Shortcut: Shift M
If you read my article on improving your Lightroom workflow, you’ll remember that I’m nuts about keyboard shortcuts. The shortcut for accessing the Radial Filter tool is Shift M. Just remember that the shortcut for the Graduated Filter is M, so Shift M makes sense for the new Radial Filter. After all, if you took a Graduated Filter, and curled it into a circle, you’d have the new Radial Filter tool.
Using the Radial Filter Tool
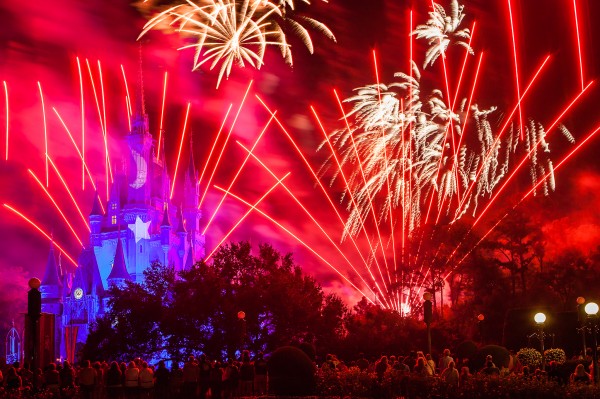
In the above photo of my son enjoying a summer day at the pool, I used the Radial Filter to make the water a little darker, and a little more blue, without changing the exposure or white balance over the subject. This has the effect of emphasizing the subject by making him brighter and warmer than the rest of the image.
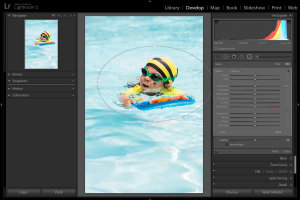
1. Select the Radial Filter tool and draw an ellipse around the subject. Start by clicking at the center of the subject, and dragging outwards.

2. If necessary, rotate the ellipse. Hover your mouse just outside the ellipse until the cursor changes to that rotation indicator thingy, then click and drag.
3. Apply the desired settings. In this example, I’m cooling the white balance, reducing exposure, and increasing contrast, highlights, and clarity. Increased clarity often make water look more interesting by bringing out the reflections.

4. Feather the adjustment. Feathering the adjustment is important to ensure your image looks natural, not “Photoshopped.” Feature is 50 by default, I’ve found that for more image, I like it around 85 or so. Note that after increasing the feather, you may need to back and increase the size of the filter.
Inverting the Mask

When the Invert Mask box is not checked, your edits apply to the area outside the ellipse. If you check the Invert Mask box, your edits apply to the area inside the ellipse.
Conclusion
By varying the exposure, contrast, and white balance of the subject, relative to the setting, you can direct the viewer’s gaze and increase the impact of your photo. I hope this simple example has given you some ideas of how to incorporate the new Radial Filter tool into your workflow. I appreciate feedback, please comment below or feel free to connect with me through Facebook or Google+. I’ll do my best to answer questions and reply to comments.
Post originally from: Digital Photography Tips.
Check out our more Photography Tips at Photography Tips for Beginners, Portrait Photography Tips and Wedding Photography Tips.
How to use the new Radial Filter Tool in Lightroom 5

Digital Photography School

 Friend and fellow landscape photographer Michael Frye has released a new ebook today:
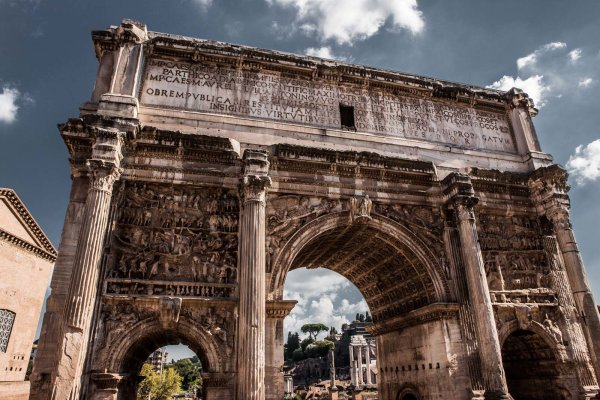
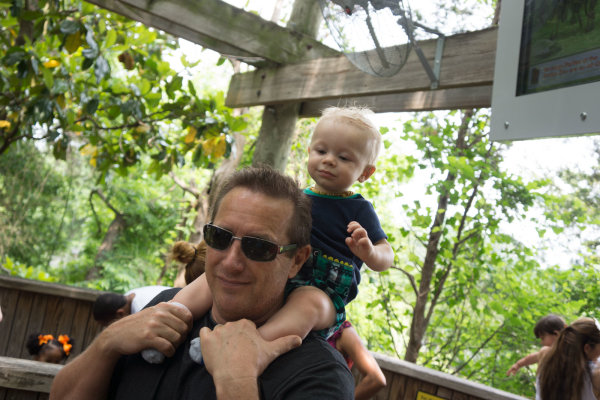
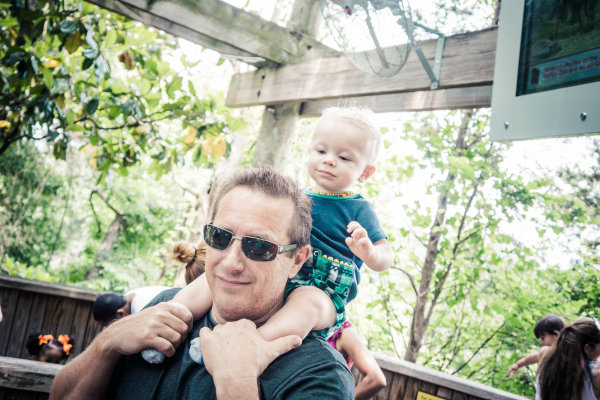
 Over time, you’ll discover that there are certain presets that you use quite often. Feel free to create a new folder in your presets catalog and the drag your favorites into that one. A few of my favorites are Day At The Zoo and Bright and Sunny from my “Family Lifestyle” set, B&W Film Grain and B&W High Contrast from my “Monochrome” set, Sweet Pea Vintage in my “Nostalgia Film” set and Rome in my “Travel” set.


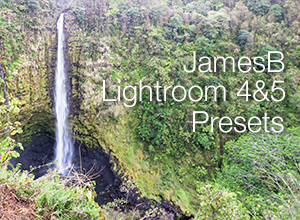 Over on our sister site – SnapnDeals – we have a great offer running right now – it gets you 30% off of an incredible collection of Lightroom presets by DPS contributor James Brandon. You’ll also receive a free copy of his newest ebook “10 Tips For Improving Your Photography Today.”
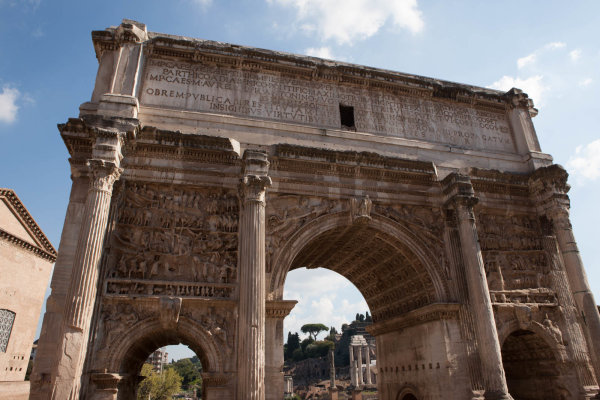


You must be logged in to post a comment.