
The Presets panel (found in the left-hand panels in the Develop module) is one of the most useful in Lightroom. The most obvious benefit of Develop Presets is that they can save you time, which is always a good thing. But they do more than that, including help you maintain a consistent approach to post-processing and using creative effects.
Develop Presets tend to fall into one of two categories. The first are what you might call one-shot presets, which seem to work well on one or two images but not many others. A good example is Develop Presets intended to create a vintage or cross-processed look. They tend to improve some photos, but look horrible on most others.
The second category is what you could call genuinely useful presets. They are a bit better thought out, and designed to make post-processing an easier and quicker task. Usually they are created by a photographer that has put them to use over a long period of time and tweaked them until they work well. I will give you some examples of these at the end of the article.
In this guide to Lightroom Develop Presets we’ll go over some your options.
Free Develop Presets
If you haven’t used Develop Presets before then you likely don’t have many to play with. There are some included already with Lightroom, but there are also plenty of websites where you can download good Develop Presets for free. The problem is, as with anything free, sorting out the rubbish, especially as most of these fall into the first category of Develop Presets. We can save you some time by making some recommendations:
OnOne Software Signature Collection
- One of my favourites is made by OnOne Software. There are a lot of Develop Presets in their set. Some of them will be a bit over the top for most photographers, but there are some good ones, including a set that imitate the filters in the Instagram app. If you’ve ever wanted to use Instagram on photos taken with your digital camera, this is the easiest way to do it. By the way, the link takes you through to OnOne Software’s Lightroom Presets page, where you’ll find lots more free Lightroom Presets.
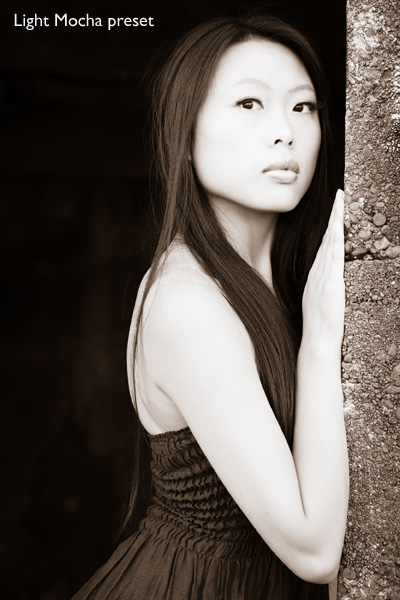
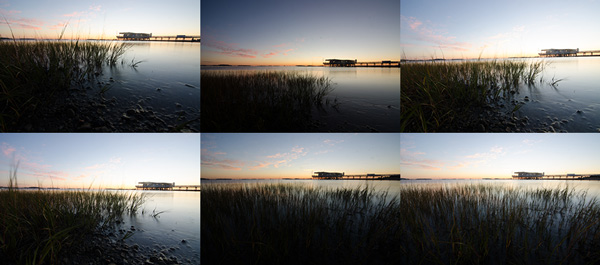
This photo was created with the Light Mocha Preset from OnOneSoftware
Presets Heaven Vintage Presets
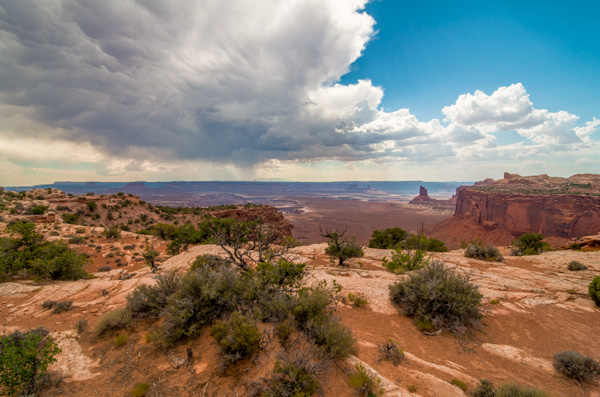
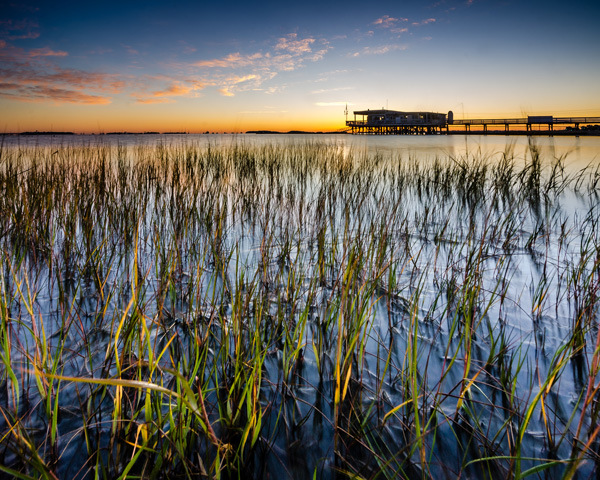
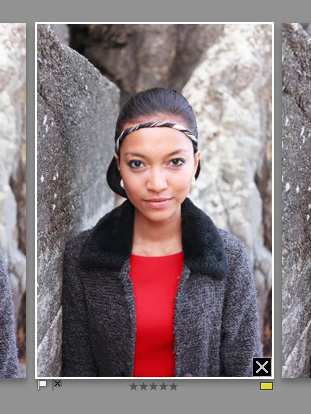
- A nice collection of seven vintage effects for Lightroom 4 and 5. The opening photo above was processed with one of these.
Delicious Freebies
- A set of free Lightroom Presets from Delicious Presets.
Installing Lightroom Develop Presets
Develop presets are easy to install, follow these steps:
- Start by downloading them to your computer (the folder you save them in isn’t important at this stage)
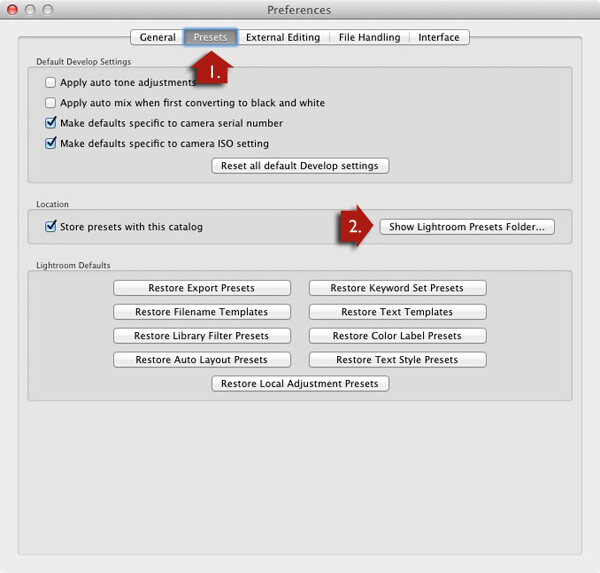
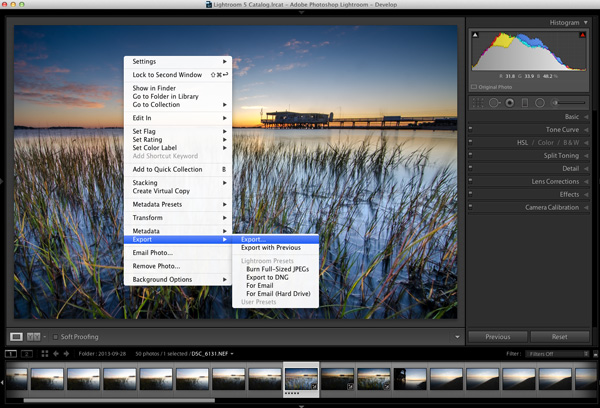
- Open Preferences, go to the Presets tab (see red arrow #1 below) and click on the Show Lightroom Presets Folder button (see red arrow #2 below)
- Inside this folder is another called Lightroom Settings, and inside that is one called Develop Presets. Drag the Develop Presets you downloaded earlier to this folder
- You will need to restart Lightroom before they appear in the Presets panel
Using Develop Presets
Develop Presets are easy to use:
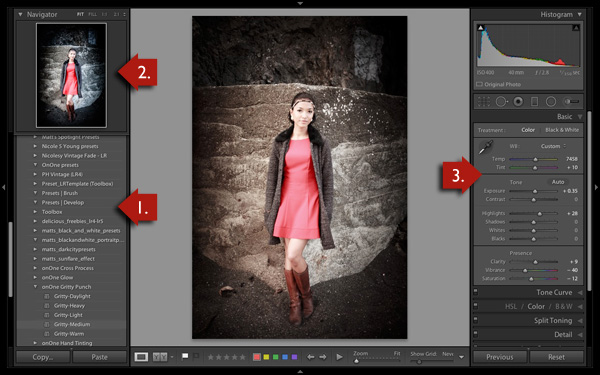
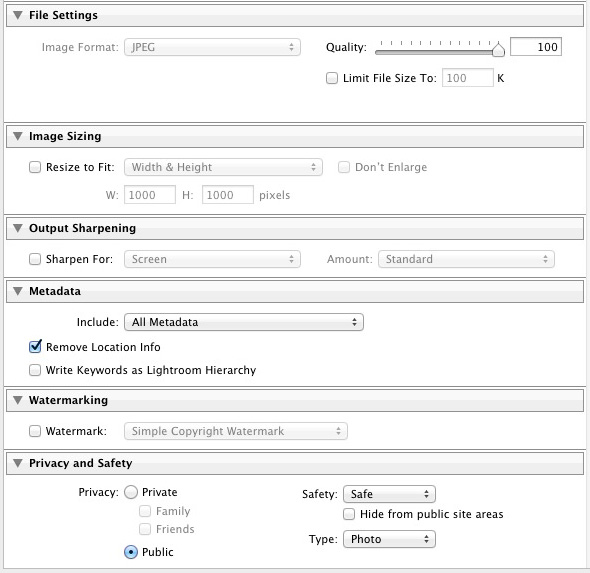
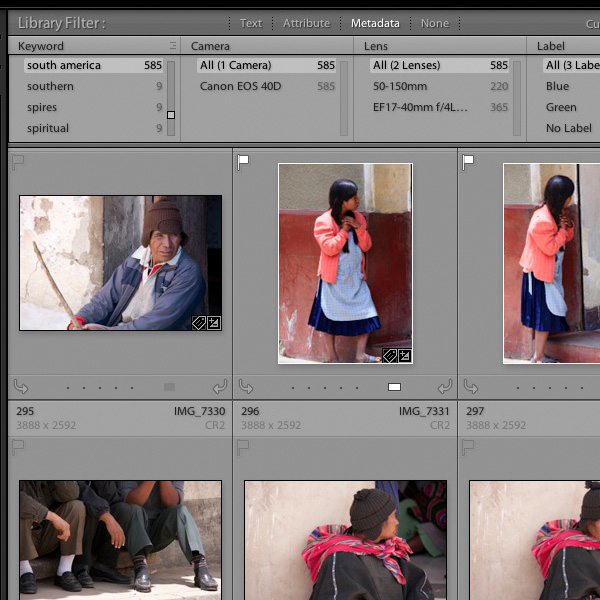
- The Presets panel contains all Develop Presets that come with Lightroom, ones you have created yourself (listed under the heading User Presets) or downloaded from other sources (see red arrow #1 below).
- If you hover over any of the presets, the thumbnail in the Navigator panel shows you what your photo will look like with that preset applied (see red arrow #2 below).
- Click on the preset name to apply it to your photo. The Develop settings in the right-hand panel are updated when you do so (red arrow #3 below).
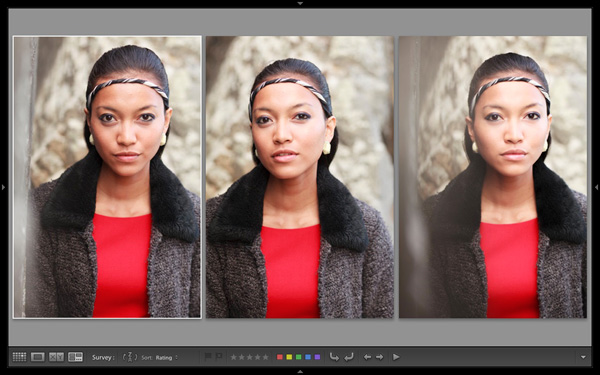
You can’t always tell much from the thumbnail in the Navigator panel as it’s so small. You’ll get a better view if you click on the Before/After View icon (#1 below) – the backslash key “\” is the keyboard shortcut, and will toggle before/after on the entire image by turning it off and on. Set the Zoom slider to Fit to show the entire image on the screen (see #2 below).
When you click on a Develop Preset to apply it to your image you will see the original photo and the new version displayed side by side. If you don’t like the result, Undo it using the Cmd+Z (Mac) or Ctrl+Z (PC) keyboard shortcut.

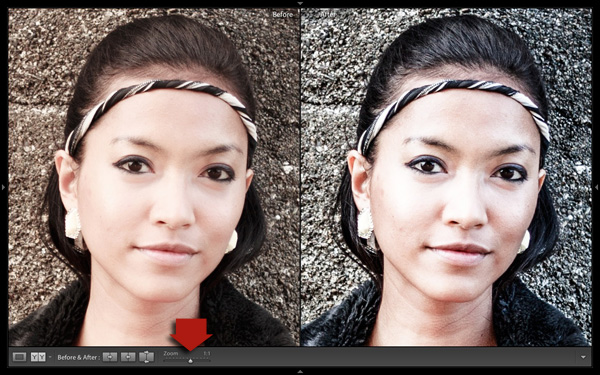
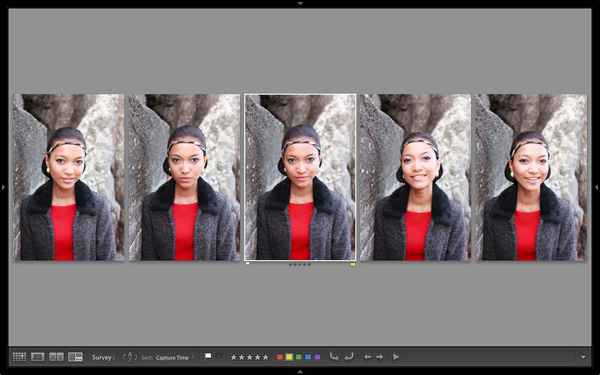
For a close-up look at the effect the Develop Preset has had on your photo, set the Zoom slider to 1:1 (below). Make sure you check important parts of the photo, such as the model’s face in this portrait, to make sure that the newly applied preset hasn’t created any undesirable effects. Some presets do go a little over the top with settings such as Clarity, so it’s wise to double check. You can make adjustments to the appropriate sliders if required.
One of the interesting things about Develop Presets you download from other sources is that you can look at how the settings have changed after you have applied the new preset to see how the effect is achieved. It’s an easy way to learn new processing techniques.
In the example above (the Gritty-Medium preset from OnOne Software), the Develop Preset made all the changes in the Basic Panel. It boosted the contrast by moving the Contrast and Clarity sliders to the right, then negated that effect somewhat in the mid-tones by moving the Highlights slider left and the Shadows slider right (see screenshot below). It also reduced Vibrance and Saturation. The end result is gritty and dramatic, but not so harsh that it’s unsuitable for portraits.
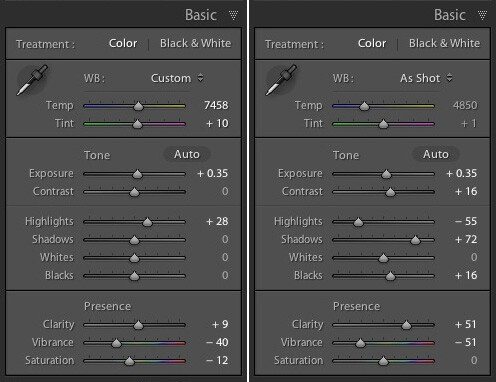
Settings before preset applied on the left, and after it was applied on the right
Create Your Own Develop Presets
It’s very easy to create your own Develop Presets:
- Select a photo and make the required adjustments using the right-hand panels of the Develop Module.
- Go to Develop > New Preset. Alternatively, click the Create New Preset icon in the Presets panel (below)
![]()
- Give the Preset a name (#1 below) and select the settings that you want to include in the Develop Preset in the New Develop Preset window (#2 below). You don’t have to include every setting. If you did, the Develop Preset would probably only be useful for that specific photo.
- Press the Create button (#3 below) when you are done. The new Develop Preset appears in the User Presets category in the Presets panel.

Other Develop Presets
Here is a list of other Develop Presets you may find useful. These are different from the ones listed above as they are not free. If you have any recommendations yourself, please leave them in the comments.
The first two are from the Craft & Vision website
- David duChemin’s Lightroom Presets
- Dave Delnea’s Lightroom Presets
The next one is from SLR Lounge
- It’s a comprehensive system, and so costs more than the others. You can watch the video on the page to see how it works: Lightroom Preset System V5
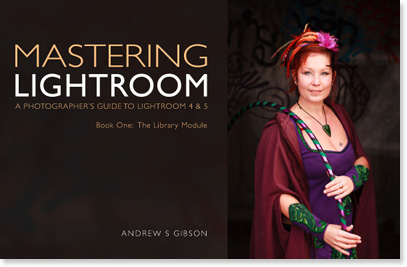
 Mastering Lightroom Book One: The Library Module
My latest ebook Mastering Lightroom Book One: The Library Module is a complete guide to using Lightroom’s Library module to import, organise and search your photo files. You’ll learn how to tame your growing photo collection using Collections and Collection Sets, and how to save time so you can spend more time in the Develop module processing your photos.
The post A Concise Guide to Lightroom Develop Presets by Andrew Gibson appeared first on Digital Photography School.


You must be logged in to post a comment.