[ By Steph in Art & Installation & Sound. ]
Step into three-dimensional blueprints made of light, gaze at flickering ghost ships and walk beneath artificial aurora borealis with this stunning set of interactive illuminated installations. Often reacting to physical stimuli like the movement of the wind or the people viewing them, these light art projects blur the lines between what’s real and what’s illusion.
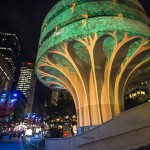
Five-Story Glowing Star in an Unfinished Building
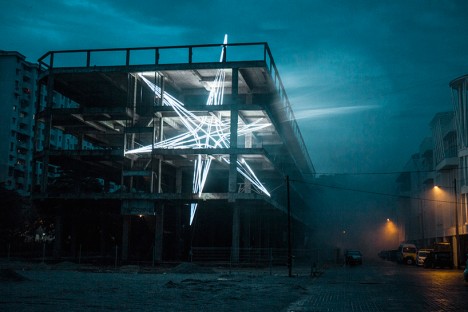
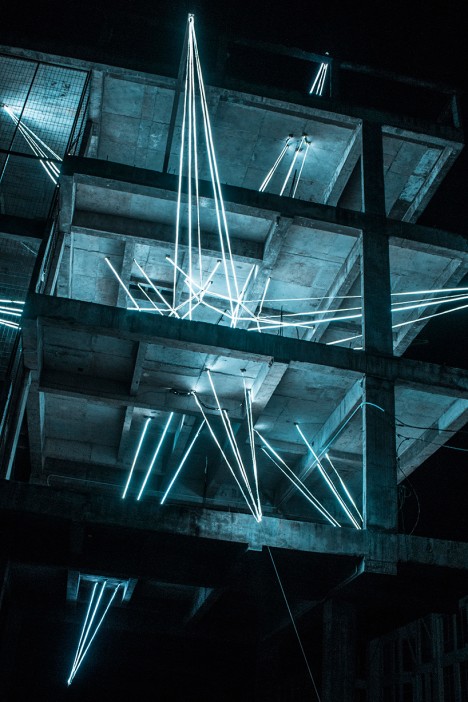
The concrete shell of a partially completed building in in the Malaysian town of Butterworth is currently occupied by a five-story glowing star by artist and architect Jun Ong. Inspired by glitches, the installation consists of five hundred meters of steel cables and LED strips and is meant to highlight the once-bustling city’s fragmented identity.
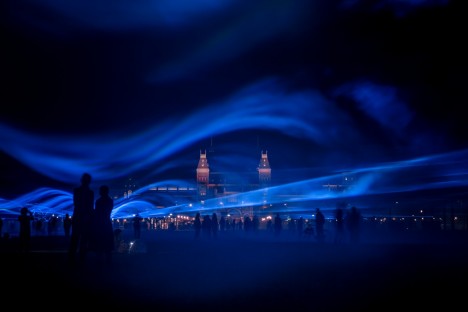
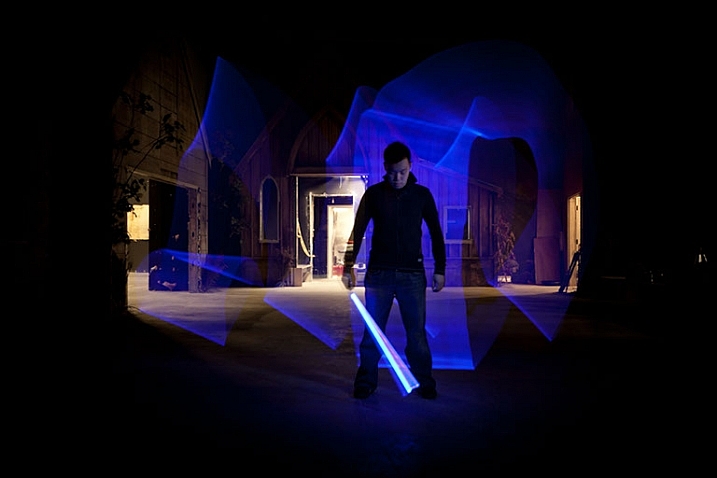
Waterlicht: An Artificial Aurora Borealis
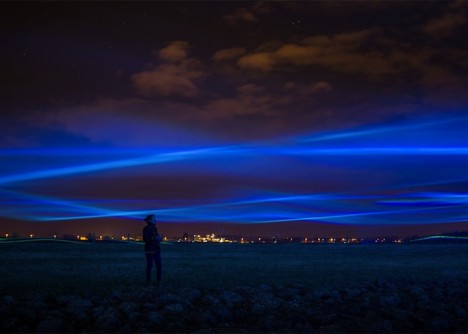
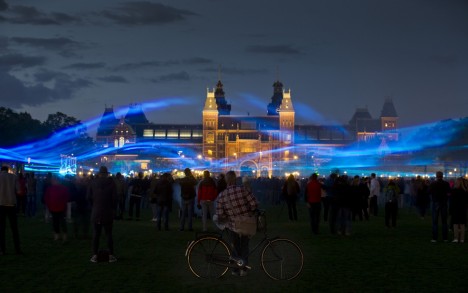
The sky over Westervoort in the Netherlands is illuminated in swaths of eerie blue, mimicking the natural phenomenon of the ‘northern lights,’ or aurora borealis. Artist Daan Roosegaarde made use of the area’s foggy conditions to reflect beams of blue Led lights to raise awareness about the Dutch waterworks that keep the country from being inundated with water.
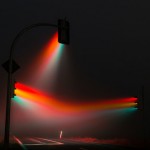
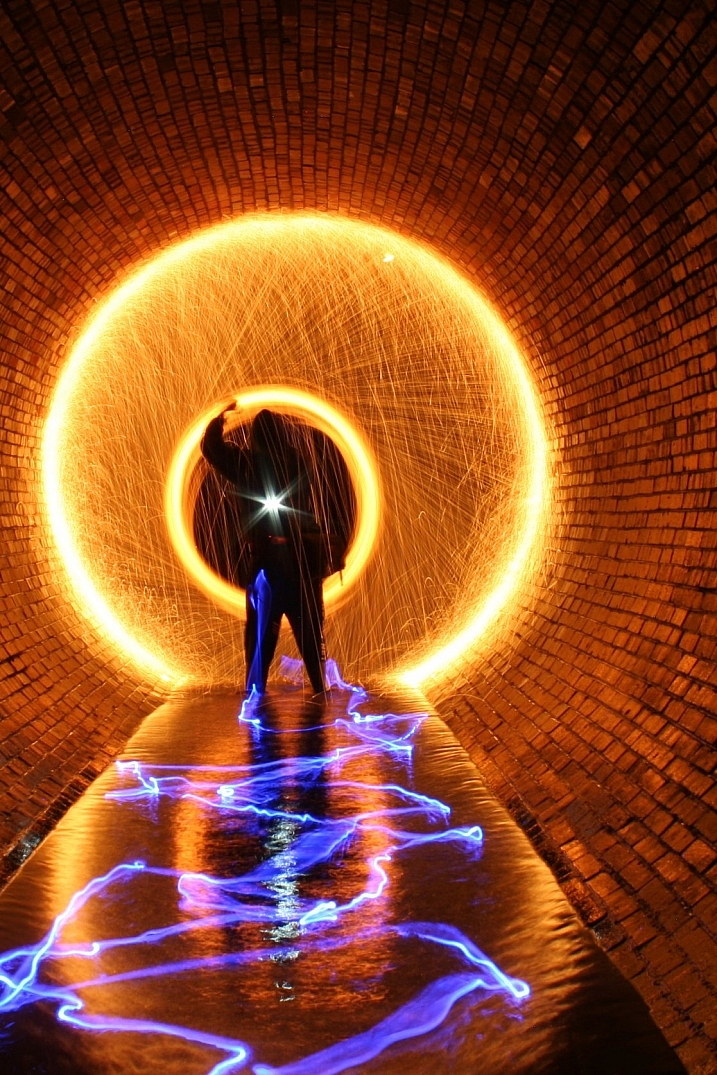
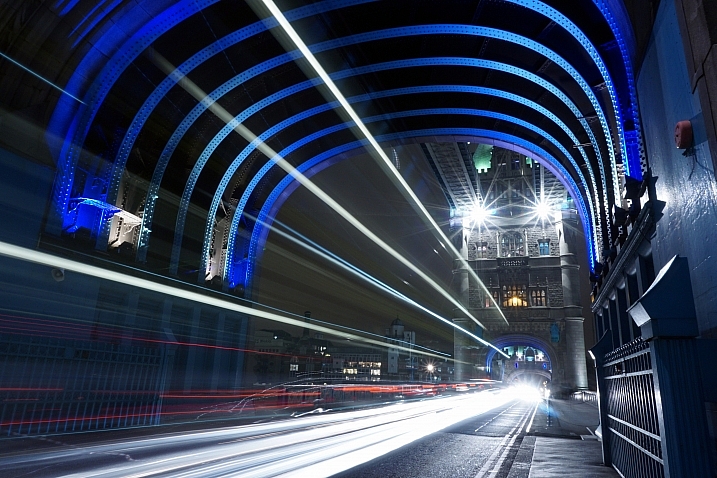
Rainbow Tunnels Mimic Movement of Nearby Water
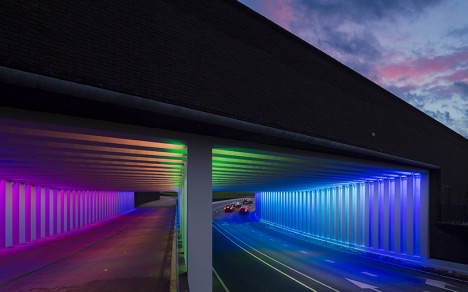
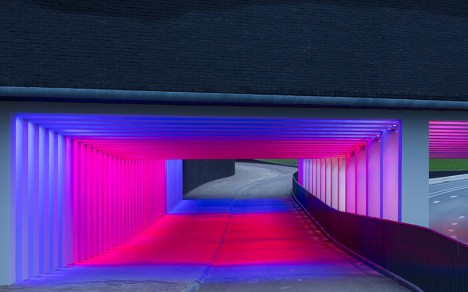
Another light-based installation in the Netherlands reminds visitors that without the modern interventions that are in place, the Netherlands would be underwater. These two tunnels linking a newly developed area of Zutphen to the historic city center were transformed by Herman Kuijer, their rainbow hues slowly shifting in time with the movement of nearby water.
Enormous Light & String Installation in Boston
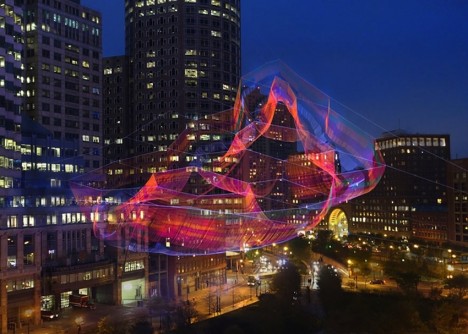
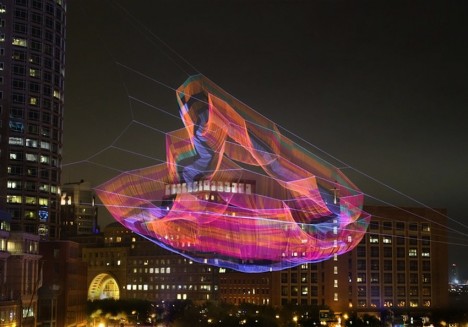
Barely visible during the day and illuminated at night, one hundred miles of twine suspended above the city of Boston aims to “visually knit together the fabric of the city with art.” Artist Janet Echelman tied over 500,000 knots to create the 600-foot-wide installation, which undulates irregularly in the wind.
Stellar Caves: 3D Thread Drawings
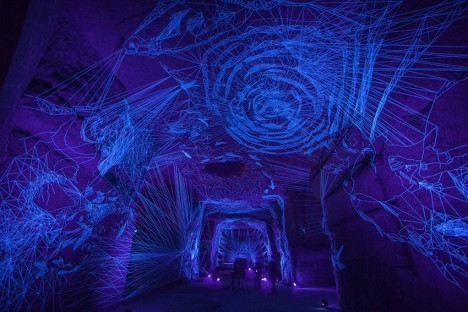
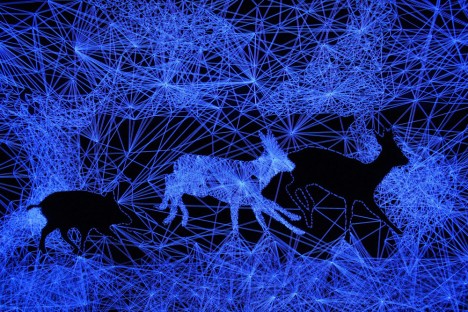
Artist Julien Salaud coats thread with UV paint so it glows under ultraviolet light, and then weaves it into incredibly intricate three-dimensional drawings that occupy entire architectural spaces. The ‘Stellar Cave’ series creates an enchanting environment filled with silhouettes of animals and constellations for a mystical effect.
Next Page – Click Below to Read More:
Luminous Illusions 14 Interactive Spaces Made Of Light
Want More? Click for Great Related Content on WebUrbanist:
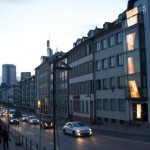
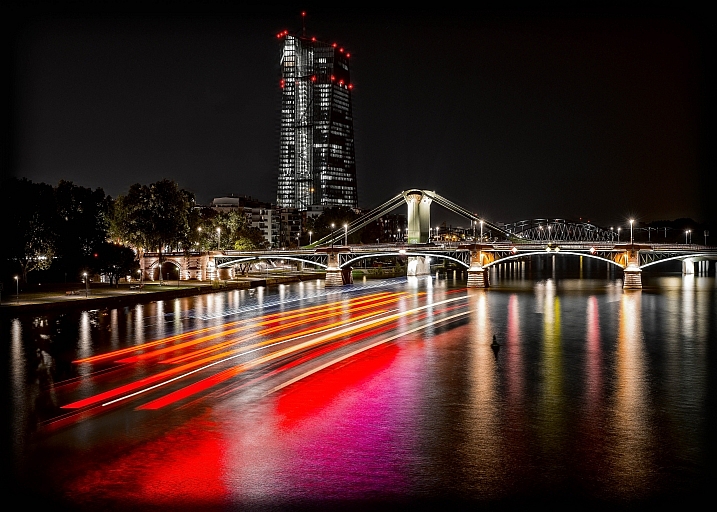
Interactive Light Art Installation Operated by Smart Phones
A five-story light art installation in Frankfurt billows and contracts like a curtain or a veil, controlled by swipes of users’ fingers on their smart phones.
Click Here to Read More »»
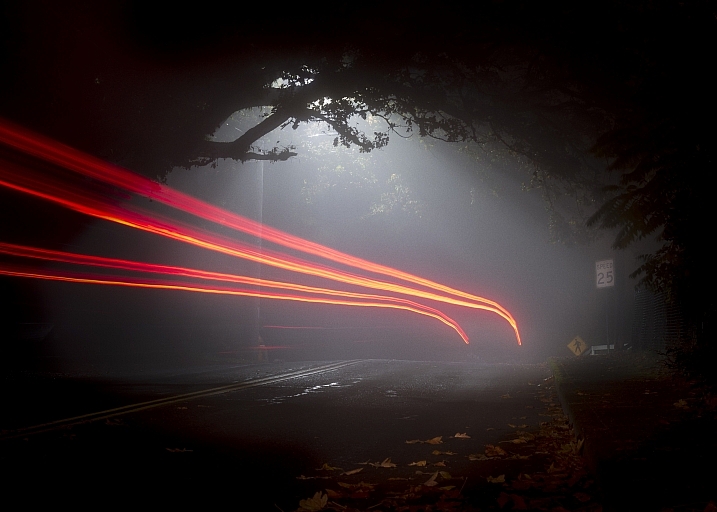
Lucky Rainbow: Time Lapse Pics of Traffic Light Piercing Fog
The right place, proper timing and a keen eye conspired to help a photographer capture this eerie nighttime phenomena at a crossroads outside of Weimar, …
Click Here to Read More »»
Interactive Wonderland: Light Projection Art Animates Sydney
A series of dynamic light art installations have begun to take over the largest city in Australia, turning tunnels into painted bouquets and the converting …
Click Here to Read More »»
![]()


[ By Steph in Art & Installation & Sound. ]
[ WebUrbanist | Archives | Galleries | Privacy | TOS ]


You must be logged in to post a comment.