Circular lines are a great way to draw your viewer into the photo. The animation artists knew what they were doing with the Looney Tunes design. A similar effect is possible in photography through a process known as kinetic light painting. This technique involves moving the camera around in front of stationary lights, creating a pattern in your photo. If you use camera rotation you can create circular light lines.
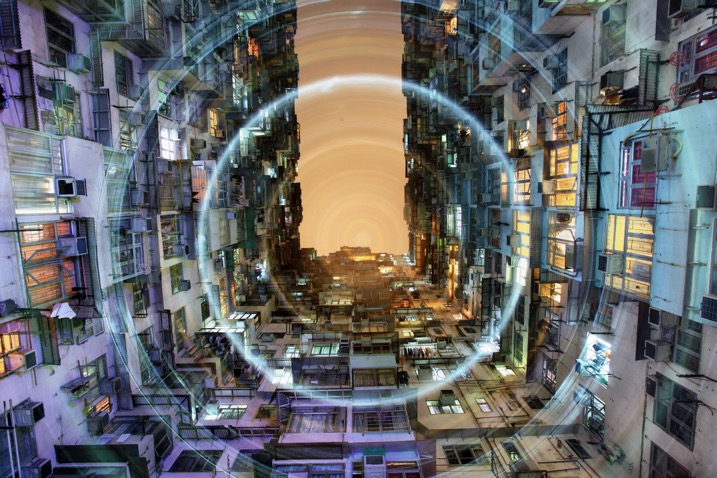
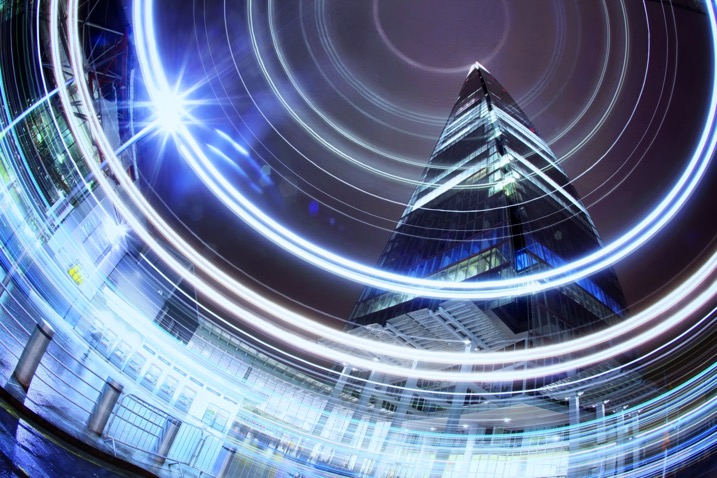
This photograph in Hong Kong has been taken many times now, the use of rotation during the long exposure gives the photo a different aesthetic.
How to take rotation light painting photos
- Scout a location which has lots of light, you are looking for tall buildings or big architectural structures.
- Set up the camera on a tripod, looking straight up. You can set the camera at an angle between 45 degrees to straight up. The worm’s eye view works very well for this technique.
- Choose a wide-angle lens, or even a fish-eye for this photo. A kit lens will work but use the widest focal length.
- Now compose your photograph, and focus the image. Use an angle finder or live view to help you do this.
- Make a mental note of the position of your camera on the tripod, if your tripod head shows the number of degrees of rotation jot this number down. The aim is to rotate the tripod head, starting and finishing in the same position.
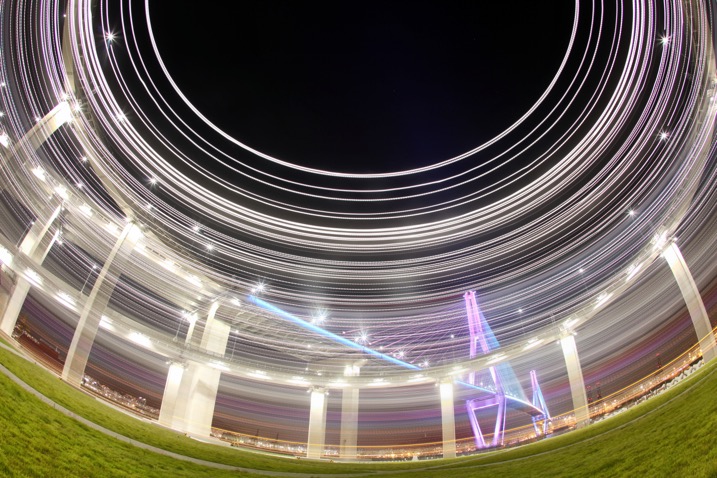
A bridge in Busan is photographed using a fish-eye lens in conjunction with kinetic light painting. A shallower angle was used here, perhaps around 45 degrees.
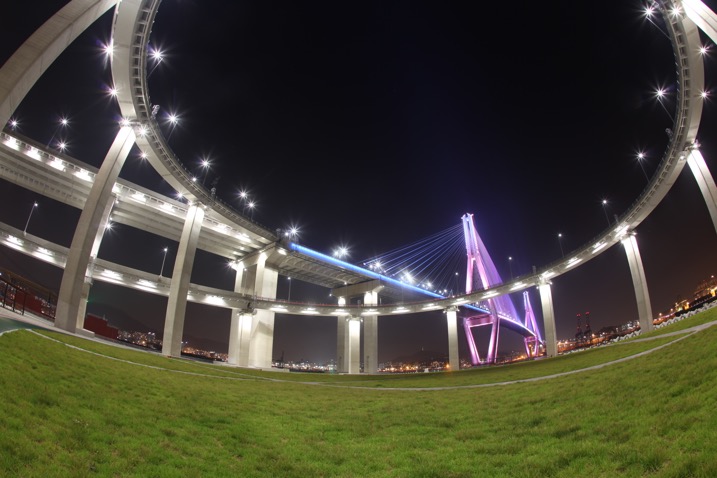
The same scene without the rotation.
The CBD area of Singapore has many locations where a worm’s eye view looks good. The light rotation adds an extra element to this photo.
- Set the camera to expose for 30 seconds, and adjust the aperture and ISO to get the correct exposure value in the photo. The exposure value should be 0 or +1, this is because you’ll lose some of the light exposing the buildings during the light painting.
- Use the camera’s self-timer to start the exposure, and set it to 10 seconds.
- Start to rotate the camera around the axis of the tripod just before the exposure begins. The rotation has to me smooth, and last for between two and five seconds.
- Make sure you finish the rotation at the same position where you started by watching the degrees of rotation on your tripod.
- The camera then has around 25 seconds to capture the structures in your scene.
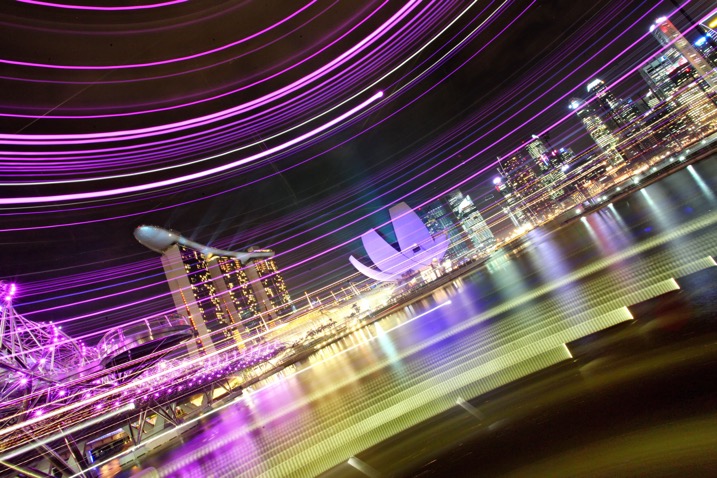
Using a more horizontal angle allows you to paint light through the scene, again this is a unique way of capturing the iconic Singapore skyline.
If you prefer to see how this is done visually, watched the video below:
Why use circular light painting?
Those who like long exposure will know about light painting, though not everyone is familiar with kinetic light painting. Getting great photos requires a bit of experimentation, hence the need to try out new techniques from time to time.
Kinetic light painting is a great way of creating dynamic photos, which have a futuristic feel. The image you take is likely to be from a worm’s eye view, in an urban setting. Therefore using a technique that adds lights and patterns to your scene can look good. You will also find that many people have already taken photos from the most popular locations. So techniques like this allow you to give your photo a different slant.
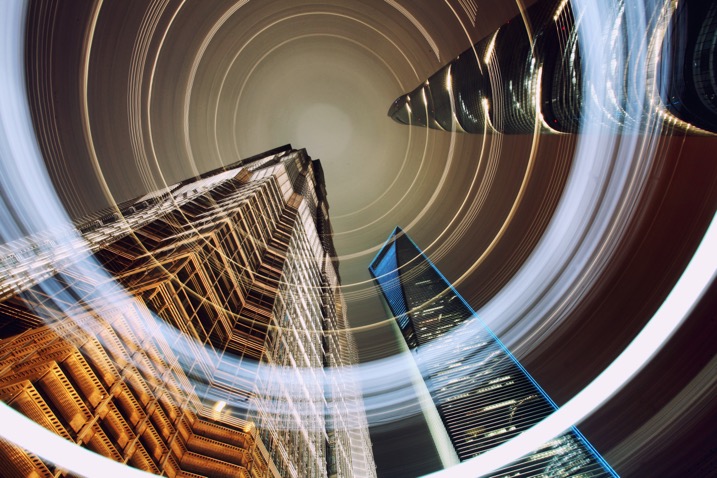
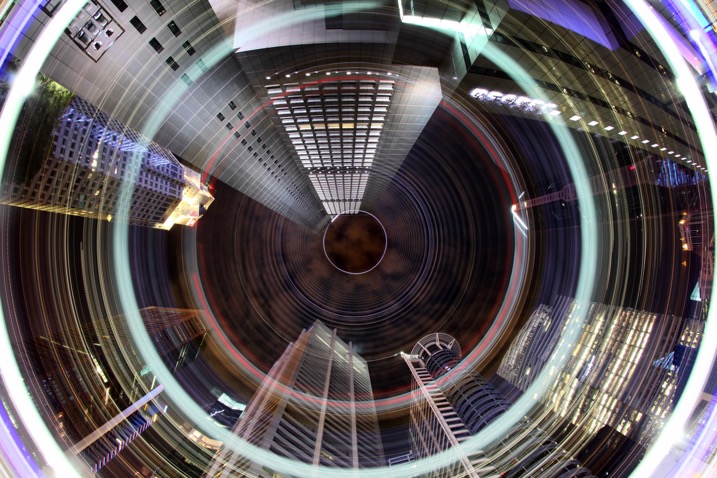
The light patterns in this photo have given this scene a lot of energy. A slightly shallower angle than straight up was used here.
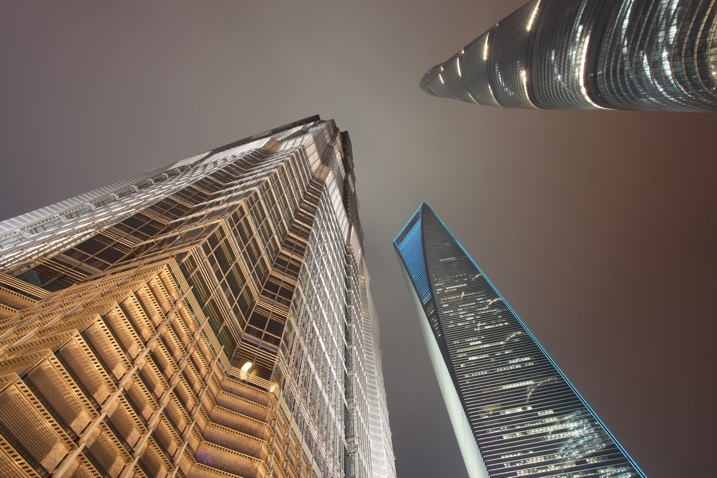
This is a worm’s eye view of the same skyscrapers in Shanghai, without using any light painting.
Where can I try this technique?
The best place to try this type of technique is near skyscrapers, though if you don’t have any near you then tall apartment buildings can work as well. Any tall architectural structure that’s lit could work for you, as long as you can get underneath it, and it shows in the frame with a wide angle lens.
You don’t live in the city? No problem you can head to your nearest forest and use the trees in place of skyscrapers. If you use trees the shot will be daytime, and you’ll be painting the sunlight shining through the leaf canopy. There may be too much light during the day to make a long exposure; therefore consider using an ND filter to reduce the amount of light coming into the camera.
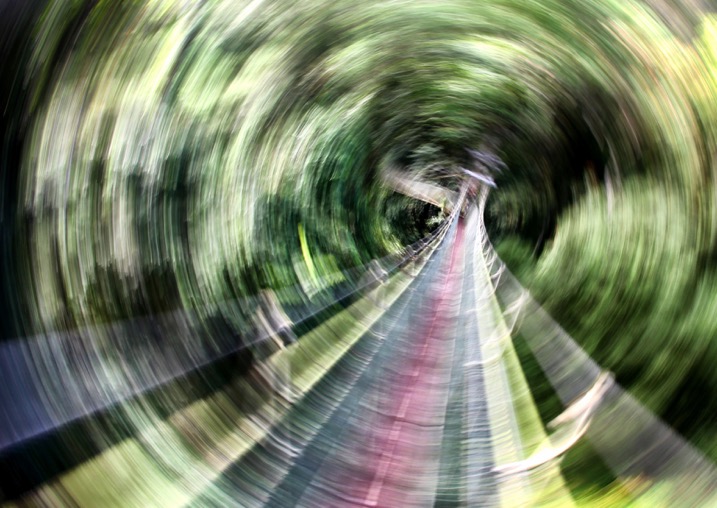
It’s possible to use this technique under, or in this case in, a leaf canopy. This is the Jungle at Mulu national park, Malaysia.

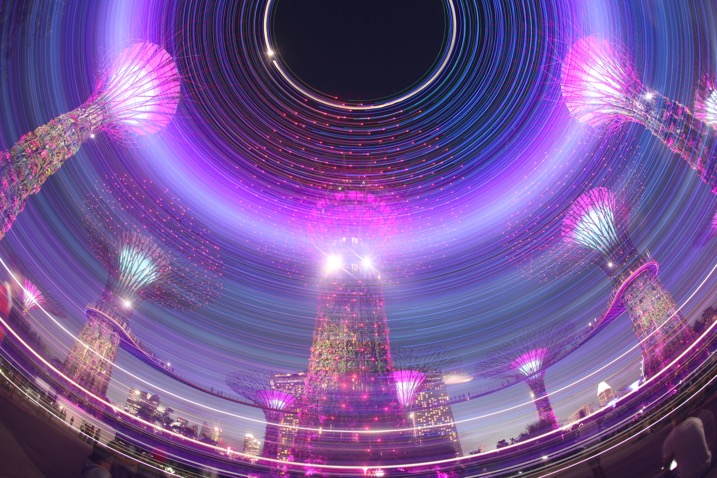
Another photo from the super trees in Singapore, this time aiming straight up.
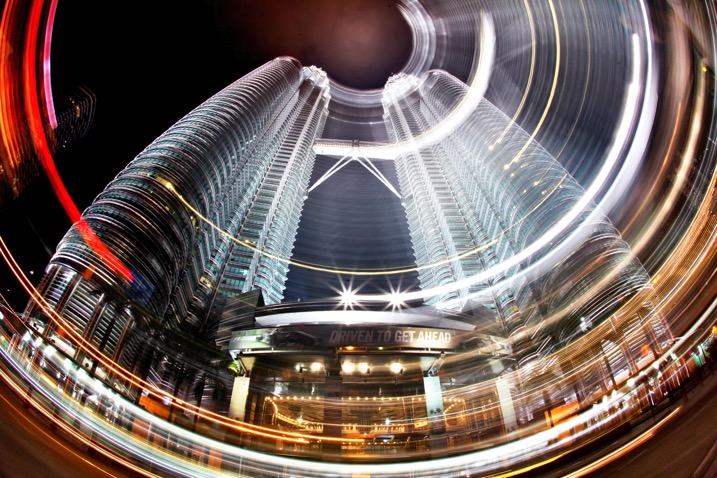
Malaysia’s Petronas twin towers, partial rotation.
Get kinetic, and get light painting!
It’s a great idea to experiment with photography. Trying out long exposure techniques such as this one will only improve your work. It can help you to get unique images that other people won’t have seen; therefore you’ll generate a lot more interest in your work. Having a tripod, and access to a city is really a prerequisite of a style like this one. I look forward to seeing your work. If you have any other idea’s of how you can light paint using your camera please share them in the comments section below.
I look forward to seeing your work. If you have any other idea’s of how you can light paint using your camera please share them in the comments section below.
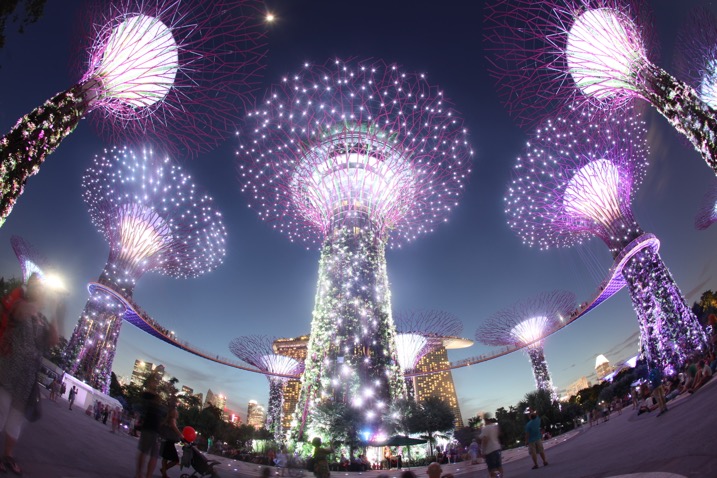
Scene without rotation.
The super trees found in Singapore’s garden by the bay make a great subject for kinetic light painting as they have so many lights.
googletag.cmd.push(function() {
tablet_slots.push( googletag.defineSlot( “/1005424/_dPSv4_tab-all-article-bottom_(300×250)”, [300, 250], “pb-ad-78623” ).addService( googletag.pubads() ) ); } );
googletag.cmd.push(function() {
mobile_slots.push( googletag.defineSlot( “/1005424/_dPSv4_mob-all-article-bottom_(300×250)”, [300, 250], “pb-ad-78158” ).addService( googletag.pubads() ) ); } );
The post How to do Light Painting by Rotating the Camera by Simon Bond appeared first on Digital Photography School.


You must be logged in to post a comment.