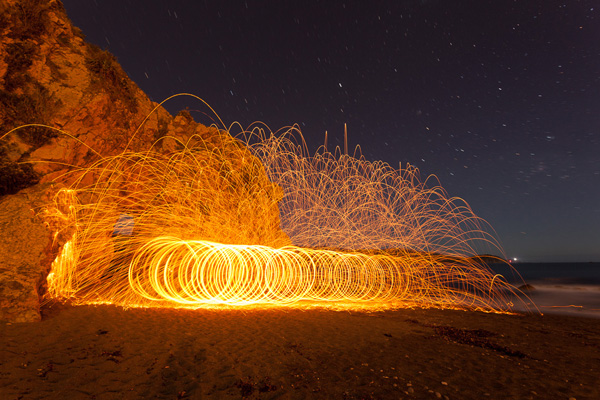
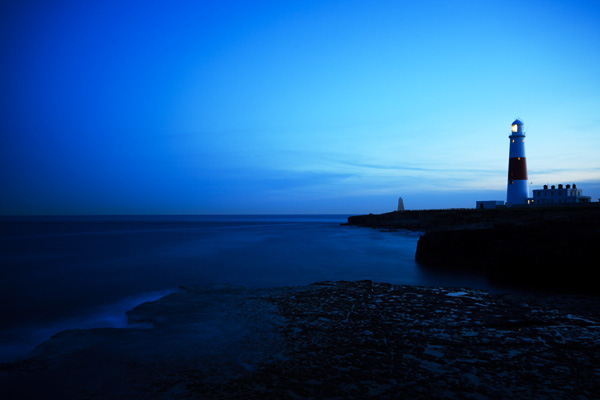
Focal length 21mm, shutter speed 15 seconds.
If you’ve been following my articles no doubt you have tried painting with light or using a wide-angle lens for landscape photography. You may have found some interesting ways to exploit the colour contrast between blue and orange and are definitely aware of the magical quality of the light during twilight.
Today’s technique brings all these elements together in a way that creates beautiful, dramatic and unusual images. It’s called steel wool spinning. The photos may look complicated but in reality it is easy to try out if you have the right equipment, a willing partner and pay attention to safety.
Here’s what you need:
- Steel wool (you can get this from hardware stores, the finer grades are best).
- A stainless steel whisk and a length of strong cord to tie it to.
- Protective clothing, fire extinguisher and safety goggles. Burning steel wool is potentially dangerous. Don’t underestimate the potential danger – this article summarises the precautions you need to take. We are not responsible if you get burnt or set something alight.
- A willing helper. You can use your camera’s self-timer and spin the steel wool yourself, but getting somebody to do it for you is much easier.
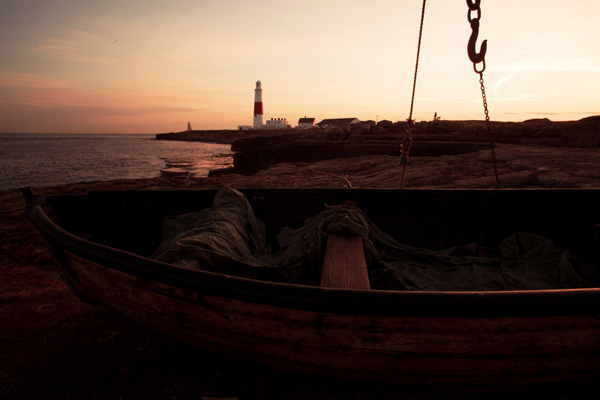
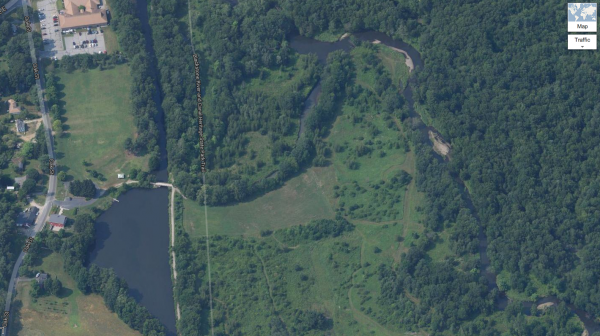
- A dramatic location. One that looks good when viewed through a wide-angle lens. Also one where people are unlikely to suddenly walk into the immediate area and be hit by flying sparks, or with anything that is likely to catch alight.
- Calm weather. The less wind the better.
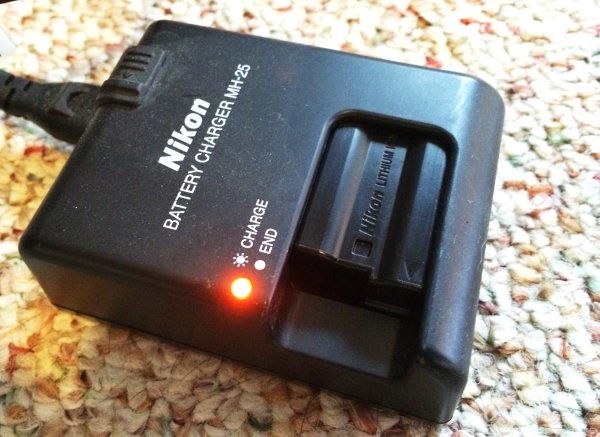
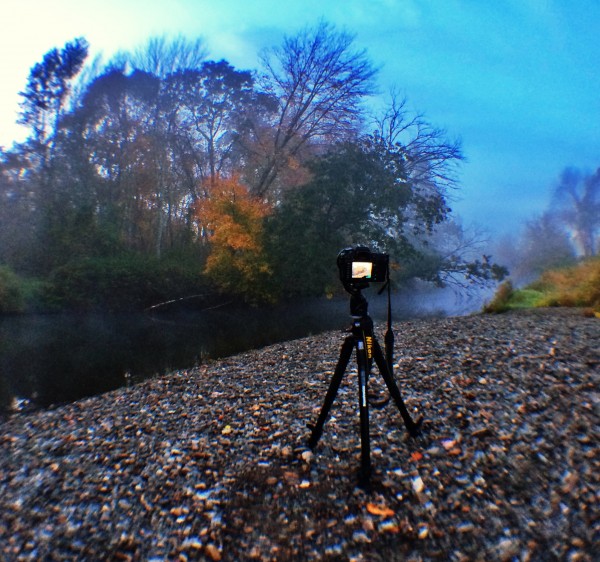
- A camera with a manual mode, a cable release or remote (the self-timer will do in a pinch), good tripod, wide-angle lens, UV filter and lens hood. Live View is also useful.
How to do it
Steel wool spinning really is very simple. Simply stuff the steel wool inside the whisk (I use masking tape to hold it in place), set it alight with the cigarette lighter, and get your helper to whirl it around in a circular motion. The burning sparks of steel wool fly out and fall to the ground, creating bright orange trails of light.
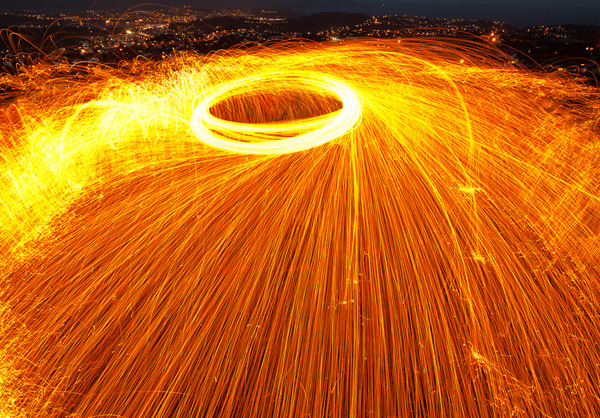
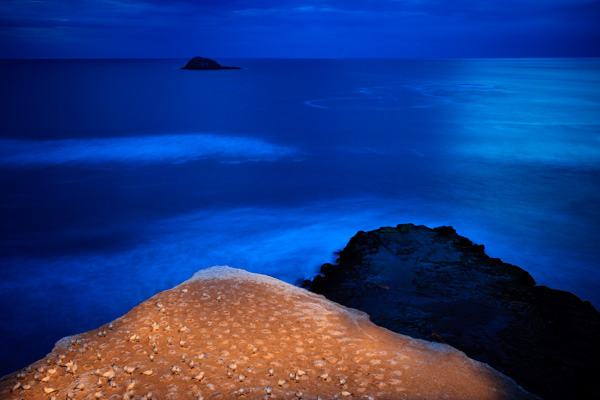
Focal length 21mm, shutter speed 15 seconds. Here, my helper span the whisk in a circle around her head.
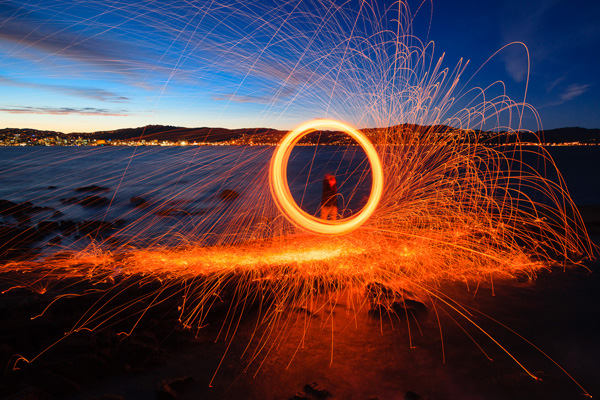
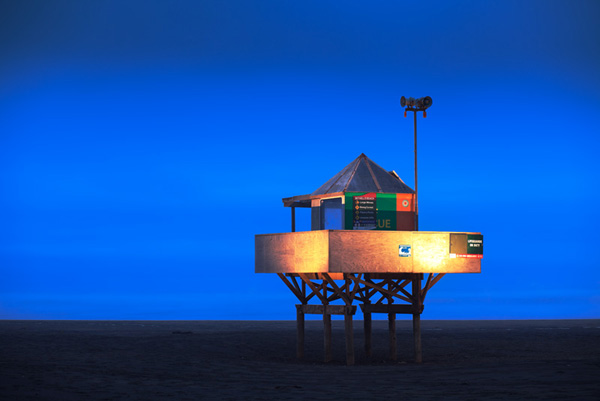
Focal length 19mm, shutter speed 15 seconds. My helper span the whisk in a circle in front of her, creating a different shape.
Put your camera on a tripod, and set your exposure using manual mode. Aim for a shutter speed of around eight to 15 seconds – there’s no harm in underexposing the background for dramatic effect (I find the steel wool burns for about ten seconds). You’ll need to be shooting at twilight, otherwise it will be too bright. The sparks won’t show up in daylight.
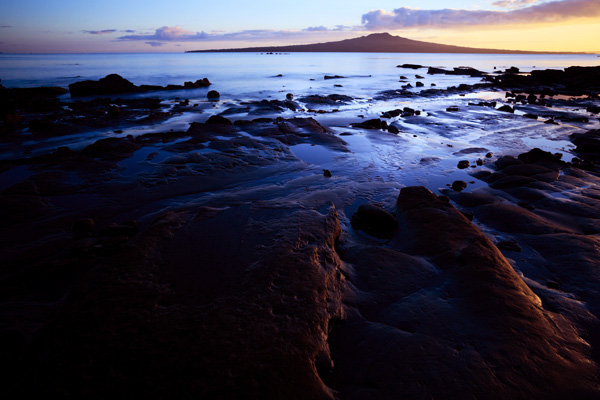
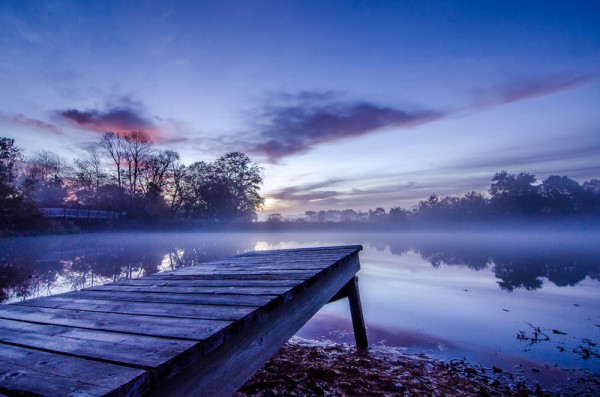
If you shoot while there’s still a little light left you the sky will have a nice deep blue colour. Some people use this technique at night and combine it with painting with light (using either torchlight or portable flash) to build up an image or to capture star trails.
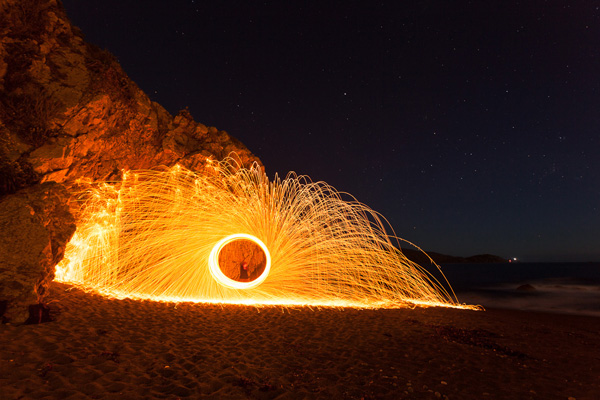
Focal length 17mm, shutter speed 30 seconds. This photo was taken after the light had faded from the sky. The 30 second shutter speed was required to capture the stars. Note that it doesn’t matter if the steel wool burns for less than the 30 second shutter speed. The idea of using a longer shutter speed is to reveal detail in the background. If I had used a shutter speed of 15 seconds, the burning steel wool would look the same (as it burns for around 10 seconds) but the background would be darker.
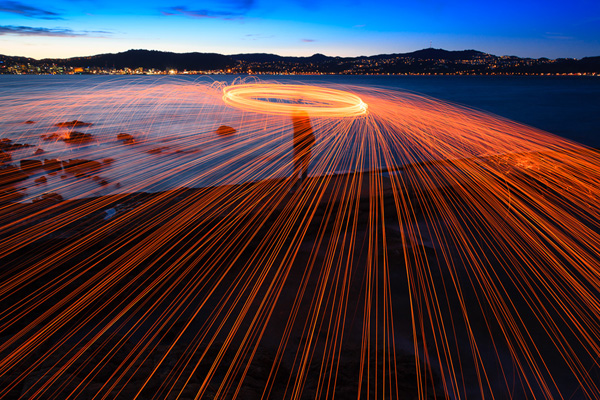
Focal length 17mm, shutter speed 215 seconds. The longer shutter speed has captured the movement of the stars. I asked my helper to spin the whisk in a circle as she walked along the beach, creating a different pattern.
Live View (if your camera has it) helps with focusing, as it may be too dark for you to focus on your subject properly. On my camera, there is enough detail in Live View to focus manually, even when it is too dark to see anything through the viewfinder. Set your camera to manual focus, focus on the person doing the steel wool spinning, and use a small aperture (f8-16) to compensate for any focusing errors. As this is a kind of landscape photo you’ll no doubt want the entire scene in focus anyway.
Shoot Raw so you can make fine adjustments to colour temperature and exposure in post-processing. In the meantime, set white balance to daylight – that will help the camera record the colours accurately.
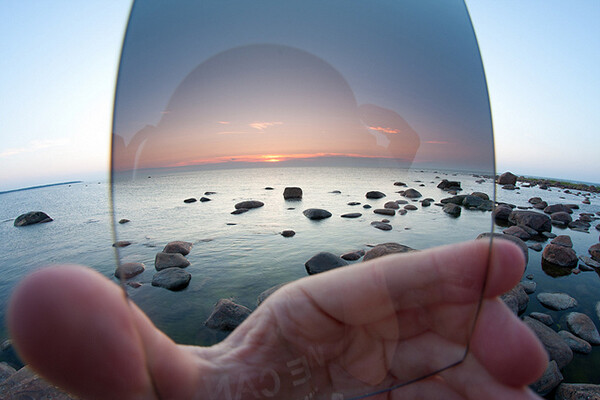
If you’re using a wide-angle lens (recommended for the dramatic perspective) then move as close as you can to the arc of the burning sparks of steel wool for a strong composition. It is wise to wear clothing that covers as much skin as possible, plus a hat and safety goggles, in case one of those sparks lands on you. You should also use a UV filter to protect the front element of your lens from burning sparks.
Steel wool spinning inspiration
Take a look at these links for some more inspiration:
Flick Steel Wool Spinning group
Steel wool spinning at 500px
Raining Fire Photography (article)
Hopefully this article has inspired you to give steel wool spinning a try. Ultimately, it’s another form of painting with light – the light from the burning steel wool illuminates the landscape in a new and interesting way.
Have fun.
Mastering Photography

My ebook Mastering Photography: A Beginner’s Guide to Using Digital Cameras introduces you to photography and helps you make the most out of your digital cameras. It covers concepts such as lighting and composition as well as the camera settings you need to master manual mode and take photos like the ones in this article.
Post originally from: Digital Photography Tips.
Check out our more Photography Tips at Photography Tips for Beginners, Portrait Photography Tips and Wedding Photography Tips.
Playing With Fire: Steel Wool Spinning in the Landscape
The post Playing With Fire: Steel Wool Spinning in the Landscape by Andrew Gibson appeared first on Digital Photography School.


 Again, another large format book, sized precisely to best show off the subject matter.
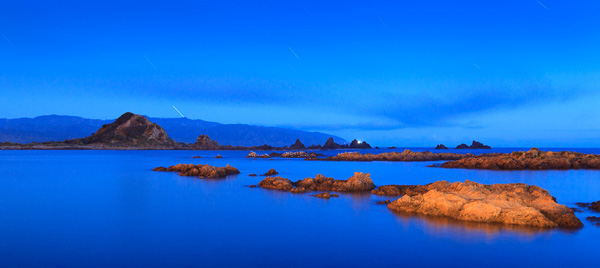


You must be logged in to post a comment.