It doesn’t matter if you are a seasoned photographer or a beginner, most photographers want to learn how to make great landscape images. Once you have shot a few hundred sunset shots and a few sunrise shots, you may think you know how it’s done. Then you get out into the wild on a crisp early morning, before sunrise, and try and get some dramatic mountain scene or amazing seascape. Suddenly it’s not that easy. Landscape photography requires more than simply setting up and waiting for the shot. Sometimes you have to go back to a scene four or five times to get the shot you want.
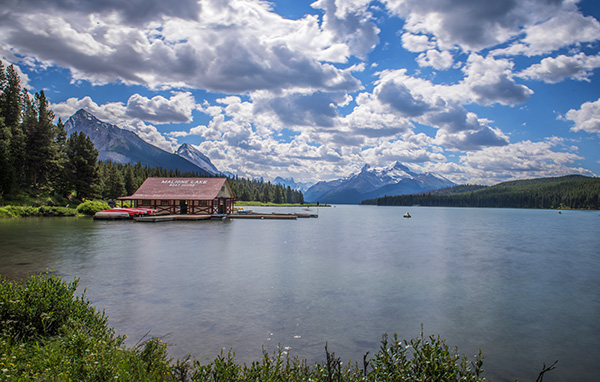
The majestic beauty of the Canadian Rockies
Landscape images can be seductive. When done properly, those viewing the image are transported to that place, they can feel the crisp mountain air or the warmth of the desert. So, you might be asking “How do I get those kinds of shots?” or “I think landscape photography is too difficult, am I good enough?” This article will answer these questions and a few more hopefully. The truth is, landscape photography is not difficult, but it does require dedication and passion. It will often require being up before sunrise, staying out late into the evening, or even early hours of the morning. It also requires good knowledge of your gear. Let’s take a look at how you can start getting better landscape images.
1. How to find good landscape photography locations?
Depending on where you live, you may have to drive somewhere to get some great landscape scenes. That may not be far, or you may need to get out of your city or suburb. What I often do before I visit a new place is google the area for dramatic landscapes. I will do a search like landscape scene canadian rockies and see what comes up. Sometimes you will see a vista that you didn’t know was in the area and you can start getting some ideas of what you will able to shoot.You can do the same on 500px or even Flickr; do a quick search for the name of the place you are visiting and see what comes up. From there you can narrow down what type of scene you want to shoot. Maybe you want to shoot from the mountain tops overlooking the city, a seascape, or even a forest scene.
Once you have some idea of what you want to shoot you then need to figure out the lighting. My go to tool is The Photographer’s Ephemeris. What I love about it is that I can simply drop a pin on a map and immediately see where sunrise and sunset will be, as well as moonrise. It gives me the direction of the sun and what time sunrise and sunset will happen. You can decide what time of day will work best for the shot you are planning.
2. What time of day is best for landscapes?
The Golden Hours are the best time for dramatic colours in landscape photography. You can also use blue hour to make some beautiful shots too; I prefer it for cityscapes, the city lights contrast beautifully off the blue sky. Golden Hour is your guide here. You will need to shoot at sunrise, sunset, or both, but plan beforehand though. There is nothing more frustrating than arriving at a scene, only to find out that as the sun is setting and your subject is in shade. If possible, visit the scene the day before at the time you anticipate shooting and watch where the light moves, that way you will know exactly where to set up your shot.
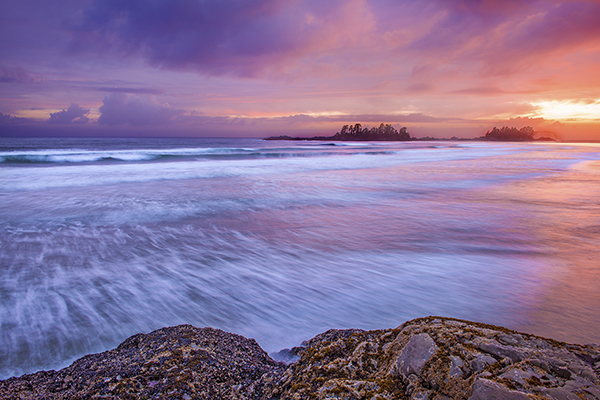
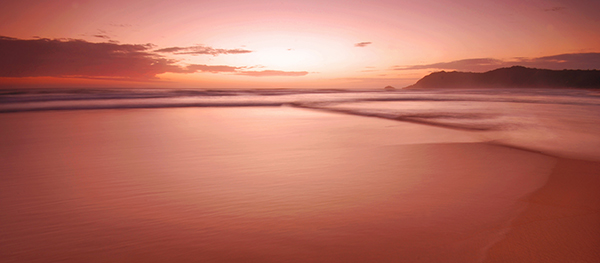
Moving water and a warm sunset make for a great landscape scene
3. What camera gear do I need for landscape photography?
A Camera
Of course, this is a critical part of the whole formula, however, getting great landscape images does not require a 40 megapixel camera. You can shoot landscapes on any DSLR with 10 megapixels and more. The reason you don’t want to be shooting landscapes on a four megapixel camera is that you might shoot a great scene. Afterwards, you may want to print the shot nice and big and hang it on your wall, but if the resolution is too low, you may struggle to print a decent size image.
A Tripod
Yes, you will need a tripod. If you are shooting at sunrise or sunset, the amount of light will be minimal. You need to shoot at longer shutter speeds so you need to have your camera on some sort of support. A sturdy tripod will make all the difference. The beauty about a tripod is that once you have set up your composition, you can simply keep clicking away and not worry about composing your image each time, unless you move the tripod.
A Cable Release
I took a while to buy a cable release (remote trigger) when I first started photography, but once I had it, I wondered why I took so long to get one. A cable release allows you much more freedom. You can simply hold it in your hand, stand away from the camera and release the shutter whenever you want. Also, I like to observe the whole scene, rather than just looking through the viewfinder. I connect my cable release (I use a wired one), step away, and start shooting. Be sure that once you have locked focus to switch your camera to manual focus (or use back button focus), especially if you are shooting at sunset. If you don’t, what can happen is that as night falls, the camera may struggle to lock focus and this could waste time. The best idea is to set your focus while the scene is still well lit, click it onto manual focus and then shoot away.
Filters
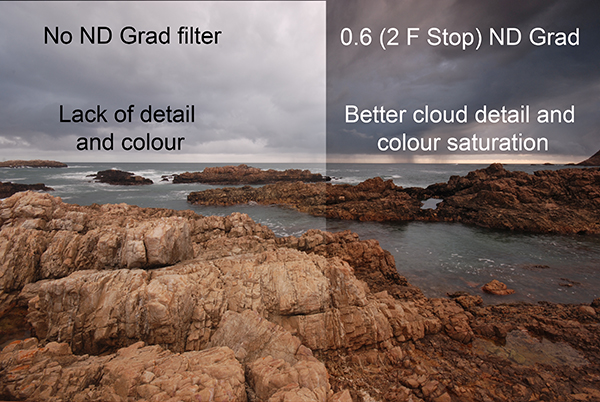
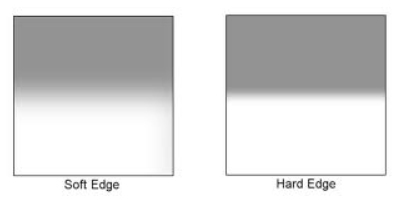
Graduated Neutral Density filters have long been the tool of choice for landscape photographers. This is still largely true, however, in recent years, many photographers have started to do more blended images. What that means is that you will expose for the bright part of the scene and take the shot, you will then expose for the dark part of the scene and take that shot. Very often, the bright part will be the sky and the dark part the foreground. Afterwards in Photoshop, you can then blend the two best exposed shots together. This is a very effective technique in tricky lighting conditions and sometimes can work better than a filter. I use a combination of both techniques. I will take some shots with a filter, then take some at different exposures and see what works best afterward.
The important thing is to make sure you get the best shots while you are out in the field. There is nothing worse than coming back from an early morning or late evening shoot to see that your images did not work out well because you exposed incorrectly. Getting the exposure right in the camera is key. It takes practice, so your first attempts may not be very dramatic. Keep working on it though, you will learn how to see the light, how to use the filters, and how to expose correctly if you practice enough.
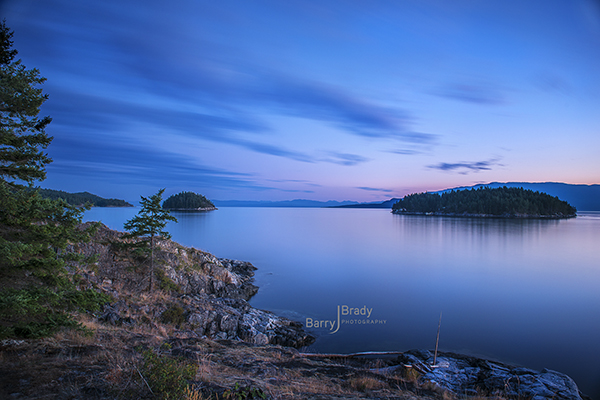
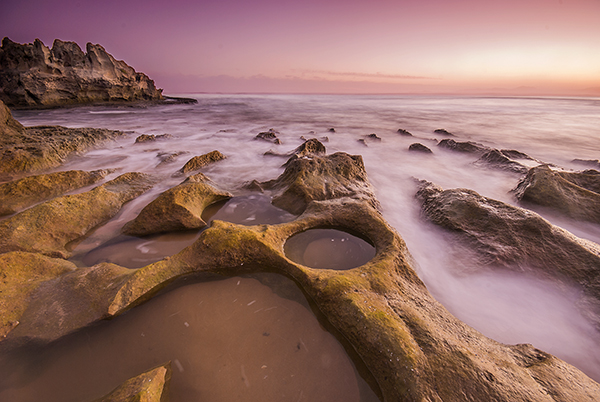
A neutral density filter was used to make the exposure longer and to soften the water
Lenses
For the most part, a wide angle lens will work best for landscapes. You want to capture as much of the scene as possible in your shot to make the image look majestic and sweeping, and a wide angle lens creates that effect. Be careful not to use a fisheye lens; the distortion may not work well in a landscape shot. When you use a wide angle lens, it is a good idea to have foreground interest, that means, have something in the foreground that anchors the image. If you don’t have foreground interest, thats okay, you can still get some good shots. You will find though, the images with foreground interest tend to work better. You may also want to shoot landscape images with a zoom lens. This can work well, but not on every scene. Try it out, but if it’s not working, switch back to a wider angle lens.

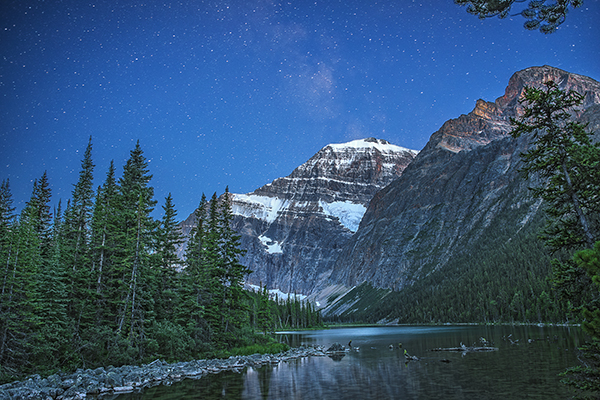
This was not a wide angle shot, but it still works well
4. What settings should be used?
Exposure settings
There are no formulas for how to get the best landscape shot; there are a few guidelines though. First, you will generally want everything in your scene to be in focus. That means your aperture should be at f/8, f/11 or f/16. Once that is set, then you will need to set your shutter speed accordingly. You may have to take your shutter speed down to a few seconds to get a properly exposed shot. Thats okay, it adds to the image. Long exposures work really well when there is moving water or clouds in the scene; the water becomes soft and silky as do the clouds. Sometimes, the trees in your scene may wave in the breeze and the blur from that can work well too.
Another setting to look out for is your ISO. I recommend not to shoot in Auto ISO. This will create all kinds of problems especially at sunset. Your camera will see that the light is fading and it will simply bump up the ISO to compensate for the loss of light, this may result in digital noise, not very good for your landscape scene. Set your ISO to 100 (or as low as your camera goes) and keep it there. Only adjust your shutter speed to make sure you get the shot and of course, you will need to be on that trusty tripod!
White Balance
This is a creative choice. Start out shooting your scene in daylight white balance. Avoid using auto WB as this function will try and neutralize the colours in your scene. You want as much colour depth in your scene as possible, so start off with the daylight preset. You can then use the white balance creatively, for example, using the Fluorescent preset will add magenta to your scene, Cloudy and Shade will add orange or red, and Tungsten will add blue. If you want to emphasize any of these colours in your scene, switch to the WB that will boost that. So, if you are shooting a sunset, use cloudy or shade to boost the reds and oranges. If these don’t work well for the scene, stick to daylight as it will render the colours in the scene correctly.
5. What’s next?
Once you return from your shoot, download your images and take a look through them. Normally, you will be doing this very late at night, so it is best to leave them until the next before you start editing them. Whatever your editing suite of choice is (Lightroom or Photoshop) you can get to work on them there. If you have shot some bracketed shots, you can do all that blending in Photoshop. The only guideline here is to take your time editing the images. Choose only the best images to be edited. You may find that you will shoot 100 images but only three or four are worth editing, thats okay. Edit only the best images and spend time making them look as dramatic as the scene you saw! For some quick tips on how to get your images to pop take a look at this article, you can also browse through this list of articles on Photoshop to get some in depth techniques.
A blended shot, the foreground was shot earlier in the evening and the stars much later. This was blended in Photoshop afterward.
So, to wrap it all up, landscape photography is a combination of skill and patience. Skill takes time to develop, and patience enables you to wait for the right scene to unfold. In this fast paced digital life, there is something calming about shooting landscapes. You have no control over the weather, you have no control over the light, you simply have to be there, and press the shutter release if the conditions are right. The beauty is that, if the conditions do work out, the reward will be unreal. You will have some great images and you will have spent some quiet time in nature, enjoying a beautiful sunrise or sunset. The most important tip is to take your time. Don’t rush the process, don’t pack up until you are certain you cannot get a better shot than the last one you just made. Always go out and have fun, even if the light doesn’t play along or the weather is not what you hoped for, use it as a practice session and pretty soon, you will be capturing those breathtaking scenes with ease!
The post 5 Tips for Newbie Landscape Photographers by Barry J Brady appeared first on Digital Photography School.

Digital Photography School


 Dignity by Martin Mattocks on 500px
 “MAGIC IN ESPIGÜETE” / “MAGIA A LOS PIES DEL ESPIGÜETE” by Juan PIXELECTA on 500px
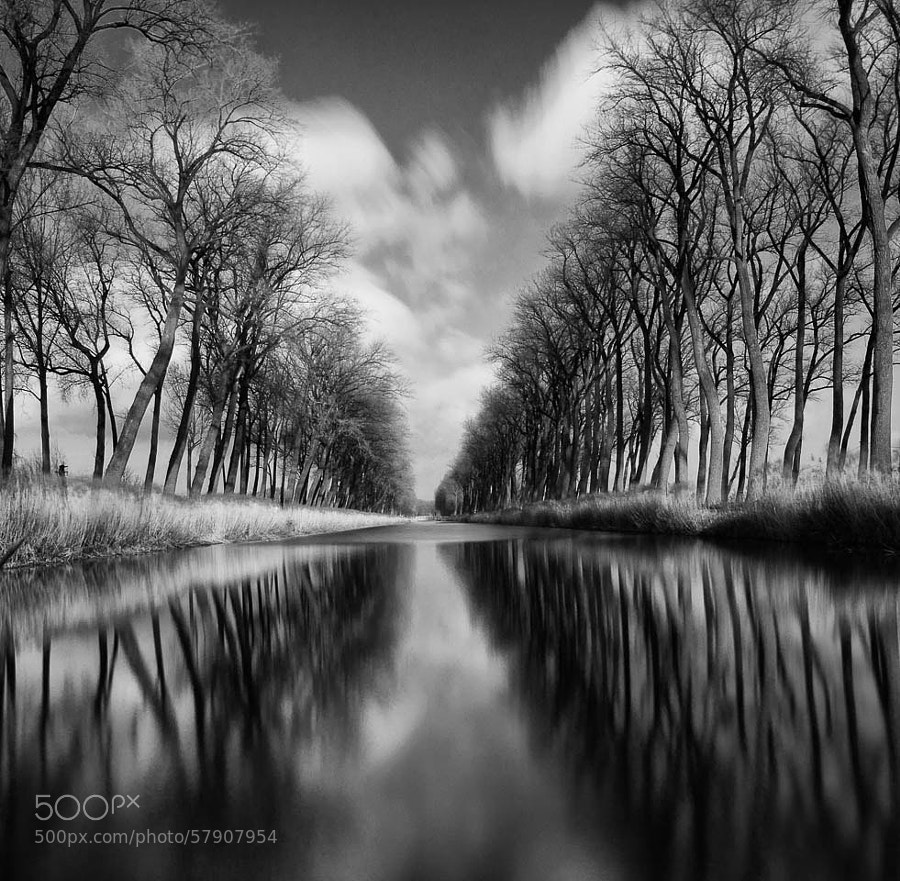
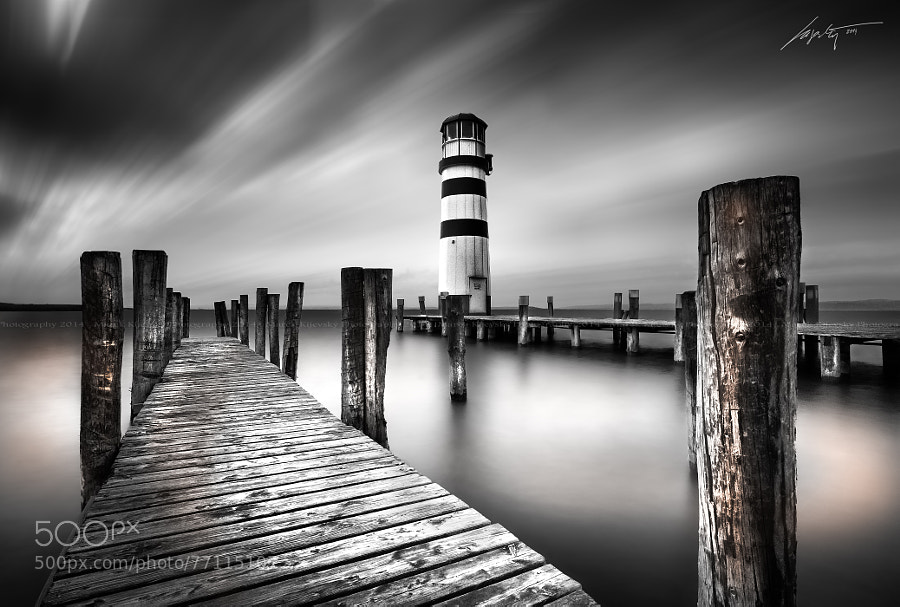
 Silver Reflections 2 by Joe V on 500px
 Age Old by Chris Fletcher on 500px
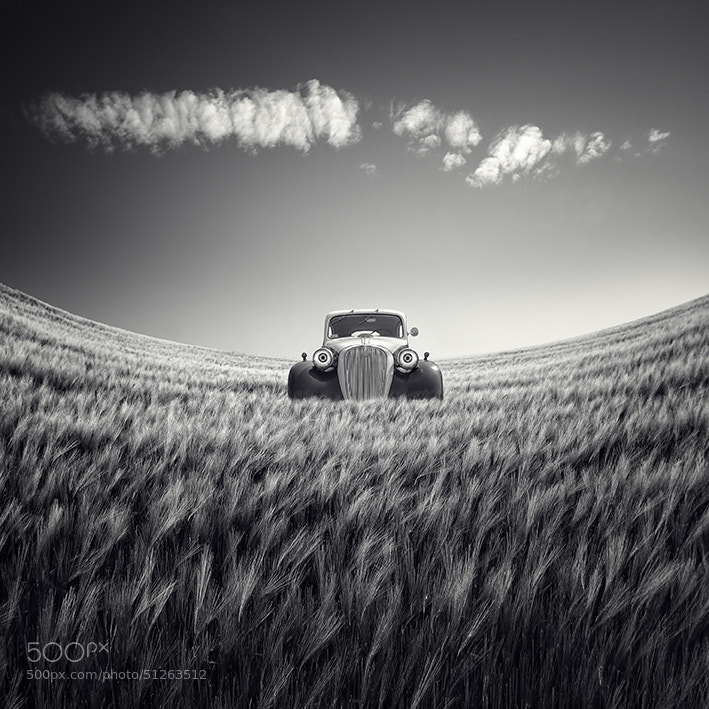
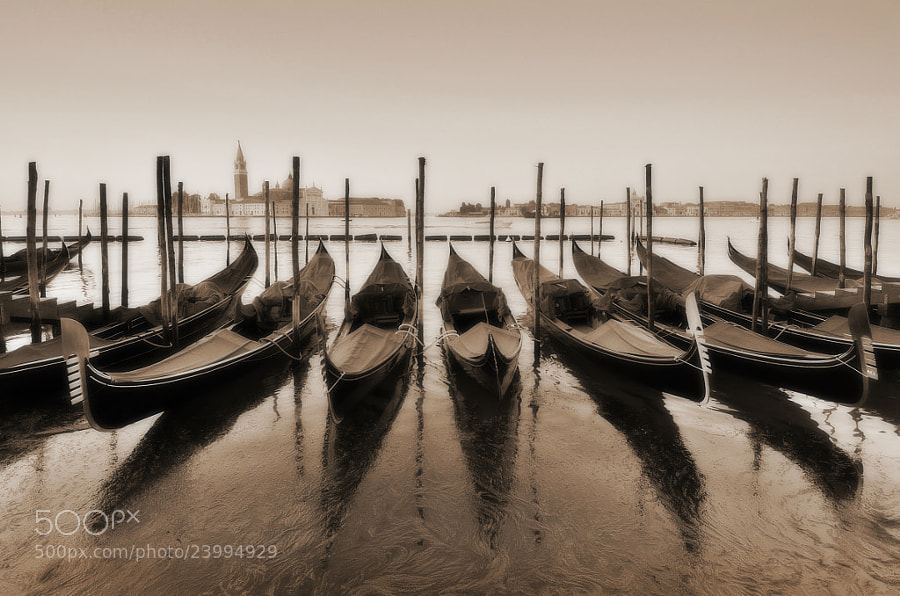 Venice Nostalgia by Csilla Zelko on 500px
 Ibex Sunrise by Grant Thompson on 500px
 Herringfleet by George Johnson on 500px
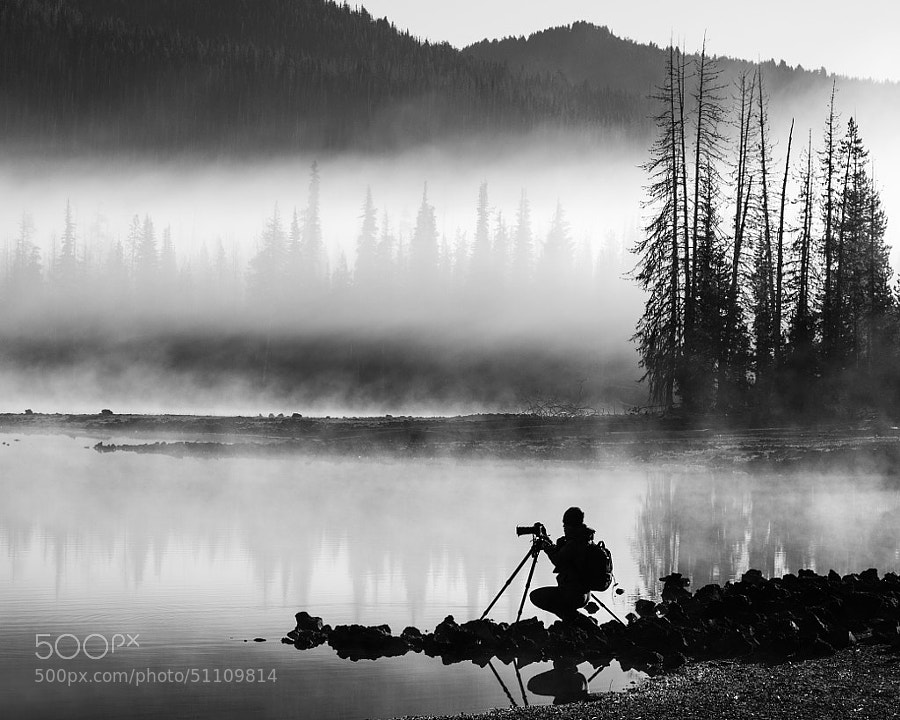
 –In Motion– by Marek Kijevský on 500px
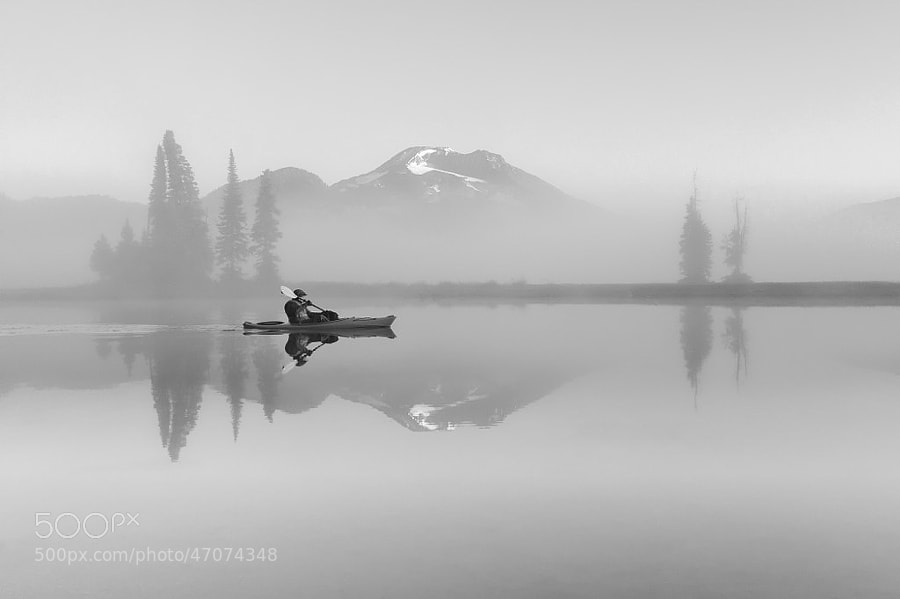
 Tranquility of Morning by Abi Arga Hadityarista on 500px
 on the road by adam smigielski on 500px
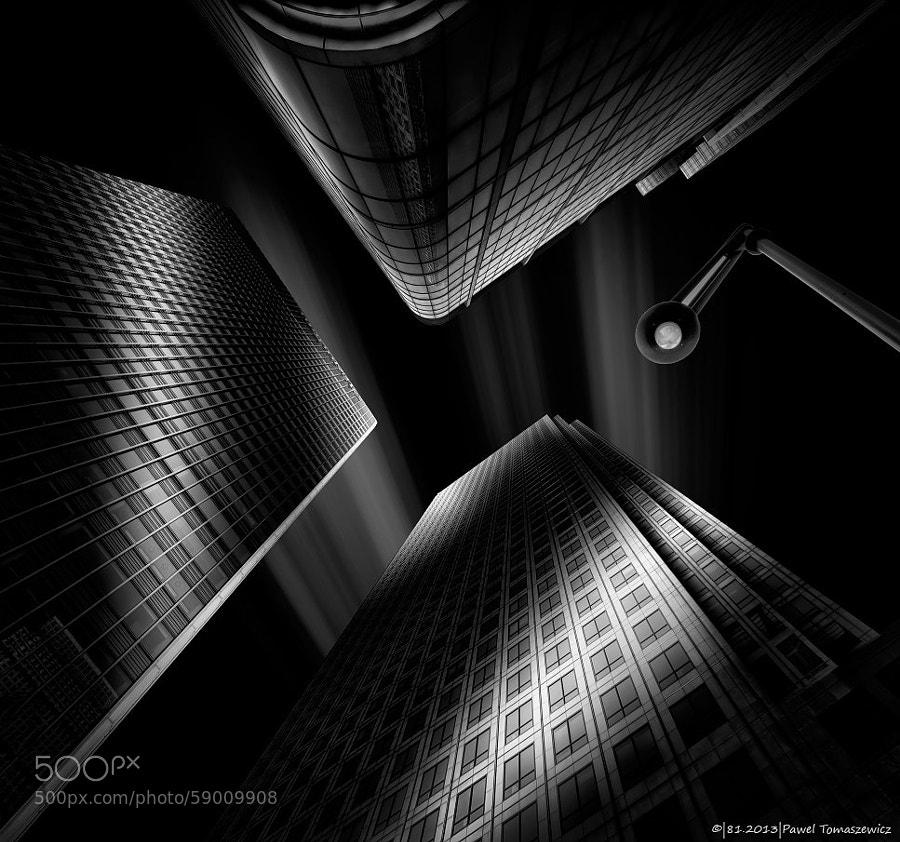 81.2013 – B&W- Light Reflections … by Pawel Tomaszewicz on 500px
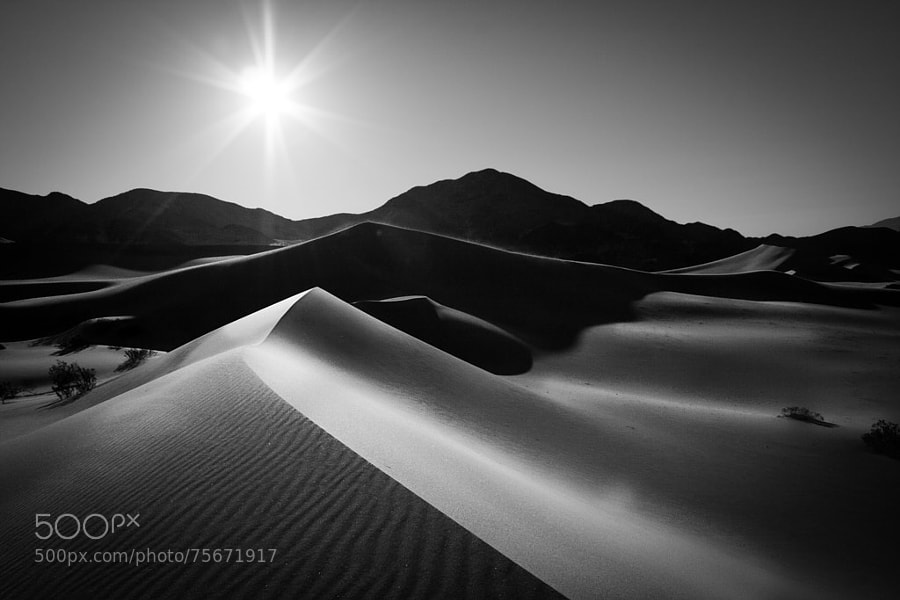
 dark master´s crown by Ronny Behnert on 500px
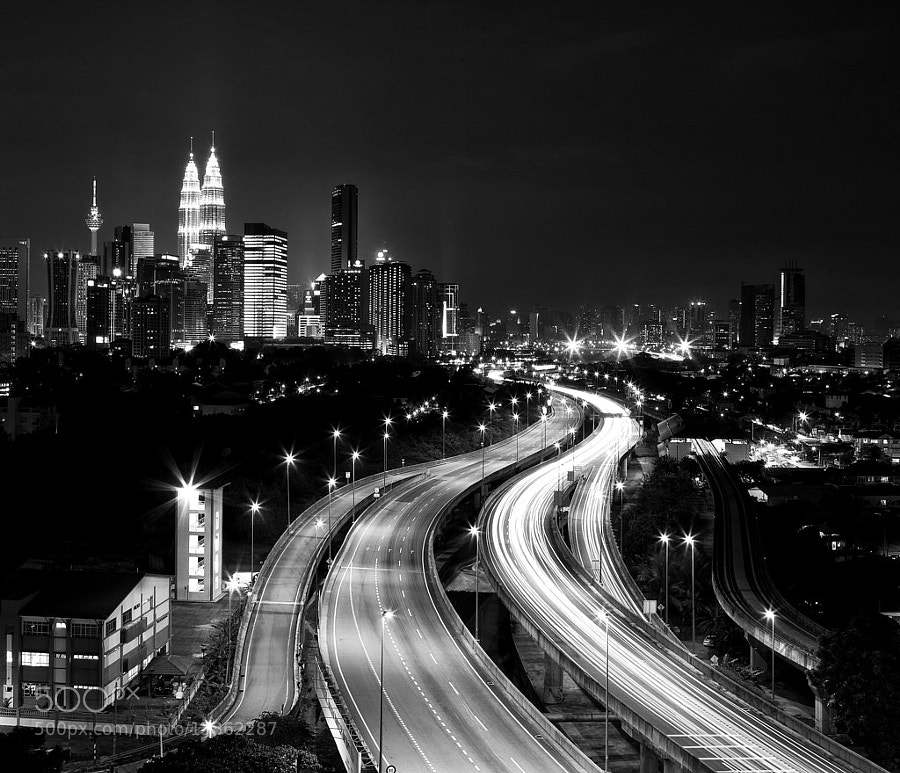 Kuala Lumpur by Tashi_Delek Nakata on 500px
 SZEMPONT by Shady S. on 500px
 entrap by tet bautista on 500px


You must be logged in to post a comment.