Earlier, I wrote an article called: why asking what camera settings were used may not be as helpful as you think, and in it, I touched on the concept of reading an image.
Learning to read images – from a technical perspective and not a conceptual one – is something that I believe all photographers must be able to do, as it allows you to get a rough guide on what settings may have been used to create an image. They won’t be the exact settings; but you’re most likely not going to have the exact same lighting environment as what a particular photo was taken in.
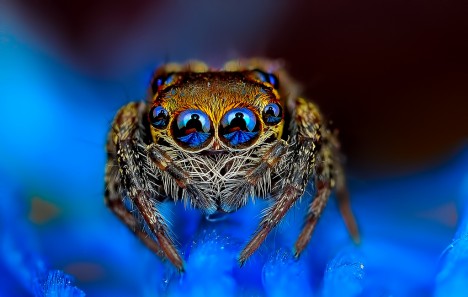
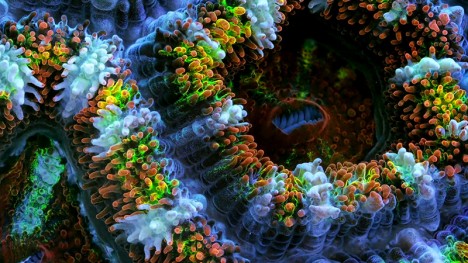
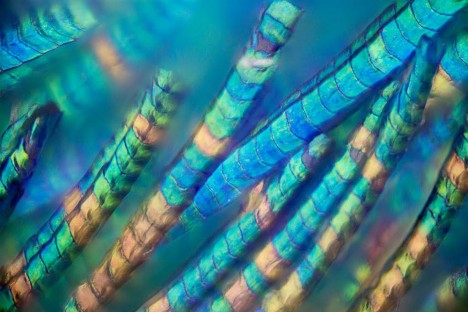
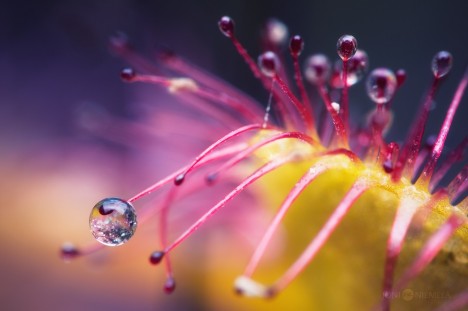
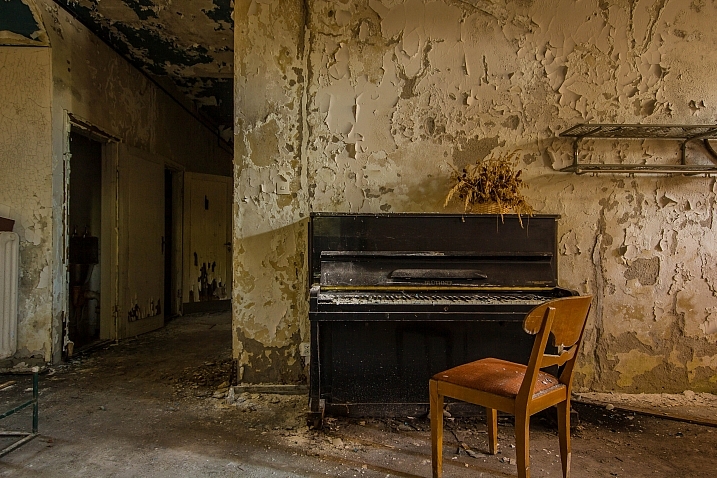
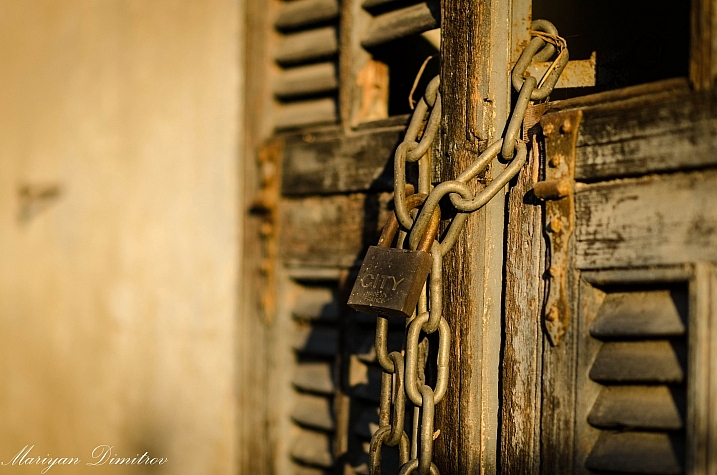
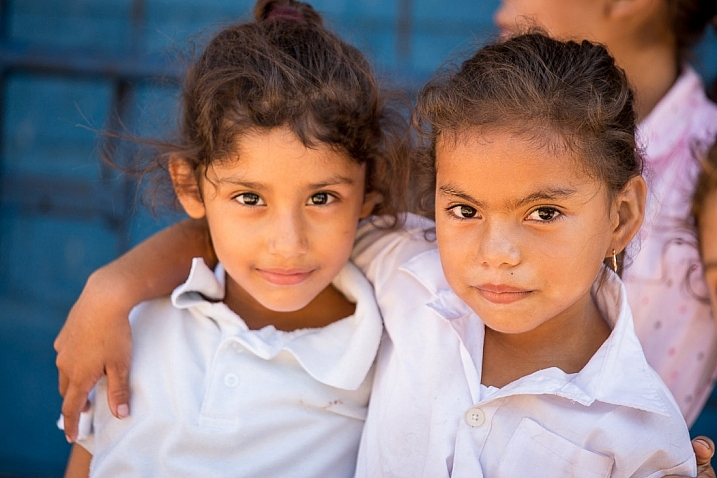
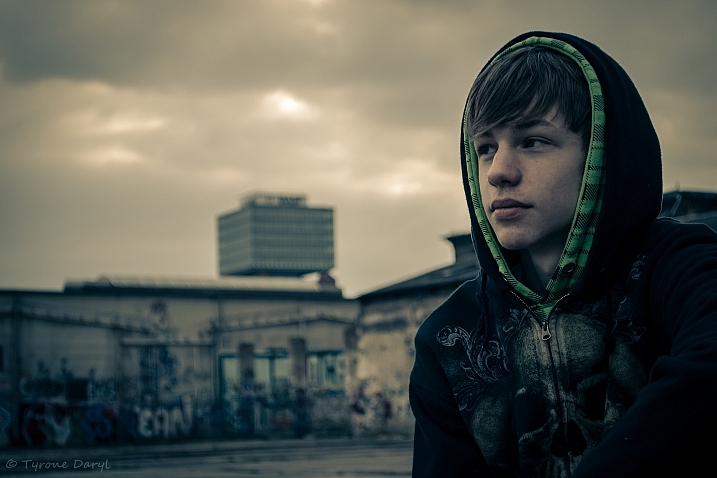
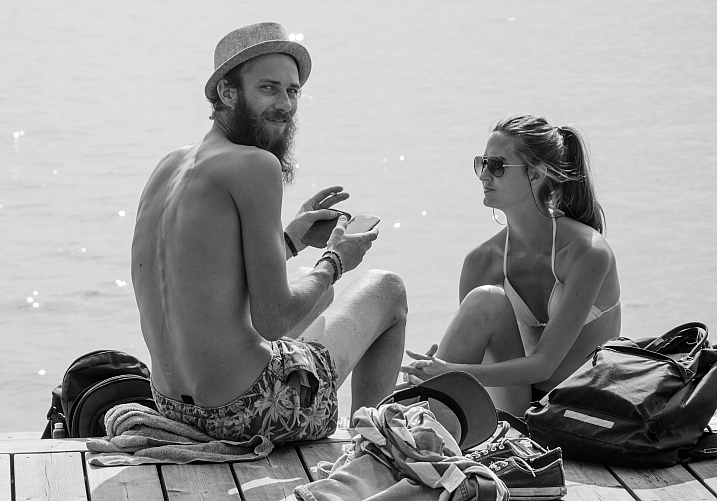
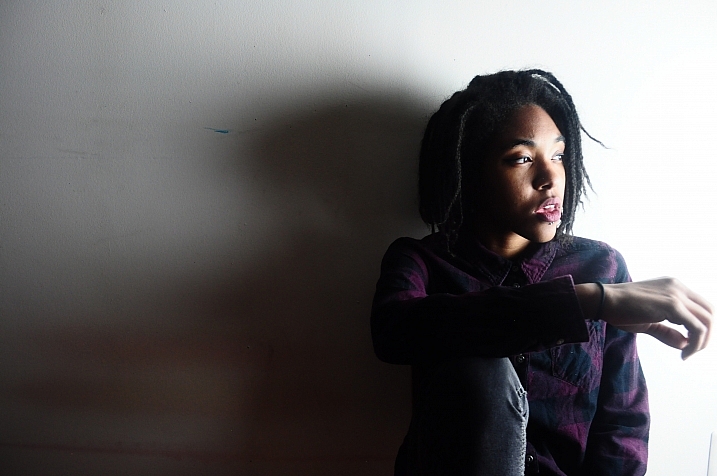
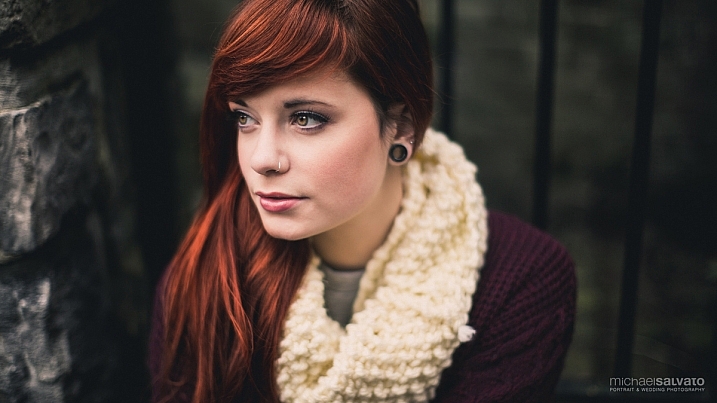
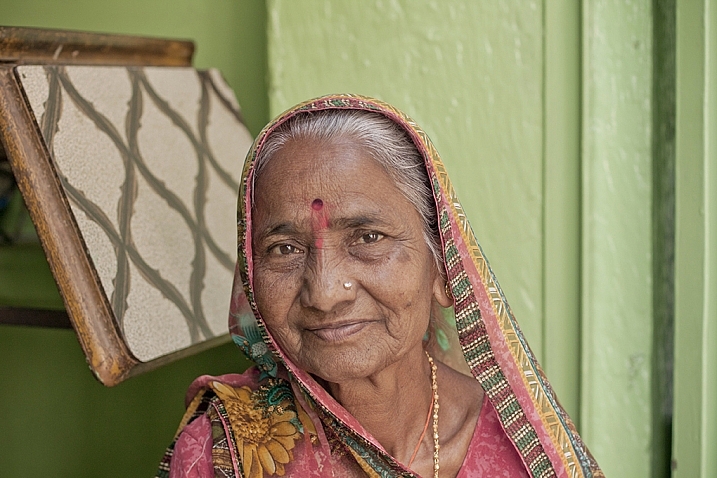
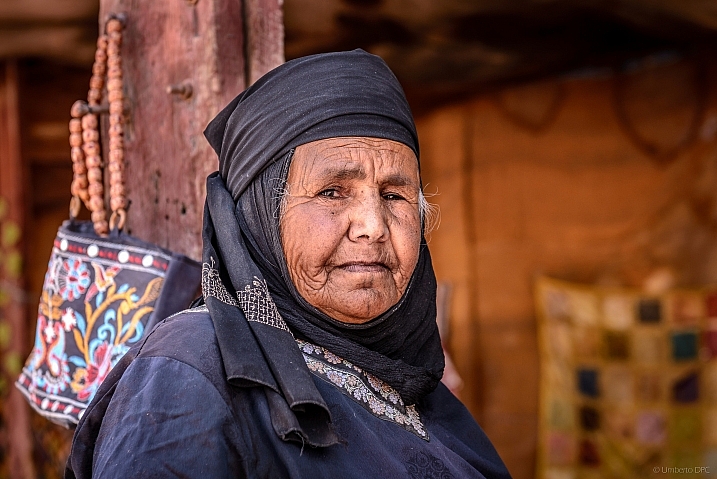
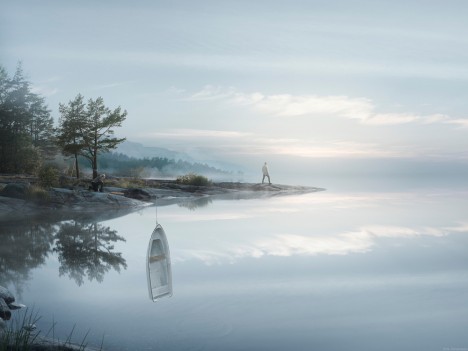
A wide aperture was used her to achieve a shallow depth of field.
Dive in to read an image
To begin reading images you must have, at the very least, a good understanding of aperture, shutter speed and to a lesser extent, ISO. You’ll want to understand how these things affect the image in different ways. For example, if you saw an image with a lot of motion blur, you would know from your understanding of shutter speed that a slower shutter speed was used.
As you become more proficient with lighting and off-camera flash, you can even read how the subject was lit with artificial lighting, and begin to replicate how it was done. But don’t worry! This article will be focussing on the three major aspects of photography exposure (aperture, shutter speed and ISO) to help you begin your journey to reading images.

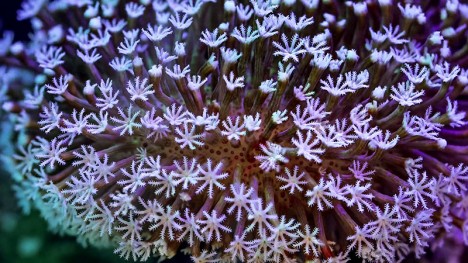
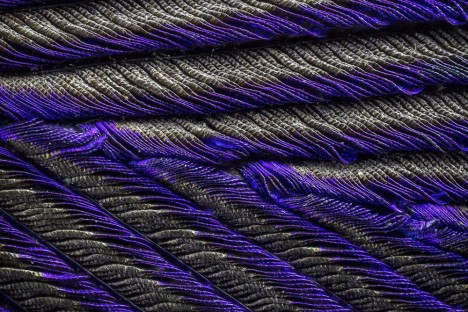
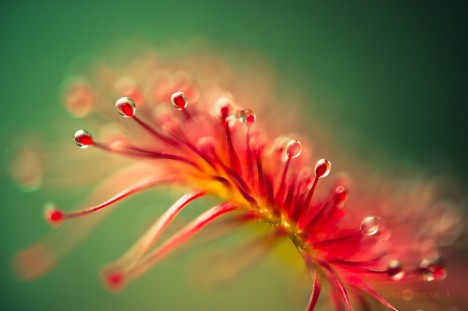
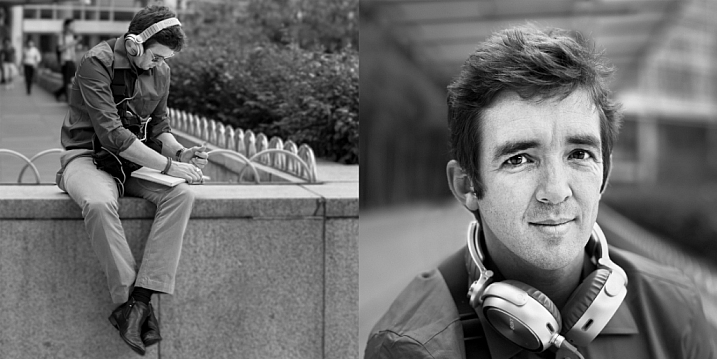
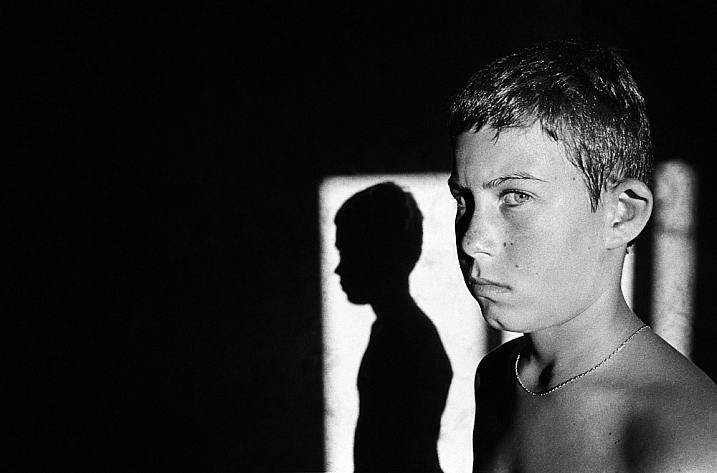
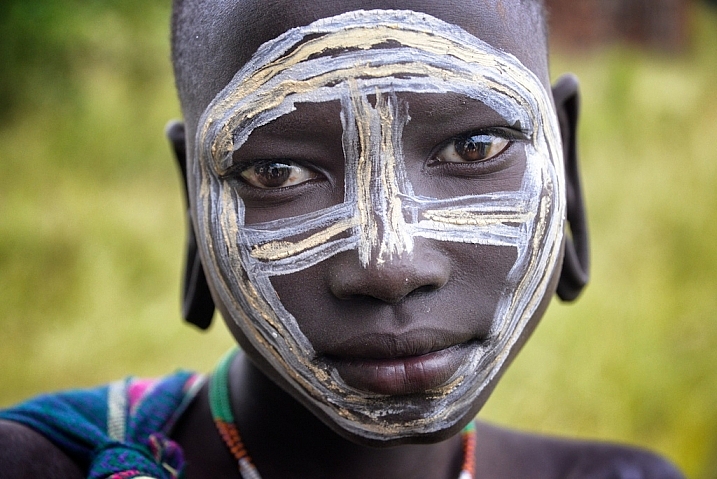
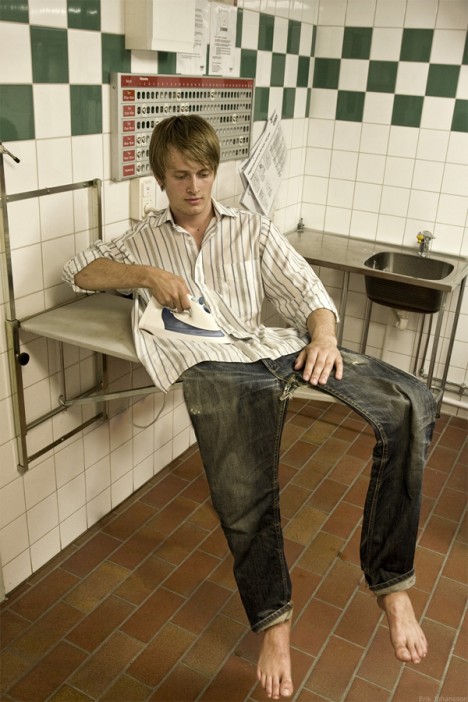
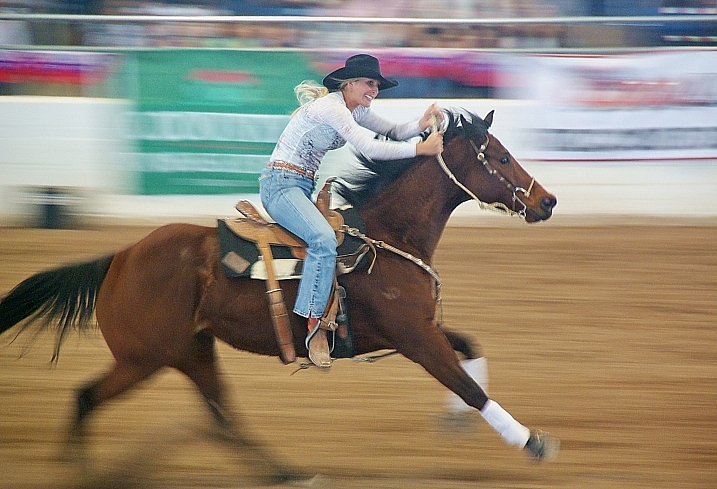
What shutter speed was used here – a fast or slow one?
Step 1: Shutter Speed – Fast or Slow?
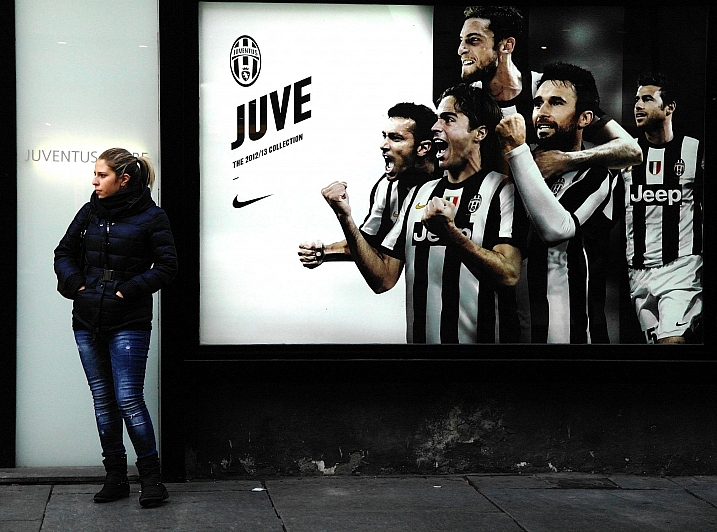
I find that determining whether a fast or slow shutter speed was used first, can help greatly when it comes to determining aperture and ISO later. The first thing you will want to ask yourself when assessing shutter speed is; was it fast or slow? This can be decided by how much, or how little, motion blur is present in the image, as that is what shutter speed controls.
If everything in the image is pin sharp, and there is absolutely no motion blur at all, then a fast shutter speed would have been used. However, if there is a lot of motion blur, then a slow shutter speed was used.
Here are some points that you can take out of knowing if the shutter speed is fast or slow:

But how fast is a fast shutter speed, and at what point does the shutter speed become slow? To answer this, think of your shutter speed in relation to your subject’s speed. For example, when photographing sports or other fast action, you may find using a shutter speed of 1/1000th is required to freeze your subjects. This is because your subjects are moving quite fast. However, if you were to photograph people walking down the street, you would not need the same shutter speed, as your subjects are not moving as fast.
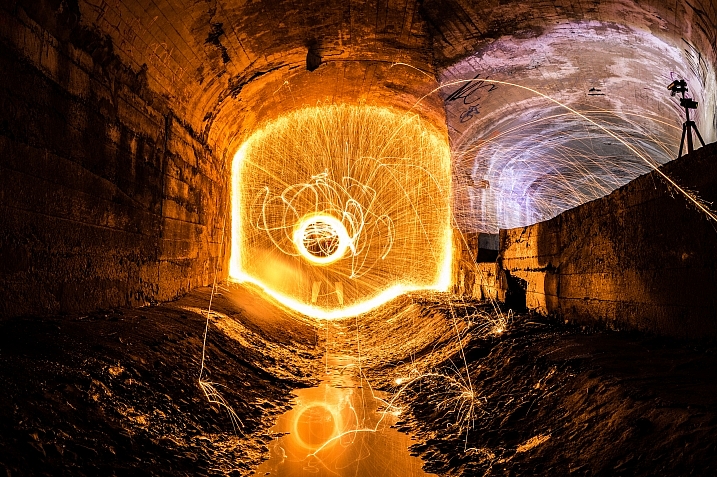
Below are examples of slow and fast shutter speeds. Notice the presence of motion blur in the images where a slower shutter speed was used, but action is frozen with a fast shutter speed. In images that will use a slow shutter speed, it is often recommended you use a tripod to stabilize your camera, and prevent camera shake.
What isn’t important is knowing the exact shutter speed; that is something that you will be able to experiment with to get the results you want. All you are doing here is identifying if a slow or fast shutter speed was used, to give you a starting point.
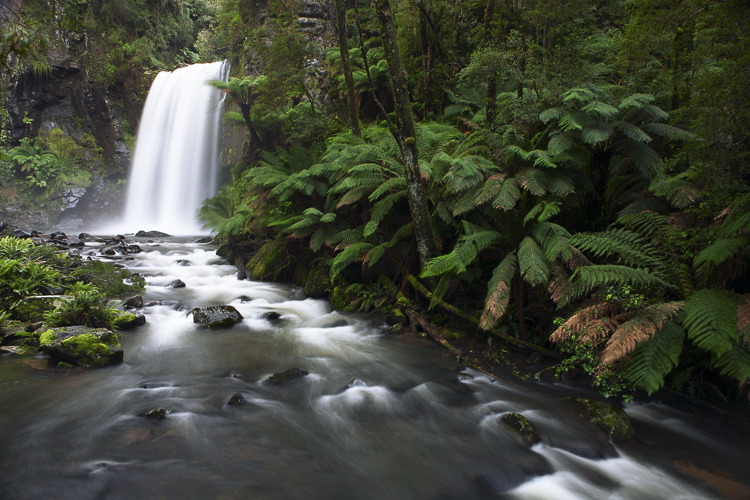
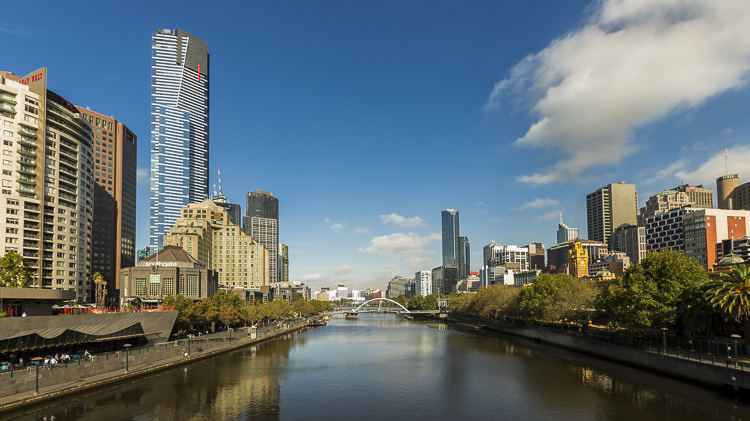
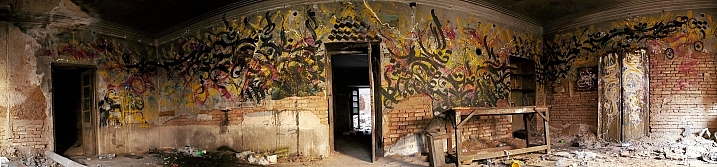
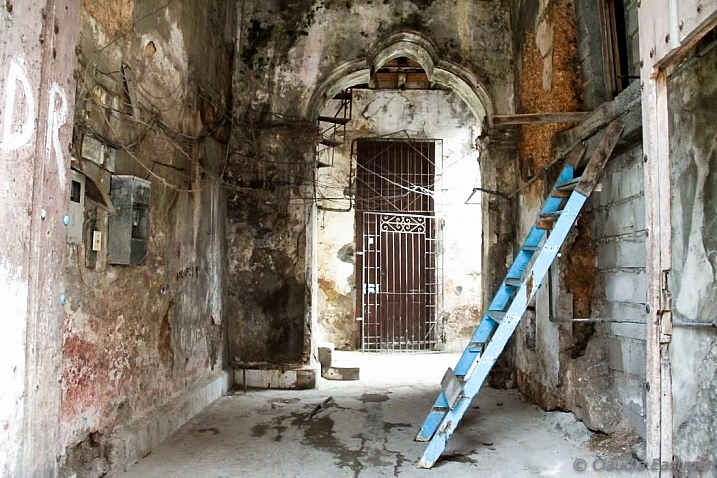
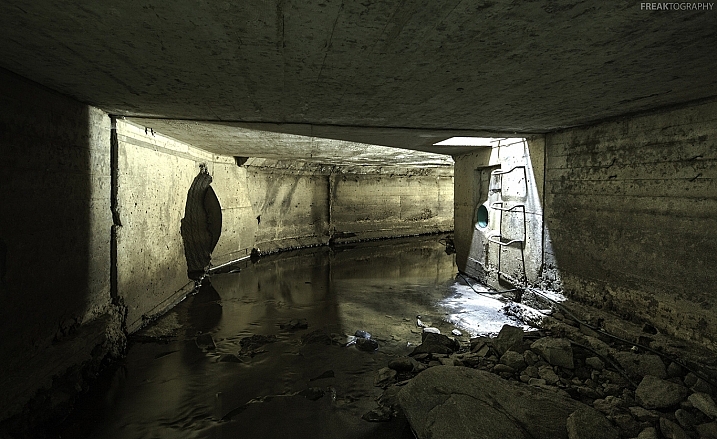
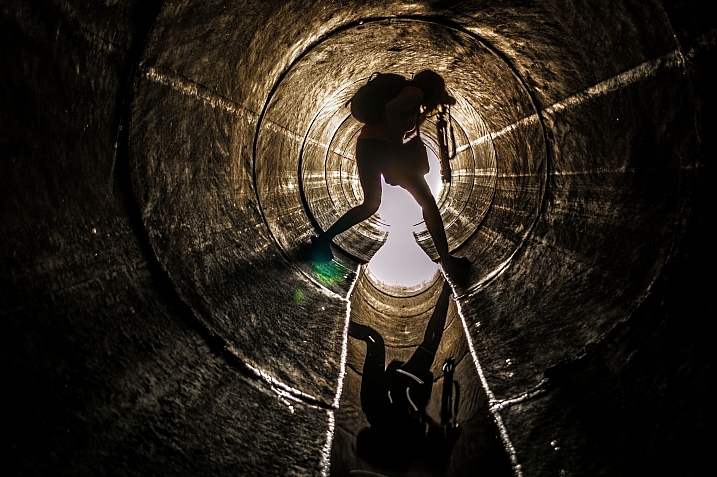
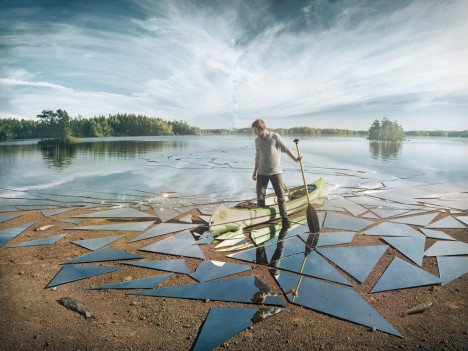
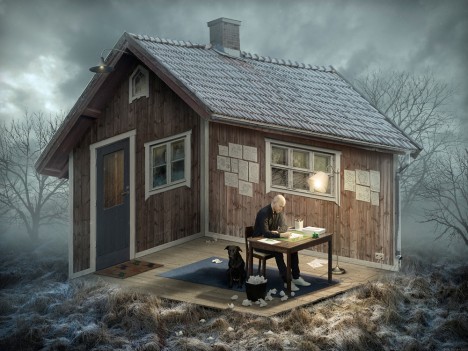
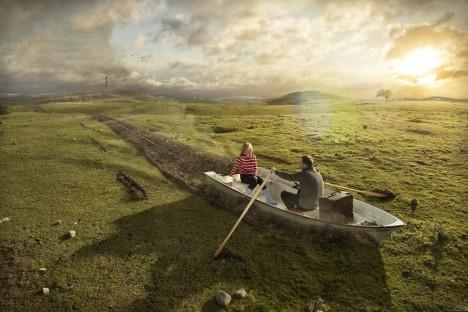
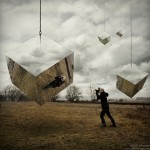
A tripod was used when taking this photograph to prevent blur that can be caused by camera shake. The shutter speed was 3.2 seconds.
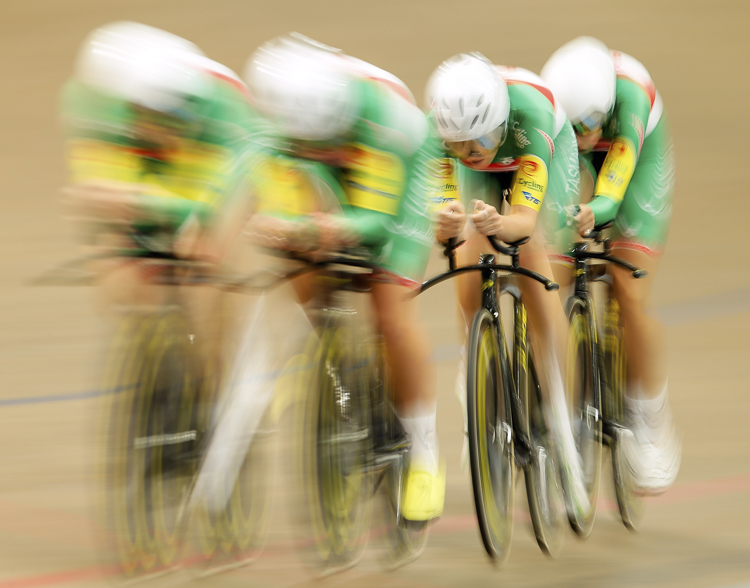
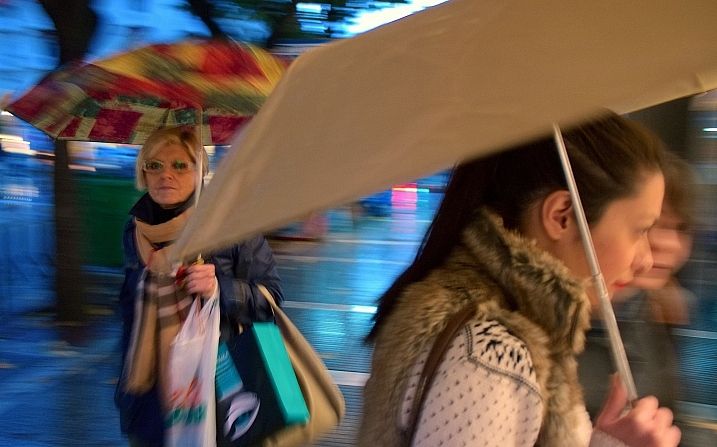
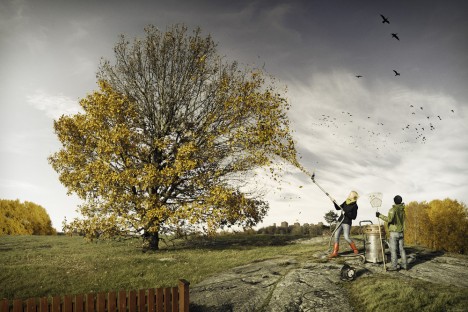
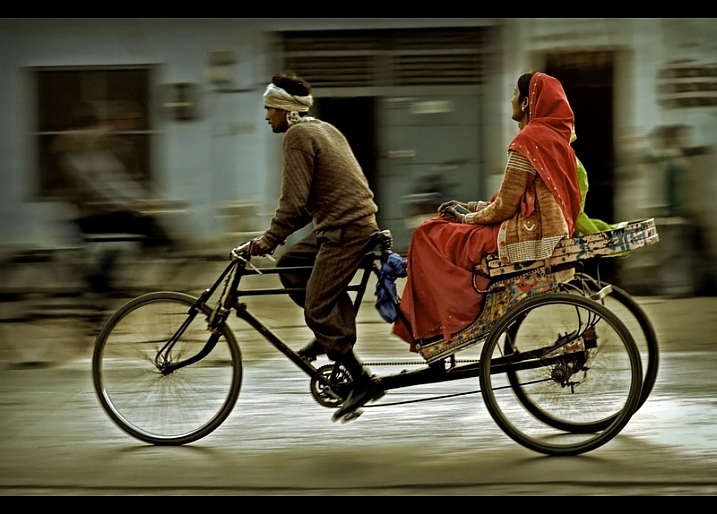
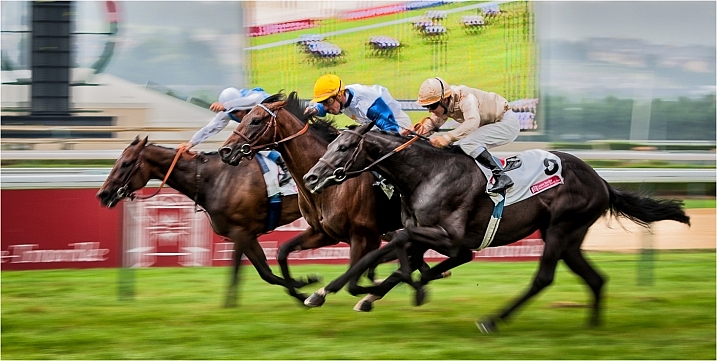
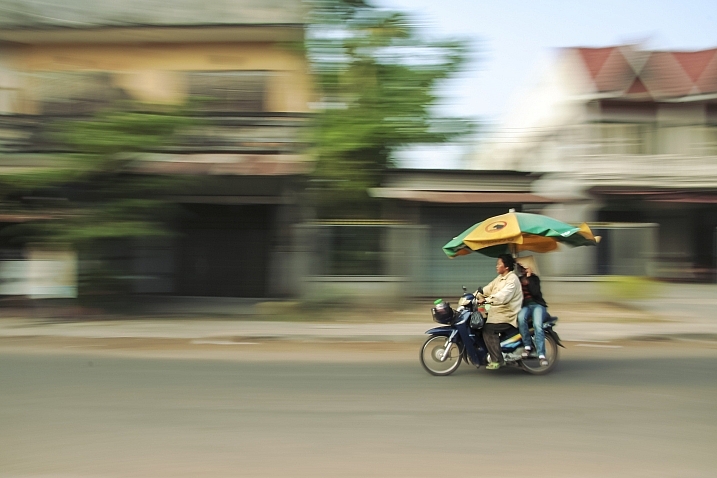
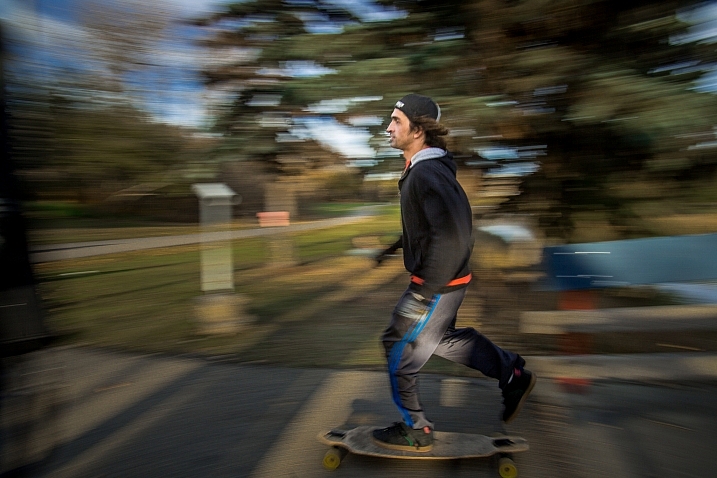
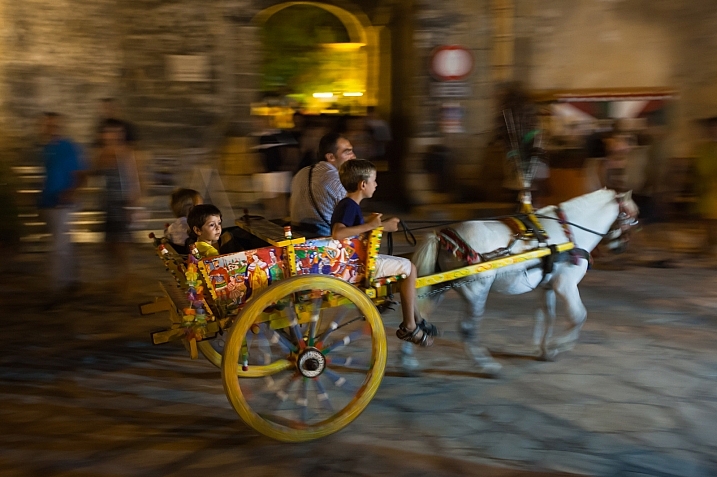
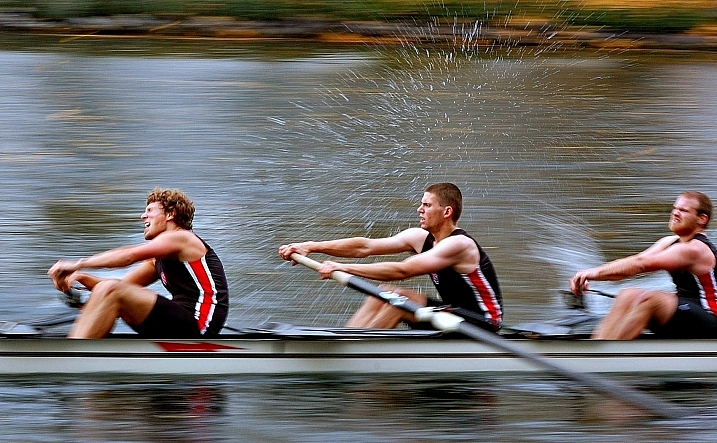
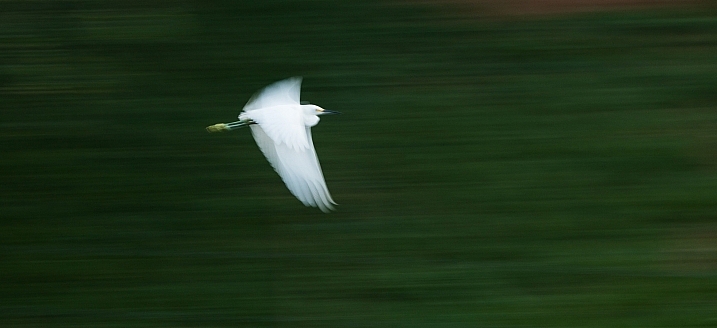
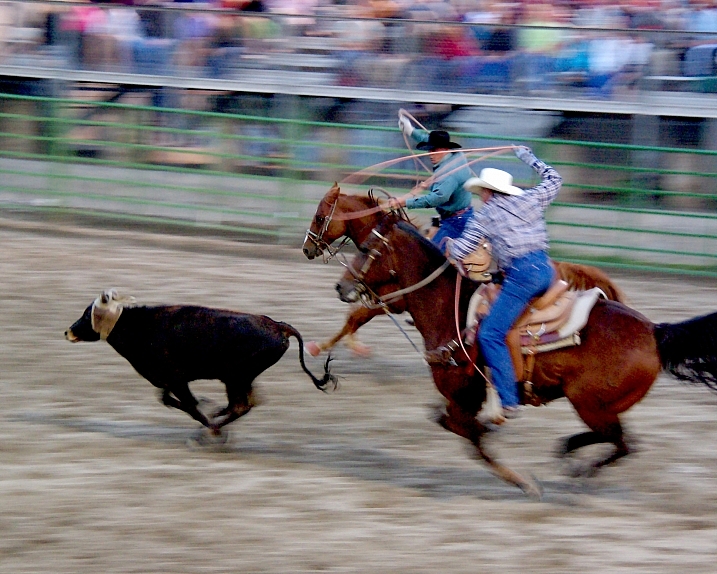
The reason there is one rider sharper than the others in this frame, is because even though all riders are moving at the same speed, the rider who is sharpest is moving slower, relative to where I was positioned taking this photograph. The shutter speed used here was 1/6th.
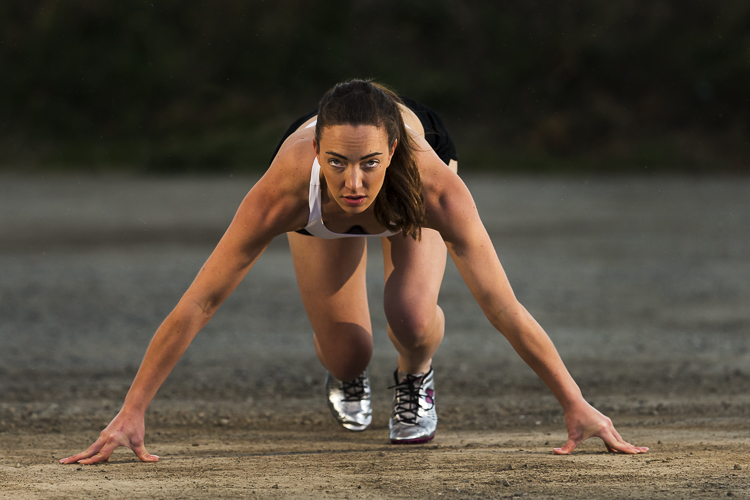
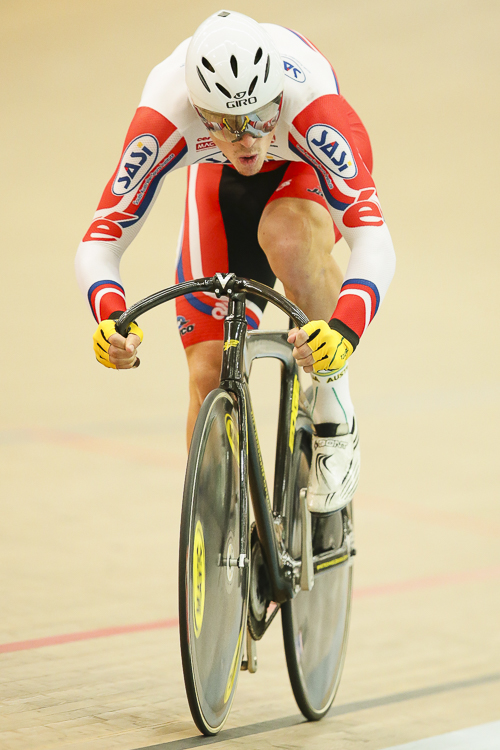
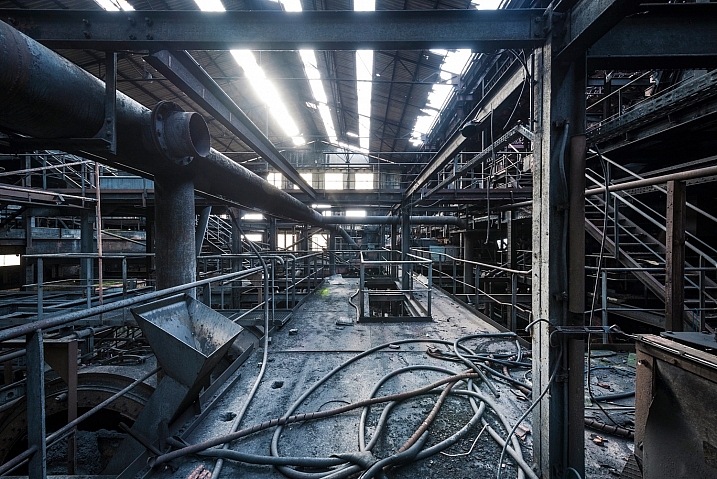
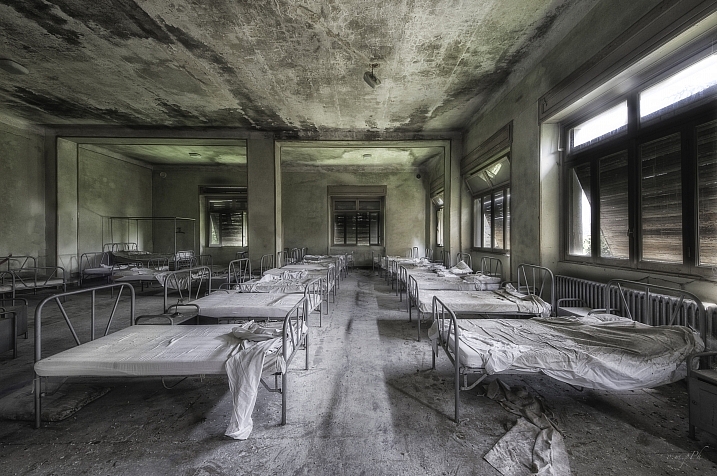
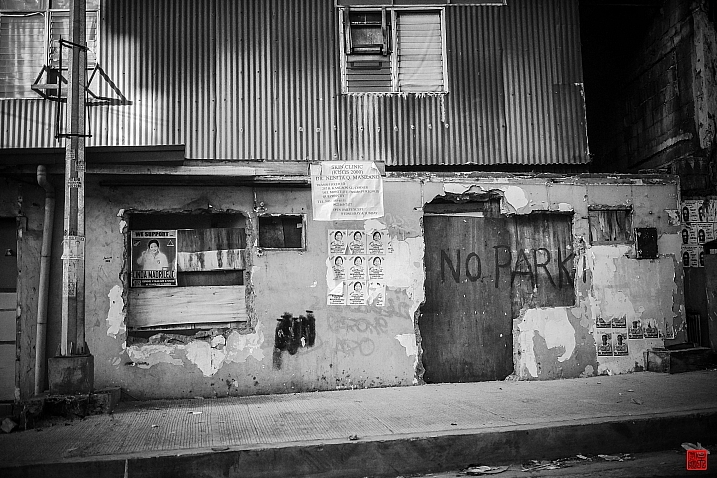
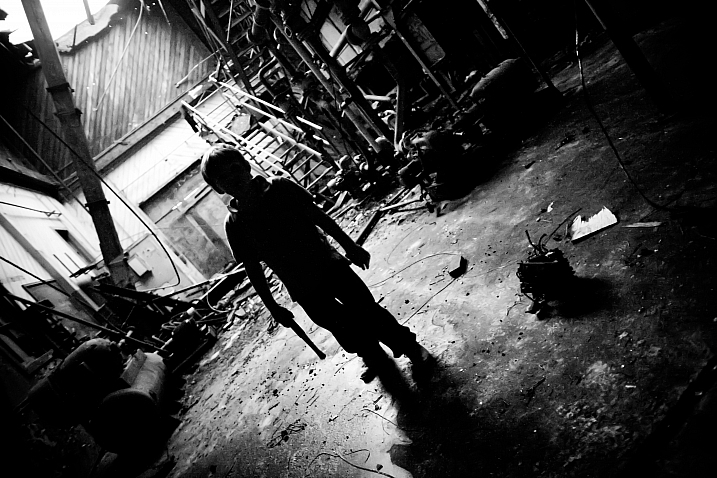
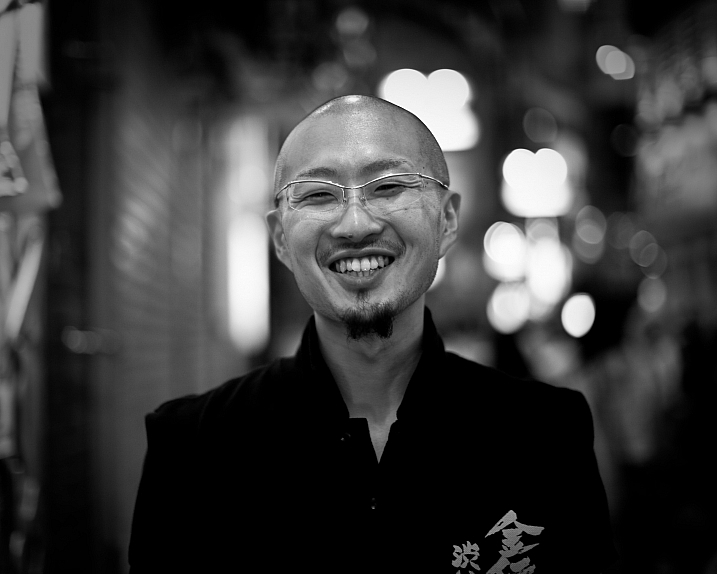
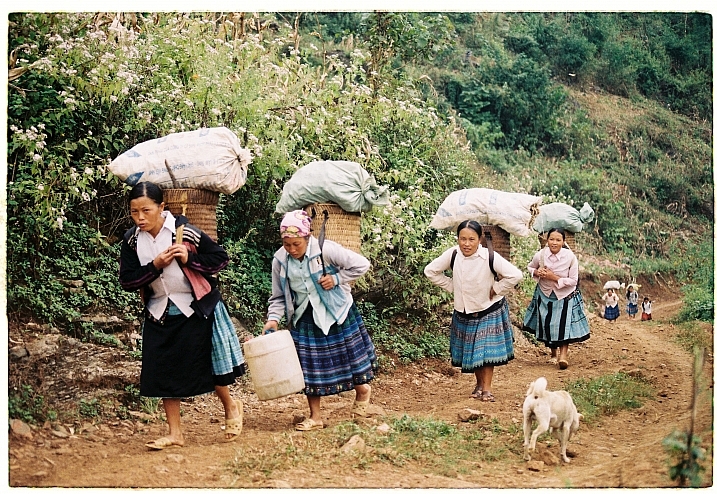
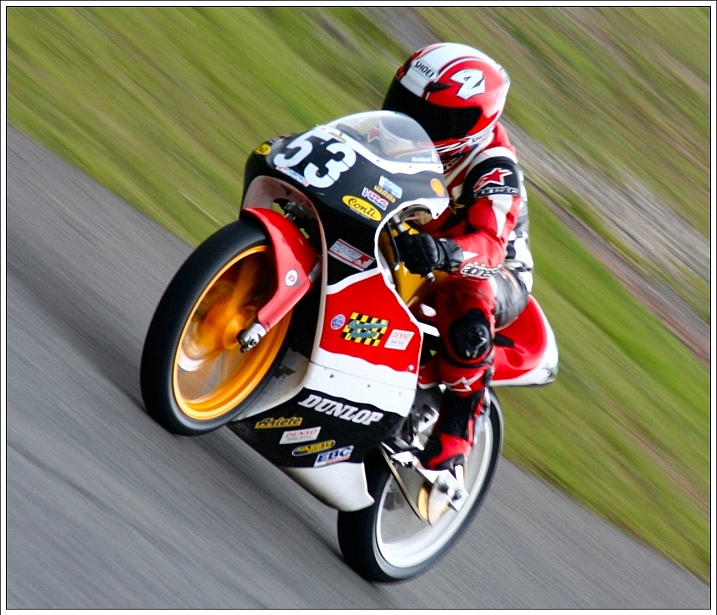
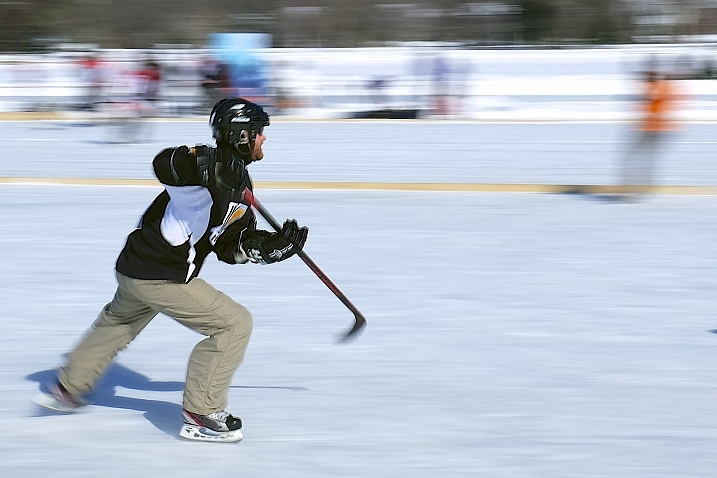
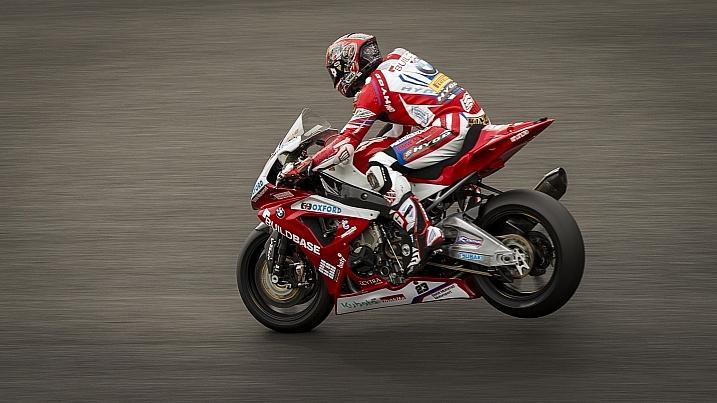
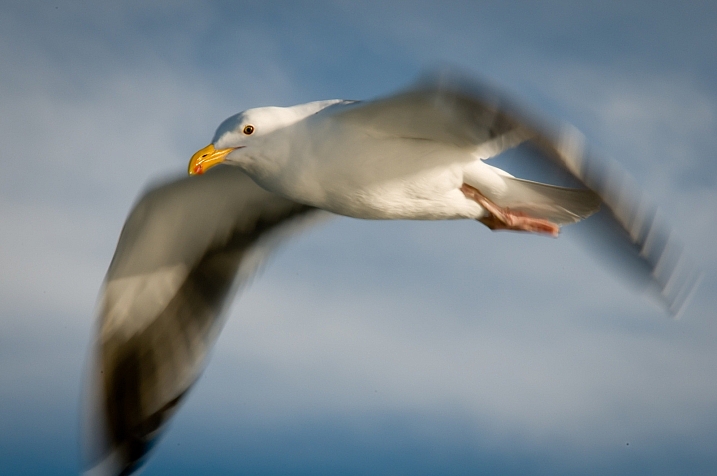
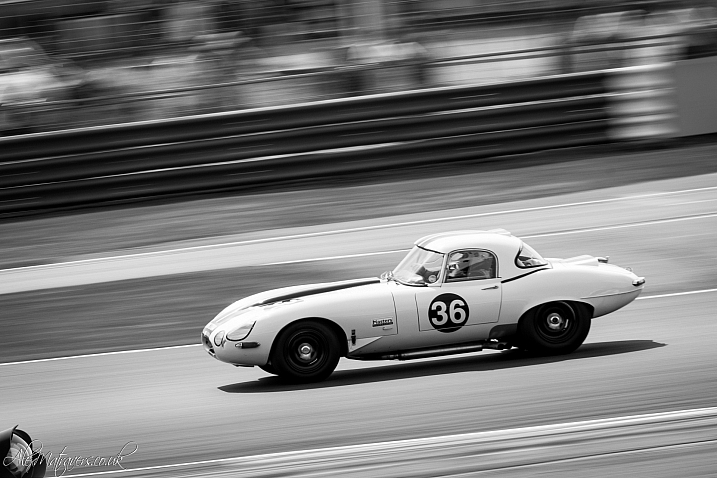
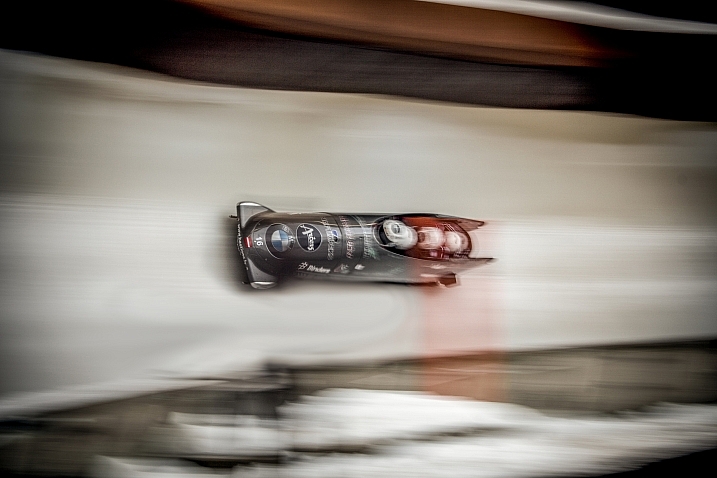
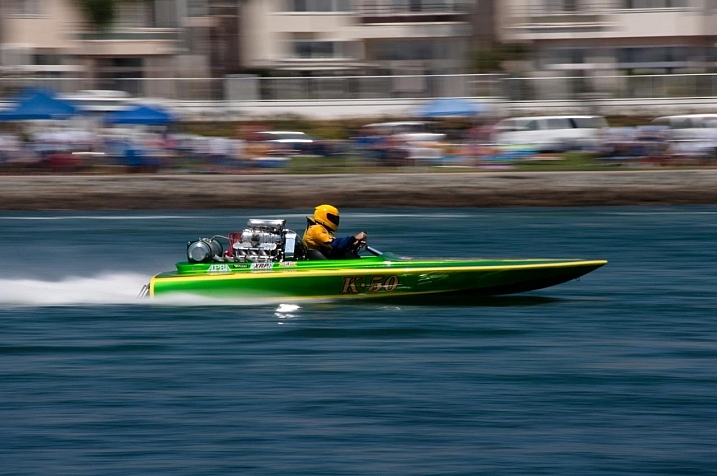
Notice how everything is sharp in this image, and there is no blur? This means that a fast shutter speed was used (in this case 1/2000th), and because the subject is quite fast, a faster than normal shutter speed was needed.

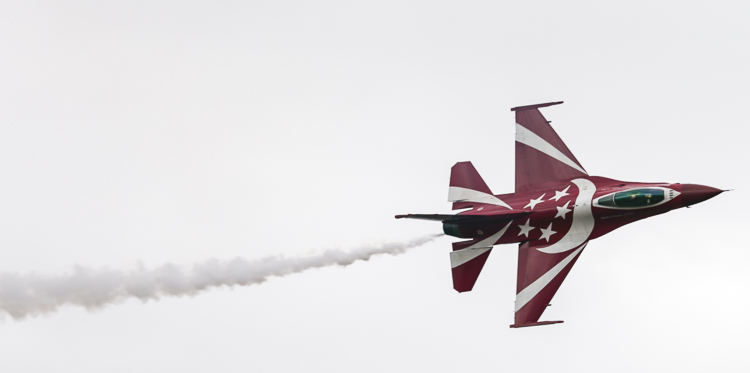
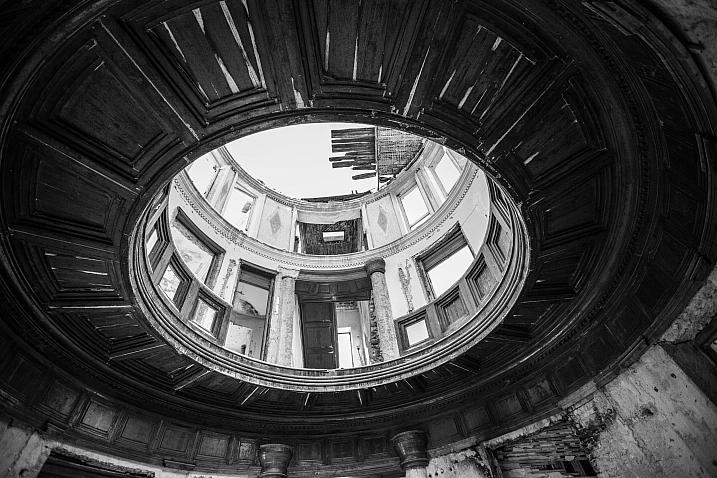
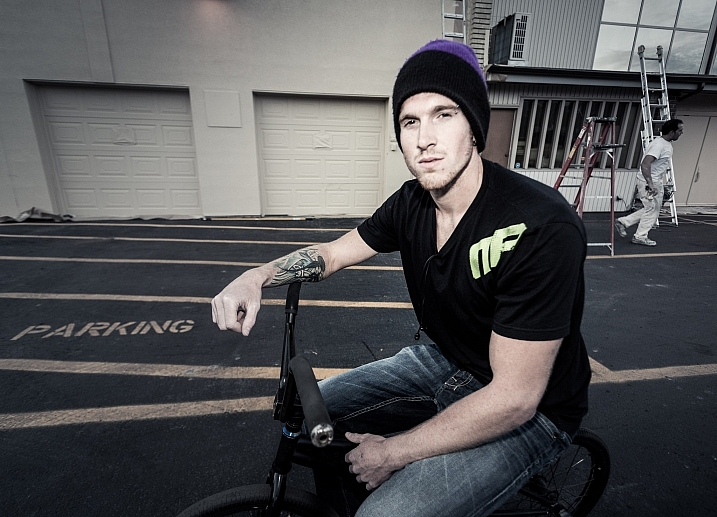
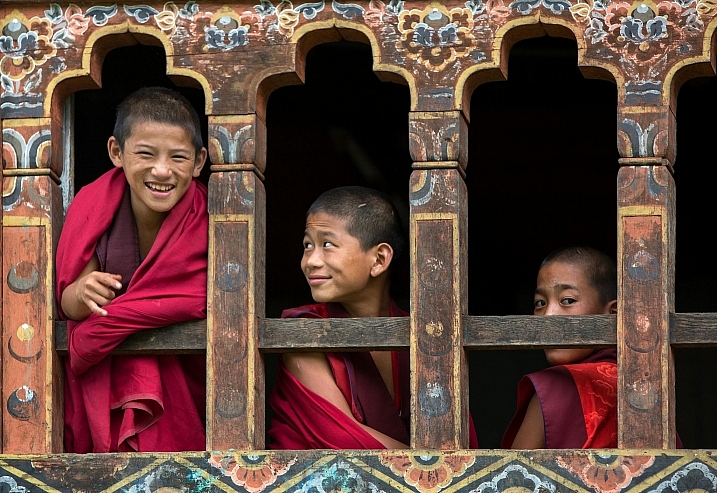
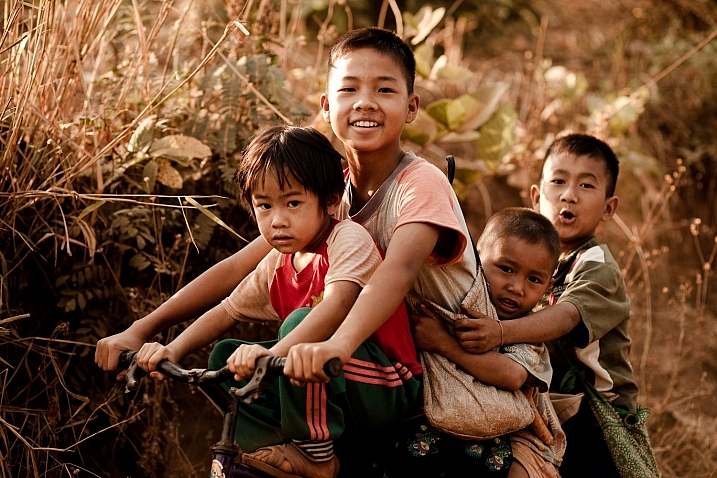
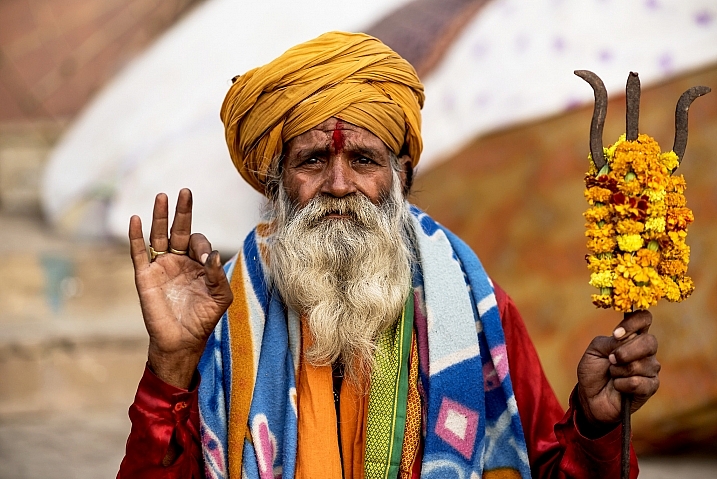
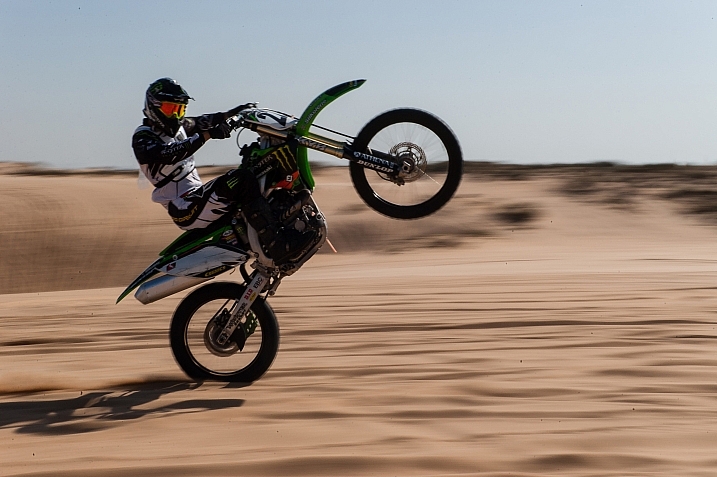
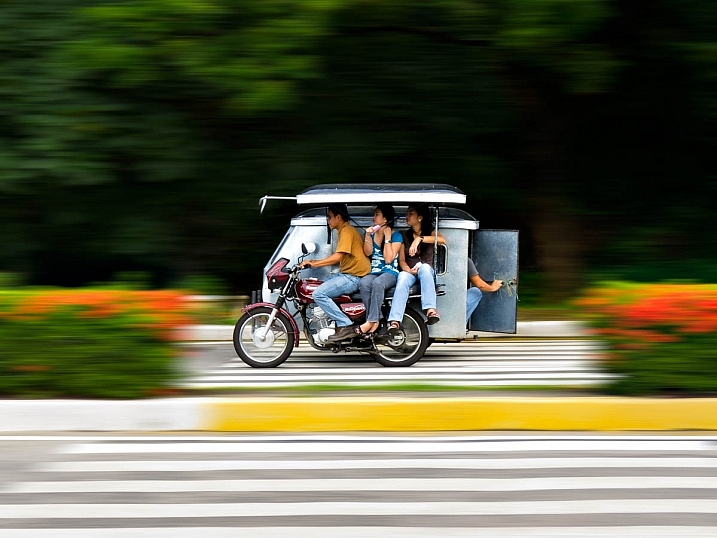
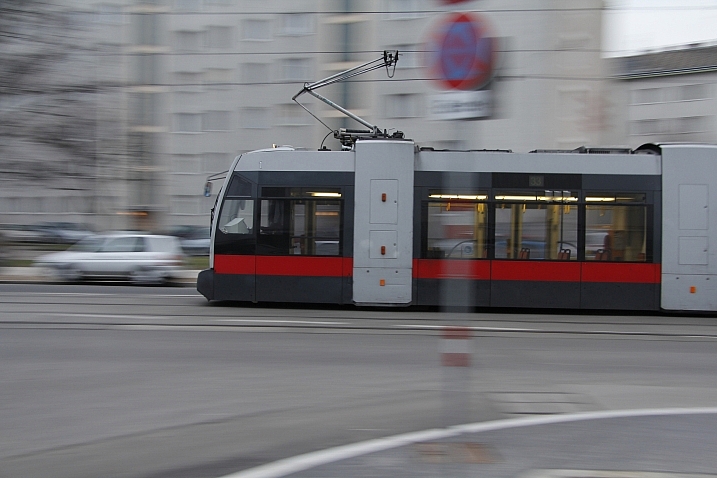
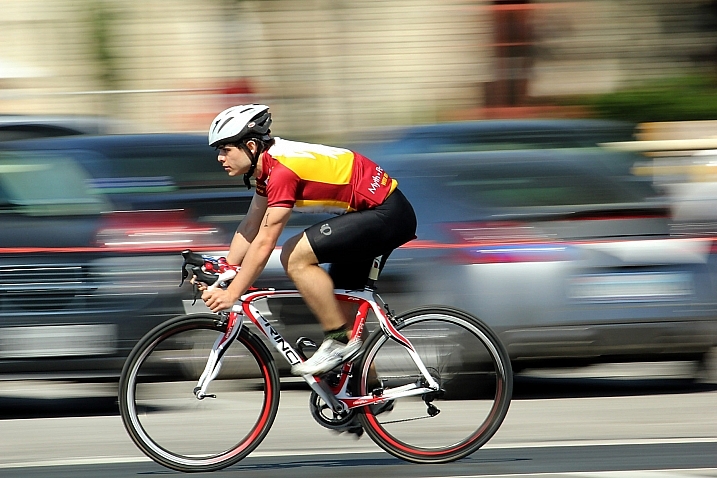
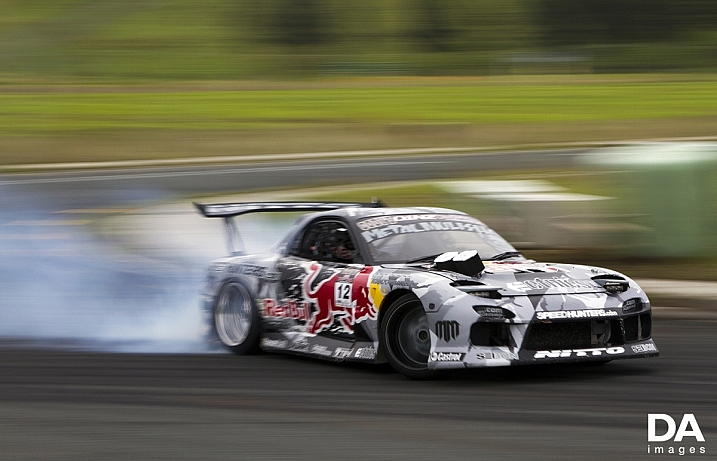
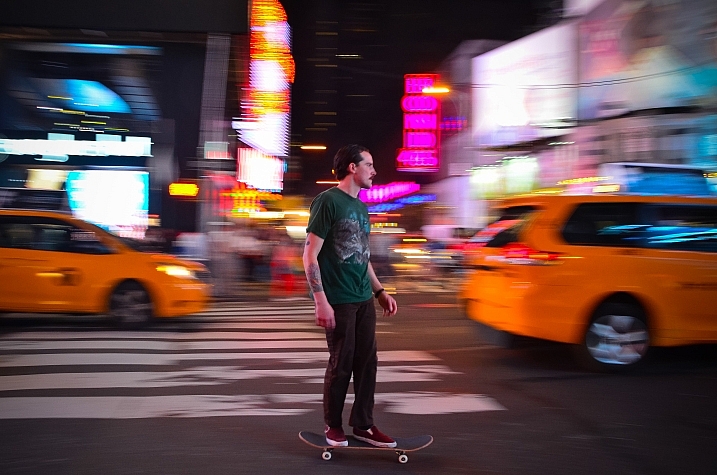
Again, notice how everything is sharp and there is no blur? This means that a fast shutter speed (1/1250th) was once again used.
Step 2: Aperture – Large or Small?
In step one I mentioned that determining whether a fast or slow shutter speed was used first, can greatly help you in determining the aperture. Here’s why. If you are familiar with the exposure triangle you will know that in nearly all cases when a fast shutter speed is used, it is associated with a large aperture (small f-number). Conversely, the slower the shutter speed, the smaller the aperture becomes. So if you see a photo that has motion blur present, it is highly likely that the photographer used a smaller aperture; or if you see a photo where moving objects are frozen, the photographer has most likely used a larger aperture to enable a faster shutter speed.
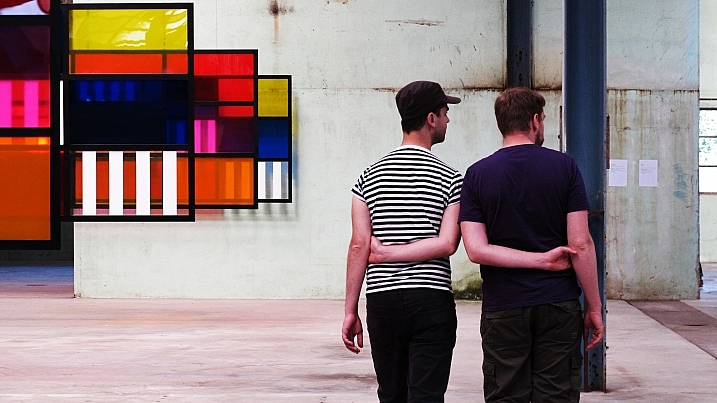
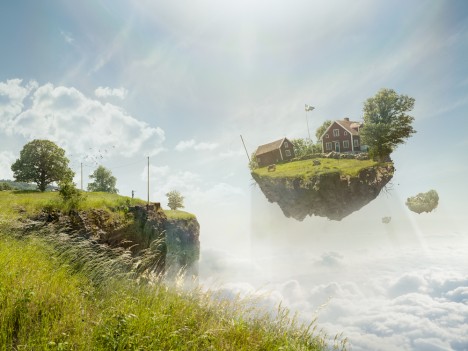
Another way you can determine the aperture is by looking for bokeh, or subject isolation. The more bokeh that is present in the image, the more the subject is isolated. To achieve this, the photographer would use a larger aperture. On the other hand, if everything in the image is in focus, then the photographer employed a smaller aperture to increase their depth of field.
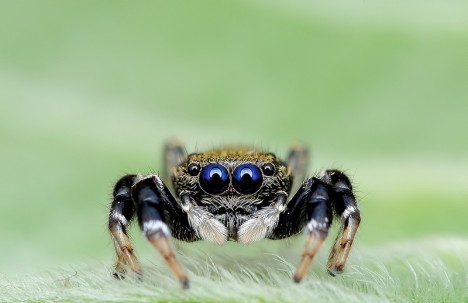
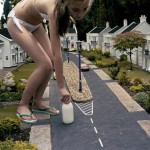
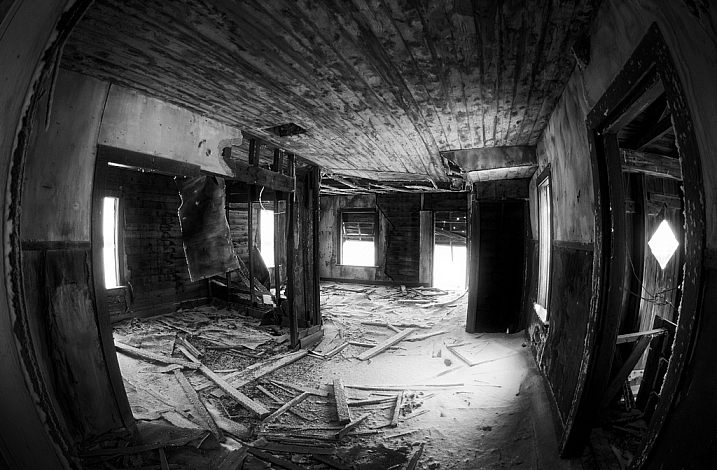
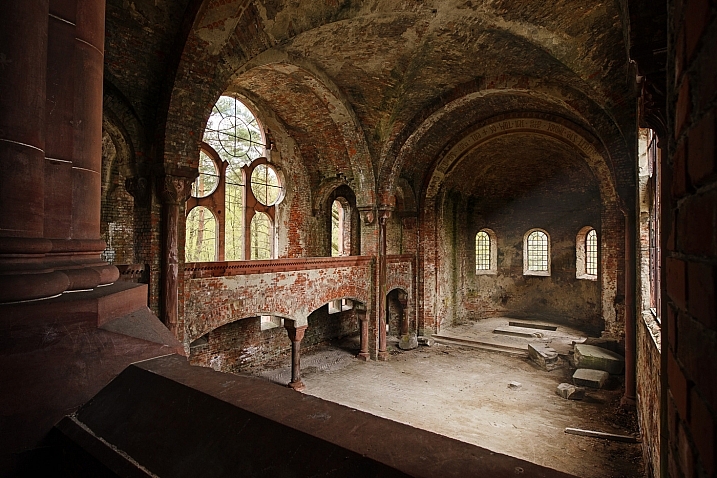
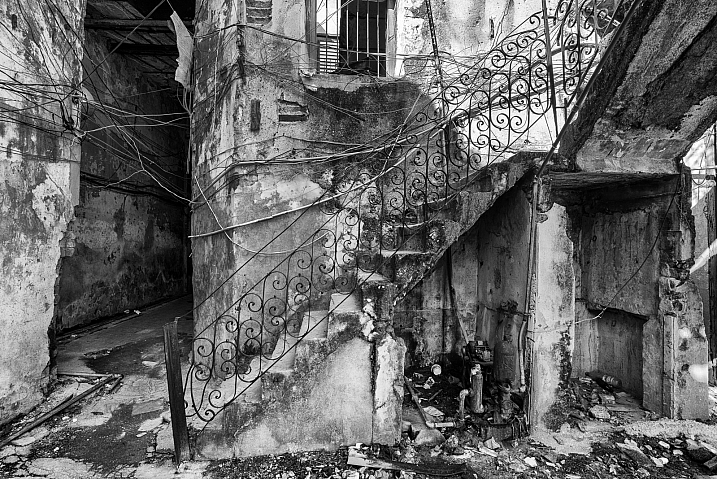
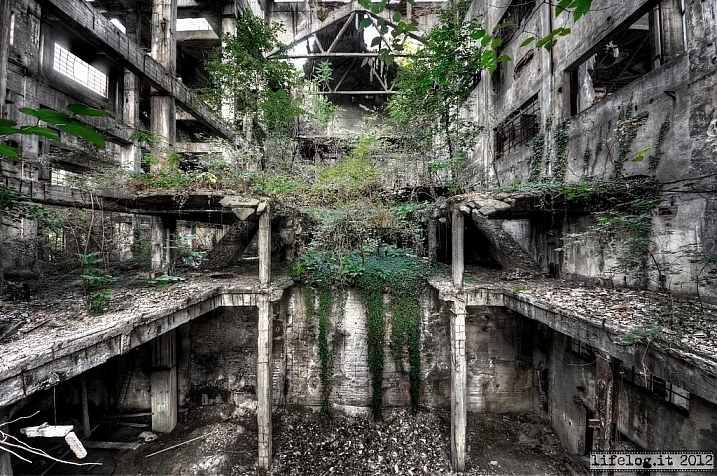
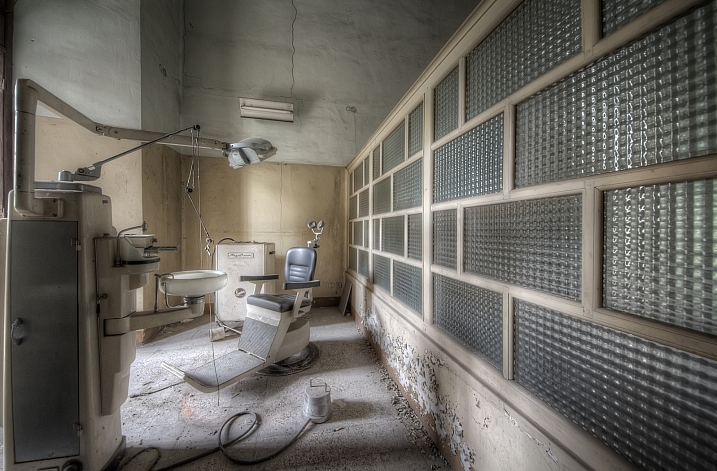
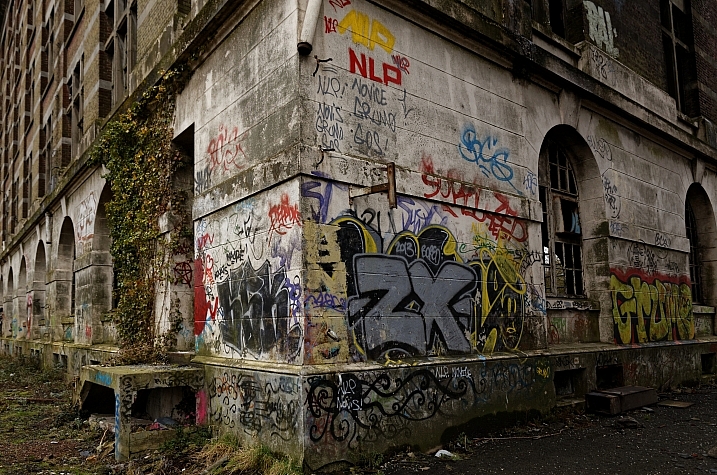
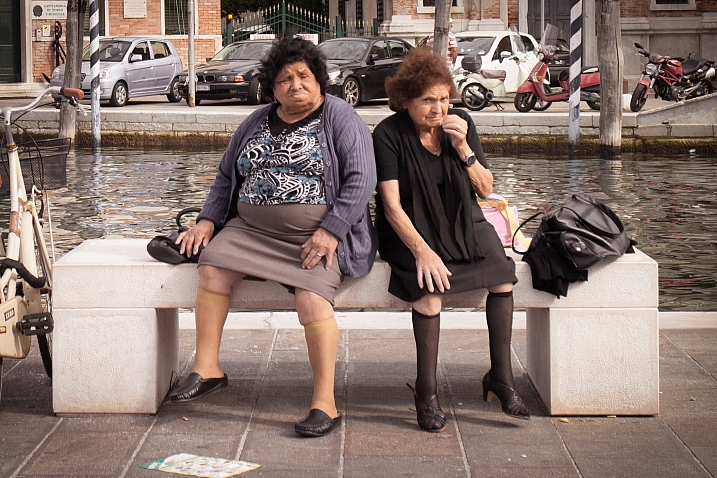
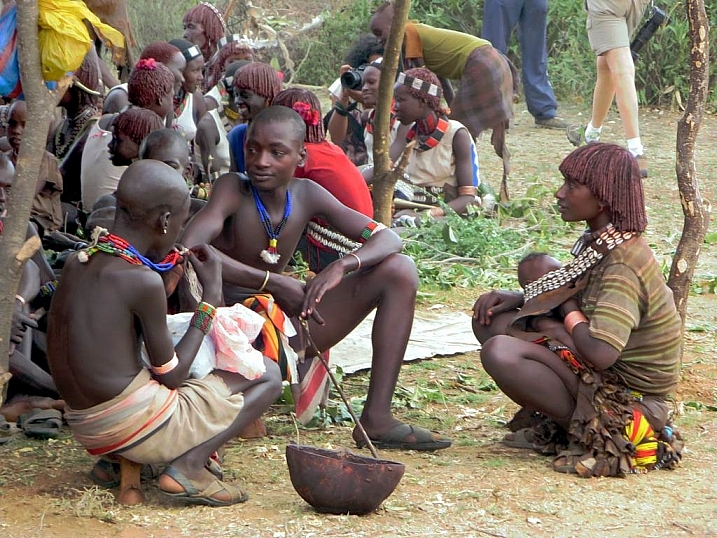
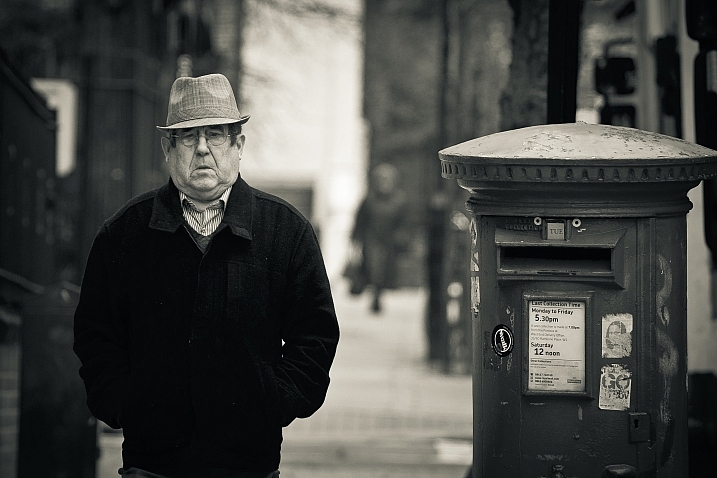
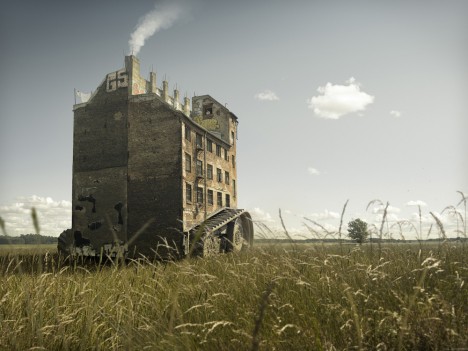
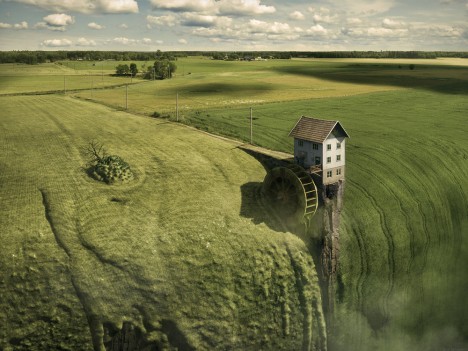
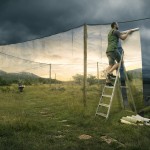
Everything in this photograph is in focus, which would mean that a small aperture (larger f-number; like f/11 in this image) was used to increase the depth of field.
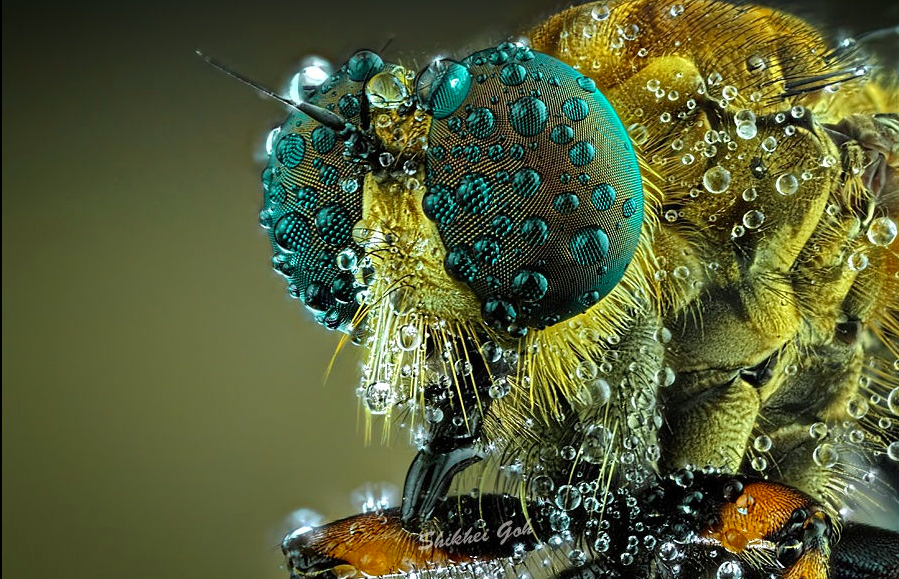
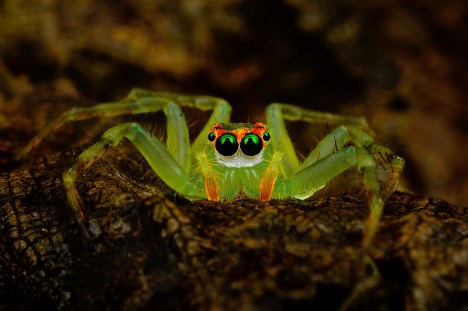
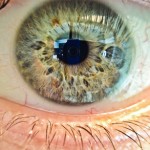
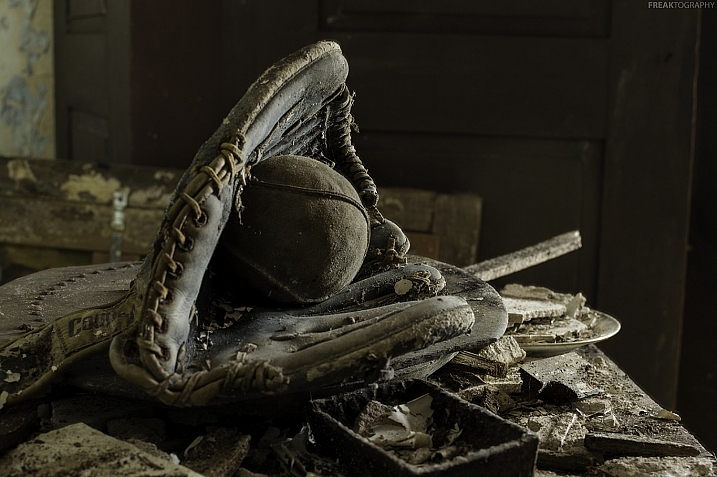
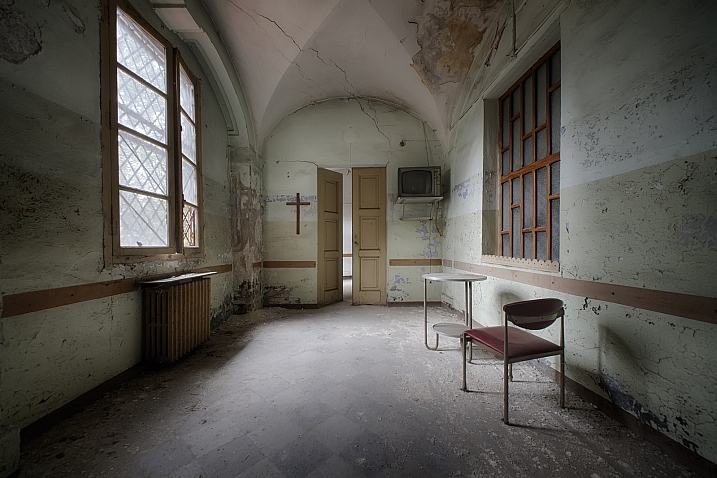
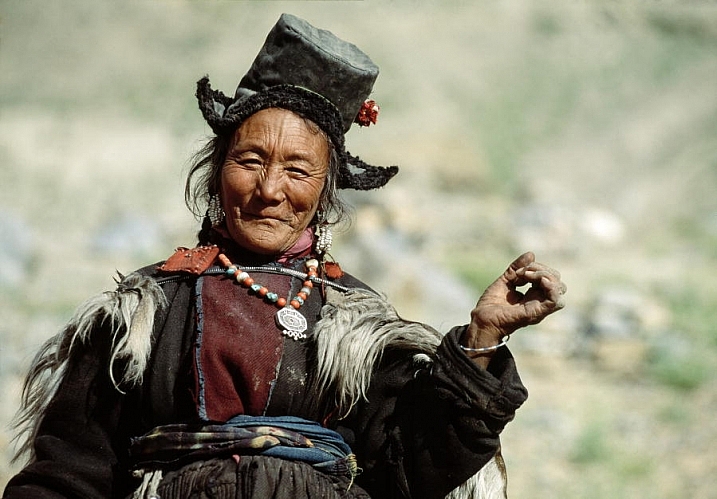
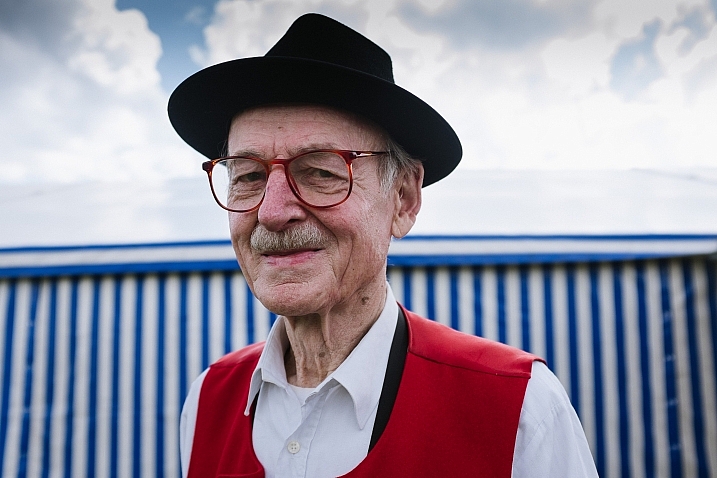
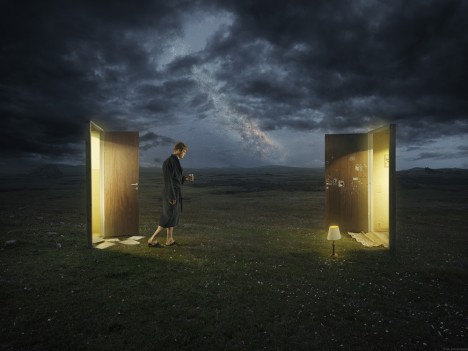
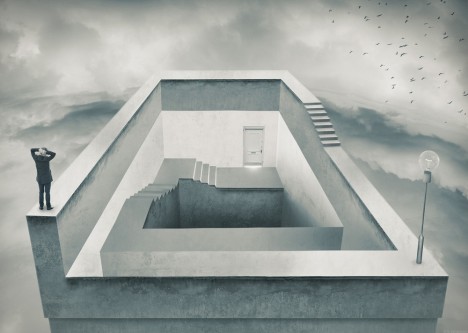
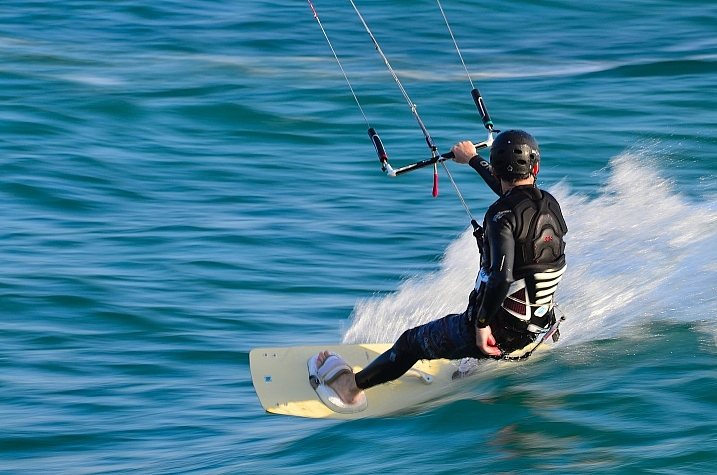
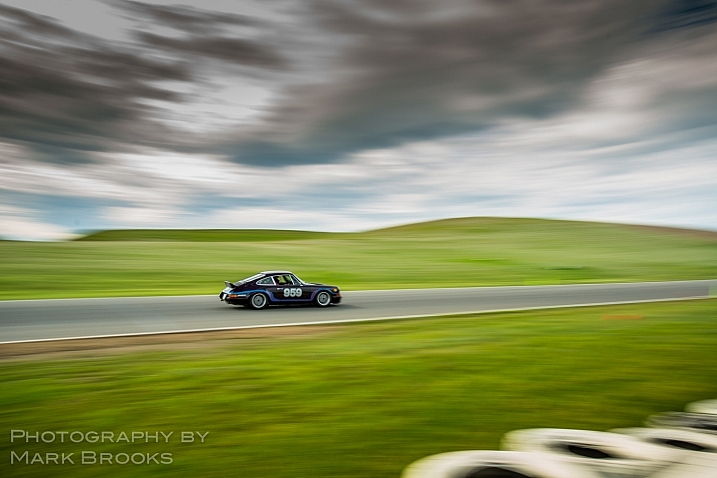
Notice how the background in this image is blurred out a lot, and the subject is very isolated? This is a sign that a larger aperture (small f-number; in this example f/3.5) was used to decrease the depth of field.
Step 3: ISO
ISO is one of the parameters that isn’t so important in determining what settings may have been used when reading an image. Use ISO to get the settings that you need to use, to create the shot you want. For example, if you want to use the slowest shutter speed you can, set your camera’s ISO to its lowest setting. Conversely, if you want to use a very fast shutter speed, you may find that you have to increase your ISO.
Step 4: Focal Length
Focal length is something that is often overlooked in images, but it is a very important element indeed. It does more than simply allow a photograph to add more in the frame, or zoom in closer. Different focal lengths evoke different emotions in the viewer when looking at an image. For instance, if a wide angle lens was used, it places the viewer in the scene and can make them feel like they were there; whereas a longer focal length places the viewer further away from the subject, and evokes a more voyeur emotion.
The great thing about focal length is that it is quite easy to distinguish approximately which one was used. To make it simpler, breaking down focal lengths in to three groups can help greatly.
- Wide: <50mm (i.e. 14-50mm on full frame, 10-35mm on cropped or APS-C sensor)
- Normal: ~50mm-85mm (35-56mm cropped sensor)
- Telephoto: 85mm+ (130mm+ on cropped sensor)
You can use the presence of compression to distinguish the different types of focal length. A wide angle lens accentuates the foreground and increases distances in the frame, as well as having a very wide field of view. This effect increases as the focal length decreases – or gets wider. On the other end, a telephoto lens will give you much more compression, and make distances in the frame look shorter. Their field of view will decrease, and the affects of aperture, particularly larger apertures, will be more pronounced. That’s why f/2.8 at 16mm looks different than f/2.8 at 200mm, if your subject is kept the same size in the frame.
Here is a small table with examples of the same scene photographed from the same point, but with different focal lengths.
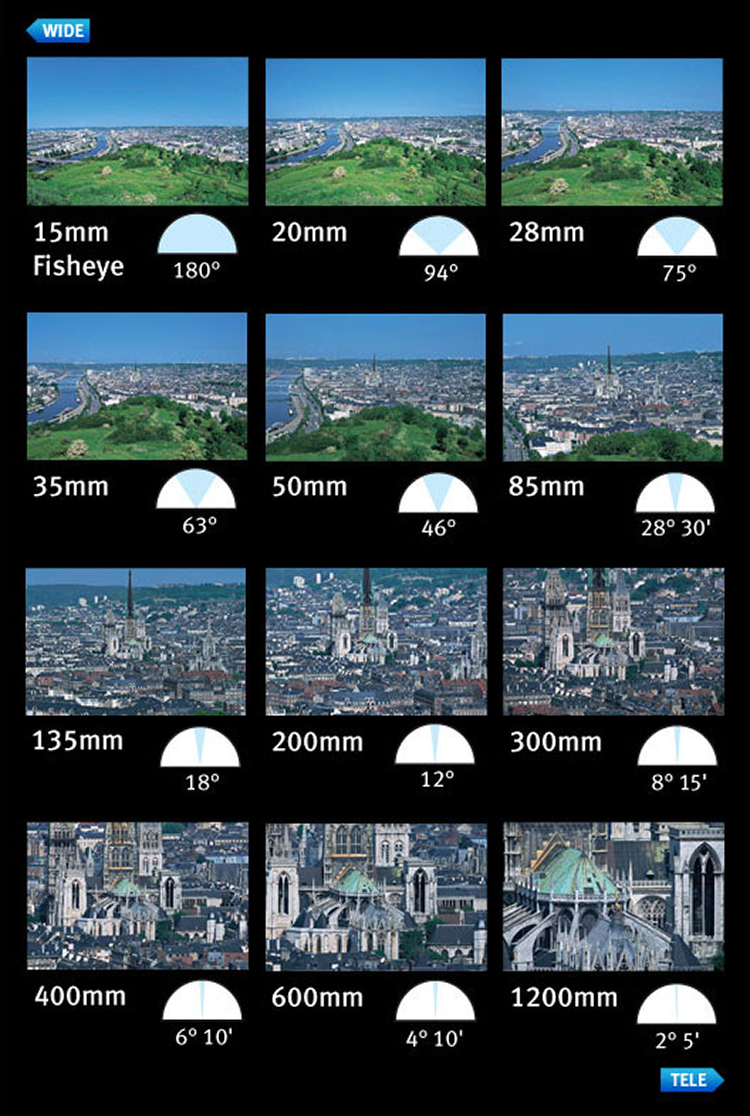
Image courtesy of Canon
Now you have had a quick introduction on how to read images. Remember, knowing the exact settings is not important, but knowing how to get an approximate guess is better than not knowing anything at all! With experience, you will become more proficient at reading images, and will be able to guess with more precision. The more you understand aperture, shutter speed, and ISO, the better you will be at reading images.
Along the way, you will also learn that different genres within photography use a different set of settings. For example, most landscape photographers will use smaller apertures, lower ISOs, and slower shutter speeds; whereas sports shooters for instance, will generally use higher ISOs, larger apertures, and faster shutter speeds.
googletag.cmd.push(function() {
tablet_slots.push( googletag.defineSlot( “/1005424/_dPSv4_tab-all-article-bottom_(300×250)”, [300, 250], “pb-ad-78623” ).addService( googletag.pubads() ) ); } );
googletag.cmd.push(function() {
mobile_slots.push( googletag.defineSlot( “/1005424/_dPSv4_mob-all-article-bottom_(300×250)”, [300, 250], “pb-ad-78158” ).addService( googletag.pubads() ) ); } );
The post 4 Steps on How to Read Images and Learn to Replicate the Results by Daniel Smith appeared first on Digital Photography School.

Digital Photography School


You must be logged in to post a comment.