Shooting buildings can be tricky. The main reason is that they are tall, and you need to get far away from them if you want to fit them into the frame. If you are shooting in the city, you don’t have the luxury of getting really far away, the best you may be able to do is get farther down the street. What you have to do then, is tilt your camera upwards to get the whole building in, and that’s when it happens – perspective distortion.
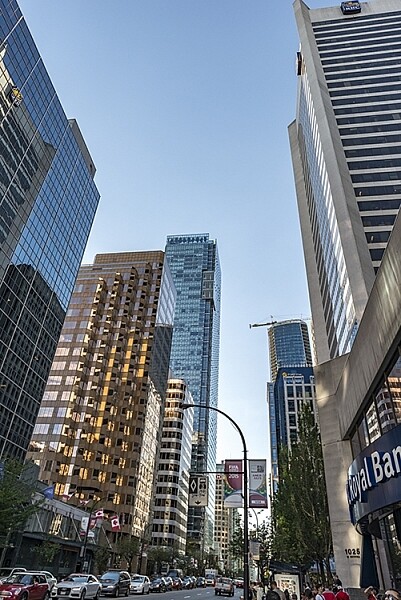
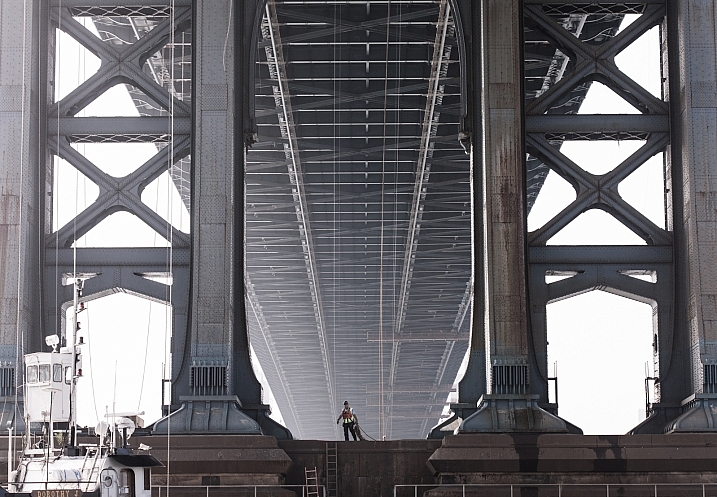
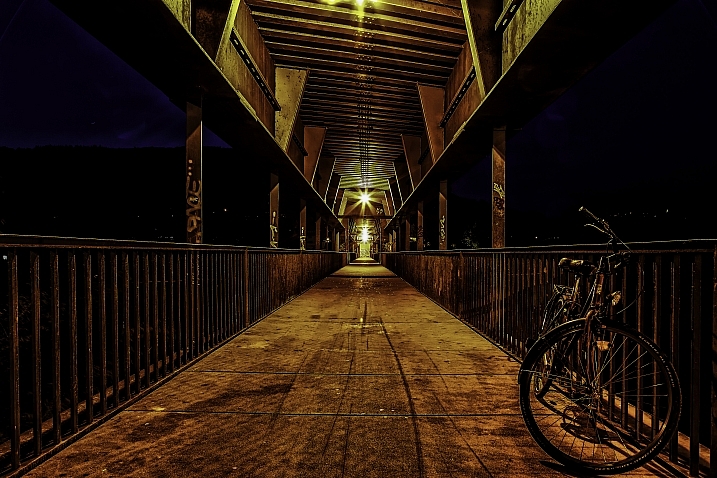
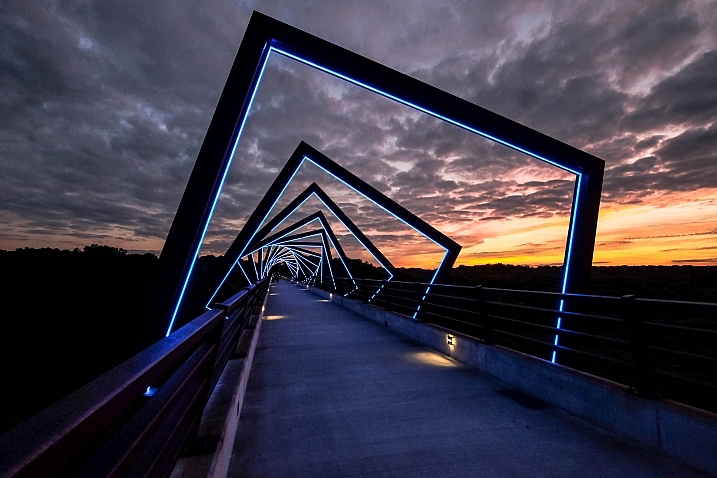
City scenes can be difficult to photograph because of the risk of distortion
When you are using a wide angle lens (which you probably will be when shooting architecture) and you tilt your lens up or down, your image will distort. Architectural photographers would use a tilt-shift lens to counteract this distortion, which can make a really big difference in your image. The only problem is that it is a specialist lens, and it is expensive.
Until a few years ago, that was the only solution for fixing perspective distortion, but in the latest versions of Photoshop, there are a few truly amazing tools that can fix it painlessly. Sometimes the distortion may work well in the image, but if you need to fix it, these techniques can help. To learn more about getting better architectural photos read: Tips for Different Approaches to Architecture Photography
1. Working with distortion
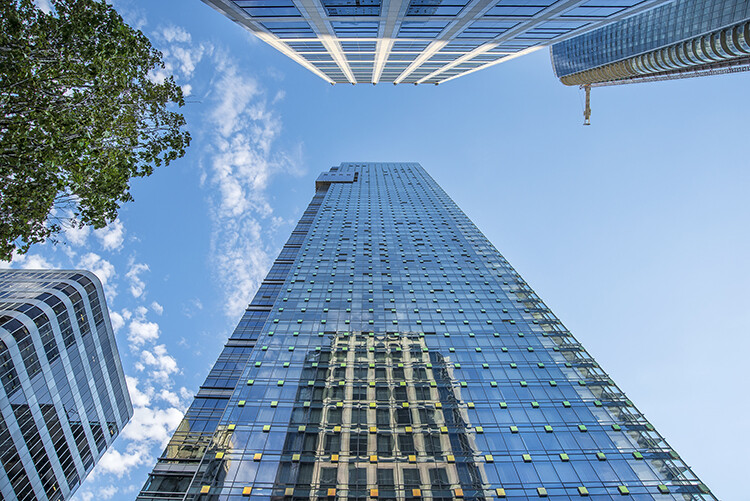
The definition of distortion is: when the straight lines of a subject are either curved in a particular direction, or they converge or diverge. This happens when the focal plane of your camera is pointed upward or downward. This is called perspective distortion. The second most common type of warping is barrel distortion, this type is dependent on the type of lens you are using. Barrel distortion make the image look like it has been inflated in the middle of the scene so it looks like a barrel – wider in the middle, and narrower at the top and bottom. Wide angle lenses tend to distort a fair amount when pointing up or down, and in some cases, you may get barrel distortion in the image too. So, how do we fix this?
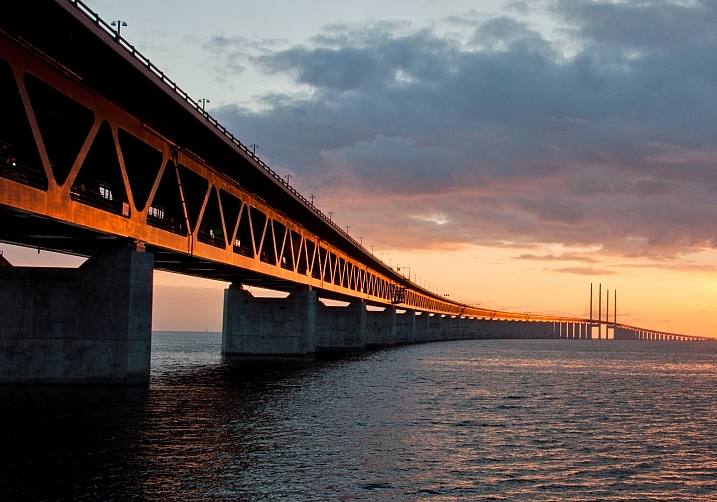
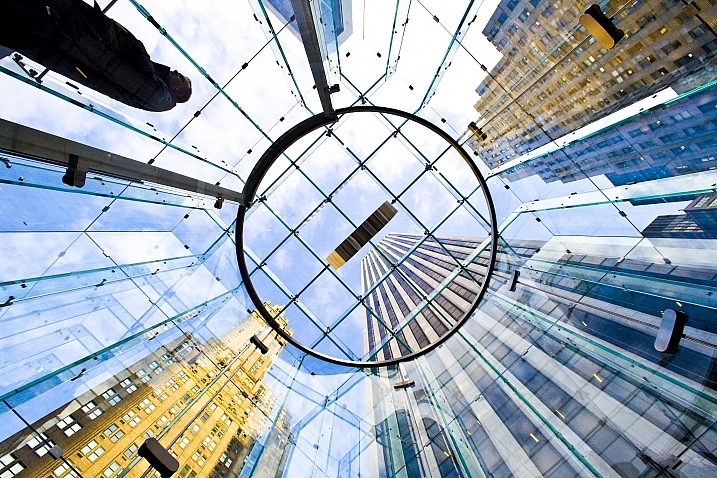
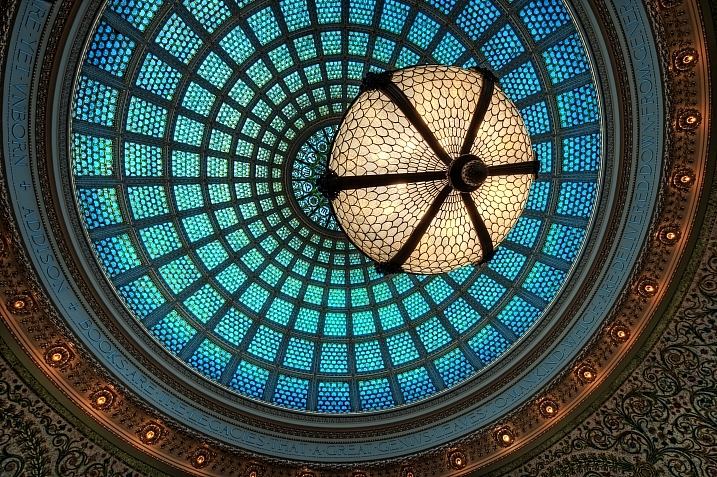
Tall buildings distort easily with a wide angle lens.
2. Fixing distortion in camera
If you want to avoid perspective distortion, then you will need to keep your focal plane at 90 degrees to your subject. In other words, don’t tilt your camera up or down when you are shooting. This may work well for landscape photography, but when you are shooting tall buildings, it may be very difficult to get that right. Sometimes there is no way to avoid perspective distortion in camera.
Thankfully Photoshop can help you out here. Barrel distortion is a function of the lens you are using, wide angle lenses can make the middle of the image seem bloated or inflated. You can try and fix this by zooming in a little, as wide angles tend to suffer from barrel distortion when they are at their widest focal length. Zooming in is not always possible, so we will fix the bulk of the issues in Photoshop.
3. Fixing distortion in Photoshop
Photoshop has a few functions that can help you fix both perspective and barrel distortion. One of the best tools that has been included with recent versions is the Adaptive Wide Angle Tool. This tool is intuitive and easy to use, but takes a little practice initially. In the past, I would use the transform tools (i.e., Distort, Skew, Perspective and Warp). While these worked really well, it took a fair amount of time to get the corrections to look realistic.
In the examples below, you can see that the building looks shorter and more squat. Some further adjustments would need to be made to correct this, but overall, the buildings are vertical and look correct architecturally. With the Adaptive Wide Angle tool, this process is easily done, in some cases with only three or four mouse clicks.
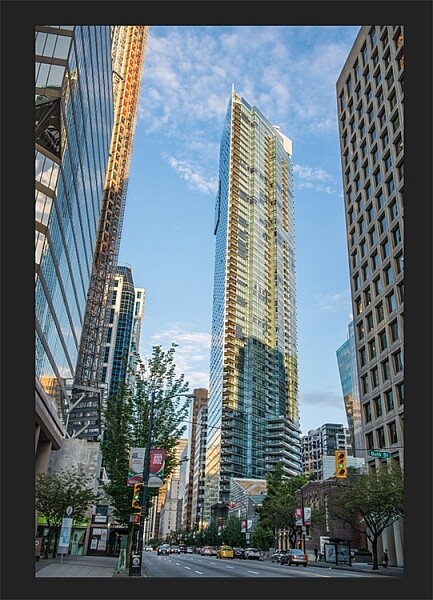
Image of a building before the distortion tool was applied in Photoshop
Same image after the distortion tool was applied
4. Adaptive Wide Angle tool
The Adaptive Wide Angle tool sits under the filter menu. Open the image you want to correct (with skew buildings or walls) click on FILTER>ADAPTIVE WIDE ANGLE, and a new box will open up with your image inside it.
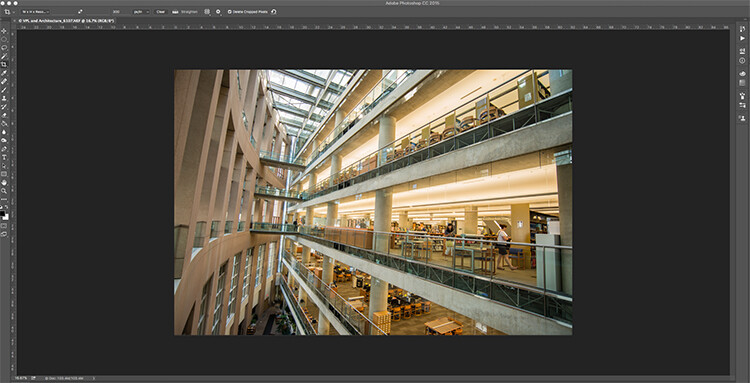
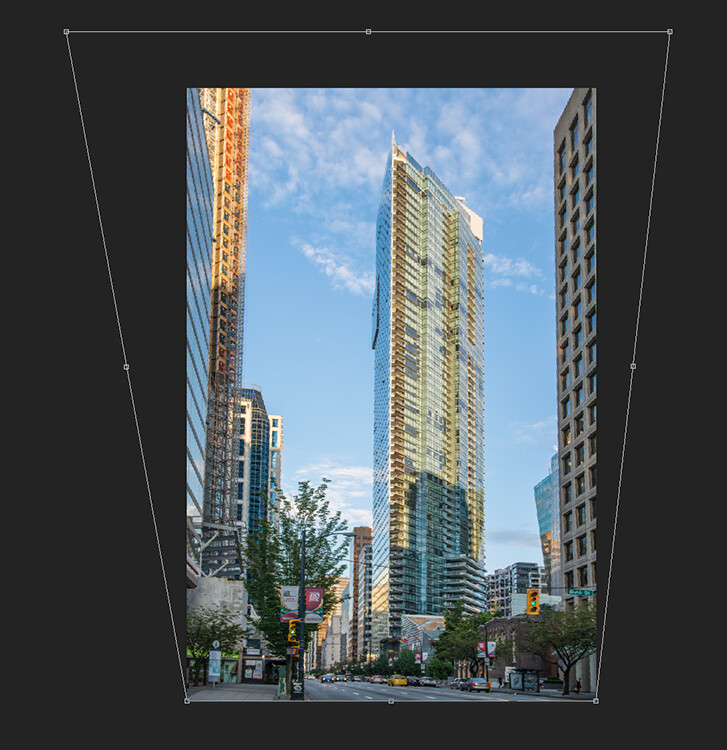
Image to be corrected, you can see the vertical lines are pretty skew
Depending on how your image is displayed in the box, you may need to scale it to see the whole thing. On the right hand side you will see a box that says Correction. Underneath that you will see a scale slider, adjust it until you can see your whole image in the box. There is a dropdown box in there with other options such as perspective, fisheye, etc., – I find leaving it on Auto seems to work best. The other functions within that box may work in some cases, but by leaving it on Auto and making specific adjustments to the verticals and horizontals in your image, you will get the best results.
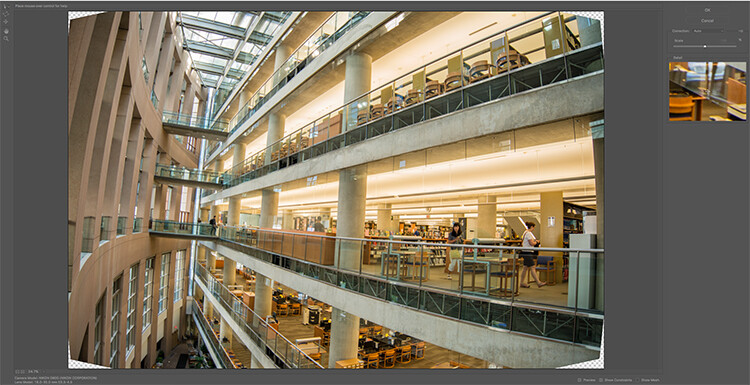
Adaptive Wide angle tool screen
You will then need to identify the walls of the building that are converging or diverging. On the left hand side of the dialogue box, you will see some constraint tools. The tool that is first in the row is simply called the Constraint Tool, this is the one I use most often.
Click on that and move your mouse over to one of the vertical lines of the building, and draw a line down the wall. Start at the top of the building and drag the line down to the bottom, along a vertical wall that should be straight. Click at the bottom of the line when you are done and Photoshop will drop a line down exactly where you dragged. As you click, Photoshop will correct any barrel distortion, but the line will still be skew.
At the bottom of the line you will see a square, right click on the square and three options will pop up: Horizontal, Vertical, and Arbitrary. These are the three ways you have to correct that line. If it is a vertical wall, then click on Vertical. Immediately, Photoshop will bring that wall into a perfect upright position. What you will notice is that it may distort other lines now. That’s okay, find a second vertical that is not correct and repeat this process, once you have done three or four verticals, your building should be perfectly straight, as should the rest of the building. Sometimes what may happen is that the horizontal alignment may shift with all these vertical changes. You can then select a horizontal line in the image and repeat the same process you did for the verticals, just use a line that you know should be horizontal. Also, when you right click, select the Horizontal option in the popup box.
To make sure you are making a precise selection when you draw your line, there is a 100% zoom window on the right hand side. This is really useful, as it can be difficult to be zoomed in to the image, and drag the line down at the same time. This box really helps make sure that you start and finish at the right places on the building.
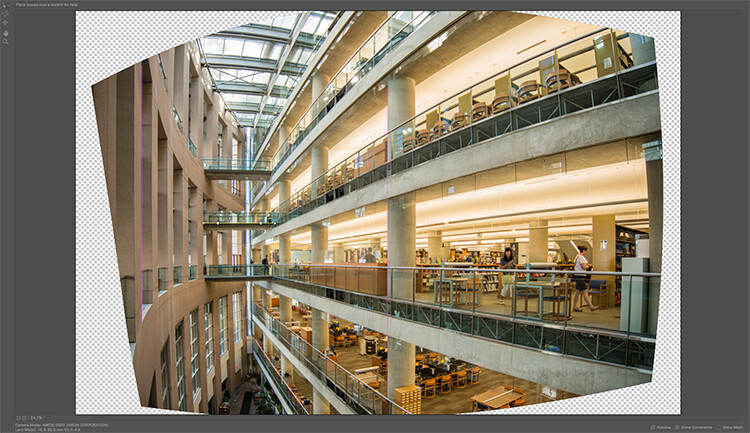
Adaptive Wide Angle tool and image after 3 adjustments have been made
Once you have straightened some of the more skewed verticals, and one or two horizontals, your image should be looking pretty close to perfect. Once you are done, click ok and your image will open up in Photoshop. From there you can edit the rest of the image with all the lines being straight and aligned.
A new tool has recently been launched by Adobe Photoshop for CC users called Guided Upright and you can find it in Camera RAW of the latest version.
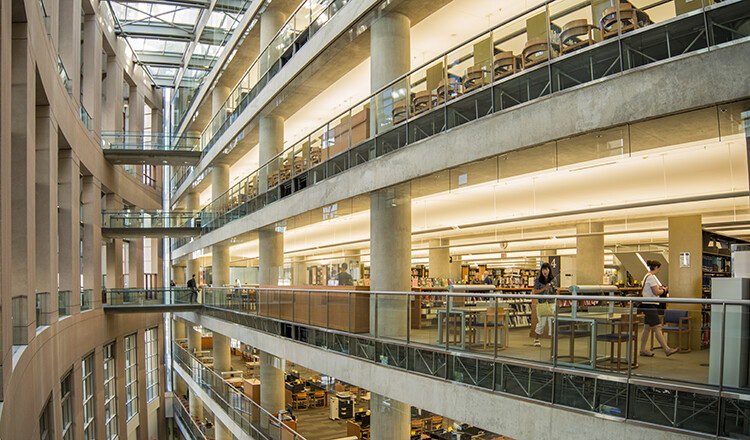
Final image after being edited in the Adaptive Wide Angle tool and cropped.
Here is a great short minute video that Adobe has released, take a look, this could also be a useful tool to use.
What’s your go-to method of correcting perspective distortion? Please share in the comments below.
googletag.cmd.push(function() {
tablet_slots.push( googletag.defineSlot( “/1005424/_dPSv4_tab-all-article-bottom_(300×250)”, [300, 250], “pb-ad-78623” ).addService( googletag.pubads() ) ); } );
googletag.cmd.push(function() {
mobile_slots.push( googletag.defineSlot( “/1005424/_dPSv4_mob-all-article-bottom_(300×250)”, [300, 250], “pb-ad-78158” ).addService( googletag.pubads() ) ); } );
The post Use Photoshop to Correct Perspective Distortion of Buildings in Your Images by Barry J Brady appeared first on Digital Photography School.


You must be logged in to post a comment.