A favorite photography subject of any parent is their child’s sporting activities. But, sports photography can be challenging for the beginning photographer. It requires a robust understanding of camera settings and how they relate to one another. It can also be hugely rewarding to capture exhilarating moments that will be cherished for years to come.
Here are a few tips and Tricks I’ve learned for getting awesome sports photos.
1 – Know the Sport
Every sport has the picture perfect moment. You know the one – the horse with its leg tucked just so, or the peak of the handstand. The moments captured on trading cards, or those that appear on the front covers of sporting magazines are good examples.
Chances are that because you’ve sat on the same bleachers week after week, that you know your child’s sport inside-out. A good sports photographer can anticipate the play, and is ready to capture the shot. For sports that are routine based – gymnastics, figure skating, equestrian, and the like – be sure to watch the practice so you’ll know when and where the picture perfect moments will occur, and where you need to position yourself to capture them.

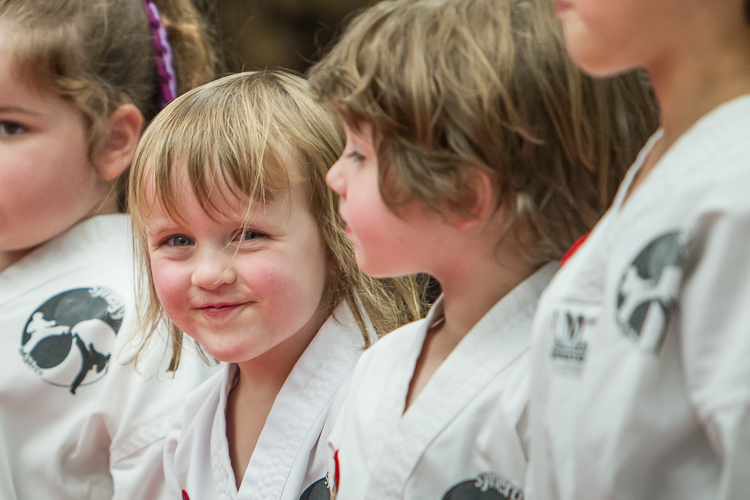
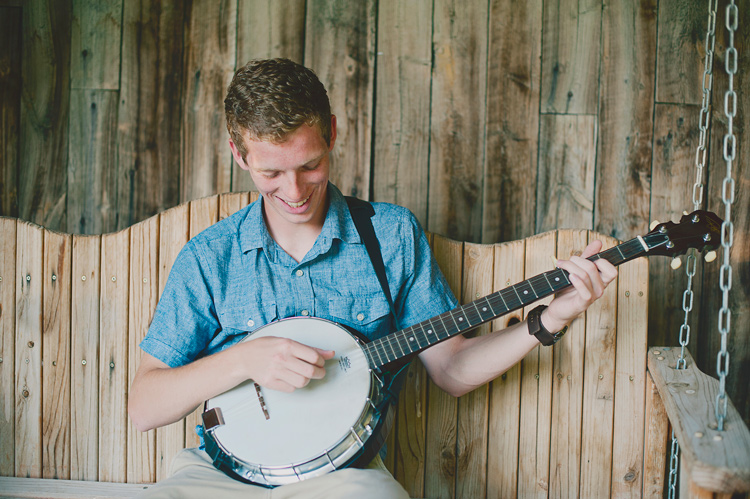
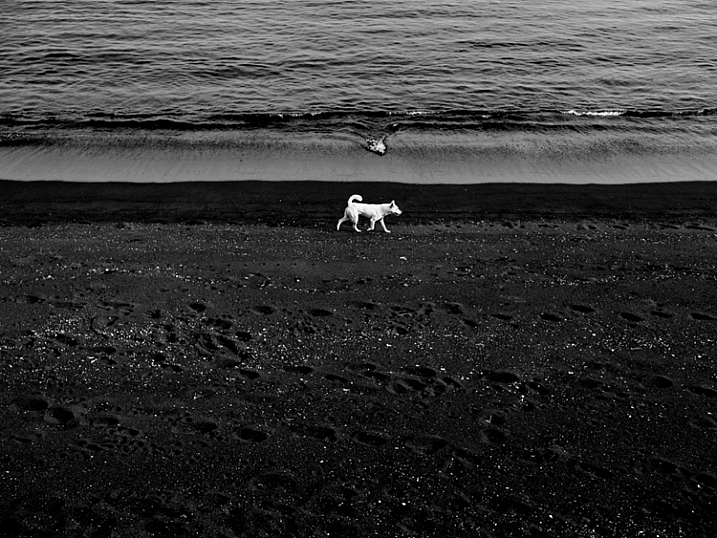
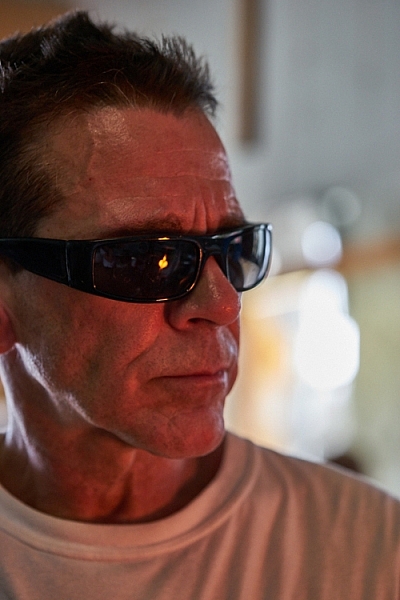
Capturing the passion of the athlete. The flare from the flash in the background was a happy accident. Exposure info: 85mm, f/6.3, 1/160th, ISO 500.
2 – Be Courteous
Before the game, have a chat with your child’s coach and make sure it’s okay for you to photograph the game – some sporting organizations have special rules for photographers which you’ll need to be aware of beforehand. During the game, be courteous to the other parents who are watching their own children. Please don’t be “that guy”, taking up half the bleachers with mountains of gear, or the one standing at the front, blocking the view of others.
3 – Choose your Lens
Generally speaking, longer lenses are better for sports photography, as the action is occurring some distance from you (and it’s uncool for a parent photographer to be on the field during play). A lens around 200mm is a good place to start. If you’ve just won the lotto, I’m well informed that professional 400mm and 600mm lenses are awesome (they can also be rented if you really want to try them out, and don’t have a winning lotto ticket in your back pocket).
Exposure info on above images: 200mm lens, ISO 200, f/5.6, 1/320th of a second.
4 – Get the Camera off Auto
Yes, I know your camera has a sports/action mode. It might even have a cute little picture of someone running. But shooting sports in manual mode (or at least shutter priority) is a perfect way for you to learn how the exposure triangle works. It will also be a lesson in compromise because I can pretty much guarantee that unless you’re shooting in bright sunlight, something will have to give. Do you accept high ISO noise but stop the action, or do you accept some motion blur for less noise?

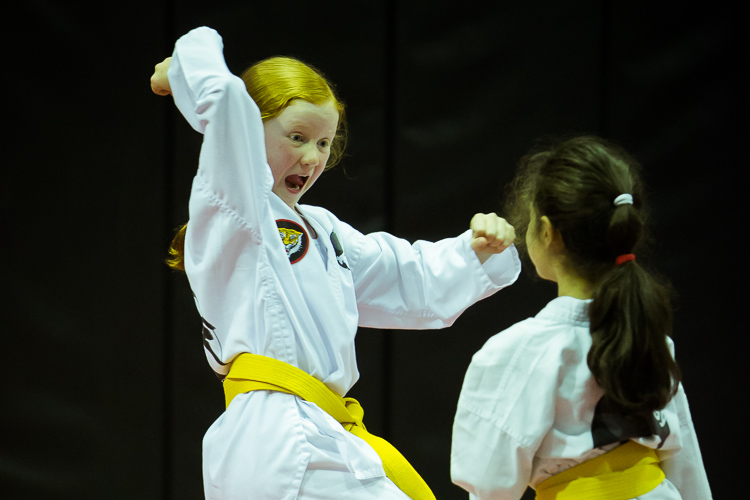
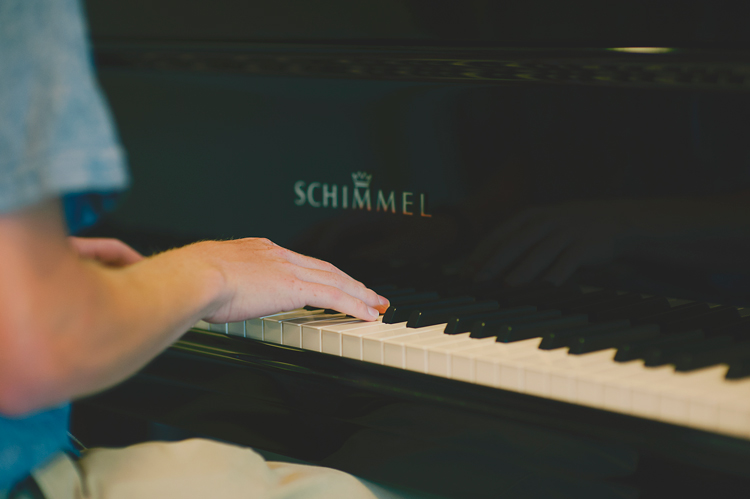
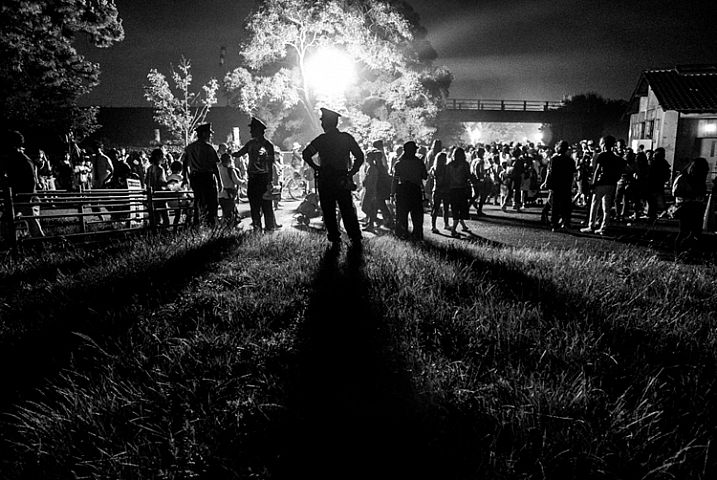
Shooting the pause moments. Note the ridiculously high ISO needed for this dimly lit indoor venue. Exposure info: 105mm, f/4, 1/160th, ISO 10,000.
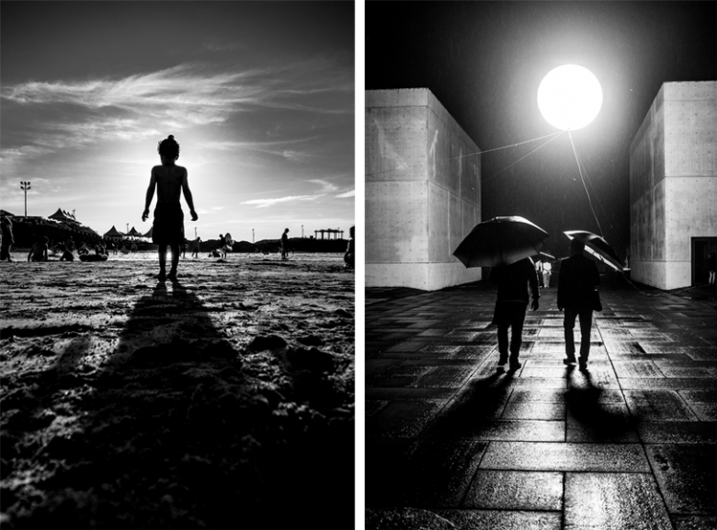
Shutter Speed – Sports shooting is one occasion where the age old adage of “minimum shutter speed = 1/focal length” doesn’t work. In reality, you’ll need to go much faster if you want blur-free images. To stop action at walking speed, try at least 1/250th of a second. For running, you’ll need 1/500th or faster. If these shutter speeds aren’t possible (most likely due to low light), try to anticipate and shoot the posed moments – those times when the athlete pauses for a microsecond (image above). It might be landing a trick, a look before throwing the ball, the moment before throwing a punch.
Exposure info on above images: 200mm lens, ISO 200, f/5.6, 1/320th of a second.
Aperture – Shoot with the largest aperture your lens allows. Professional lenses will generally open up to f/2.8. This will have two benefits – you’ll minimize depth of field (throwing the background out of focus and drawing more attention to your subject), plus you’ll be letting more light in (thus allowing a faster shutter speed).
Exposure info on above images: 200mm lens, ISO 200, f/5.6, 1/320th of a second.
ISO – You’ll often have to shoot at a high ISO to get enough light, especially if you’re shooting indoors. Trial and error will tell you how high your camera can go while still achieving an acceptable image. If you end up having to shoot at ISO 6400 and end up with a noisy image, just turn it black and white and tell people (in your best British accent), “It’s art, dah’ling!”
Focus mode – Check that your focusing mode is set to Continuous or Servo mode. This will ensure that the camera is constantly recalculating focus as you track a moving subject in your viewfinder. Every camera will handle this slightly differently, so it’s worth thumbing through your camera manual to understand how your particular model works.
5 – Get Down Low
Many beginner photographers make the mistake of shooting from a standing position. For youth sports, this means that they are generally shooting down on the athlete – not a very flattering angle. Instead, try kneeling on the ground for a better perspective.
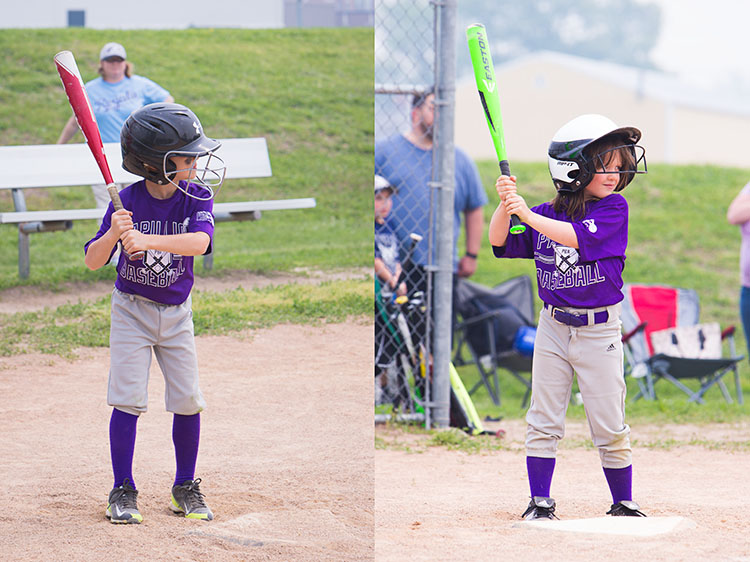
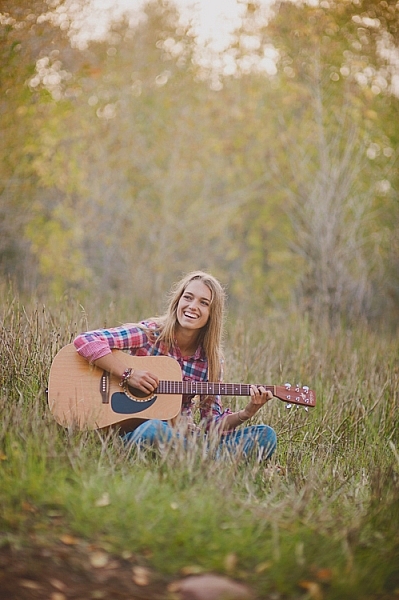
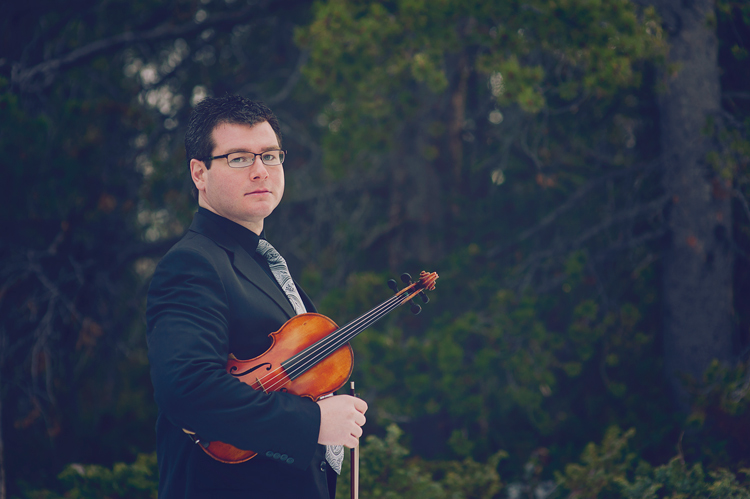
These two images, taken from different camera angles, really show how shooting from a lower angle can make all the difference. Notice you can see more of her face in the image on the right, taken from a lower camera position.
Exposure info on above images: 200mm lens, ISO 200, f/5.6, 1/320th of a second.
6 – Practice
As with all genres of photography, practice makes perfect. Try different angles or shooting from different positions around the field to see what works best. I guarantee you’ll see improvement as you keep shooting.
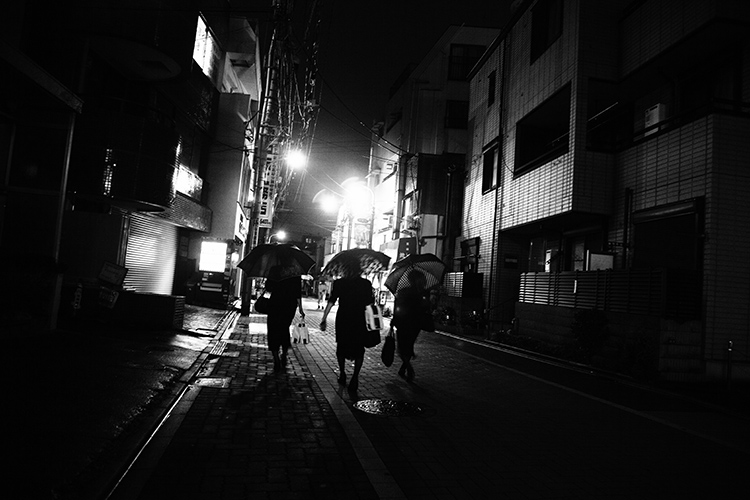
7 – Beware the Light Cycle
If your sport is being played in a large indoor venue (or outdoors at night), more than likely it will be lit by cyclic lights (mercury vapor, sodium vapor, fluorescent, etc). These cheap and efficient lights are a sports photographer’s worst nightmare. Unlike natural sources, these lights emit certain frequencies, and completely miss others, resulting in a unique color temperature that is difficult, if not impossible, to properly white balance in camera.
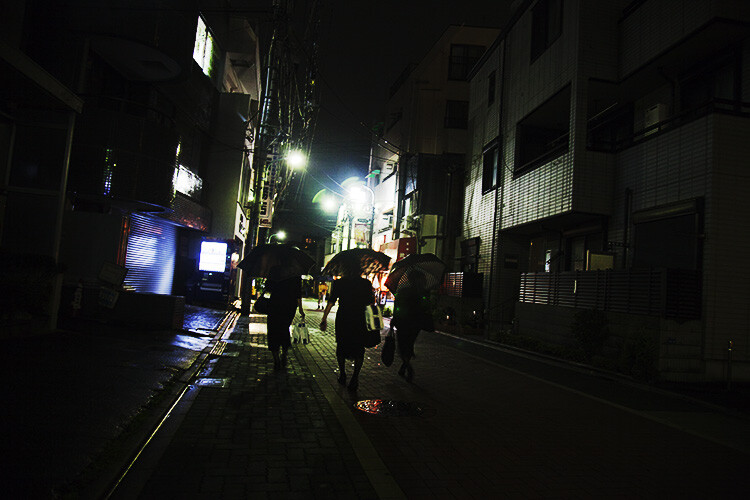
In addition – and completely undetectable to the naked eye – these lights have distinctive cyclic patterns, varying in both light intensity, and color temperature, multiple times per second. Shooting under them can be very much a hit-and-miss affair. Sometimes you’ll catch the light in a blue phase of the cycle; a millisecond later you’ll get magenta. You might get slightly darker, or brighter. Sometimes neighboring lights will be on different cycles, so part of your photograph will be dark and part will be light, each with a different color temperature. (Don’t believe me? Try this test: under a fluorescent light, set your camera to manual with a fast shutter speed like 1/250th, take a series of identical images in rapid succession, then compare the frames. The faster the shutter speed you pick, the more the effect will be visible.)
This image was shot under sodium vapor lights and shows the intense yellow frequencies emitted by this type of light, even with the camera color balanced for the white uniforms. Exposure info: 150mm, f/3.2, 1/320, ISO 5000.
Commercial architecture photographers combat this problem by lowering the shutter speed to allow more than one full cycle of light to be read by the sensor. However as we’ve already discussed, slow speed doesn’t usually work for action sports photography. Worse, many sports in these type of venues (equestrian, figure skating, gymnastics) don’t allow flash for player safety reasons, so you’re stuck using available light.
There is nothing you can really do about cyclic lights, other than to simply take more photos, and pray that you hit the cycle right. For odd colors, you could play with the individual channels in Photoshop, or convert the entire thing to black and white (this will be the only time you’ll ever hear me say “fix it in post-production”). Regardless, it is something that you should be aware of so you don’t make yourself crazy trying to figure out why you got the results you did.
8 – Have Fun
Exposure info on above images: 200mm lens, ISO 200, f/5.6, 1/320th of a second.
Youth sports are all about participating and having fun. Photographing them is no different. If your cherub is playing in the sand or picking her nose instead of chasing the ball, capture it! These are the memories you’ll treasure one day (or so they tell me). And remember that it’s okay to put the camera down sometimes and just enjoy the game too.
googletag.cmd.push(function() {
tablet_slots.push( googletag.defineSlot( “/1005424/_dPSv4_tab-all-article-bottom_(300×250)”, [300, 250], “pb-ad-78623” ).addService( googletag.pubads() ) ); } );
googletag.cmd.push(function() {
mobile_slots.push( googletag.defineSlot( “/1005424/_dPSv4_mob-all-article-bottom_(300×250)”, [300, 250], “pb-ad-78158” ).addService( googletag.pubads() ) ); } );
The post Tips and Tricks to Help You Take Better Youth Sports Photos by Rebecca Olsen appeared first on Digital Photography School.

Digital Photography School


 For most of us, the joy of photography goes beyond taking a great image, to being able to share our pictures and experiences with our friends and family. To do storytelling with images.
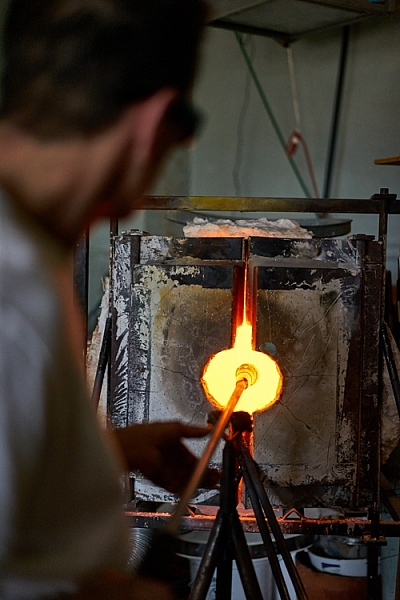


You must be logged in to post a comment.