You are a photographer. You love getting out there and doing your best to create great images. Photographers also love something else. Camera equipment. Sometimes you may find that you spend more time searching for a new lens, filter or accessory than actually photographing with it. When you meet other photographers you will hear them talking about the latest piece of equipment that has just launched.
Why is this? Why are some photographers obsessed with equipment. My personal opinion is that we fall into the marketing trap. Sometimes we really do think that a new lens, or new camera body, will improve our images simply because it is a better piece of equipment. That might be true, but it’s only half true. A new lens might make your images a little sharper or have better bokeh, but the best way to get better images is to improve your ability as a photographer. Here are some thoughts that may help you create better images.

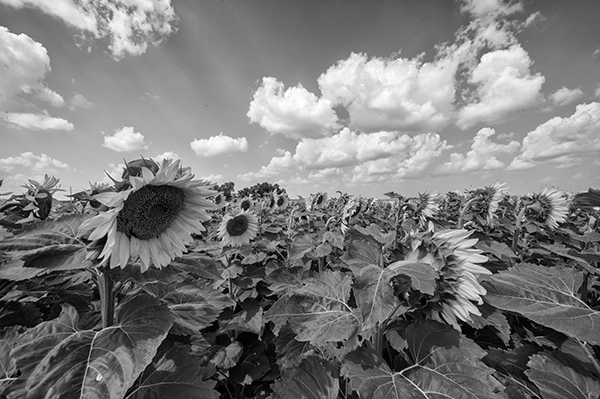
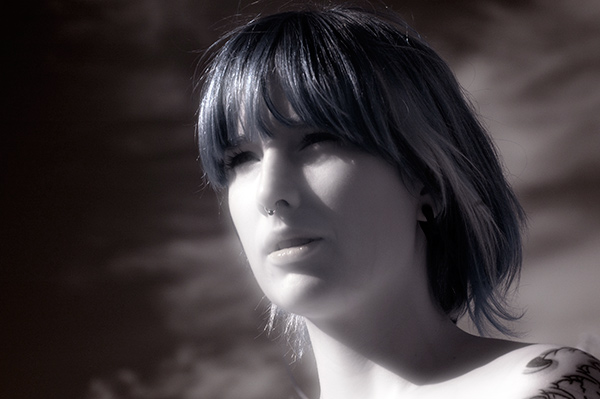
The key ingredient in any image is light
1. Become a light snob
Light is the key to every image you make. If you want a good image, shoot in good light, if you want a dramatic image, shoot in dramatic light. There really is no such thing as bad light, there is simply better light for creating images.
Light is the all important component of great photography. You may feel that shooting in the middle of the day is best because it is bright, and all the light you need is in that shot. Yes, there may be lots of light, but there is also a lot of contrast (bright highlights and dark shadows). The resulting shot may be unappealing because the light is flat or uninteresting.
How do you overcome this tendency to photograph at any time? Become a light snob. What does that mean? I mean in a good way, try this next time you go out with your camera. Make a point of shooting in the golden hours. Think about the light you are shooting in, go out in the early morning or early evening. Choose your subject carefully, compose your scene purposefully and shoot it with intention. Don’t shoot the same scene twice, work with the light, make sure you think about the exposure, try your best to get the shot and walk away from the scene. Make sure you expose for the light the results will speak for themselves.
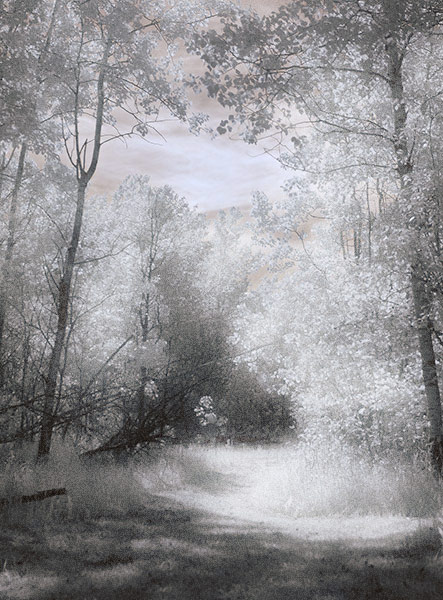
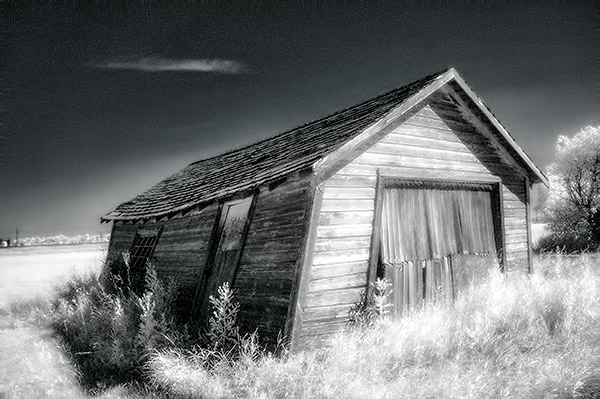
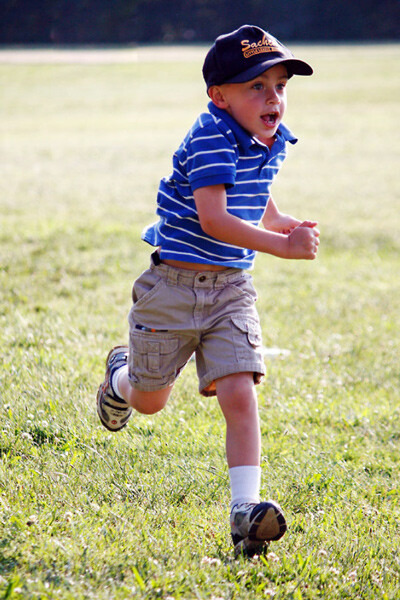
2. Become more flexible – in more ways than one

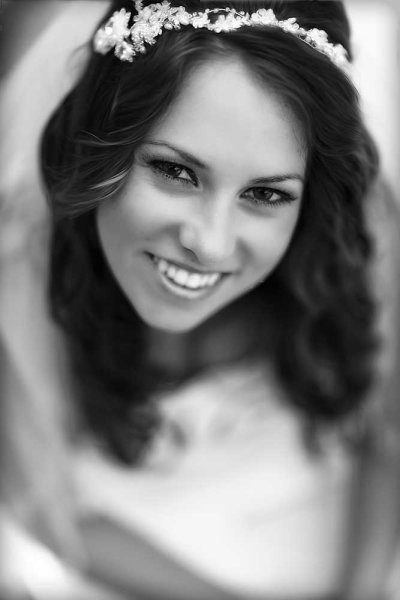
How often do you photograph from your standing height and mostly in landscape orientation? I know I do, it is natural to do that, we shoot they way we feel comfortable. Change this up a little. Look for unusual angles and vantage points. We have all seen the photographs of children looking up at the camera. Change that, kneel down or even lie down in front of a child you are photographing. Turn your camera to portrait orientation, that changes the scene immediately. If you are photographing a street scene, maybe get to a higher vantage point on a balcony. If you are in a city, shoot straight up! The key thing here is, change your viewing angle and you will change the view of your image. You will give your viewers a unique perspective on a familiar topic and that can make for some very dramatic images.
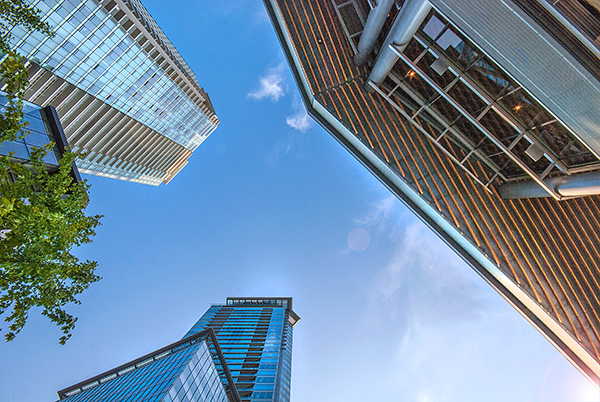
A unique point of view can make for dramatic images
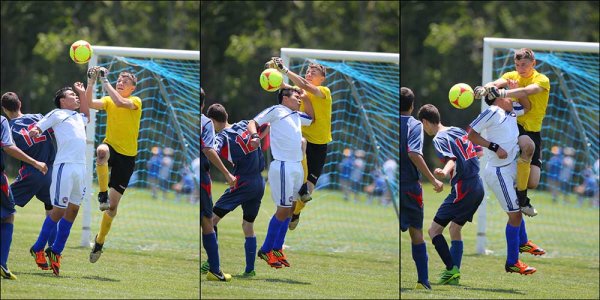
3. Time it right
You have probably heard this about many things, particularly sports: “its all about the timing”. This is true in certain genres of photography too. In street photography, timing can be crucial to making or breaking the image. The famed street photographer Henri Cartier-Bresson spoke about “The Decisive Moment”. What he was saying was this, if you take the shot a moment too soon, the scene has not yet unfolded, if you are a moment too late, the scene has passed, you have to release the shutter at the precise moment.
This is not easy to get right. It requires lots of practice and the ability to sense or anticipate what will happen next. With practice you will get better and better, and in time, you will find that you will “time” the shot better. When is the right moment? It is different for every photographer and every photograph. It might be the moment before a smile, or the moment the first tear appears, the moment of surprise or elation. Each moment is different and each photographer will shoot it differently. You will know when you get that moment captured because the image will be memorable. The moment will come, but you have to be ready and you may have to be patient.

Photographing fireworks is often about timing.
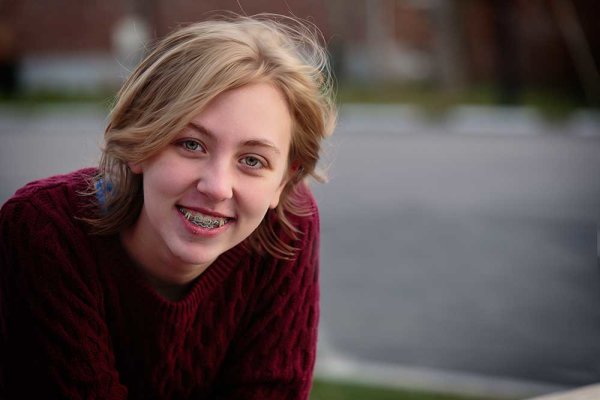
4. Get your exposure right
We all know this one, it’s an old one, but exposure is all important. How do you affect exposure? You take control of your aperture and your shutter speed. This alone is a topic for another article, but what is important is that you, as the photographer, need to take control of your image exposure and not let the camera do that. If you still shoot on Auto and hope for the best, now might be a good time to start venturing into the world of shooting on manual or even aperture priority. Learning how the aperture and shutter speed affect your images will help you make stronger images in just about any light. This is what makes the difference between a good image and a spectacular image, the exposure.

Mastering exposure will make a big difference in your images
5. Use what you have
You have a great camera, seriously, you do! If your camera is less than five years old, it is perfect for taking astounding images. A new camera body will take pictures with more megapixels or better noise reduction, but I am pretty sure, in fact I am CERTAIN, that you can get some amazing images on your current camera. One key element in getting great images is choosing the right lens for the scene. The lens is the eye to the camera. If you are going to invest in any equipment, save up and buy good lenses. Buy some prime lenses and see the results.
First though, use the current lenses you have, make sure you know how each lens affects a scene. A wide angle lens has the effect of making everything in the scene seem far away and spread out, a telephoto lens (say a 200mm) has the effect of compressing everything in the scene (bringing the elements closer together). If you were to photograph a mountain scene with a wide angle lens and switch to a long (or telephoto) lens and shoot the same scene, the elements in that scene would look really different. The perspective and viewing angle changes on each lens, so make sure that you use your lenses and understand the effect that they have on your scene.

Putting it all together
By using these techniques with light, composition, timing, exposure and current equipment, your images will improve. You need to practice, constantly. Keep pushing the boundaries, do the weekly challenges that dPS puts out, try different techniques. Only buy new equipment if your current setup is limiting your photography. The best way to create better images is by practicing and spending hours and hours behind the camera.
I heard a story that a professional golfer who was one of the top three golfers in the world used a very unique way of practicing. Before playing a golf course in an upcoming tournament, he would book the whole course for a week. He would then take 300 golf balls and set up on the first tee. He would tee off from there, hitting each ball from that tee. He would then play each ball from where it landed. He did this on every hole of the golf course. By the end of the week he knew every inch of that course and he knew exactly which clubs he could use from where on the course. Try this in photography. Shoot 100 shots on aperture priority or shoot 100 shots with your 50mm only. Don’t change lenses until you have 100 shots with that lens. Then move to your next lens and do the same. Try each lens with different subject, use a 500mm and shoot some sports, landscapes and macro photos. Mix it up, but learn how that lens works and learn how your camera works and pretty soon, you will be making great images with all your equipment and that shiny new camera will not seem so tempting!

Look for the light, work with the scene and practice, practice, practice.
I will end off with a quote from the actor Will Smith, which sums it up in a good way: “The separation of talent and skill is one of the greatest misunderstood concepts for people who are trying to excel, who have dreams, who want to do things. Talent you have naturally. Skill is only developed by hours and hours and hours of beating on your craft.” – True enough!
Have you put in the hours? Do you have any other additional tips? Please share in the comments section below.
The post 5 Ways to Create Better Images Without Buying More Gear by Barry J Brady appeared first on Digital Photography School.


 Last week we announced a brand new dPS eBook – Loving Landscapes: a Guide to Landscape Photography Workflow and Post-Processing with the early bird discount of 33% off what will be its normal price.
You must be logged in to post a comment.