Tag: film

  • How Thinking Film and Shooting Digital Can Improve Your Photography

    Film is not dead. But since the advent of digital photography, about 20 years ago, film has certainly taken a back seat. Since just over a decade ago, when digital cameras were widely available to the masses, film has almost been completely replaced. However, there’s a lot to be learned from the disciplines of analog days, before the ability to take photos so instantly, and at a phenomenal rate and remarkable quality, was made accessible to everyone with a digital camera.
    think film shoot digital creative project_0000

    Back in film days, we only had a limited amount of frames we could shoot on one roll. Often the camera sat for days and weeks until we had shot all the frames on the roll of film. We then carefully rewound the film and packaged it off to the film developers, then we wait…hours, days, weeks before we even saw the images we shot. Shooting film was no doubt a methodical exercise in process and patience.
    think film shoot digital creative project

    But, film has made a comeback in recent years. Many professional digital photographers have added film to their arsenal, others have made the complete switch back to film, and there are those who never made the switch to digital in the first place. Exciting days for analog in this predominantly digital age!

    One way to learn from the disciplines of shooting film is to think in film mode.
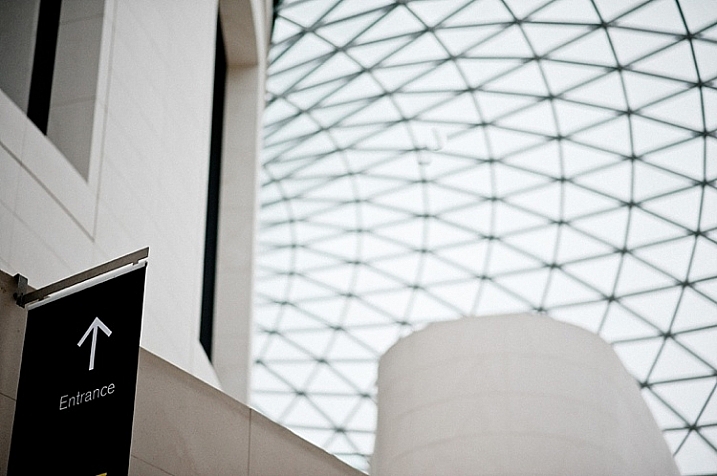
    think film shoot digital creative project

    Go out with your camera with the following restraints:

    1. Set yourself an imaginary film roll number. Limit the number of frames you can shoot to 12, 24, or 36.
    2. Keep your ISO to a set number like 100, 200, 400, or 800 – which are the common film speeds from those days.
    3. Use only one lens. I’m sure not many of us, unless we were professionals then, walked around with an array of lenses in hand. Often we just used one lens, carried no back up film, or batteries, or external flash!
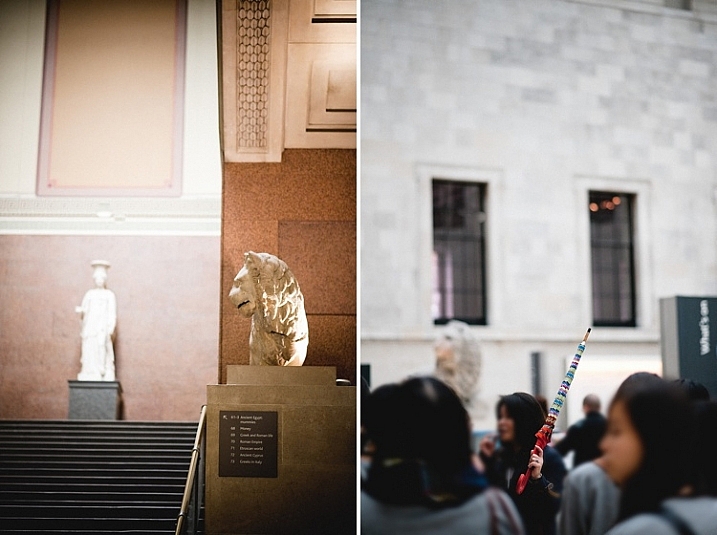
    think film shoot digital creative project

    Now shoot like you have a film camera in your hand and adopt these mindsets:

    1.Don’t spray and pray!

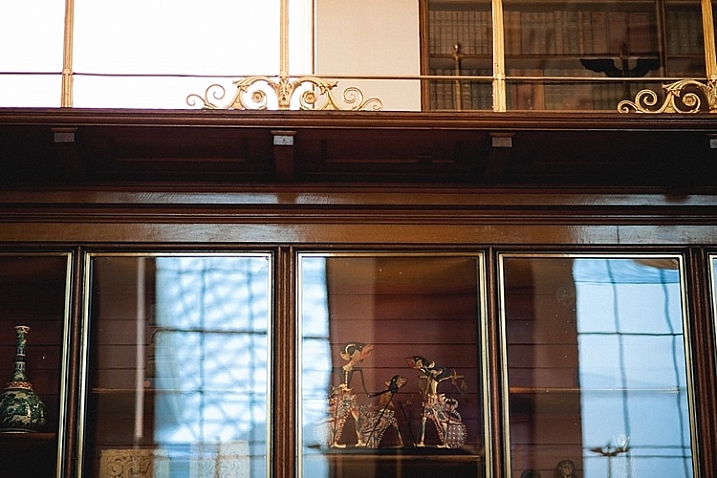
    When you take a photo, bear in mind how many frames you have left, and think carefully before you press the shutter. You cannot spray and pray with film, therefore have to exercise restraint. Look at things carefully, with an intentional eye, and imagine what the scene might look like before you take the shot. This helps you compose the frame more meticulously, and look at the light and dark contrast of the scene with more discernment.
    think film shoot digital creative project

    2. Think of a story or theme, or limit yourself to one place.

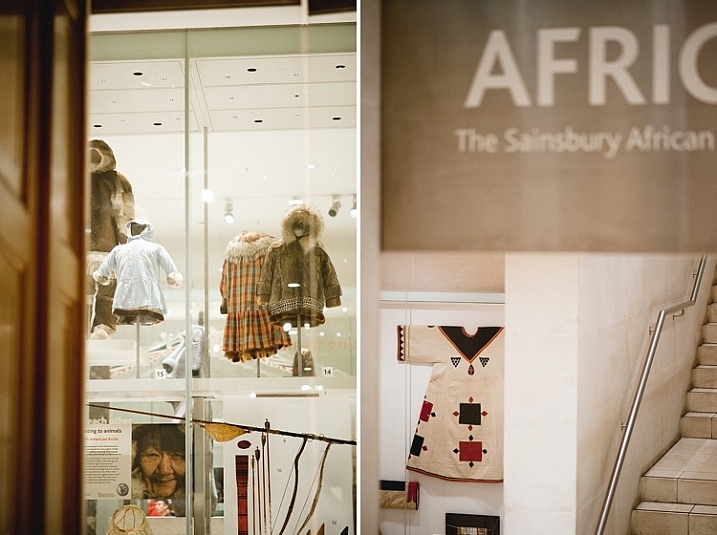
    Boundaries are always helpful, they stretch you to think outside the box, more than when you have all the freedom in the world to photograph anything you please. It also helps make a cohesive story at the end, should you wish to collate your photos together on a blog or in an album.
    think film shoot digital creative project

    3. Don’t fear deep darkness or the raging midday sun.

    Film is so good at retaining details in highlight and shadow areas of a photograph, that the dynamic range of the image is miles better compared to the digital camera image. Film also has a very forgiving nature when it comes to underexposure and overexposure over a wide range of stops. So with your film brain on, don’t fear extreme brightness or deep darkness. However bear in mind the settings to use that could help you in such circumstances.

    When your subject is in bright daylight, and you don’t have a light meter handy, adopt the sunny f/16 rule. This means you use the following settings: aperture f/16 and your shutter speed set to the reciprocal of your ISO, or film speed. For example, if you have set your ISO to 100, this means your aperture will be f/16 and your shutter speed to the closest of 100 which is 1/125 (or any equivalent exposure value such as f/11 at 1/250, or f/8 at 1/500).

    think film shoot digital creative project

    4. Go where the light is

    Whether it be natural light or any other available light, whether under the brightness of the sun or just candelight in a room, find the light. Film is extremely sensitive to light and if you adjust your shutter speeds in low light accordingly, you will be surprised at how well film can capture ambient light. Remember when shooting in low light, steady yourself or your camera, lower your shutter speed and adjust your aperture (open it wide). Your ISO cannot be changed; with film you only have two sides of the exposure triangle to play with.
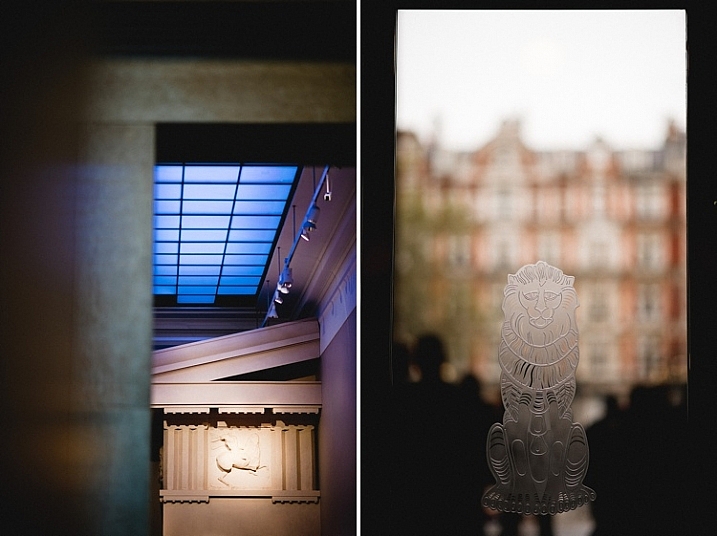
    think film shoot digital creative project

    5. Edit for a film look

    Nowadays there is a plethora of Lightroom presets, and Photoshop actions, that replicate the film look. If you are a dab hand at Photoshop, you can probably do it yourself from scratch. The main elements you are after to replicate the general film look are: pastel tones, creamy highlights, soft shadows, low and controlled contrast, reduced saturation, matte look (reduced black output), creamy skin tones, and some grain. Of course the actual overall look depends of the type of film used, but this list would encompass the general look and feel that film gives to an image.
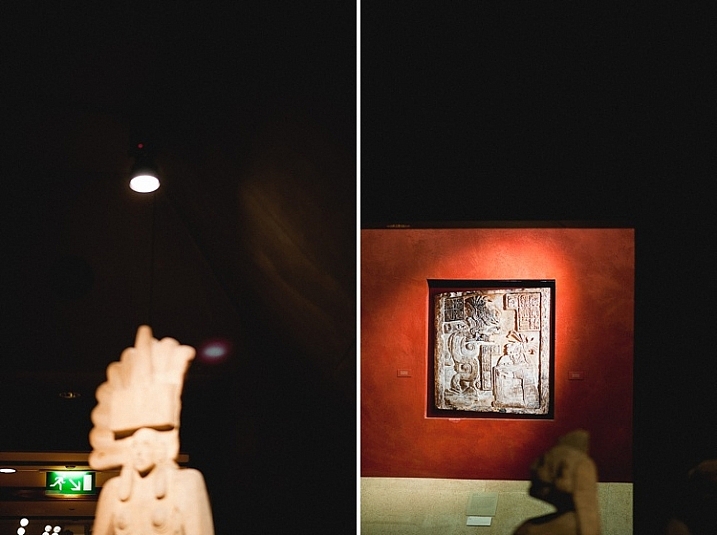
    think film shoot digital creative project

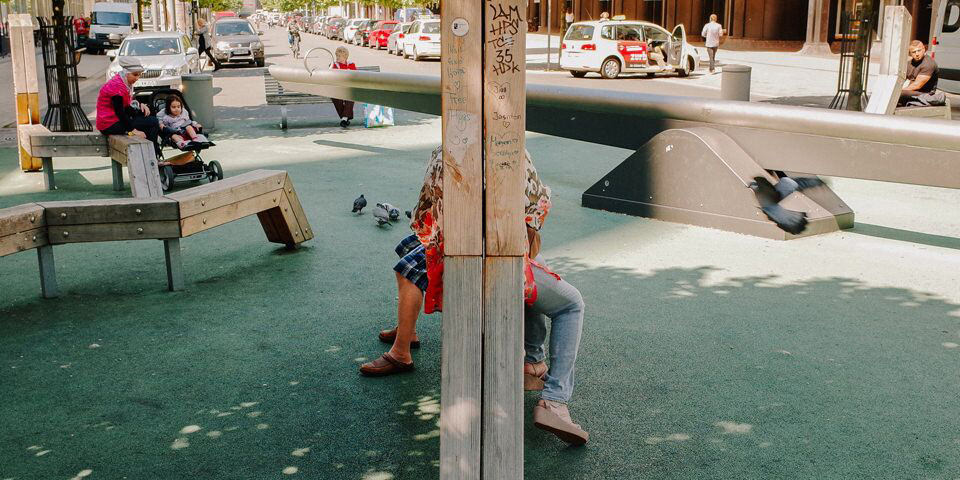
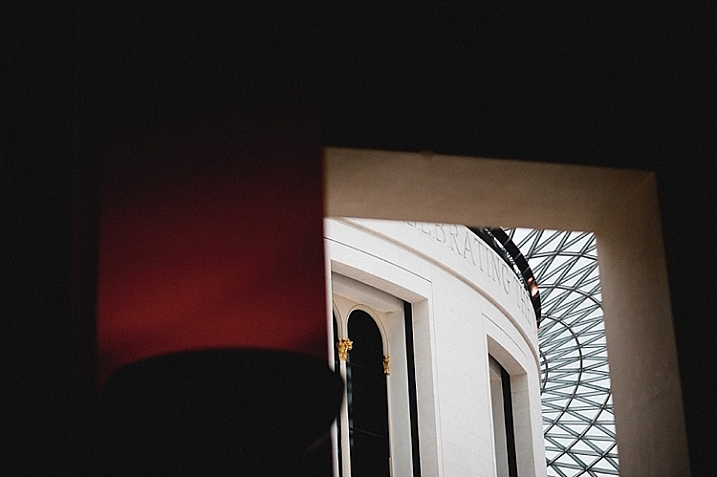
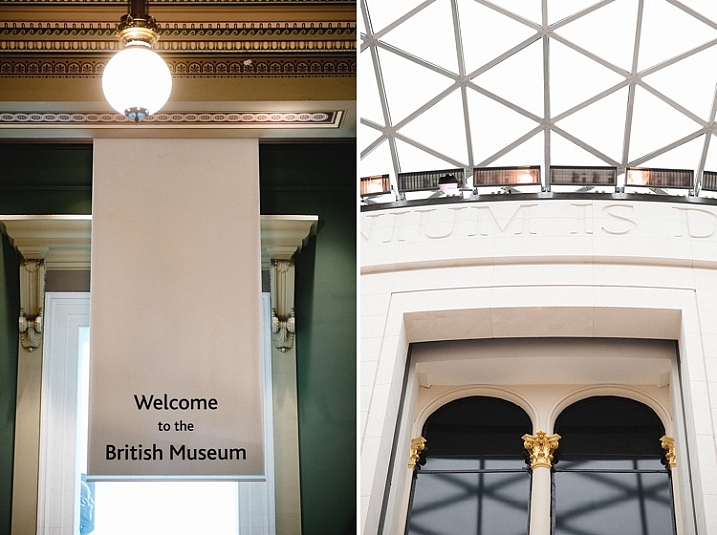
    The photos I have used in this article were taken with a D700 and a 35mm f/1.4G, captured one day in London when I went out thinking film and shooting digital. I shot 22 frames out of 24 in three hours, nailed 19, botched two and fixed one in Photoshop.
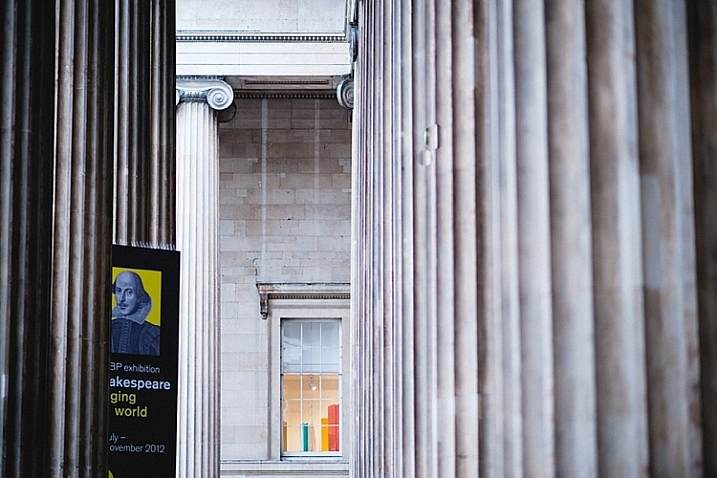
    think film shoot digital creative project

    I hope you try this exercise and have fun with it. Share below in the comments how many frames you managed to shoot under great restraint, and then celebrate!
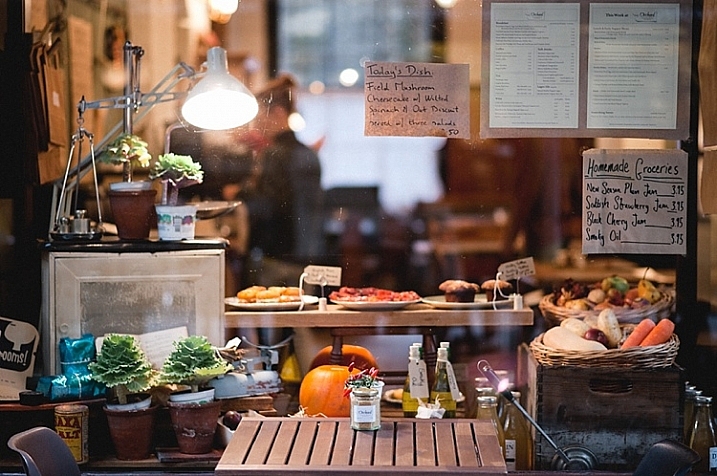
    think film shoot digital creative project

    amzn_assoc_placement = “adunit0”;
    amzn_assoc_enable_interest_ads = “true”;
    amzn_assoc_tracking_id = “dpsgeneral-20”;
    amzn_assoc_ad_mode = “auto”;
    amzn_assoc_ad_type = “smart”;
    amzn_assoc_marketplace = “amazon”;
    amzn_assoc_region = “US”;
    amzn_assoc_linkid = “6710d26f550e9793f41475ee806fee9e”;
    amzn_assoc_emphasize_categories = “13900861”;
    amzn_assoc_fallback_mode = {“type”:”search”,”value”:”digital cameras”};
    amzn_assoc_default_category = “Photo”;

    googletag.cmd.push(function() {
    tablet_slots.push( googletag.defineSlot( “/1005424/_dPSv4_tab-all-article-bottom_(300×250)”, [300, 250], “pb-ad-78623” ).addService( googletag.pubads() ) ); } );

    googletag.cmd.push(function() {
    mobile_slots.push( googletag.defineSlot( “/1005424/_dPSv4_mob-all-article-bottom_(300×250)”, [300, 250], “pb-ad-78158” ).addService( googletag.pubads() ) ); } );

    The post How Thinking Film and Shooting Digital Can Improve Your Photography by Lily Sawyer appeared first on Digital Photography School.


    Digital Photography School

  • Shanghai Tower Timelapse Film Captures 4 Years of Construction

    [ By Steph in Art & Photography & Video. ]

    Screen Shot 2016-03-23 at 5.52.16 PM

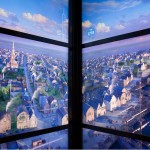
    The second-tallest building in the world seems to appear out of nowhere, shooting into the sky as if of its own accord, in this stunning time-lapse video of the skyline in Lujiazui, China taken over a four-year period by filmmaker Joe Nafis. The 2,073-foot Shanghai Tower is surpassed only by the Burj Khalifa in Dubai and features a double-decker elevator offering the longest single elevator journey in the world at an amazing 1900 feet in under a minute. Its construction has made the skyline even more iconic, dwarfing all of the other buildings in the city.

    Screen Shot 2016-03-23 at 5.51.59 PM

    Screen Shot 2016-03-23 at 5.51.29 PM

    Every single shot taken by Nafis is a work of art – razor sharp, beautifully composed, dynamic – and seeing them all put together in the final video is breathtaking. The filmmaker spent 1,000 work hours taking and editing 350,000 photos to capture the process as each of the 128 floors is built.

    Screen Shot 2016-03-23 at 5.48.32 PM

    Screen Shot 2016-03-23 at 5.48.48 PM

    Screen Shot 2016-03-23 at 5.49.06 PM

    “Construction had already begun when I arrived in the city in 2009,” says Nafis. “The site was a large hole in the ground with construction crews milling around pouring concrete for the base. I began exploring the city looking for views and locations that would serve as groundwork for this video. In 2011, I secured a location with unobstructed views of Lujiazui where I could just glimpse the tower peeking behind the 185m (607 feet) Aurora Plaza.”

    Screen Shot 2016-03-23 at 5.49.33 PM

    Screen Shot 2016-03-23 at 5.49.48 PM

    Screen Shot 2016-03-23 at 5.50.32 PM

    “I maintained a camera there for the next 4 years until the tower was completed. In the meantime I took hundreds of thousands of photos from various viewpoints around the city filling up around 8TB in the process. In all, over 1000 hours were dedicated to this project in exploring, shooting and post-processing.”

    Share on Facebook


    [ By Steph in Art & Photography & Video. ]

    [ WebUrbanist | Archives | Galleries | Privacy | TOS ]


    WebUrbanist

  • End of an era: Fujifilm to discontinue FP-100C instant film

    Fujifilm Japan has announced that it is to stop production of its FP-100C instant film that enthusiasts use in old Polaroid-type cameras. The film has only been available in the 3.25×4.25in size recently, since the 5x4in version was discontinued, but it has been keeping vintage cameras clicking since Polaroid stopped production itself.

    The company says that it will halt production in spring this year, but that stocks will continue to be available for some time after that. Falling demand and sales are cited as the reasons for the ending of the product line, which also spells the end of the working life of Type 100 cameras. The company used to produce a black and white version too, but that was stopped in 2014.

    The Fujifilm FP-100 films are particularly popular with enthusiasts and professionals because they produce very good quality images, but also because a negative can be recovered, cleared and used for making prints. The film comes in a peel-apart format, and the section most people discard contains a negative that is difficult to see because it has a black coating on the outside – to prevent light getting into the pack. This can be removed with domestic bleach, and when thoroughly washed and dried a very serviceable negative can be had.

    There is a Japanese notice on the Fujifilm Global website, and the film’s data sheet is available in PDF format.

    Articles: Digital Photography Review (dpreview.com)

  • Oil-Painted Van Gogh Film Features 12 Paintings Per Second

    [ By WebUrbanist in Art & Drawing & Digital. ]

    loving1

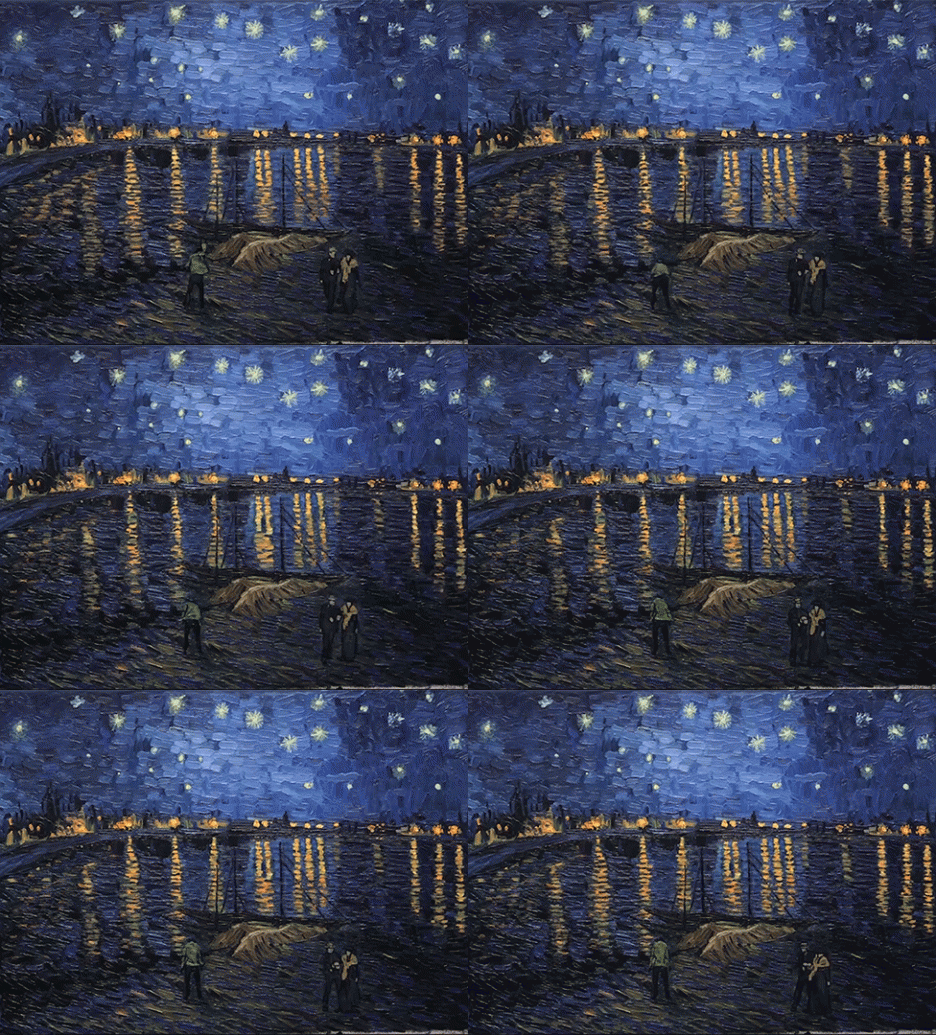
    It took over 100 artists to paint this full-length movie, the first of its kind: a work where every frame was hand-painted, then combined into an epic animation about, in the style and using the techniques of Van Gogh (oil and canvas).

    This first trailer of Loving Vincent shows the brushstroke style anyone familiar with the artist’s world will immediately recognize. The movie is about Vincent’s life, death and works, an honest look at what was anything but a carefree existence. His own work also shows up throughout, 120 of his masterpieces in total, smoothly transitioned into the frames as the narrative unfolds around them.

    loving2

    loving3

    A great deal of care went not only into the planning process, but also the execution so that each frame is both original and unique but transfers seamlessly to the next, despite the number of painters involved.

    filmmaking loving vincent

    Produced by Oscar-winning studios BreakThru Films and Trademark Films, production is still in progress in Gdansk, Poland, but this sneak peaks suggest it will be well worth the prices of admission (h/t Colossal).

    loving vincent painters

    loving vincent frame

    More from the filmmakers: “Loving Vincent is an investigation delving into the life and controversial death of Vincent Van Gogh, one of the world’s most beloved painters, told by his paintings and by the characters that inhabit them. The intrigue unfolds through interviews with the characters closest to Vincent and through dramatic reconstructions of the events leading up to his death. Every frame in the Loving Vincent movie is an oil painting on canvas, using the very same technique in which Vincent himself painted.”

    Share on Facebook


    [ By WebUrbanist in Art & Drawing & Digital. ]

    [ WebUrbanist | Archives | Galleries | Privacy | TOS ]


    WebUrbanist

  • Cinematography of Snow: Watch a Film Projected Onto a Blizzard

    [ By WebUrbanist in Art & Photography & Video. ]

    projected landscape snowfall

    An idle thought while waiting out a snowstorm led to an accidental artistic discovery: projecting a movie on falling snow can result in an visually rich result bordering on magical, in turn captured on film.

    projection dancing lights movie

    Photographer Brian Maffit had no idea what to expect when he turned his projector to face outside his window during a snowstorm, but when he realized the potential, he began documenting the results with both still and video cameras.

    projection base colors

    projected snowfall capture film

    By zooming in and out, shifting the perspective of the projector and the camera, and taking shots at various degrees of snowy downfall and capturing moments throughout the movie, the images end up spanning a surprising visual range of colors and contrasts.

    projection angled snowfall

    projection in a snowstorm

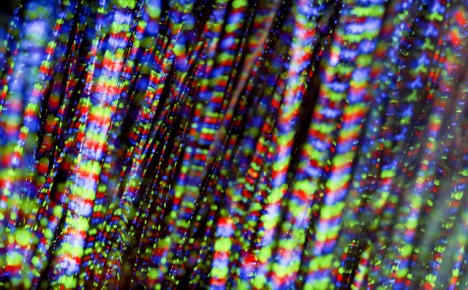
    “The ‘RGB dots’ were the biggest surprise, I guess when the projector is showing a white screen, it is really rapidly cycling between fully-saturated red, green, and blue screens… thus the dots in a few of the shots.”

    projection primary colors

    film on snowscape

    Aside from the embedded video and stills found here, you can also visit his Flickr page for high-resolution images taken throughout the experience. And the film in question? The Lorax. Perhaps best watched on snow anyway.

    Share on Facebook


    [ By WebUrbanist in Art & Photography & Video. ]

    [ WebUrbanist | Archives | Galleries | Privacy | TOS ]


    WebUrbanist

  • InVisage brings long-promised Quantum Film smartphone sensor to market

    Startup InVisage has announced a smartphone sensor with global shutter for distortion-free video and greater dynamic range than its CMOS rivals. The Quantum13 is a 13MP sensor based on the company’s Quantum Film technology that moves away from silicon as the light-sensitive medium. The sensor, now available in small quantities for testing by smartphone makers, can also be built into a smaller package for slimmer smartphones. We spoke to CEO Jess Lee about the sensor and what it brings to the market.

    Articles: Digital Photography Review (dpreview.com)

  • How to Create a Hollywood Film Noir Portrait

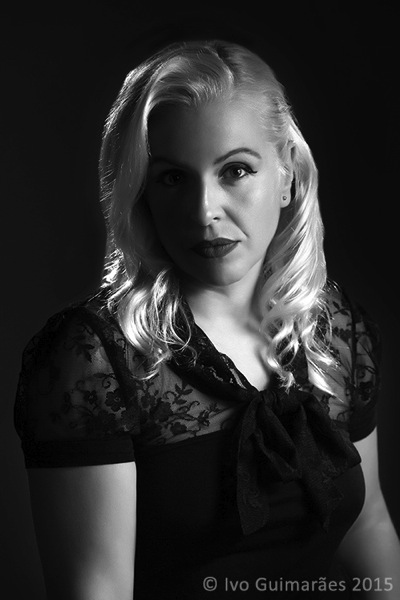
    I have always had a soft spot for 1940s and 50s Film Noir, where there is always a gorgeous Femme Fatale, whose charms are most likely going to get you killed. The light in those movies is the key to the ambience of mystery and danger, and I love the way the scenes are composed with smoke, shadows, and the black and white high drama with dim light aesthetic.

    These movies were mostly low-budget productions shot on location in city streets, with an abundance of night scenes, where crime is the main plot. Low-key lighting is the common thread of Film Noir, with harsh light that create deep shadows, resulting in a high contrast black and white.

    As a photographer the actresses’ portraits that were used by the studios for promotion really fascinate me, and I guess it influences a lot of my portraiture work.

    01b

    In this article I am going to follow the steps to create this image that is a recreation of a Hollywood Film Noir portrait, done with modern equipment, and digital post-production techniques.

    Research

    As for every photography work, it is always a good idea to do some research, and look for inspiration. Here I used references from one of my favorite movies of all time, “Touch of Evil”, directed by the great Orson Welles in 1958.

    Camera and lens

    The choice of equipment is an important starting point. In this particular case I used a Canon 5D III body with a Canon EF 85mm f/1.2L II USM lens. This is my favorite lens when it comes to portrait work, it offers the perfect combination of good sharpness and awesome bokeh.

    Lighting equipment

    These images were originally lit, in most cases, with incandescent high-power bulbs, and the quality and direction of the light was mostly controlled with barn doors and Fresnel spotlights.

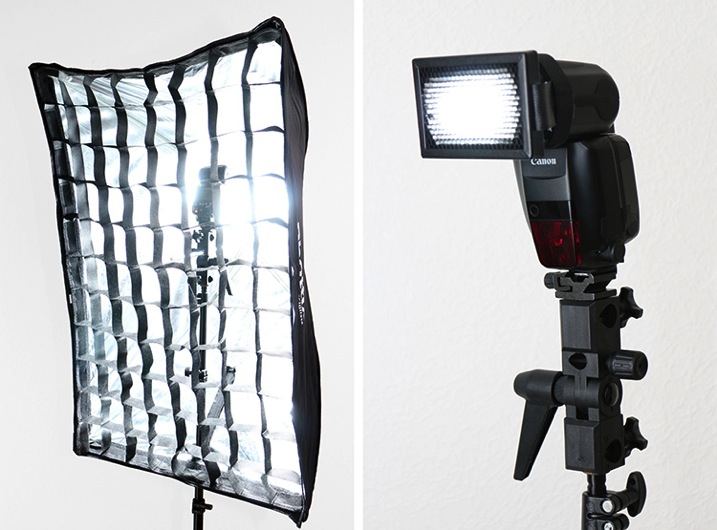
    I decided to use two Canon 600EX-RT Speedlites, controlled by a Canon ST-E3-RT Speedlite transmitter. This created a simple setup with a gridded softbox working as a hard key light on the model’s face, and a 20º grid as a hair light to separate the model from the background.

    02

    Exposure

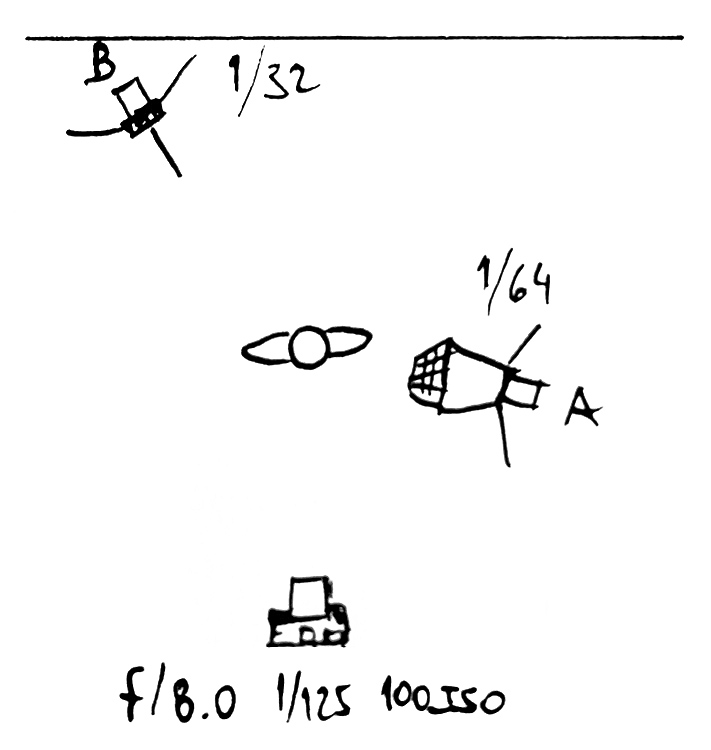
    Usually in studio portrait images, I try to decide the exposure based on the depth of field I want to create on the image. In this particular case, I chose to use f/8.0, as it gave me enough depth of field in the face area, with the 85mm focal length.

    The shutter speed is the second important factor and I chose to use 1/125, as it blocked any possible ambient light, and only register the light from the flash.

    The ISO 100 is enough for the flash power available, and offers me a clean and noiseless image.

    Lighting diagram

    Every time I have an idea for an image I try to put it on paper. Most of the time it is just doodles in my little black book, but it helps me to visualize the setup, and the light ambiance that I want to create. Here is the quick sketch I did for this image, which represents the lighting diagram and technical information for the photo shoot.

    03

    Light metering

    After setting the starting point values for the camera, it’s time to calculate the light position and power, to create the desired effect.

    The background was white so a distance to subject of seven feet was enough to turn it black, which works much better with a blonde model.

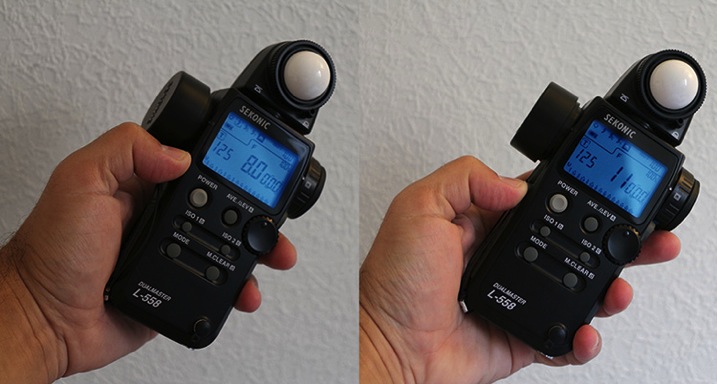
    The idea was to have light on half of the model’s face, and a quick fall-off to the other side, creating a mysterious mood in the image. The gridded softbox was ideal for this effect. The 20º grid created a rim light on the hair and a ratio of 2:1 to the main light, so metering was f/8.0 for the main light and f/11 for the hair light.

    04

    The click time

    Now that everything is set, it’s time to click. Even tough the final image was meant to be black and white, I captured it in color mode as it gives me better choices for conversion in post-production.

    05b

    Post-production

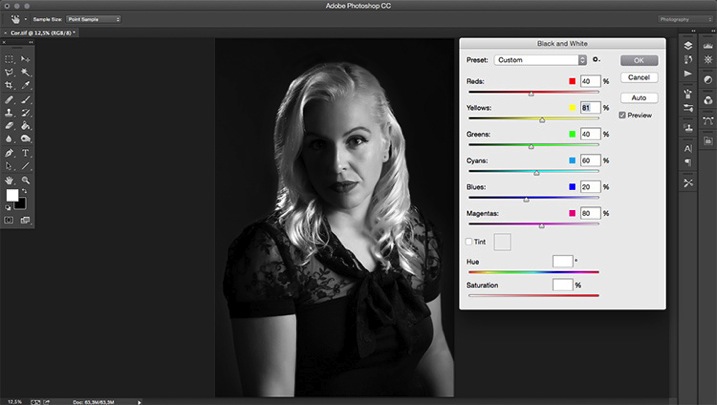
    There are many tools and plugins for black and white image conversion. In this case I used the Photoshop’s black and white tool which is a simple but effective solution.

    Image > Adjustments > Black & White

    06b

    A few adjustments to the red and yellow channel gave me the right contrast on the skin and overall image, creating the dramatic mood.

    So, here is my approach to the Film Noir portrait. It sure was fun. If you give this technique a try, please share your results and images in the comments below.

    googletag.cmd.push(function() {
    tablet_slots.push( googletag.defineSlot( “/1005424/_dPSv4_tab-all-article-bottom_(300×250)”, [300, 250], “pb-ad-78623” ).addService( googletag.pubads() ) ); } );

    googletag.cmd.push(function() {
    mobile_slots.push( googletag.defineSlot( “/1005424/_dPSv4_mob-all-article-bottom_(300×250)”, [300, 250], “pb-ad-78158” ).addService( googletag.pubads() ) ); } );

    The post How to Create a Hollywood Film Noir Portrait by Ivo Guimaraes appeared first on Digital Photography School.


    Digital Photography School

  • Countdown to PIX 2015: SIFF PhotoCinema mini film festival

    In addition to two days of speakers, demos and photo activities, PIX 2015 is also a miniature film festival. We’re excited to partner with the Seattle International Film Festival (SIFF), who are presenting some of their favorite recent photography-centric movies. Read more

    Articles: Digital Photography Review (dpreview.com)

  • PIX 2015: Live stage demos & talks posted, mini film festival added

    Hard to believe, but PIX 2015 is fast approaching! Whether you’re planning on tuning in live October 6th and 7th or joining us in person at Seattle Center, there are more reasons than ever to get excited about PIX – our expo and interactive photo playground. Read more

    Articles: Digital Photography Review (dpreview.com)

  • Auf der Straße zwischen Film und Sensor

    © Max Slobodda

    Ein Beitrag von: Max Slobodda

    Als ich angefragt wurde, ob ich meine Bilder bei kwerfeldein vorstellen möchte, war ich sehr erfreut. Gleichzeitig war ich jedoch auch verunsichert. Sind doch die Fotos, die Ihr hier seht, noch aus der Zeit, in der ich glaubte, dass sich meine mir selbst gesetzten Standarss niemals ändern würden. Die Fotos sind aus meiner analogen Zeit und als Würdigung an meine geliebte Contax T2 zu verstehen.
    kwerfeldein – Fotografie Magazin | Fotocommunity