I like shooting all manner of outdoor scenes. I am a sucker for landscapes and seascapes, which almost always require a wide-angle lens. I really enjoy exploring new cities with my camera, which also requires a wide-angle lens but can also be helped by a little zoom to capture details. And, of course, I like taking pictures of my family while we are out, which requires portrait focal lengths. My favorite lens, the Canon 24-105mm f/4 does all these things, and does them remarkably well.

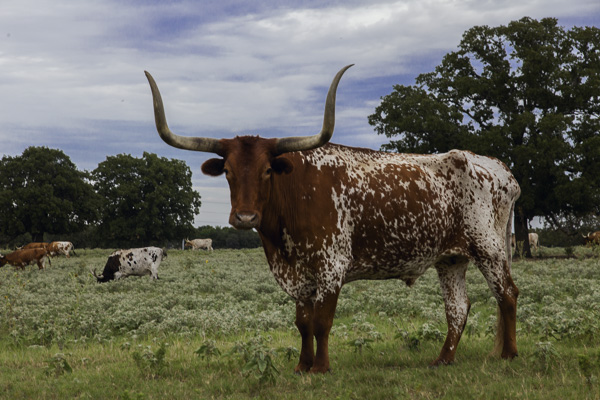
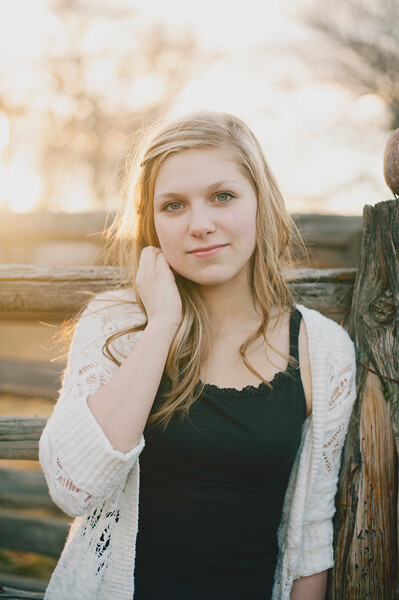
A wide angle allows you to get right behind your subject and also get the background. Shot at 24 mm (1/100, f/8, ISO 200)
So when the dPS writers began writing about their favorite lenses, I did not need to think more than a second to determine which lens was my favorite. I carry other lenses, like an extreme wide angle, and a longer telephoto zoom, but I find I rarely need to break them out. In fact, perusing my Lightroom library shows me that I actually used the 24-105mm to capture over 60% of all the pictures I have ever taken.
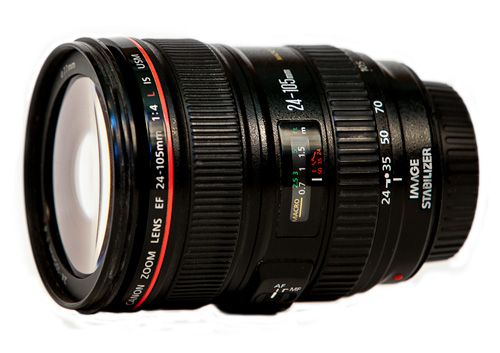
Image courtesy of Canon
Here is a quick look at the technical specs for this lens:
- Local lengths: 24-105 mm (38mm – 168mm on APS-C cameras)
- Aperture: f/4 (max.) – f/22 (min.)
- Dimensions: 8.4 cm x 10.7 cm (3.3″ x 4.2″)
- Weight: 670g (1.47 lb.)
- Minimum focusing distance: 45 cm
A Great “Walking-Around” Lens
Sure, there is a place for prime lenses. But gone are the days when serious photographers needed to carry around a bunch of prime lenses in order to get high quality. Sometimes you want to just carry your camera and one lens. And sometimes you just don’t want to have to change lenses.
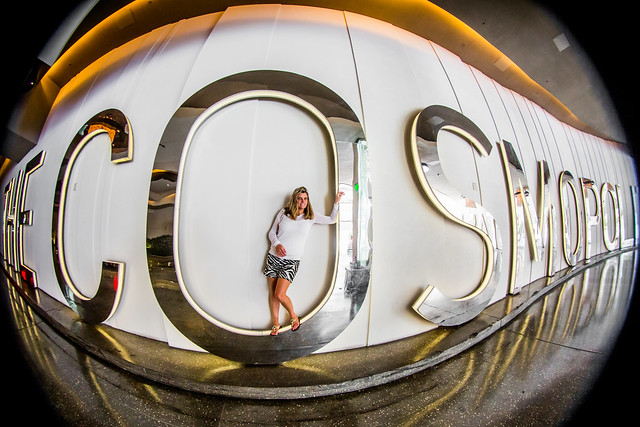
With the 24-105mm, you can carry one lens of high quality and moderate size, and shoot with it all day. It will handle landscapes, urban, street, and people photography really well. As such, it is almost ideal for taking on the family vacation, where you will likely encounter any or all of these scenes. Rather than dig through your bag to find a lens, then change lenses, and then get the shot, you can just walk around with the 24-105mm on your camera and be ready for almost everything.
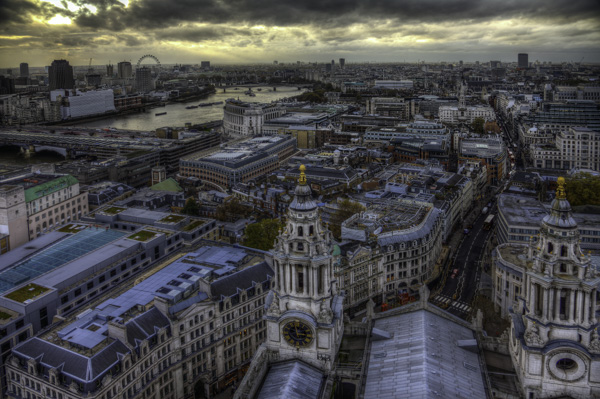
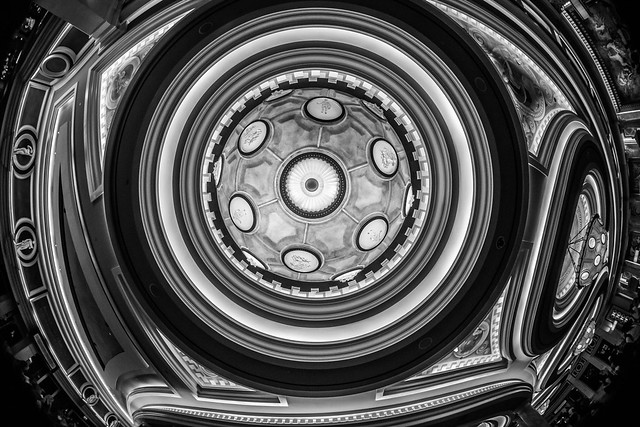
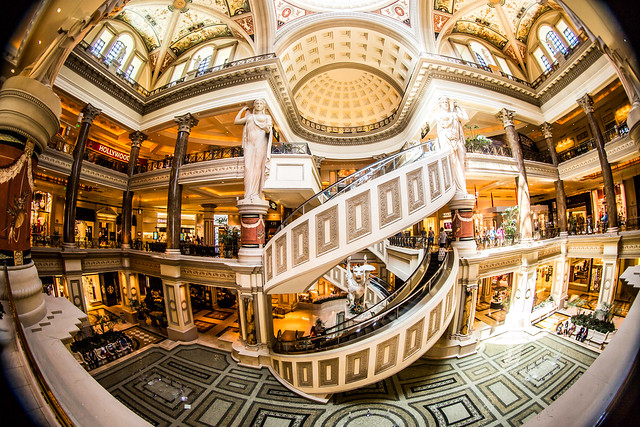
The 24-105mm is great for urban shots where you want to zoom out to get the whole scene. It is also nice to walk around with one lens when you have to climb a bunch of stairs, like at St. Paul’s Cathedral in London. Zoomed all the way out at 24mm (1/80 sec., f/5.6, ISO 200).
This is particularly true for full-frame shooters. At full frame, zooming all the way out to 24mm will take a nice wide angle shot, and that is often as wide as you will need to go. Further, at full frame you need to get up to 105mm to cover the portrait focal lengths and get a little bit of telephoto for details. More on that in a second.
High Quality
But am I really just advocating for good walk-around lenses in general? I don’t think so. The focal lengths for these sort of lenses are nice, but they have to be of high quality, and the 24-105mm is remarkable in that regard. It is an L-series lens. It is fully weather sealed. It is sharp and has great image quality. It is known for fast and accurate focusing. My personal experience with it has borne this out. But beyond that, any test I have ever seen of this lens has given it high marks. I have honestly never seen a bad review of this lens (or even a luke-warm one).
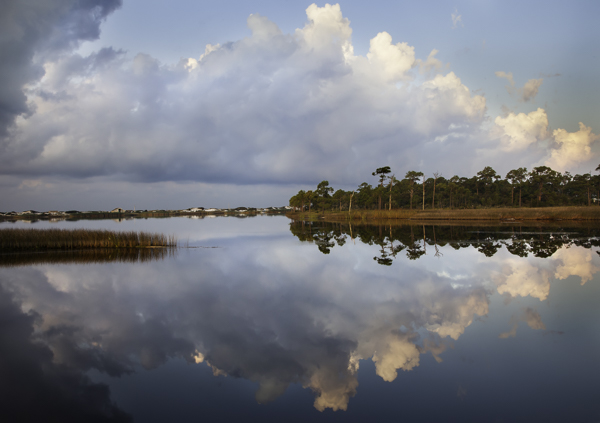
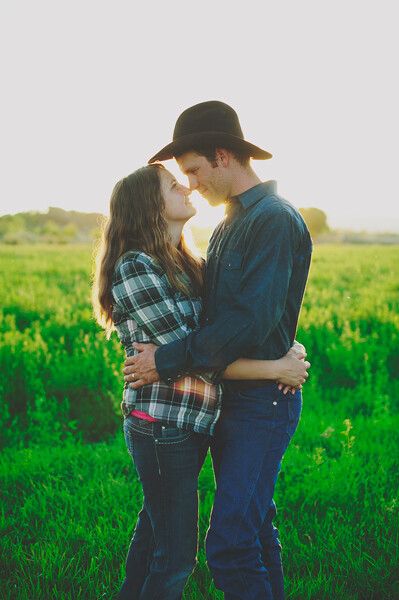
Landscapes and seascapes require a good wide angle. Shot at 28mm (1/30 sec., f/16, ISO 200).
Compared to Other Mid-Range Zooms
But don’t most serious photographers use a 24-70mm for their mid-range zoom lens? Perhaps. I believe they are drawn to the aperture of f/2.8 (versus the f/4 for the 24-105mm). There is no question that the wider aperture of such lenses will get you a greater degree of background blur, and the 24-70 is a really nice lens. But I have a few reasons why the 24-105mm is a better choice for many photographers, particularly those shooting full frame:
1 – Image stabilization
Although the aperture on the 24-70mm opens up one stop more (f/2.8 versus f/4), the 24-105mm has image stabilization, which actually gives you three extra stops in low-light situations. So unless you need to stop the action in low light, you will actually get better low-light performance out of the 24-105mm.
2 – Better for portraits
If you want to shoot portraits, the 24-70mm is not a good choice despite its wider aperture, at least if you are shooting full frame. The best focal length for portraits is in the range of 80-90mm, which is not included in the range of the 24-70 mm at full frame. It will get there with an APS-C camera since the crop factor will result in an effective focal length of up to 105mm, but not at full frame.
3 – Price/cost
The 24-105mm is a relative bargain at $ 1,150, since you will pay almost twice as much for the 24 -70mm f/2.8.
The price of the 24-105mm becomes even better if you buy it along with a camera, as it is the “kit lens” for some high-end Canon cameras.
The Importance of Lens Diameter
One final note on price, and that is to consider the effect of the purchase of filters. I use a lot of filters, as do many outdoor photographers. I carry three different strength neutral density filters, a polarizer, and a graduated neutral density filter kit. Some photographers might add a UV filter to that list as well. So it is worth mentioning that another good thing about the 24-105mm is that its lens diameter of 77 mm is the same as other common Canon lenses (it is the same for the three lenses I use most often).
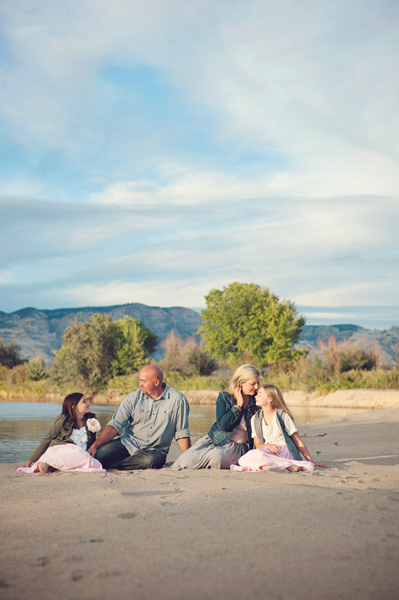
When out hiking, you often want to keep your weight down, so a walking around lens like the 24-105 works great. Shot at 58 mm (1/200 sec., f/11, ISO 250).
Why is that important? Because having the same lens diameter on different lenses means that I can use the same set of filters on all of them. If I had to buy new sets of filters for lenses of different diameters, it would get very expensive, very fast. That is especially true if you are using high-quality filters (and you should be, since it directly affects the optics).
Lenses that share the 77 mm diameter with the 24-105mm include the:
- 100 – 400 mm f/4.5 – 5.6
- 70 – 200 mm f/2.8
- 17 – 55 mm f/2.8
- 17 – 40 mm f/4
- 16 – 35 mm f/4
- 10 – 22 mm f/3.5 – 4.5
Not for Everyone
So I think the 24-105mm f/4 is the perfect combination of great focal lengths, high quality, and reasonable price. It will allow you to take landscapes, urban scenes, street photos, and family pictures. You might never take it off your camera.
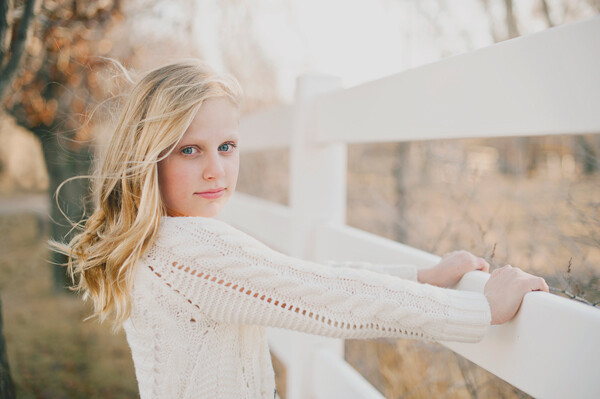
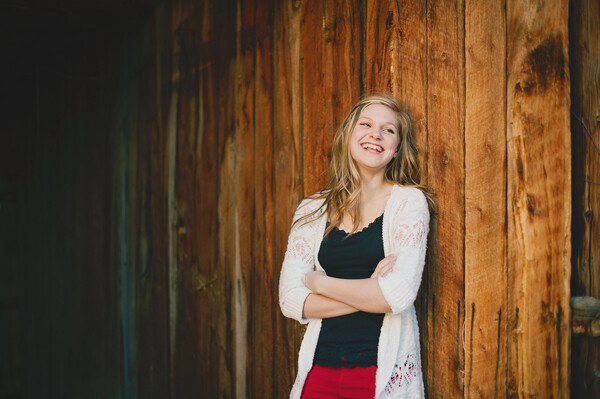
Sometimes you want to zoom in a bit. Shot at 82 mm (1/100 sec., f/8, ISO 400).
But, of course, the 24-105mm is not for everyone. Even among those looking for a good walking-around lens, the $ 1,150 price tag might be too strong. In addition, there are a lot of things this lens won’t do, like macro, for example. It doesn’t have enough reach for sports or wildlife photography. Although the focal length of the 24-105mm does cover the “portrait lengths,” portrait and wedding photographers will doubtlessly want a faster lens. In fact, anyone shooting inside will likely want a faster lens (larger maximum aperture).
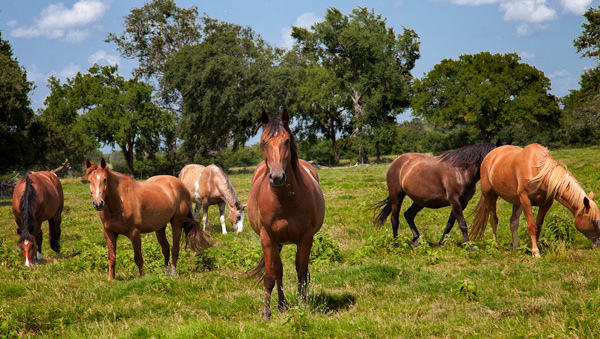
When you are photographing horses, you need to be ready for a variety of focal lengths. Sometimes they will walk up to you looking for a treat, and sometimes they stay away. These stayed away, so I needed all 105 mm. (Shot at 105 mm, 1/160 sec., f/11, ISO 200)
Conclusion
For many, the 24-105mm will be a great choice. Rarely do you see this combination of focal length, quality, and price. I would say that it would make a great addition to your photography bag, except that it is likely that this lens won’t spent much time in your bag (unless your camera is also in your bag). I agree with Bryan Carnahan of The Digital Picture, who writes that “if I had only one lens, this would be the one.”
googletag.cmd.push(function() {
tablet_slots.push( googletag.defineSlot( “/1005424/_dPSv4_tab-all-article-bottom_(300×250)”, [300, 250], “pb-ad-78623” ).addService( googletag.pubads() ) ); } );
googletag.cmd.push(function() {
mobile_slots.push( googletag.defineSlot( “/1005424/_dPSv4_mob-all-article-bottom_(300×250)”, [300, 250], “pb-ad-78158” ).addService( googletag.pubads() ) ); } );
The post Writer’s Favorite Lens – The Canon 24-105mm f/4 by Jim Hamel appeared first on Digital Photography School.

Digital Photography School


You must be logged in to post a comment.