What are stops? Are they the same as f-stops? How are they measured? Are they the same for different exposure controls? Are they still useful now?
These are common questions for those just starting out in photography. They are good questions, and the exposure concepts surrounding them can be confusing. You have probably been told that a stop is a “doubling of light,” which of course is true. That is helpful, but it doesn’t show how stops really works and how they tie your exposure controls together.

What I want to show you in this article is how the concept of a stop acts as a common currency in exposure, and allows you to take complete control of it. Rather than being confusing, stops are really a simplification tool. Without stops, we’d have a hard time controlling our exposure between the three controls; aperture, shutter speed, and ISO.
Introduction
I’m using the term “common currency” to describe stops. To see what I mean, think about the barter system before we had money. If you sold chickens, I sold apples, and someone else sold bricks, how would we all trade? And what if the person selling the bricks didn’t value your chickens as much as I did? It was a mess, which is why the concept of money was developed. Now we all value our goods using money and we exchange money with each transaction. This has proven to be a remarkably useful tool, which is why it has stuck around for a few thousand years.
Similarly, in photography we faced trade-offs when it came to exposure. For example, how could we value a change in the size of the aperture versus lengthening the time of shutter speed? And then how would we value the sensitivity of the digital sensor (or film in the old days) as compared to these other two adjustments? It isn’t apples to apples. The concept of stops is how we square everything up.
Understanding this is a necessary precondition to mastering your camera and controlling the exposure process. Hopefully this will help you grasp your exposure controls better. First, we’ll take a brief looks at each of them and show you how they are measured in stops. After that, we’ll get into how to use them together.
Shutter Speed
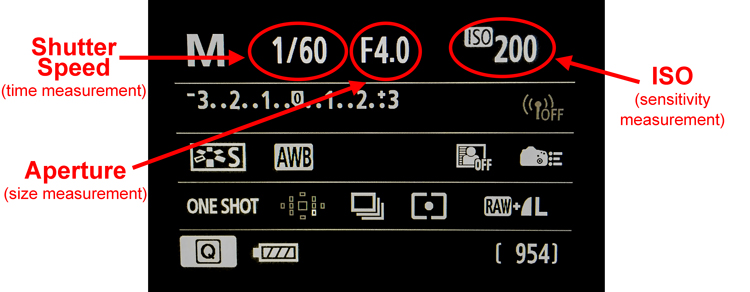
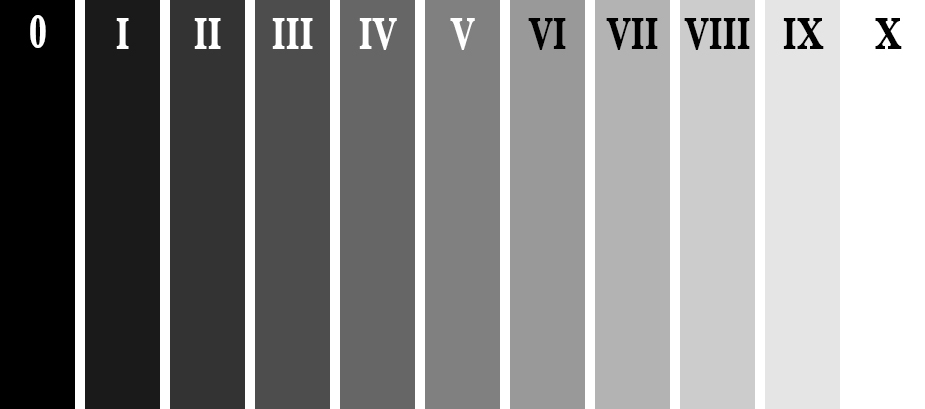
Your shutter speed is a measurement of time. As you probably already know, when you open up the shutter, the camera is gathering light. The longer you allow the camera to gather light, the higher the exposure value. Most shutter speeds you use will be a fraction of a second, but here are the common values for shutter speed you will see when you look through your viewfinder or at your LCD:
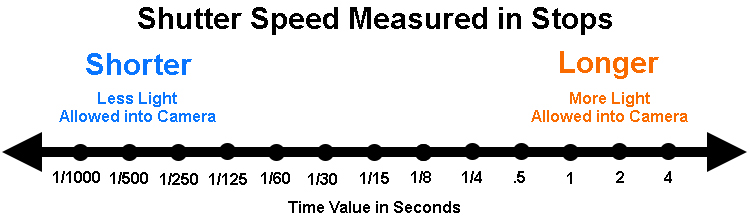
The segments in this chart are 1-stop increments. Again, a stop is a doubling of light. Remember that shutter speed is a measurement of time, so a doubling of the time your shutter is open is the same thing as a doubling of light. Therefore, for example, a move from 1/250th of a second to 1/125 is a one stop change. You have doubled the time the shutter is open so you have also doubled the exposure value.
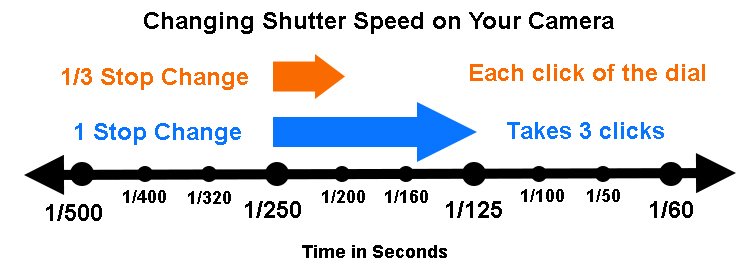
Something that might confuse you is that your camera doesn’t change settings (each click of your dial) in 1-stop increments. Most cameras are set to move in 1/3 stop increments. So rather than moving from 1/250 to 1/125, each click of the dial on your camera will only move part of the way there. It will take three clicks to move a full stop. It looks something like this:
The point is to understand that we are taking a time measurement and converting it into a stop. Each doubling of the amount of time the shutter is open equals a stop. Conversely, you reduce by a stop every time you cut the shutter speed in half. We’ll be able to use that stop in connection with the other controls in a bit.
Aperture
Now let’s look at this in the concept of aperture. As you probably know, the aperture is the hole in the lens that lets light through into the camera, and it is adjustable. Making it larger lets more light into the camera; making it smaller lets less light in. To change your exposure value using the aperture control, you are changing the size of the aperture.
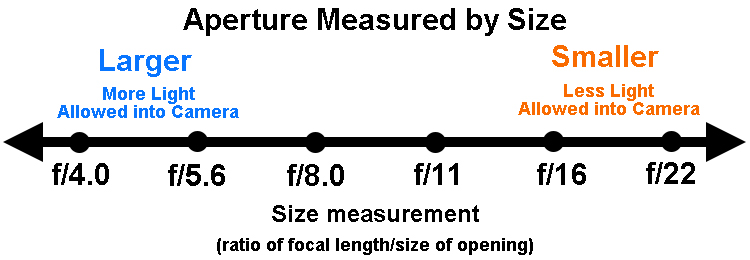
Aperture measurements can be confusing. To begin with, the measurement is actually of the size of the aperture compared to the focal length (The F-number of a lens is the ratio of its focal length divided by the diameter of the aperture.). That makes it a ratio or reciprocal figure, which means that the larger the aperture the smaller the measurement, and vice versa. Secondly, different lenses have different maximum and minimum aperture values. With that in mind, here are common aperture values:
Again, remember that your camera is probably set up to change values in 1/3 stop increments. So, for example, you camera won’t go directly from f/5.6 to f/8.0. Instead, it will probably go from f/5.6 > f/6.3 > f/7.1 > f/8.0 as you click the dial.
I’m ignoring the concept of depth of field here because it isn’t important for purposes of this discussion. All we care about now is converting these measurements into stops. So, on that front, what we have done here is convert a size measurement into a stop. That means we can easily compare it to shutter speed changes as we saw above. We’ll also be able to compare it to changes in ISO, which we’ll talk about next.
ISO
Finally, we get to ISO, the third exposure control. This is a measure of the sensitivity of your camera’s digital sensor to light. Making it more sensitive to light increases exposure but leads to increased digital noise in your pictures. Conversely, decreasing the ISO lowers the exposure value but also decreases digital noise. Here is a chart showing common ISO values in one stop increments:
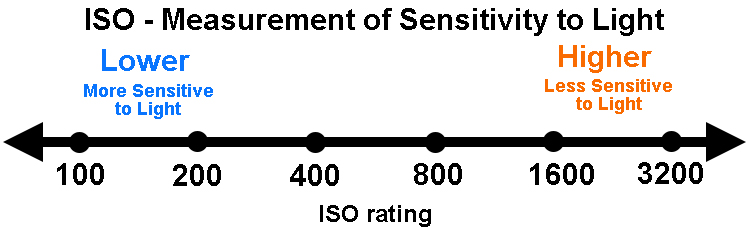
As you can see from the chart above, the ability to change ISO is pretty limited. Whereas there are 18 stops within the range of common shutter speeds, there are only seven in ISO. There are cameras with ISO values that go higher (such as ISO 12,800 and even 25,600), but they lead to pretty dramatic digital noise. This limited range though does show why increases are important.
In any case, as you can see what has been done is create a system where we have taken a measurement of sensitivity to light and converted it into stops. Each doubling in sensitivity doubles the exposure value, which equals a stop. What’s great is that (unlike the aperture measurements) ISO is simple. It is easy to understand that an ISO of 200 is double that of ISO 100.
Putting it all together
Now that we have covered the concept of stops for each of the three exposure controls, we are ready to talk about them together.
The key thing to understand here is that a stop, is a stop, is a stop. By that I mean that a stop of shutter speed exposure, equals a stop of aperture, equals a stop of ISO. In other words, lengthening your shutter speed by one stop is the exact same thing as opening your aperture by one stop. And that is exactly the same thing is changing the ISO by one stop. The measurements all equate.
Why does this matter? Because you will face the need to change your exposure values all the time. This will allow you to take complete control over the exposure process. For example, when you want to increase your depth of field you know you need to make the aperture smaller. But that will cause your picture to be underexposed. By using stops, however, you can increase the exposure by the exact same amount using either the shutter speed or ISO.
An example of using stops
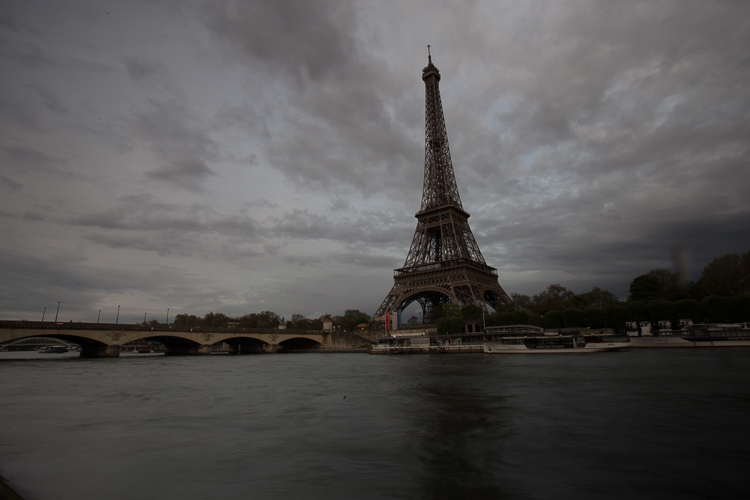
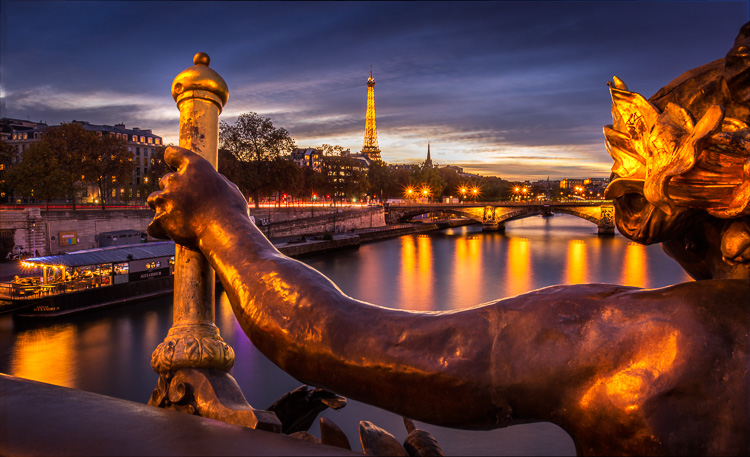
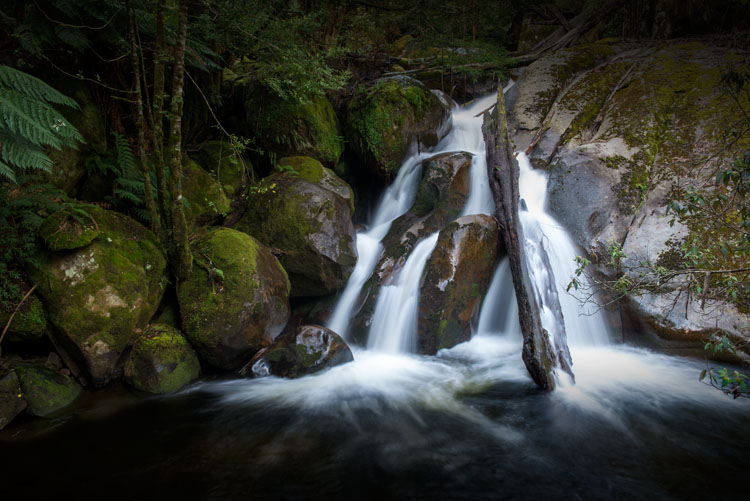
If this seems confusing, an example should help make it clearer. Let’s say you are out shooting a landscape scene and you hold up your camera and set up a correct exposure. It is 1/500th of a second at f/5.6, with an ISO of 100.
That’s just fine, except that remember that this is a landscape photo. You want a much deeper depth of field than f/5.6 is going to allow, so let’s move that to something like f/11. You know that this is a 2-stop decrease (check the charts above for confirmation).
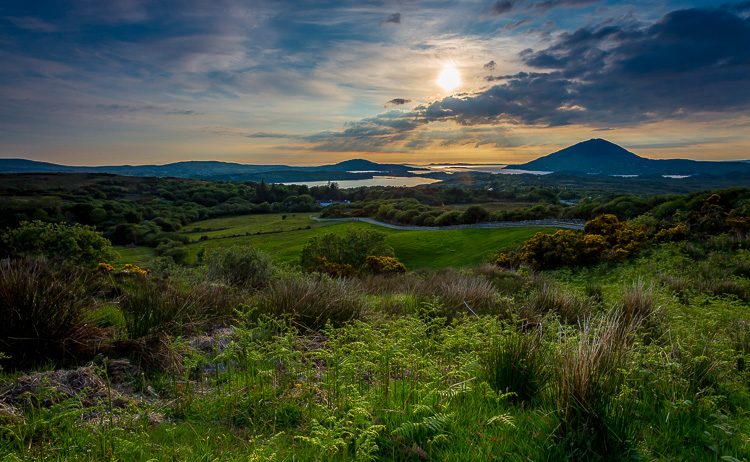
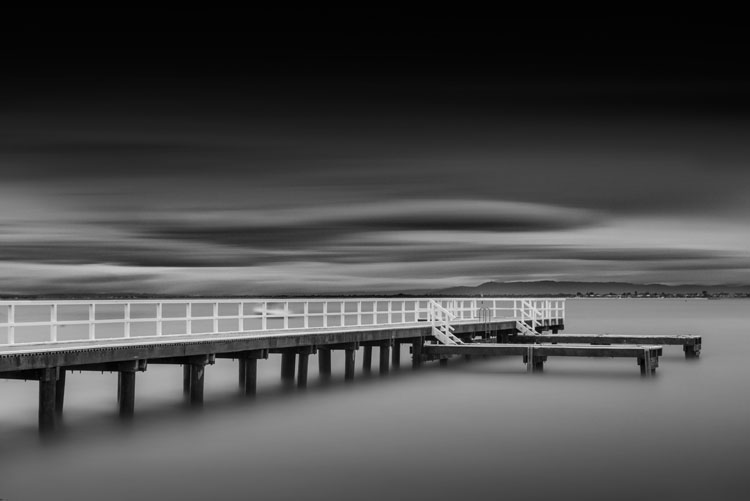
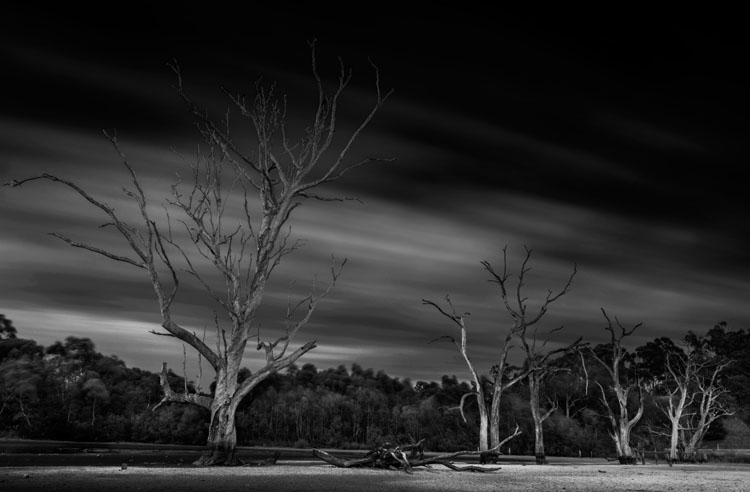
Landscape shot at 1/125 of a second at f/11.
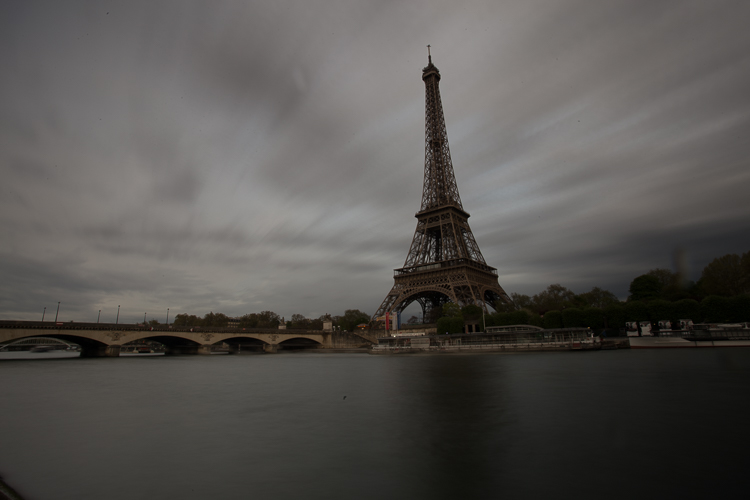
If you made no other change, your photo would be very underexposed. But you now know that you can just increase (lengthen) your shutter speed by the same amount (two stops) to offset this move. In other words, since we have converted all these exposure changes to stops, we have a common currency that we can interchange freely. A 2-stop shutter speed increase takes you to 1/125th. In other words, you started at 1/500, twice that is 1/250, and doubling that again is 1/125 (again, check the chart above to see).
You could also change ISO if you wanted (to ISO 400), but you probably don’t want to do that to keep noise to a minimum. Your new settings of 1/125, f/11, ISO 100 are much better for this situation.
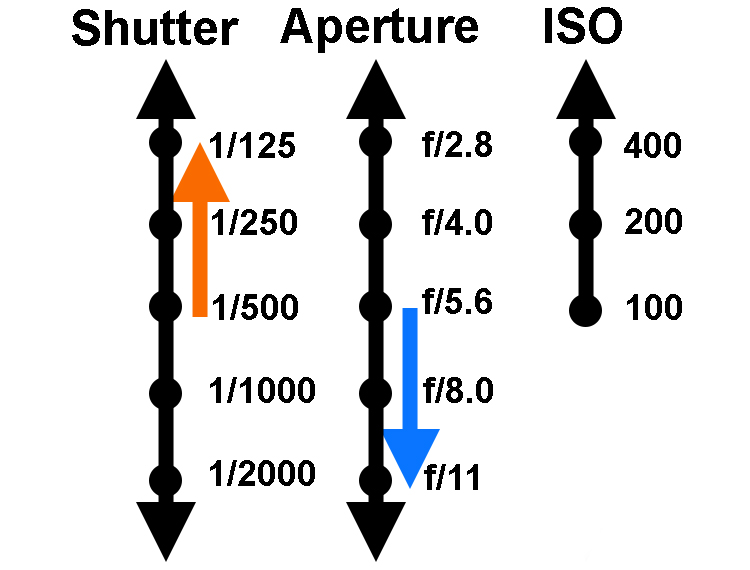
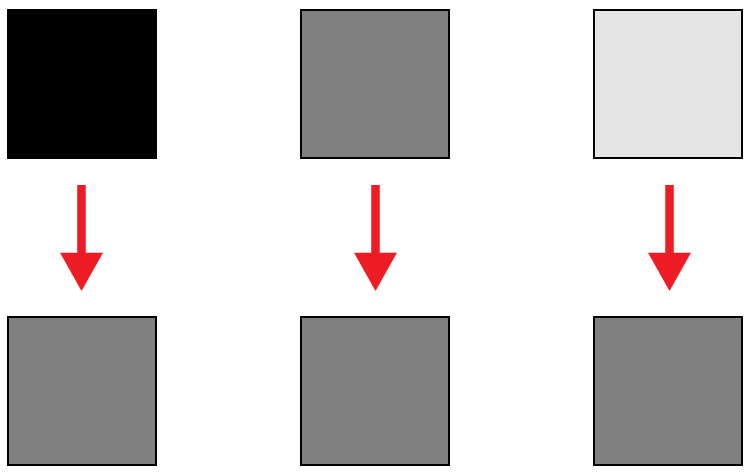
For those who do better with visuals, here is how the two offsetting moves appear:
Another example
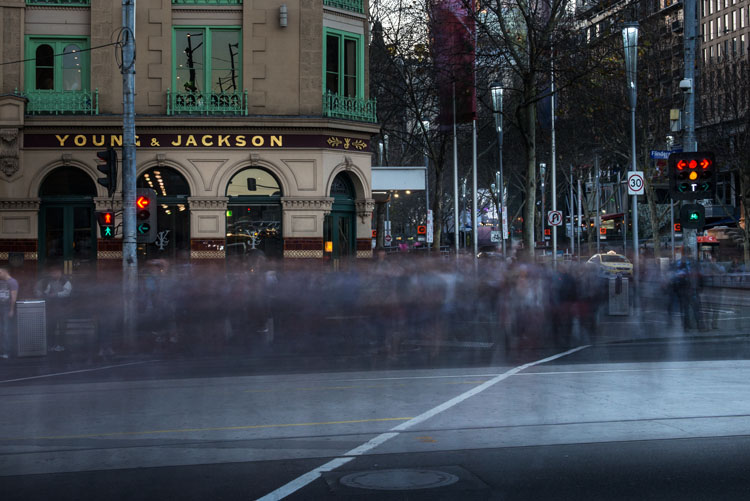
Let’s walk through another example to make sure you’ve got it. Let’s say you are photographing a friend or a family member and your camera settings are at 1/40, f/16, ISO 200. The camera’s meter says you have a correct exposure. Take a look at the shutter speed and aperture settings and you’ll see a few problems though.
First, the aperture is too small for this situation. You don’t need a small aperture like f/16. Not only do you not need the small aperture, which costs you light, but you actually don’t want the deep depth of field that f/16 gives you. You’d rather have an extremely shallow depth of field to blur out the background. Secondly, a shutter speed of 1/40 is probably a too slow for this situation. This shutter speed could lead to a lack of sharpness due to the camera shaking slightly or your subject moving while the shutter is open.
The good news is that both your problems can be solved by making changes to the shutter speed and aperture. You can use a stop as the common currency to make sure they offset and your exposure stays the same. You decide to open up the aperture all the way to f/4. That’s a 4-stop increase. Check the chart above, and you’ll see it goes like this; you start at f/16> f/11 > f/8 > f/5.6, and the fourth stop takes you to f/4.0.
Now that you’ve made that change you have the depth of field situation fixed. If you made no other change, your picture would be quite overexposed though. But that’s okay, this just allows you to shorten your shutter speed which you wanted to do that anyway avoid any possible camera shake or subject movement. Now you know you can shorten the shutter speed by four stops to offset the change you just made to the aperture. Starting at 1/40, moving fours stop gets you: 1/40th > 1/80th > 1/160th > 1/320th, and finally to 1/640th. That’s much better.
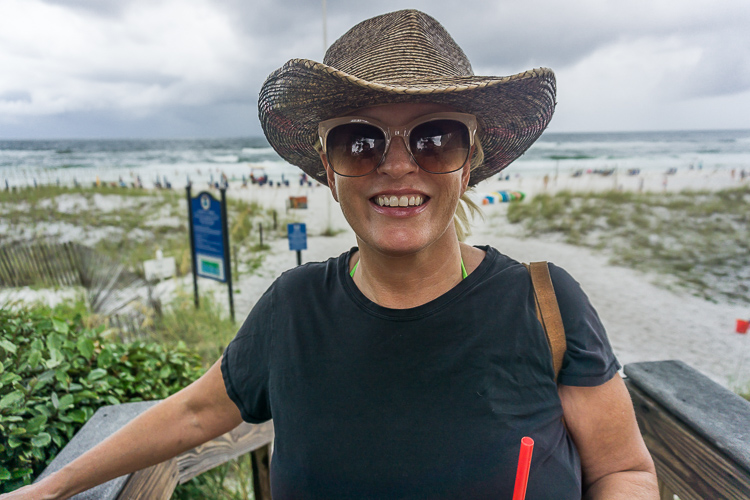
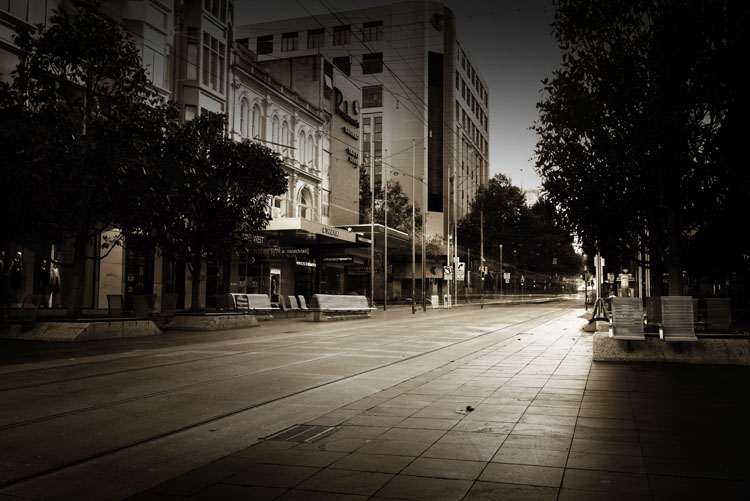
Shot at 1/640th of a second with an aperture of f/4.0.
Using stops to master exposure controls
Hopefully you see the utility of the concept of stops. It acts as a common currency so that all changes in exposure equate. One click of the dial that controls your shutter speed equates to one click of the aperture control. And that equals one click of the control for your ISO settings (if you can adjust your ISO in 1/3 stops). It all works out, and that is extremely important in the exposure process.
So many times you want to change one exposure control but keep the overall exposure setting the same. You may want to stop down the aperture to increase the depth of field, lower the ISO to reduce digital noise, or shorten the shutter speed to avoid any camera shake. Using stops you can do this with confidence.
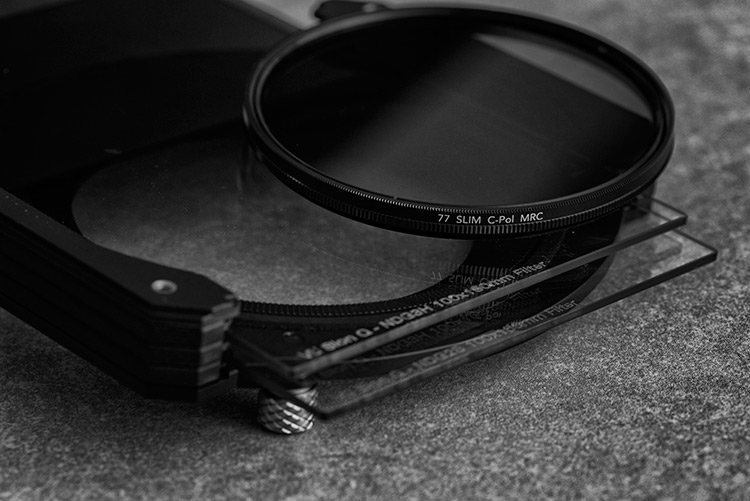
Why can’t you just rely on the camera to do all this for you? In other words, why couldn’t you just use Aperture Priority mode, set the aperture you want, and then watch as they camera sets the right shutter speed? You can just change the aperture and ISO settings until the camera sets the shutter speed you want. And, yes, you can do it that way. But even so, you should understand the process so that you know what is going on under the hood. In addition, if you ever use neutral density filters or find yourself in a situation where you camera cannot meter light properly, you’ll know how to do it for yourself.
googletag.cmd.push(function() {
tablet_slots.push( googletag.defineSlot( “/1005424/_dPSv4_tab-all-article-bottom_(300×250)”, [300, 250], “pb-ad-78623” ).addService( googletag.pubads() ) ); } );
googletag.cmd.push(function() {
mobile_slots.push( googletag.defineSlot( “/1005424/_dPSv4_mob-all-article-bottom_(300×250)”, [300, 250], “pb-ad-78158” ).addService( googletag.pubads() ) ); } );
The post What is a Stop? The Common Currency of Exposure Explained by Jim Hamel appeared first on Digital Photography School.


You must be logged in to post a comment.